Carmelized Onion Cheddar Gluten Free Scones

I have to start with saying these are the best gluten free scones Stella and I have ever made. They come together quickly, even with the step of carmelizing onions. We forgot the carmelized onions in this batch (came across them later in the fridge!), and they were still fantastic.

We forgot the carmelized onions and they were still delicious

Carmelized Onions

  • 1 tbsp olive oil
  • 1 medium red or yellow onion, thinly sliced
  • ½ tsp salt
  • ¼-½ tsp pepper

Cheese scones:

  • 240 g (2 cups) plain gluten free flour blend, plus extra for flouring the surface 
  • 2 tsp baking powder
  • ½ tsp xanthan gum (Omit if your gluten free flour blend already contains xanthan gum.)
  • ¼ tsp salt
  • 85 g (½ stick + 2 tbsp) cold unsalted butter, cubed
  • 100 g (about 1 cup) coarsely grated/shredded cheddar cheese (I recommend using mature/sharp cheddar for best flavour and texture.)
  • 2 tbsp chopped fresh chives
  • 1/4 cup diced fine pepperoni or salami (completely optional)
  • 150 g (⅔ cup) cold buttermilk

Scone Topping

  • -2 tbsp buttermilk, for brushing the scones
  • 25 g (about ¼ cup) coarsely grated/shredded cheddar cheese, for sprinkling the scones

Carmelizng the onions:

  • Caramelise the onions first, so they have time to cool down. They need to be cooled completely to room temperature before you add them to the scone dough.
  • Heat the olive oil in a pan over medium heat, then add the finely sliced onions, salt and pepper, and mix well.
  • Reduce the heat to medium-low and cook slowly, with occasional stirring, until the onions are soft and caramelised – they should be of a deep golden brown colour. That usually takes about 15-20 minutes.Tip: If the onions look dry or like they’re starting to burn at any point, add a tablespoon or two of water and scrape up any browned bits stuck to the bottom and sides of the pan
  • Transfer the caramelised onions to a bowl or plate and allow to cool completely to room temperature.

Method

  • Adjust the oven rack to the lower-middle position, pre-heat the oven to 400ºF (200ºC) and line a large baking sheet with parchment/baking paper.
  • In a large bowl, whisk together the gluten free flour blend, baking powder, xanthan gum and salt.
  • Add the cold cubed butter and work it into the dry ingredients until you get a mixture resembling breadcrumbs, with a few pea-sized pieces here and there.
  • Add the grated cheddar cheese, chives and (cooled!) caramelized onions, and toss them in the dry ingredients until they’re evenly distributed. If needed, you can rub the mixture between your fingertips to break apart any large pieces where the cheese or caramelized onions have stuck together.
  • Add the cold buttermilk and stir everything together until the dough starts clumping together. The dough will still be fairly shaggy at this point, but most of the flour should be hydrated (there shouldn’t be any large patches of dry flour).If your dough seems too dry and doesn’t want to stick together, you can add a tablespoon or two of extra buttermilk.Tip: The exact amount of buttermilk you’ll need can vary, depending on how thick/runny your buttermilk is and how much moisture your gluten free flour blend tends to absorb. The aim is to get a shaggy dough that holds together when you shape it into a disc (but it shouldn’t be too soft or sticky to the touch).

Shaping the scones:

  • Turn out the dough onto a lightly floured surface and use your hands to press it together into a rough ball. Be careful not to overwork it, it needs to stay as cold as possible, otherwise the butter could start to melt. You don’t need to knead it – the aim is to press it together so it won’t fall apart when you cut it into the individual scones, but it doesn’t have to be perfectly smooth.
  • Press the dough into a roughly 7-inch (18cm) disc, about 1 inch (2.5 cm) thick.
  • Cut it into 8 wedges, either with a sharp knife or with a straight-edged metal pastry cutter (bench scraper).
  • Place the scones onto the lined baking sheet, spaced as far apart as possible, as they will puff up during baking.
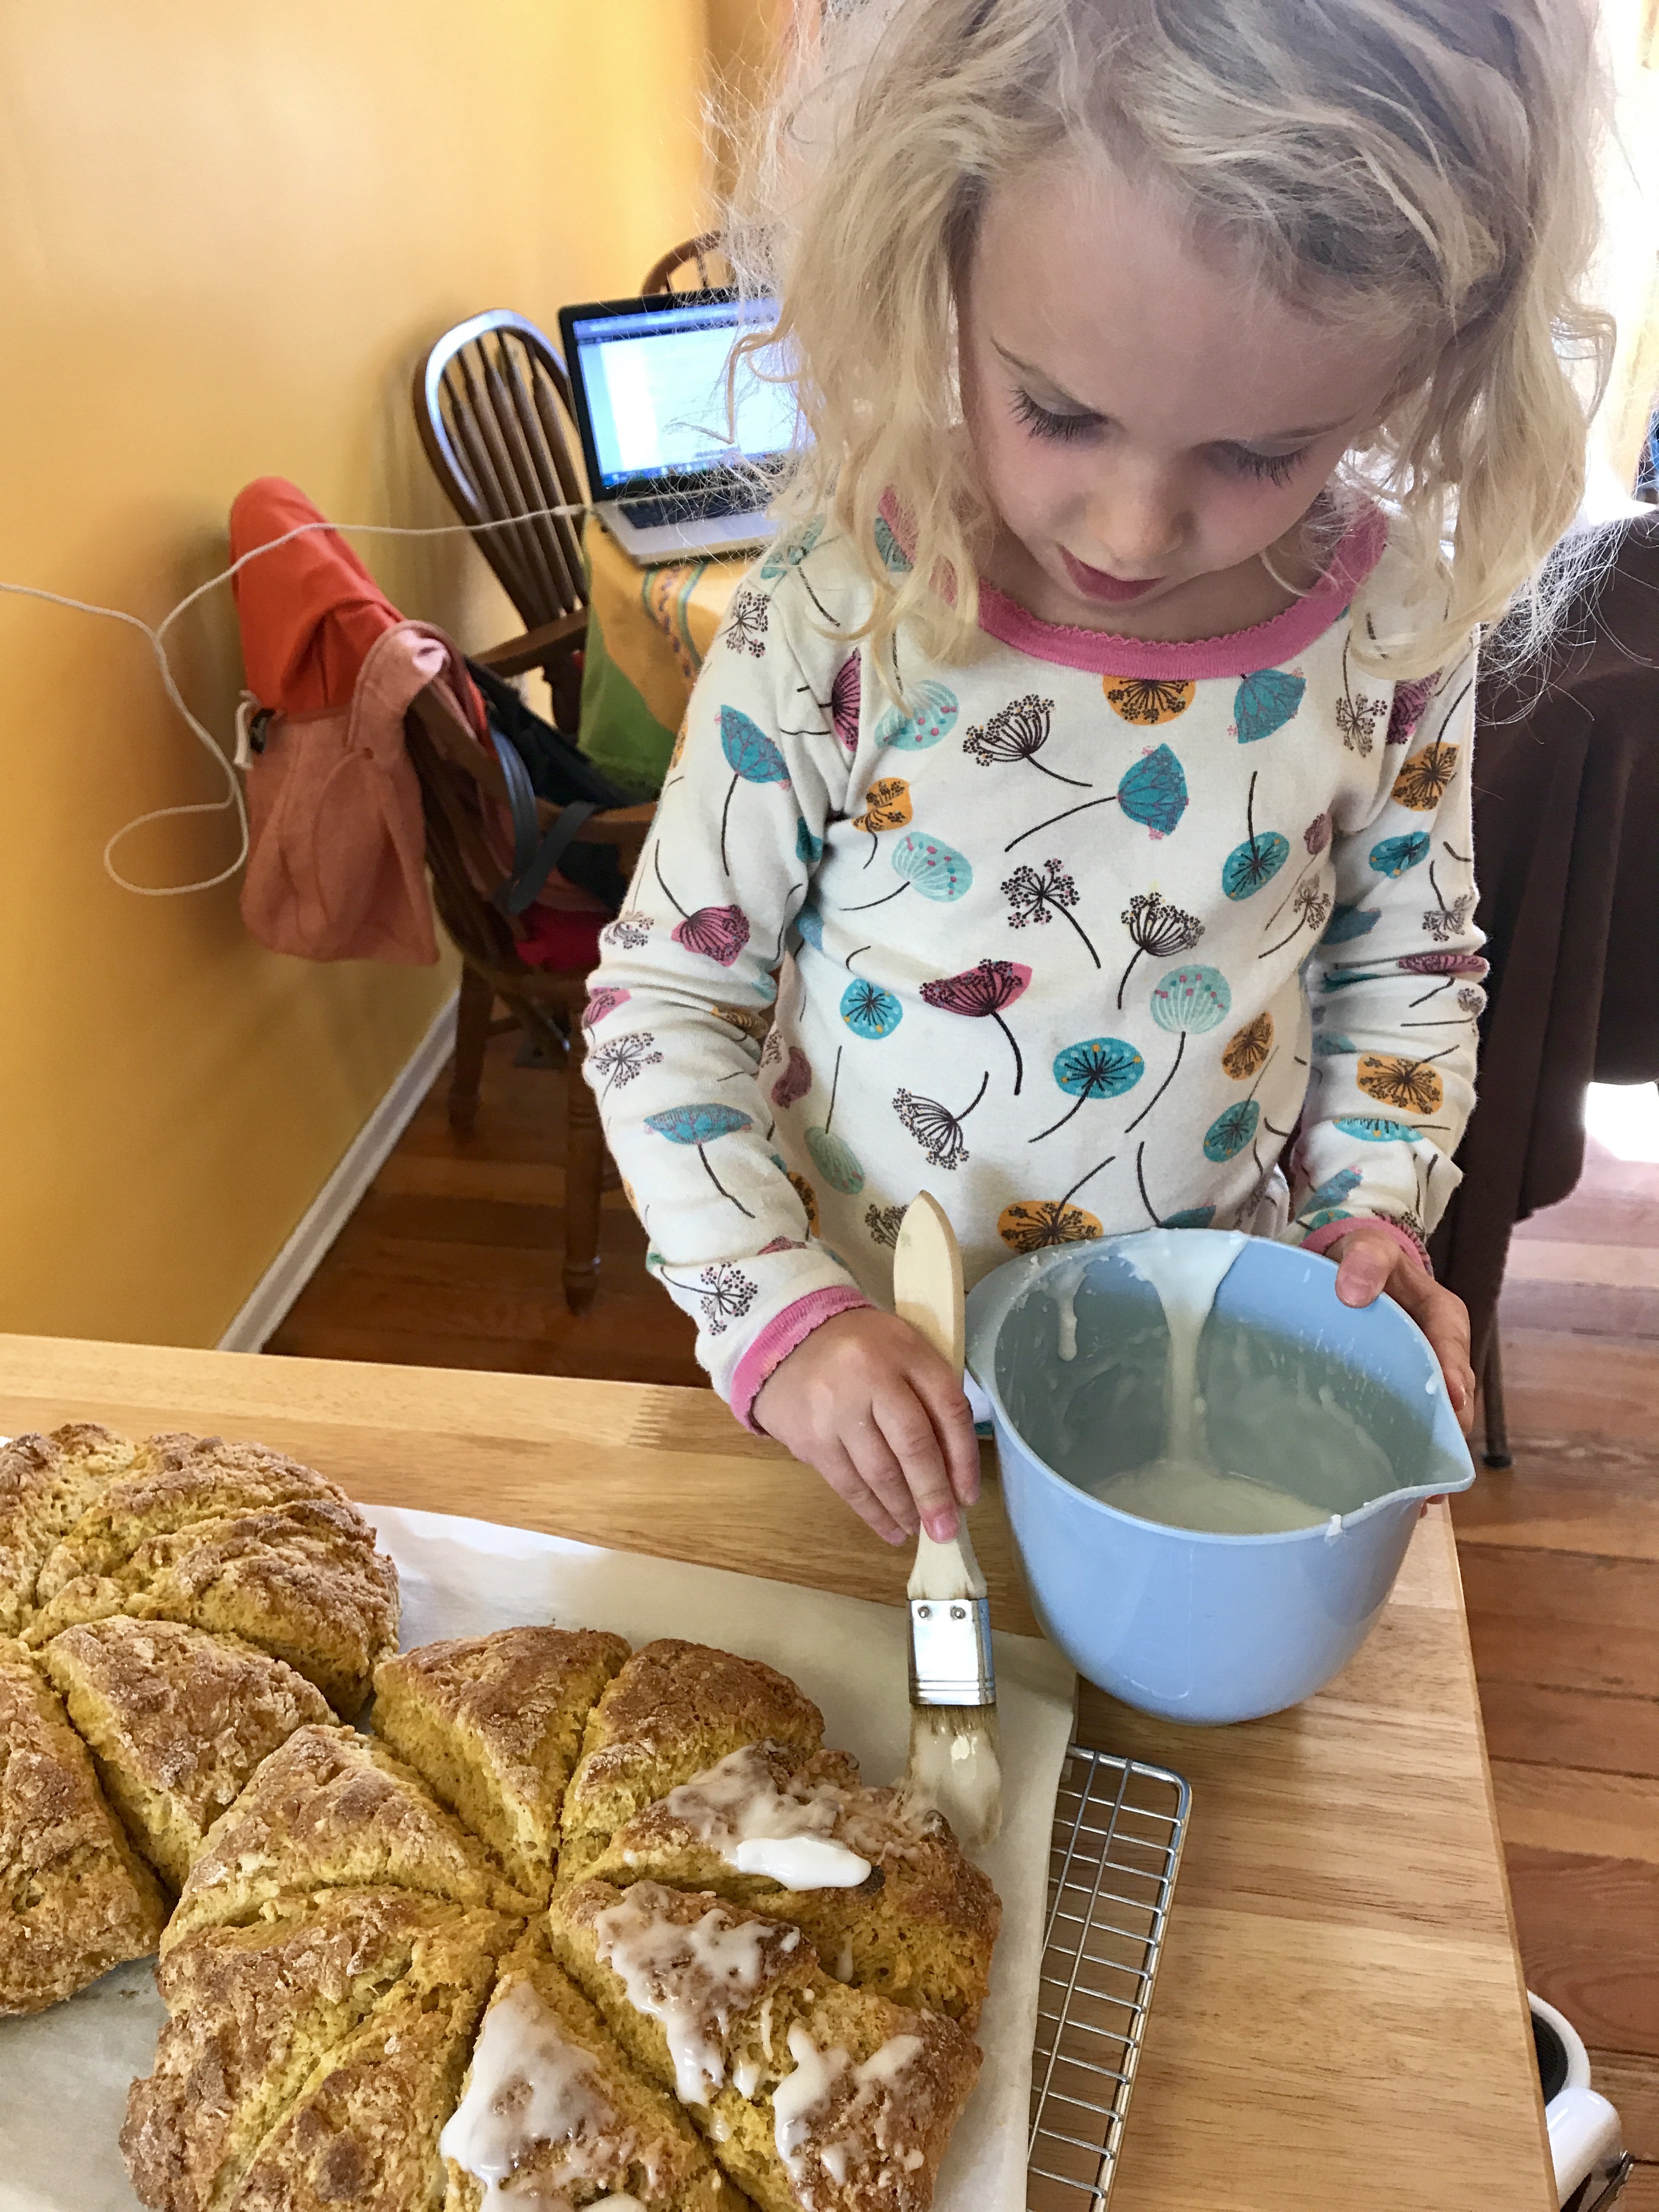
  • Brush them with a bit of extra buttermilk and sprinkle with grated cheddar cheese.
  • Bake them at 400ºF (200ºC) for about 20 minutes or until they’re puffed up, golden brown and the melted cheese on top is nicely browned.
  • Cool the scones on the baking sheet for 10-15 minutes, then serve them warm.
We forgot the carmelized onions in the fridge, and didn’t top them with more cheese – still delicious!

This recipe came from The Loopy Whisk, and we have had tremendous success wth her gluten free recipes. Our only changes were to omit the cheese topping, add a bit of pepperoni, and this time we even forgot to add in our carmelized onions and they were incredible.

Sour Cream & Onion Biscuits

Buttermilk Chive 2

Layers and layers of flaky biscuit with fresh chives …. these are a winner any day of the week.

You know those potato chips of the same flavour??  I don’t like them one little bit.  In the first place, I don’t care for sour cream.  Sure, I use it in recipes, but never as a topping for anything where you just taste sour cream …. yuck.  I know I’m in the minority on that.  These biscuits though?  The sour cream makes them rich and gives them a slight tang that is perfect to offset that richness.  Scallions are my favourite in everything right now …. just desperate for fresh vegetables at this time of year I guess.

  • 8 scallions, sliced thinly
  • 12 Tbsp. chilled unsalted butter, divided
  • 2½ tsp. kosher salt
  • 1 tsp. freshly ground black pepper
  • 1¾ tsp. baking powder
  • ½ tsp. baking soda
  • 1¼ tsp. sugar
  • 2½ cups all-purpose flour, plus more for surface
  • 1¼ cups sour cream, plus more for serving
  • Flaky sea salt

Place a rack in middle of oven; preheat to 425°. Line a baking sheet with parchment paper. Trim root ends from 8 scallions. Thinly slice crosswise (not on a diagonal); set aside.

Melt 2 Tbsp. chilled unsalted butter by whatever method is easiest for you; set aside. Whisk 2½ tsp. kosher salt, 1 tsp. freshly ground black pepper, 1¾ tsp. baking powder, ½ tsp. baking soda, 1¼ tsp. sugar, and 2½ cups (313 g) all-purpose flour in a large bowl to combine.

Cut remaining 10 Tbsp. chilled unsalted butter into ½” pieces. Add to dry ingredients and toss to coat. Using your hands, work butter into dry ingredients, smashing it between your fingers and flattening it between your palm until there are lots of thin shards and pea-size bits. Add reserved scallions and toss to evenly distribute.

Create a well in the center of mixture and add 1¼ cups sour cream to the center. Using a fork and working in circles, mix until large shaggy clumps form. If your bowl is wide enough, fold dough over itself a couple of times inside it until it comes together.

  • Pat dough into an 8×4” rectangle about 1” thick.

  • Working from a short side, fold dough in thirds as you would a letter. It doesn’t need to overlap perfectly. Pat dough into another 8×4” rectangle, then fold dough in thirds like a letter one more time. (You’ll have done the folding procedure two times total.) Pat dough back into an 8×4” rectangle and straighten up with your hands and/or your bench scraper. (This folding method is what will create those nice flaky layers in your final biscuits.)

  • Cut rectangle in half lengthwise, then cut each half crosswise into 4 squares for a total of 8 biscuits.

Transfer biscuits to prepared baking sheet. Brush tops gently with melted butter; sprinkle with flaky sea salt.

Bake biscuits until golden brown, 18-22 minutes.  Serve warm with sour cream or butter.

Buttermilk Chive 3

Ready for the oven – already you can tell they are perfect.

Buttermilk Chive 1

Just look at all those flaky layers – it comes from the folding technique.

If you want more concise instructions on how to make these, pop on over to the Bon Appetit website, and check out their “Basically” section.  Molly Baz made these, and not only are her instructions (complete with short videos) simply perfect, these biscuits are divine.

Flakiest Biscuits

Okay, here they are – BACK by popular demand … my fantastic baking powder biscuits.  

Biscuits 1

I’ve tried out a new technique …. folding the dough.  Pat into a rectangular shape and then fold into 3 (like folding a letter into an envelope), pat out into another rectangular shape and repeat.  You can literally see the folded dough, and just look at those flaky layers!  Finish with a little melted butter and sprinkle with salt and freshly cracked pepper before baking.

Once you get this down pat you will rely on these biscuits for anything from a summer morning with fresh peach jam or a winter evening served with a family favourite – chili, soup, stew … every household has their own comfort dinner!

  • 2 cups flour
  • 1 tsp salt
  • 1 tbsp sugar
  • 4 tsp baking powder
  • 1/2 cup cold butter
  • 1 egg
  • almost 1 cup milk or buttermilk

Stir dry ingredients to blend and then with pastry blender, or 2 forks, blend in 1/2 cup cold butter (my tip: freeze the butter for 15 min ahead of time, and use the large holes on a box grater to grate the butter – instant flakes of butter)

Lightly beat 1 egg in a 1 cup measure, then stir in enough milk to reach the 1 cup mark.

With a fork, stir the egg/milk mixture into the dry ingredients – only enough to have it start to hold together.  Turn onto floured surface and … oh so gently … without overmixing … pat it together, and then into a solid shape, about 1 inch or so in height.  Using floured biscuit cutter (or your favorite glass) cut out shapes and place on floured baking sheet.

These are so flexible – if you want to add any herbs, or cheese – do so at the dry ingredient stage.  Go ahead and experiment – makes these your own family favorite!

To guarantee extra tall, fluffy biscuits, pop them into the fridge or freezer for a few minutes.  The combination of hot oven and cold butter creates magic!

Bake at 400 for 15 – 20 minutes (depending on your oven – check it at 15) until lightly golden and very fluffy!  Image

Pumpkin Scones

pumpkin scones

Pumpkin scones just scream fall.  You can either use your own pumpkin flesh or canned pumpkin – whatever you have works with these incredibly moist and pumpkin filled, spice laden muffins.


Preheat oven to 425°.

2 c flour
7 TBSP granulated sugar
1 TBSP baking powder
1/2 tsp salt
1/2 tsp ground cinnamon
1/2 tsp ground nutmeg
1/4 tsp ground cloves
1/4 tsp ground ginger
1/2 cup cooked or canned pumpkin

6 TBSP cold butter
3 TBSP half-and-half cream
1 large egg

Pumpkin scones 1

Baking Class – one of Sloan and Stella’s favourite activities in Nana’s kitchen.  (Nana’s too!)

White Glaze:
1 cup plus 1 TBSP powdered sugar
2 TBSP whole milk

Spiced Icing:
1 cup plus 3 TBSP powdered sugar
2 TBSP whole milk
1/4 tsp ground cinnamon
1/8 tsp ground nutmeg
pinch ground ginger
pinch ground cloves

Combine flour, sugar, baking powder, salt, 1/2 t cinnamon, 1/2 t nutmeg, 1/4
t cloves 1/4 t ginger in a large bowl.

In a separate medium bowl, whisk together pumpkin, half-and-half, & egg.

Cut cold butter into cubes then add it to the dry ingredients. Use a pastry knife or
a fork to combine butter with dry ingredients. Continue mixing until no
chucks of butter are visible.

Fold wet ingredients into dry ingredients, then form the dough into a ball.
Pat out dough onto a lightly floured into a round shape.

Cut through with a large knife, or a pizza wheel to make 6 wedges.

Bake for 14 to 16 minutes on a baking sheet that has been lightly oiled or
lined with parchment paper. Scones should begin to turn light brown.

While scones cool, prepare white glaze by combining ingredients Mix until smooth. When scones are cool, use a brush to paint a coating of the glaze over the top of each scone.

pumpkin scones 2

If you are as careful as Stella, the scones will get good coverage.

As that white glaze firms up, prepare spiced icing by combining
ingredients in another medium bowl until smooth.
Drizzle this thicker icing over each scone & allow the icing to dry before
serving (at least 1 hour). A squirt bottle works great for this, or you can 
drizzle with a whisk.  Our other trick is to just fill a ziplock bag, and cut a tiny hole in one corner.

pumpkin scones

Sloan likes using the ziplock bag to drizzle – I think she likes the feel of the icing in her hand….