Stella was insistent that I get my recipe for vegetable pancakes on the blog right away so she could make them at home with Hayley! Such a quick, easy and delicious way to have a meal on the table in minutes, these are great for lunch, dinner or snacking. I usually make a pile and they warm up quickly in the toaster oven. They are a bit of a mash up of Korean pajeon, Japanese Okonomiyaki and Chinese scallion pancakes (even a bit like my zucchini fritters!)
I will get a better photo, but Stella didn’t want me to wait, she loved them so much!
1/2 cup all purpose flour (once Stella was diagnosed with celiac, we used Gluten Free Flour)
1/2 cup potato starch or cornstarch
1/2 tsp baking powder
1/2 tsp Chinese 5 spice powder (optional but we liked it)
1 tsp sea salt
1 egg
3/4 cup very cold water ( soda water works great!)
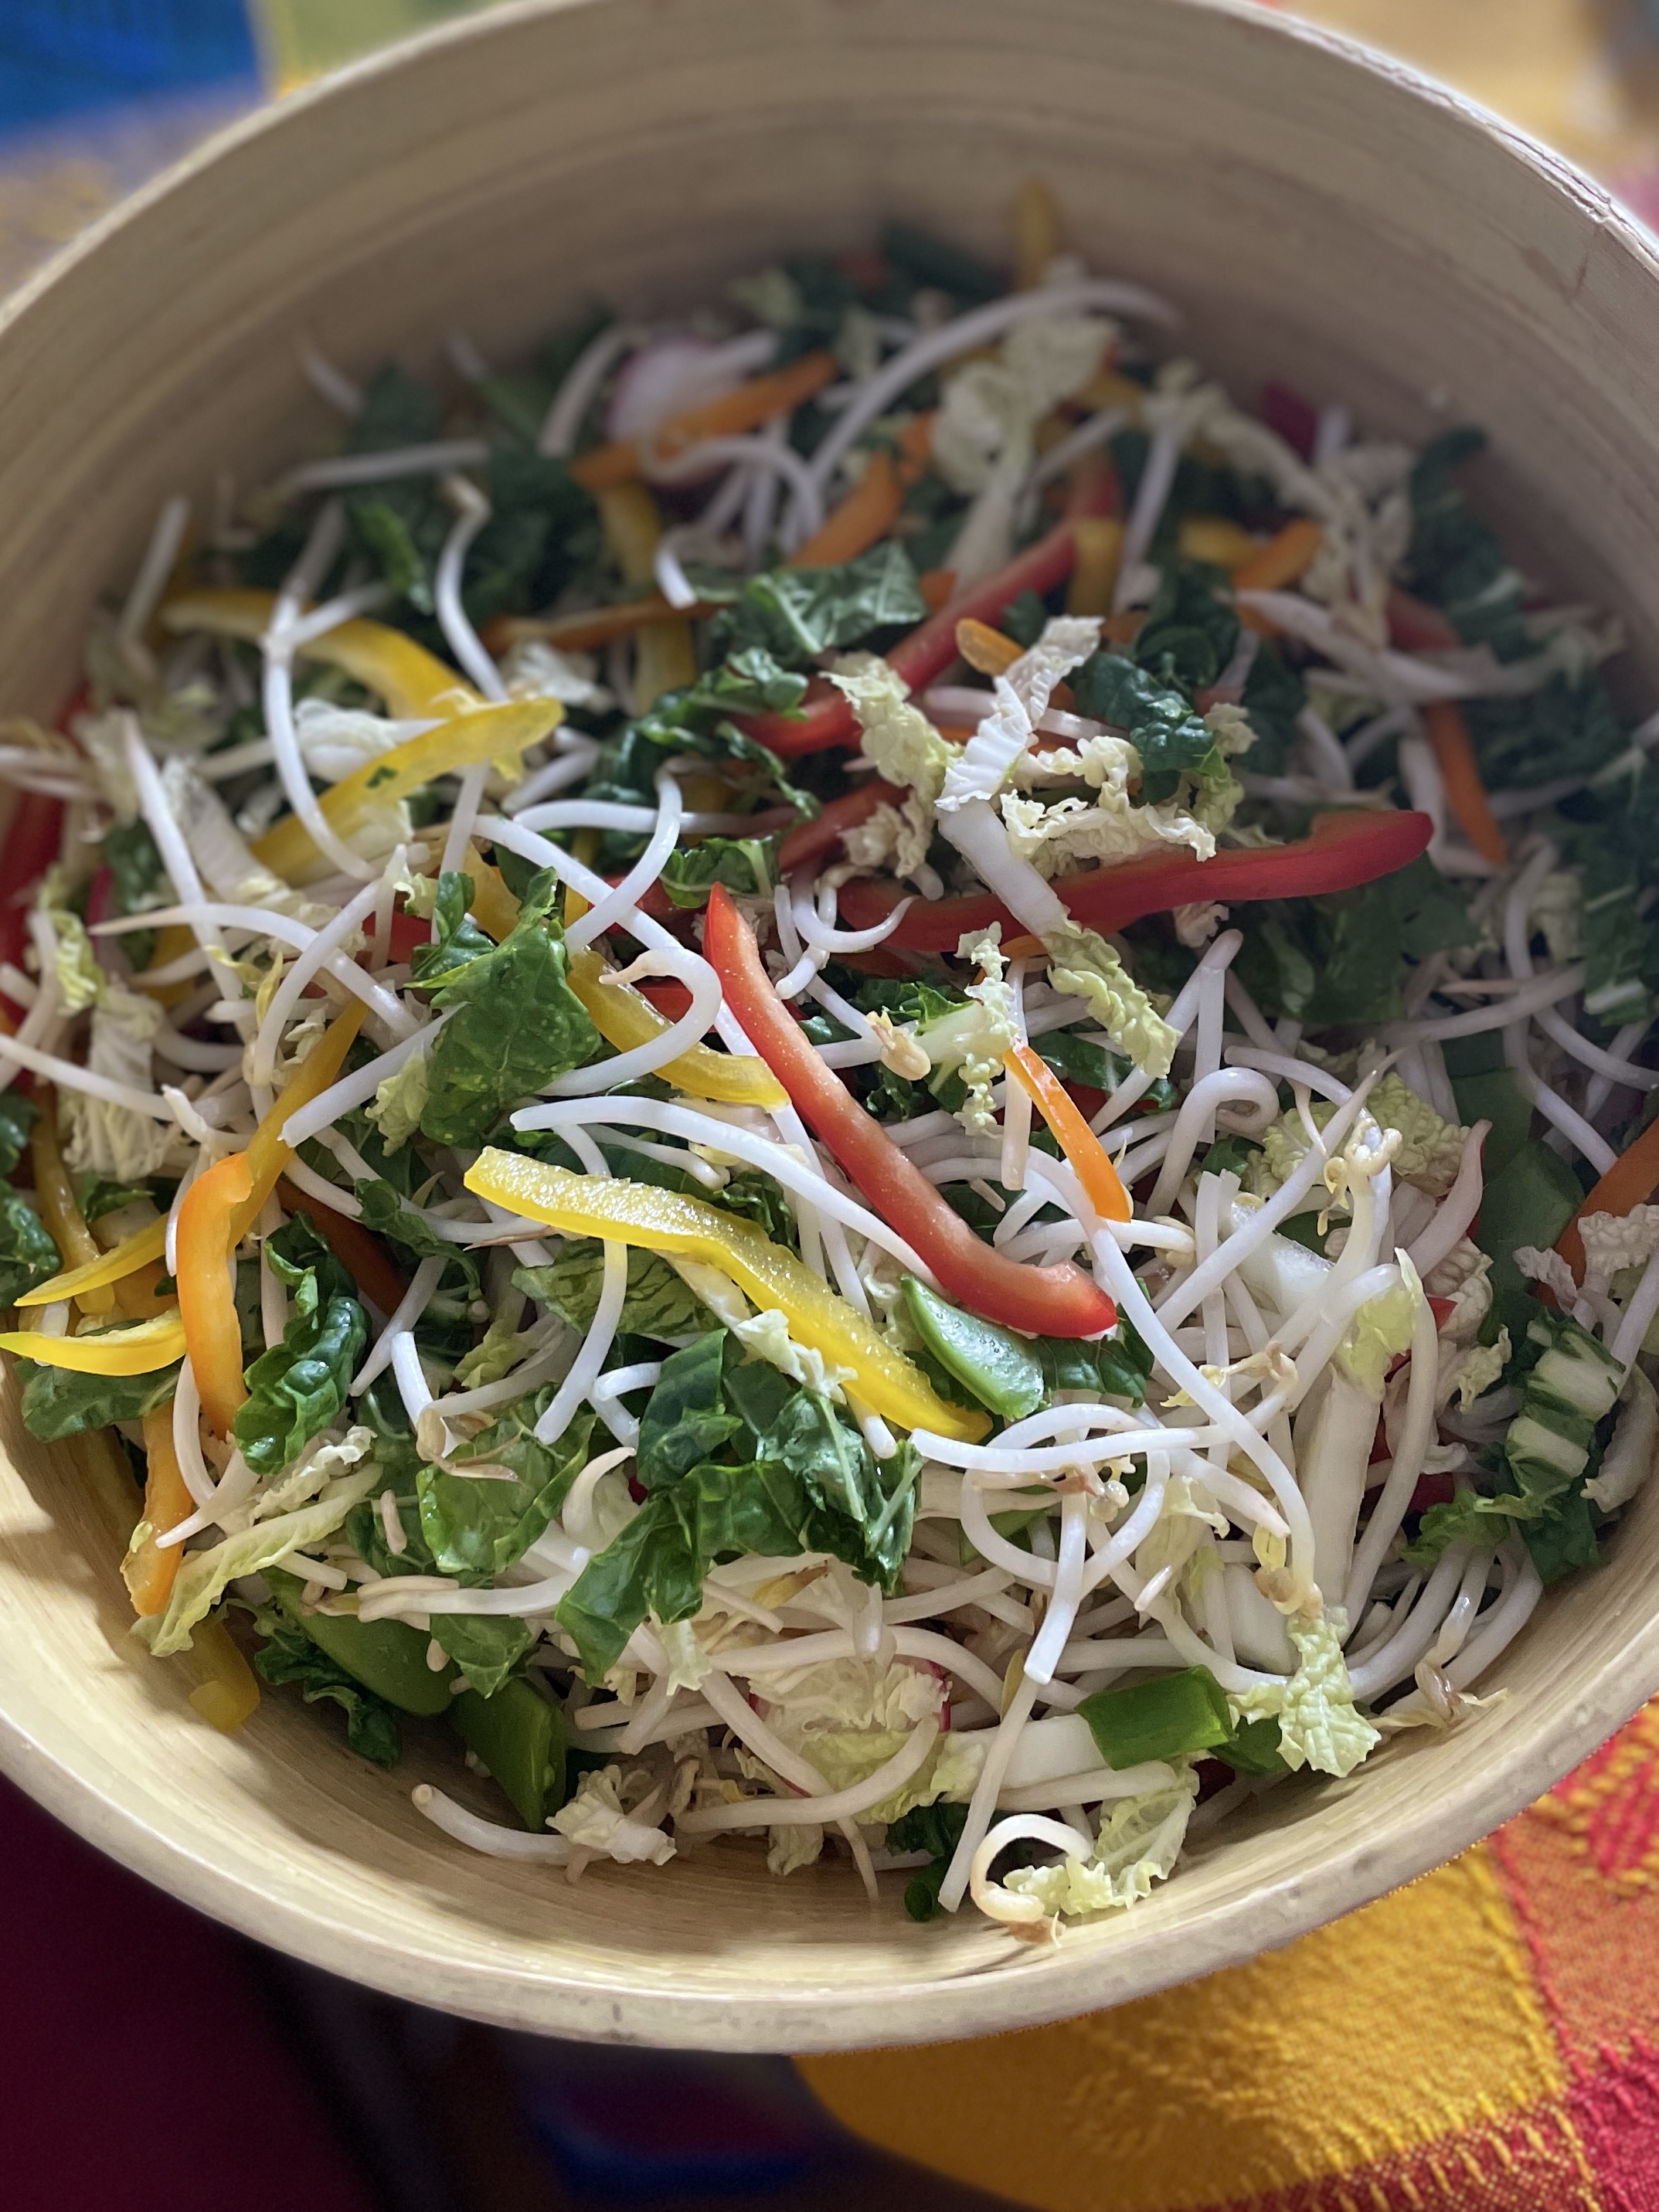
4-6 cups very thinly sliced or julienned vegetables
oil for frying
Whisk dry ingredients together, then stir in egg and water. Add in all your vegetables and stir just to combine. You only need enough batter to hold the vegetables together.
Preheat oven to 300 to keep the pancakes warm as you cook them.
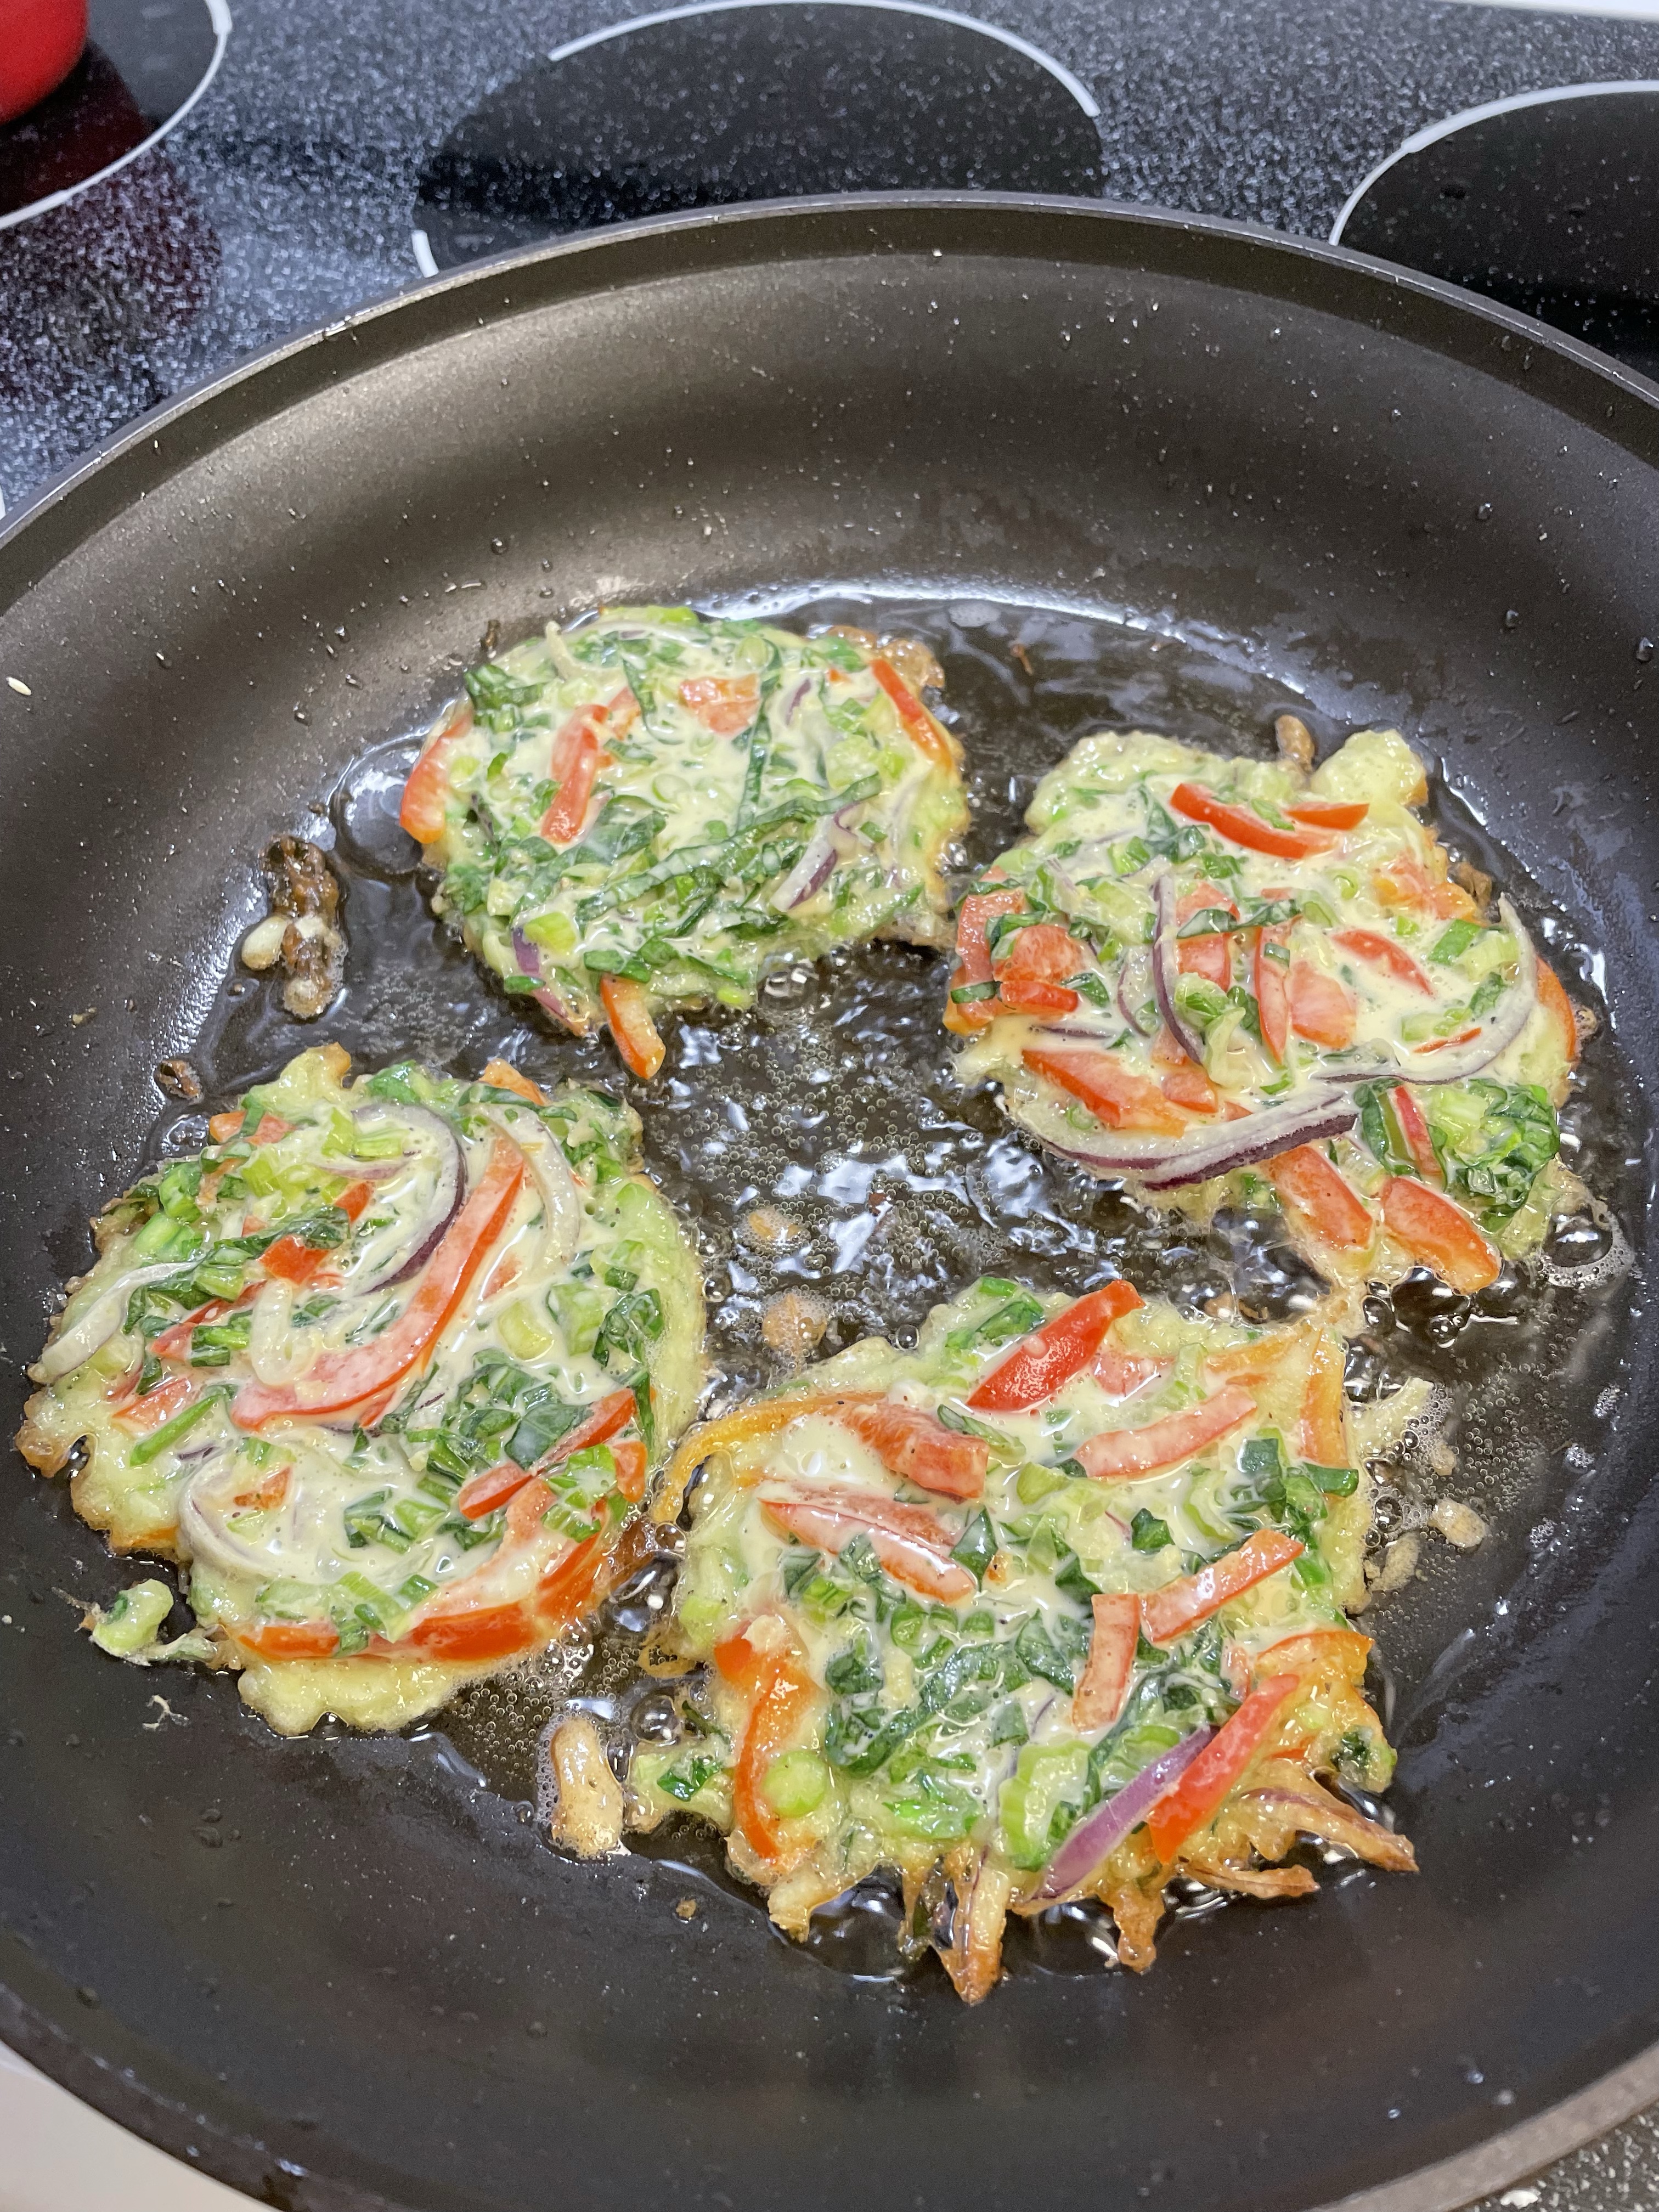
Heat oil in frying pan, and drop in 1/4 cup amounts, flattening them out slightly. Cook for 3-5 minutes on each side until golden brown and crispy. You will have to do this in batches, so keep them warm in a 300 oven until you have them all fried. Don’t crowd the pan or they will steam rather than fry.
I first tried this recipe as Korean pancakes, adding some chopped kimchi as well as a bit of the juice, but ended up using it for many different vegetables.
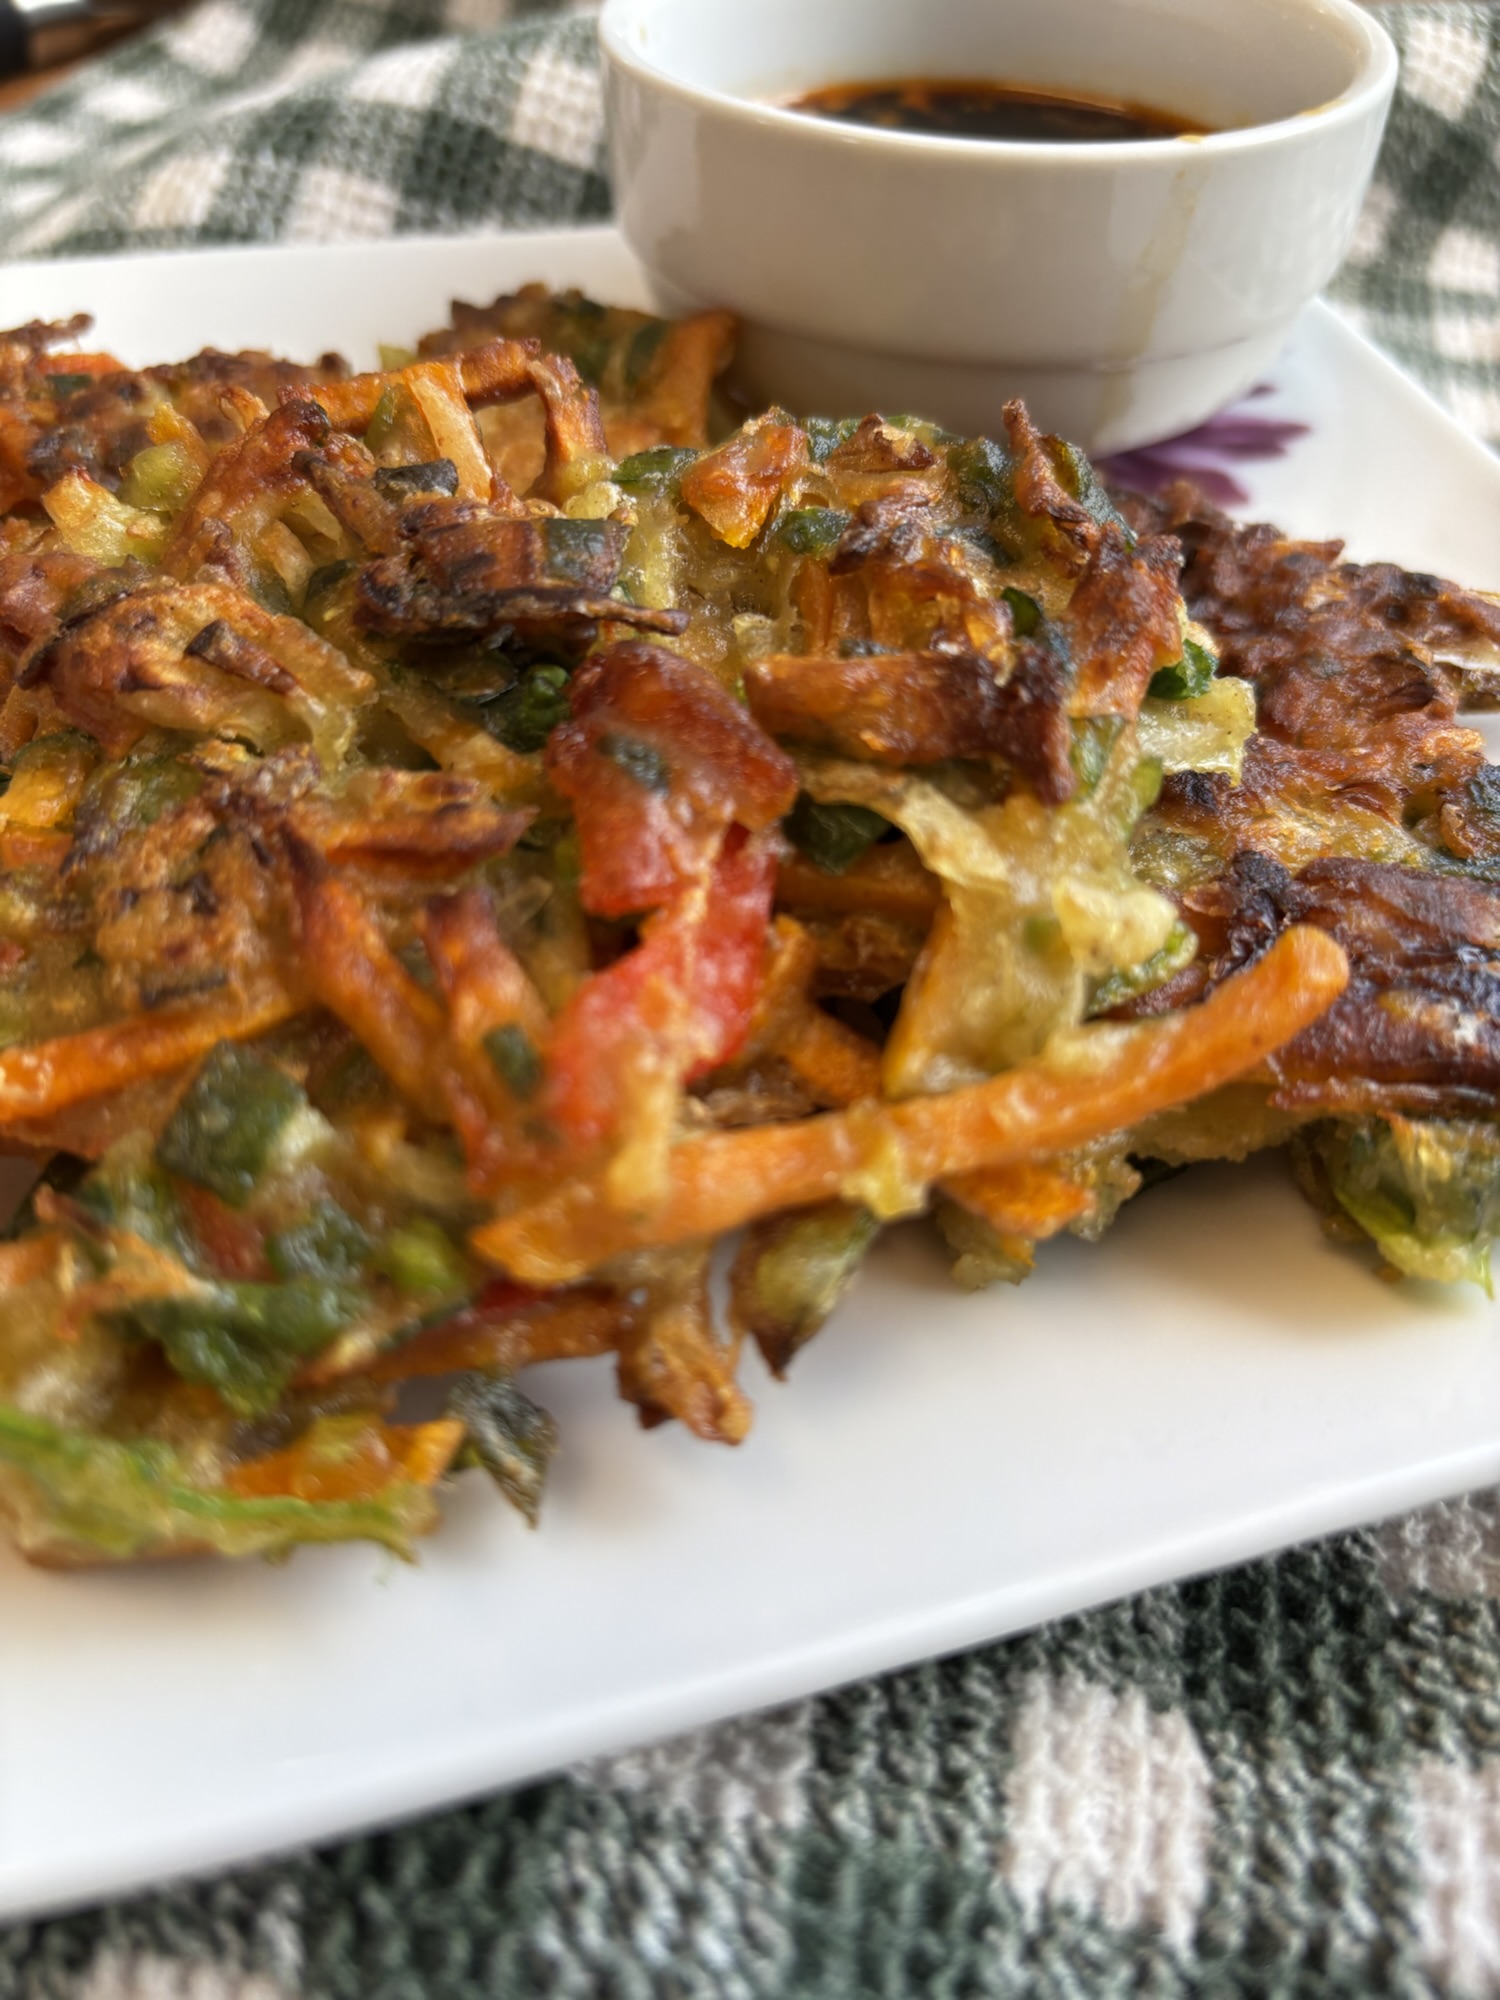
Serve with dipping sauce:
1/4 cup soya sauce
1-2 tbsp rice vinegar
1/2 tsp sesame oil (I like toasted)
1/2 tsp sugar
1/2 tsp hot sauce or chili crisp (such as sriracha)
Stir together and set aside for service. Taste and adjust for your personal preference.
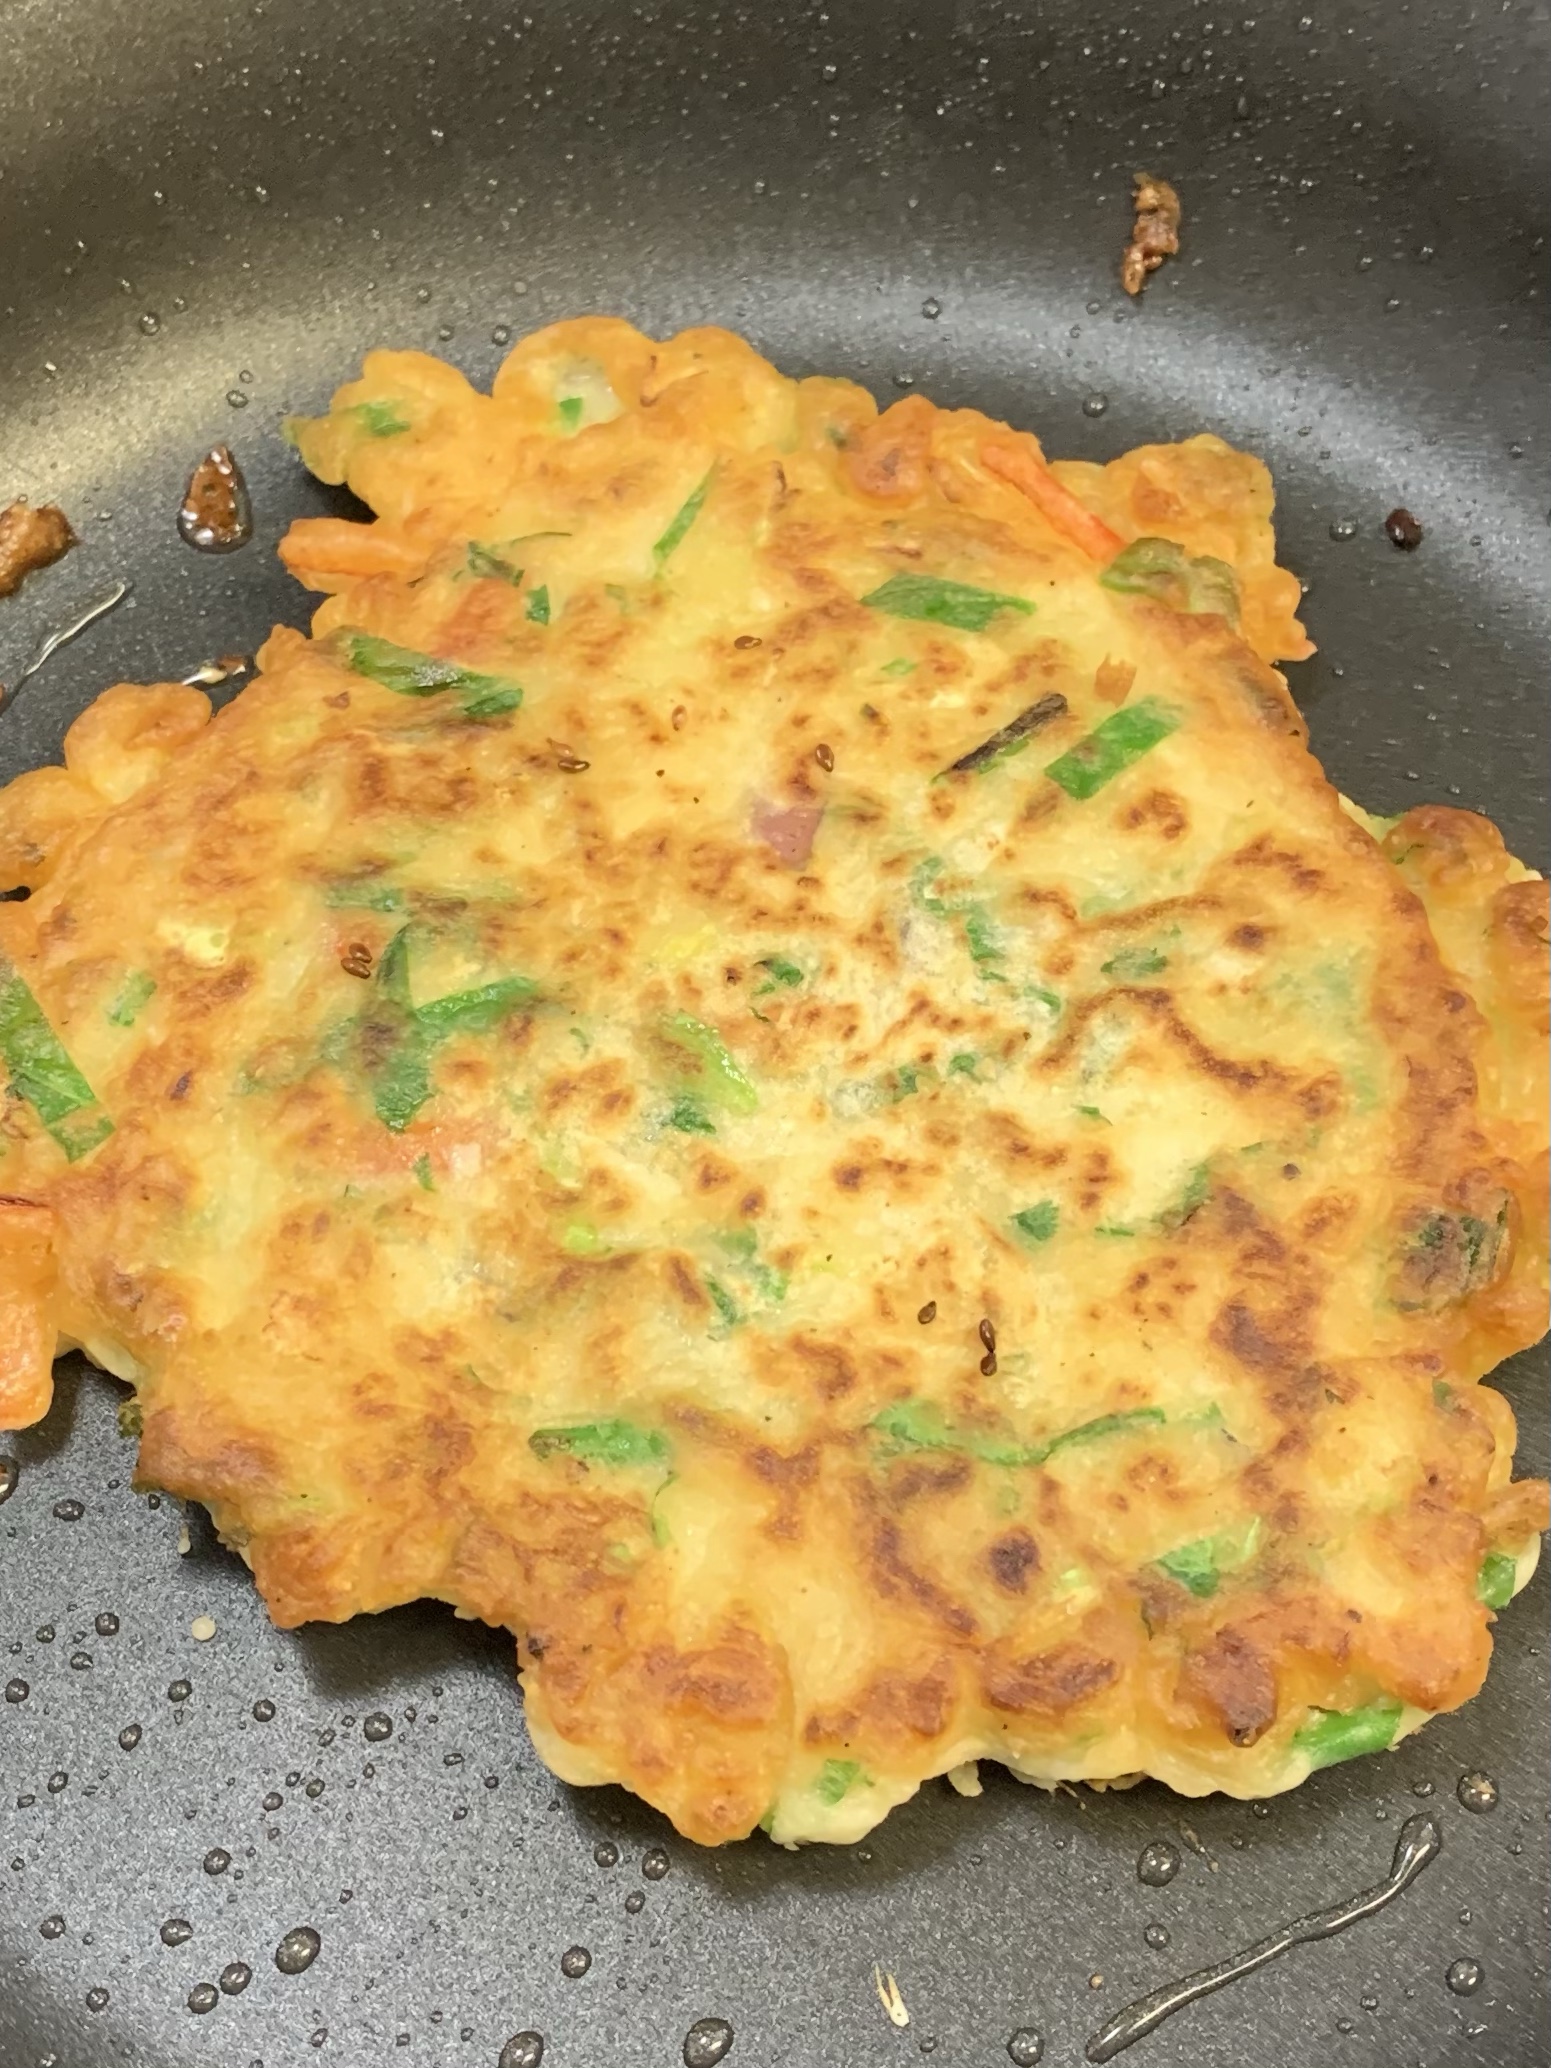
Use whatever vegetables you have in your fridge! It really is a fridge clean out in the best possible way.Okay, so i have more than 4 cups vegetables … ha ha … you only need enough batter to hold it all together!Make sure you don’t crowd the pan – it takes very little oil.Flip when nice and crispy, and a golden brown.These ones had fresh shrimp and lots of chives.Another day, another batchThis time we used very little batter – mostly veg!
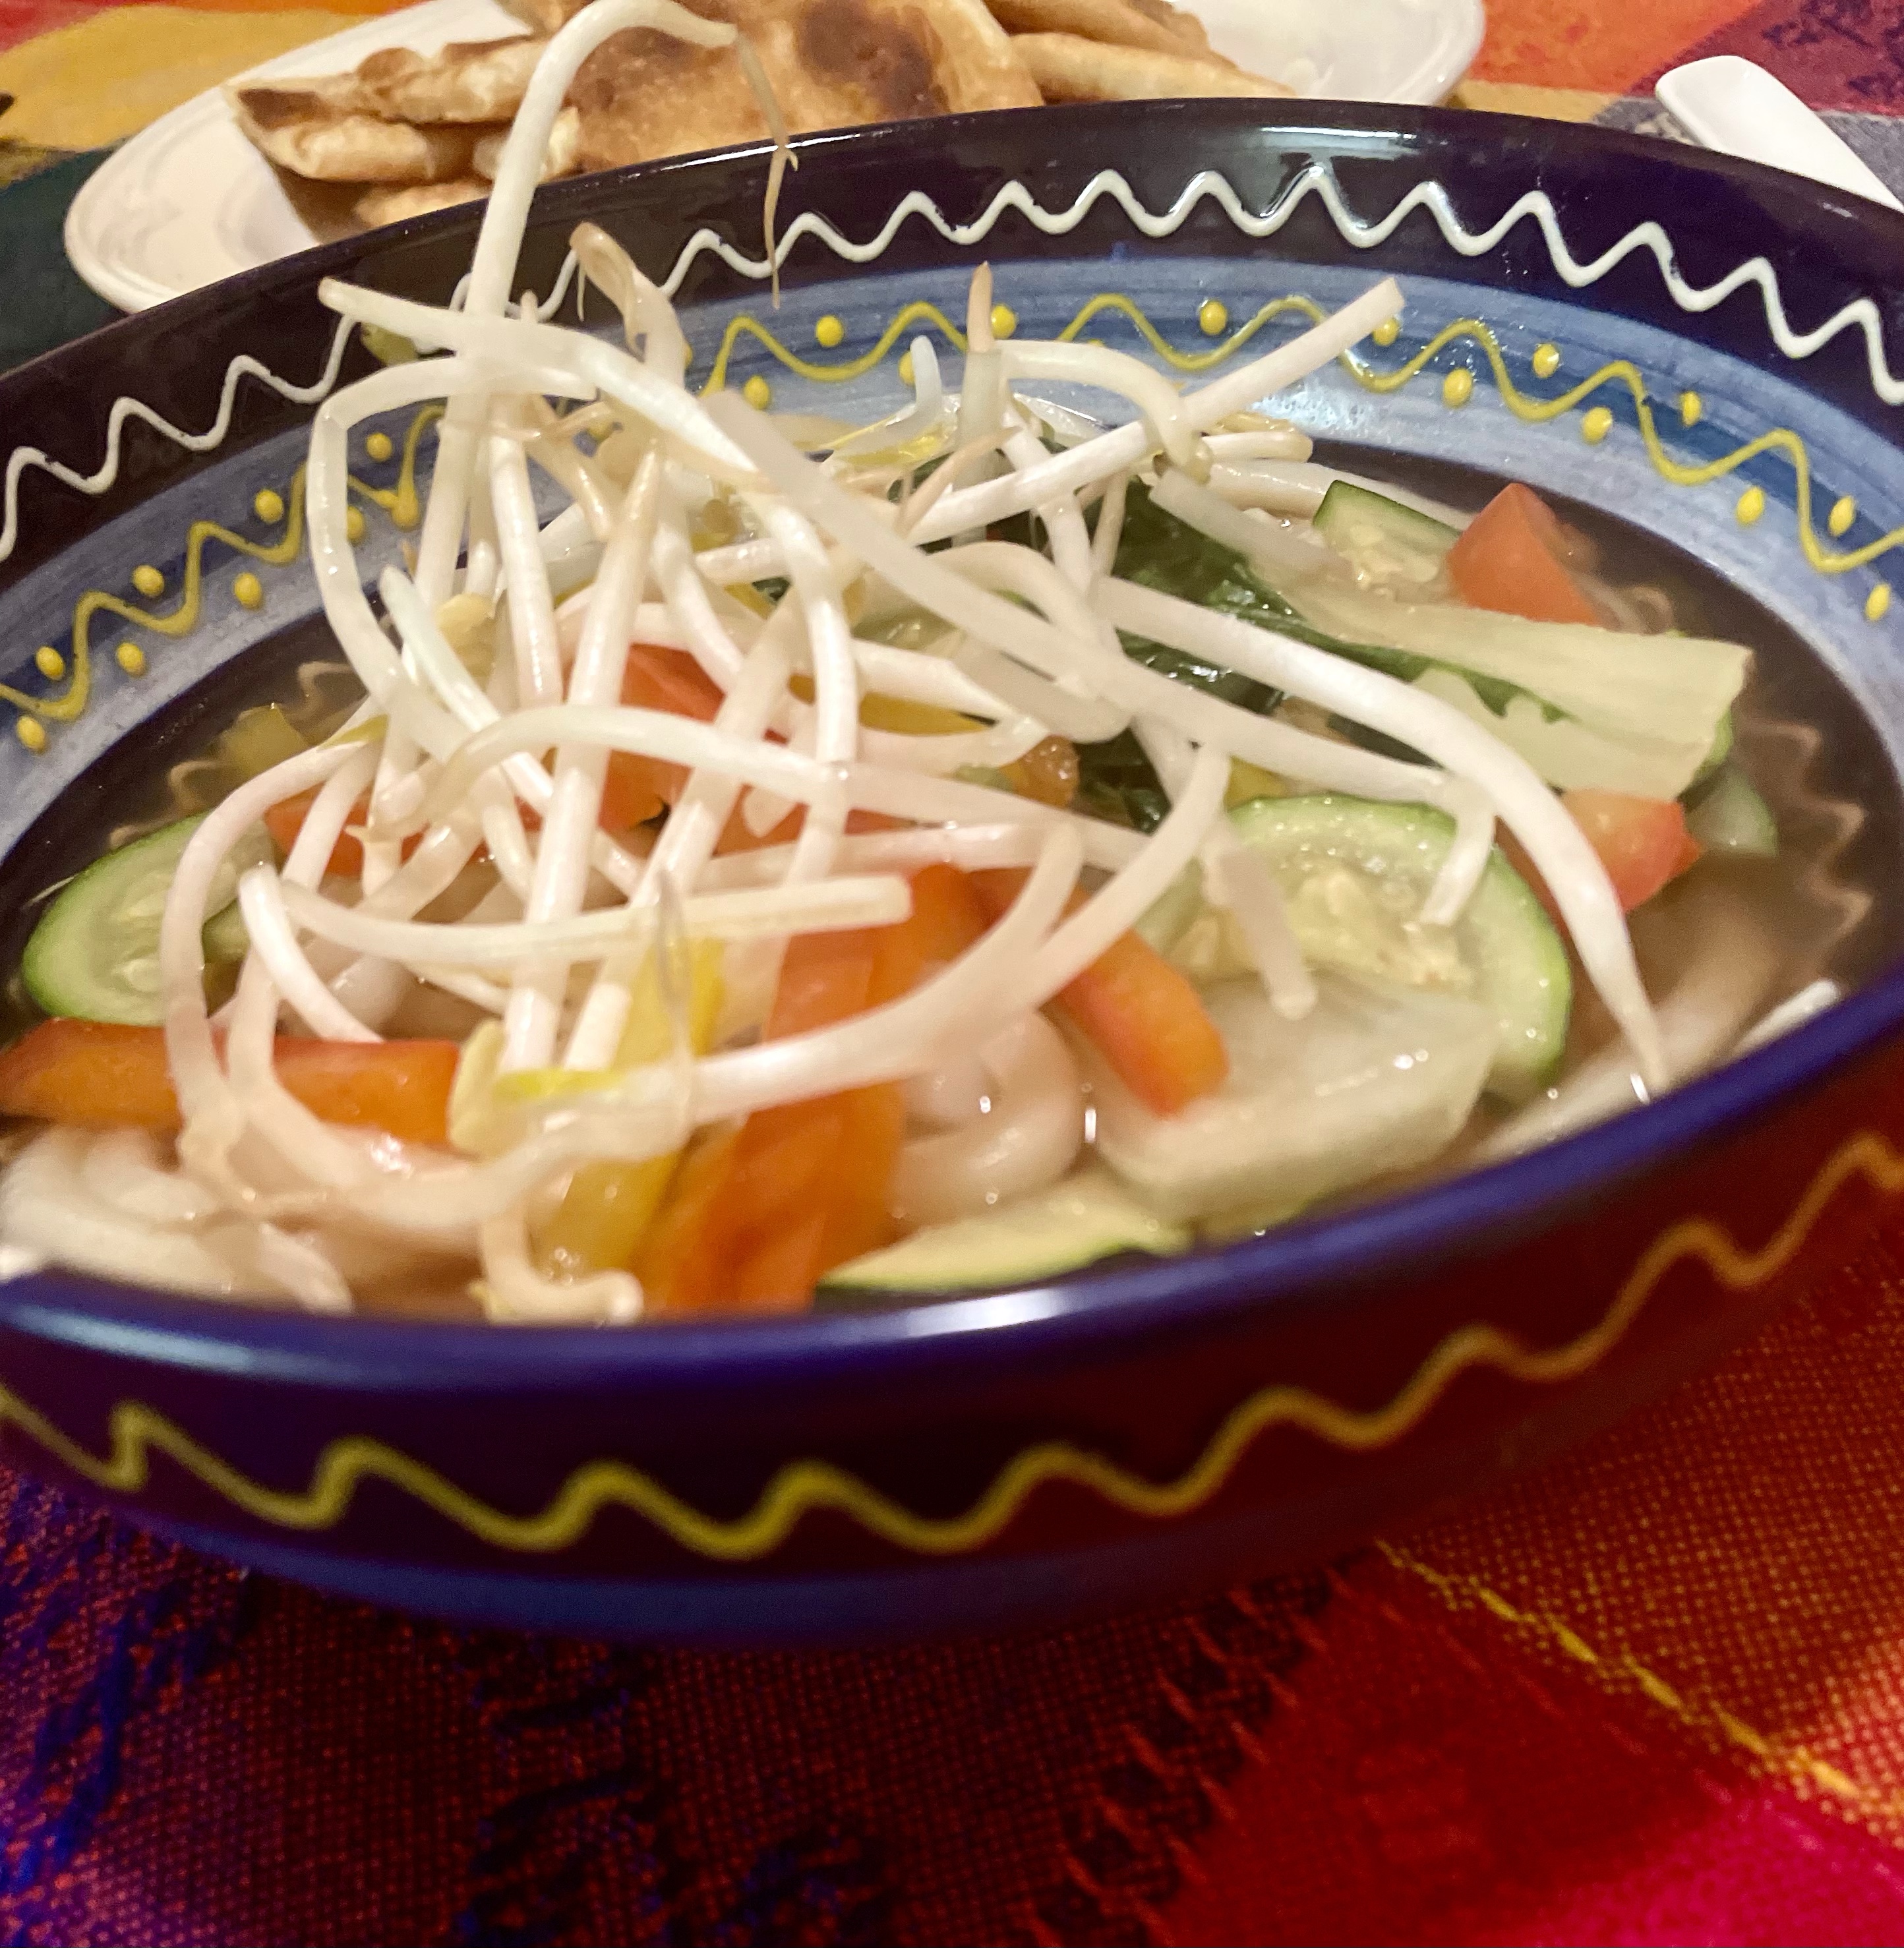
Need a quick, easy but delicious dinner idea? Here you go – this broth is amazingly flavorful for so few ingredients and can be packed with whatever you have in your fridge.
Sloan took this photo of her own bowl – I love a recipe that allows everybody to fashion their own meal the way they want to eat – a sure fired winner for picky eaters!
6 cups chicken broth (use veg broth if you. are looking for a vegetarian night!)
4 flattened but not minced garlic cloves – left whole
1 inch piece of ginger, sliced
4 green onion ends, white part only
3 tbsp light soy sauce (or low sodium soy sauce)
1 tbsp sugar
3 tbsp Shaoxing (chinese cooking wine)
1 tsp sesame oil
This is one of the quickest broth recipes I’ve ever made, and it is absolutely delicious. Ready in only 30 minutes, that gives you enough time to prep all the delightful ingredients you want to complete your lunch or dinner.
Heat a little neutral oil in a deep pot and lightly toast the garlic cloves, ginger slices and white parts of green (spring) onions. As soon as they are lightly roasted, add the broth, soy sauce, sugar, Shaoxing, and sesame oil. Bring to a gentle boil, and then turn down and simmer for 30 minutes. You can do this as early as you like and just keep it warm until you are ready to eat. When ready to serve scoop out the aromatics and you have a lovely clear broth to enjoy with as many fill ins as your bowl can hold.
Serve with: Any or all of the following!
Cooked ramen, udon or egg noodles
Vegetables (cooked in the broth if you like!)
Fresh bean sprouts
Cooked wontons
shredded chicken
cooked seafood
Garnish your bowl with the slivered green onion tops, toasted sesame seeds and cilantro. Serve alongside hot sauce and hoisin sauce if anybody wants to add a bit more punch.
I usually have another pot of boiling water on the go that I first cook the noodles in, then lightly blanch vegetables (bok choy, spinach, bell peppers, zucchini, snap peas). Frozen wontons (purchased or homemade) can also be cooked in this water. I find that if you cook everything in your seasoned broth it dilutes the seasoning and results in a cloudy broth. Both still good, but you may need to adjust seasonings.
Use whatever you like to create your own bowl – we love a combination of lightly cooked and fresh vegetables, as well as plenty of herbs – top it all with peanuts or cashews, sesame seeds and more herbs. Don’t forget a drizzle of chile oil if you like the heat!
That dipping sauce might look a little muddy, it was doubling up but trust me, it was delicious!
One of the dishes (among many) that we loved on our travels through Vietnam and Cambodia was Salt & Pepper squid. Naturally, that squid was ultra fresh, and so very tender it literally melted in your mouth. Typically served with a bowl of rice, and a pile of greens it is the perfect light dinner. I love the combination of flavours found in most Vietnamese dishes – fish sauce, lime juice and pepper. Those show up in so many tasty dishes – makes my mouth water just thinking about it!
SALT & PEPPER SQUID
400 gr squid **
1 tbsp coarse salt
1 tbsp whole black peppercorns
1/4 cup all purpose flour
1/4 cup rice flour (you can substitute corn starch)
OIL – to use for frying – make sure you use a high smoke point oil such as peanut, canola or vegetable. – heat to 350 degrees. If you don’t have a thermometer, stick a chopstick in there …. once it bubbles all around the chopstick it is ready.
SALAD OR GREENS TO SERVE
Prep whatever fresh vegetables or salad you want to serve.
DRESSING
1 clove garlic, minced
1 tsp ginger, minced
1-2 tbsp fresh red chili, seeded and finely chopped (or chili flakes to taste)
2 spring onions, thinly sliced
2 tbsp freshly squeezed lime juice
1-2 tbsp sugar (I usually stick with 1)
4 tbsp fish sauce
4 tbsp water
If you try anything – make it this dressing! I use it for salads all the time and it is so light and refreshing while adding so much flavour to a simple salad.
** Squid – if you can get it fresh then clean it and slice into rings – leaving tentacles whole. I’ve only used frozen at this point but you know I will be sourcing some fresh squid!!
Once your squid is prepped, bash up the salt and pepper in a mortar and pestle – bash until cracked and broken but don’t turn it in to a fine grind. Sprinkle a little directly onto the prepared squid. Pour the rest into a bowl with the flours and stir until combined.
When oil is hot enough, put a handful of the squid into the salt/pepper/flour mix and toss to coat lightly and cook in batches in the hot oil. Do not overcrowd your oil or it will cool down and your squid will absorb more of the oil.
Remove from oil and sprinkle lightly with salt and pepper.
If you like a dipping sauce – just bash up a bit more salt and pepper, mixing it with fresh lime juice.
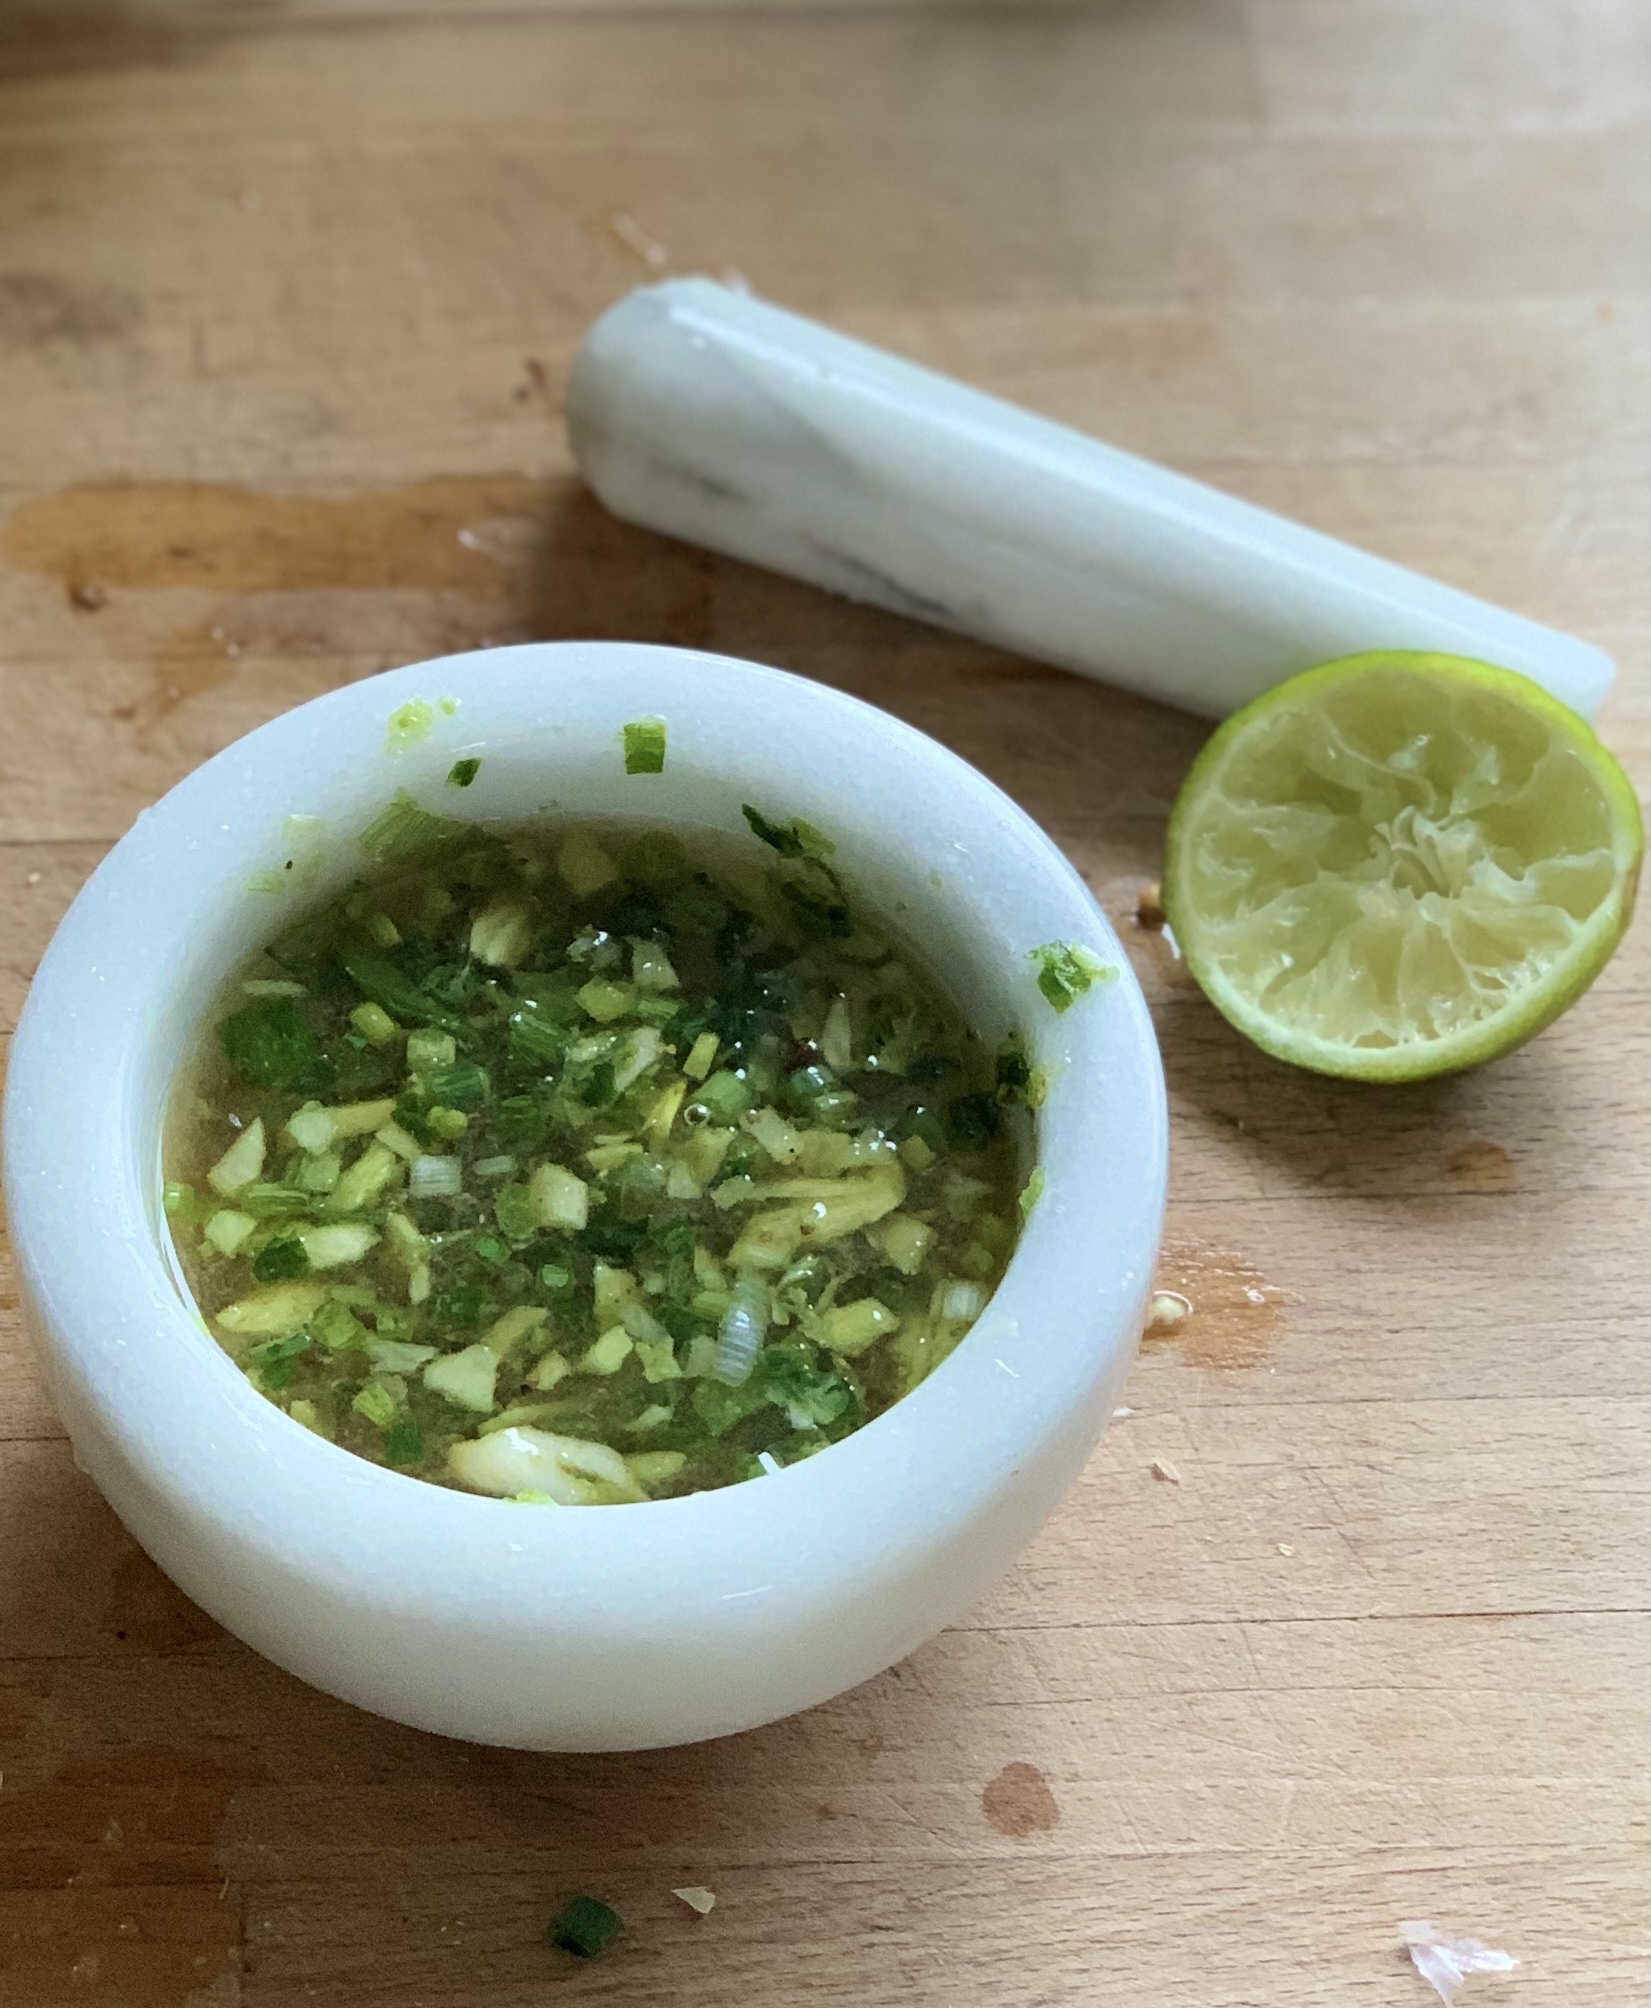
The dressing couldn’t be easier! Again, the mortar and pestle comes into action so I hope you didn’t clean it after bashing salt and pepper …… Drop in garlic, ginger, spring onion and chili …give it a good bit of action until you have created a paste. Add lime juice, sugar, fish sauce and water. TASTE. TASTE IT AGAIN. Every single item can be a slightly different taste profile from what I am using and for your individual tastes. Adjust if necessary. It should be slightly sweet, slightly salty, slightly hot and slightly tangy.
If you don’t have a mortar and pestle then just chop everything quite fine and add in the other ingredients … I have about 3 of them so I love using them but don’t run out and buy one if you don’t love the process!
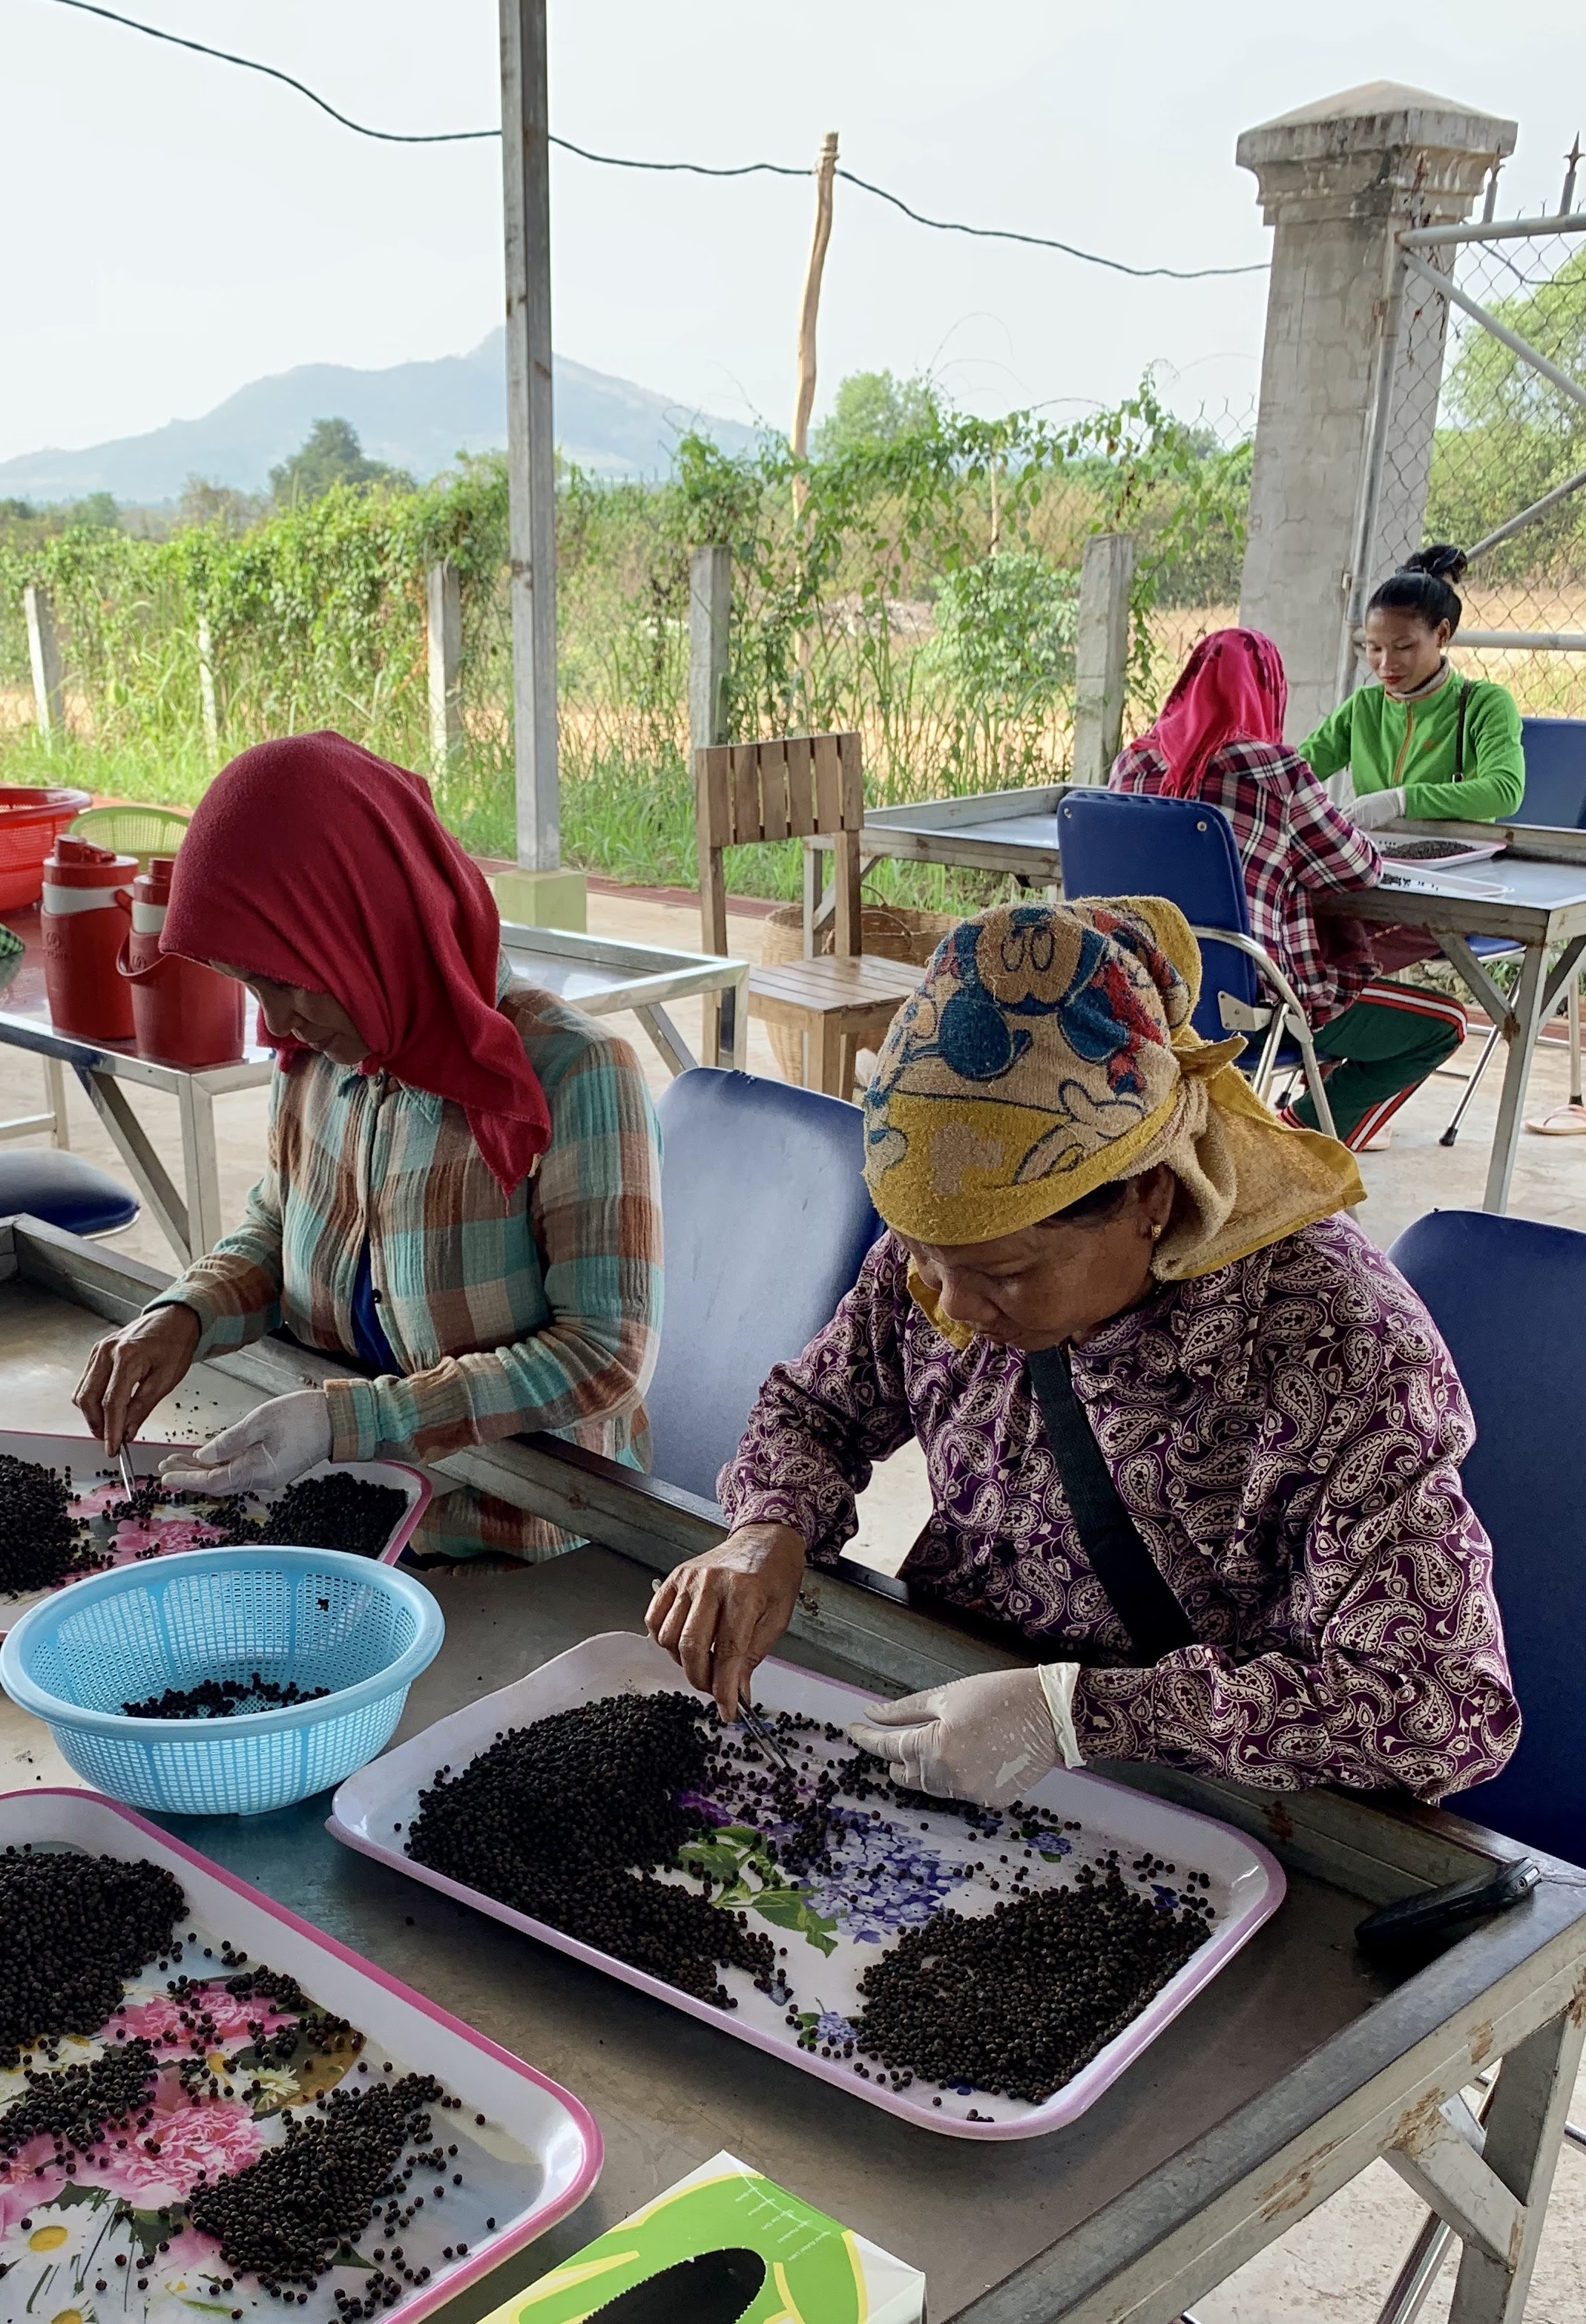
To serve lightly dress your salad with the dressing, pile the squid on and serve with a side of rice if you like, just the way it is served in Cambodia & Vietnam ….. oh take me back! We bought our pepper from the Kampot Pepper Plantation in Cambodia. Touted as the best pepper in the world we had no choice. It really does make a difference when the pepper is that fresh.
Give that salt and pepper a good bash up, but stop before it is all pulverized, a little texture is perfect.I wish you could smell this! (even though fish sauce tastes a lot better than it smells)Ready to be dressed at the last moment – this is so light, partially due to the lack of oil.At the Kampot Pepper Plantation …. yes, those ladies are hand selecting black peppercorns with tweezers!
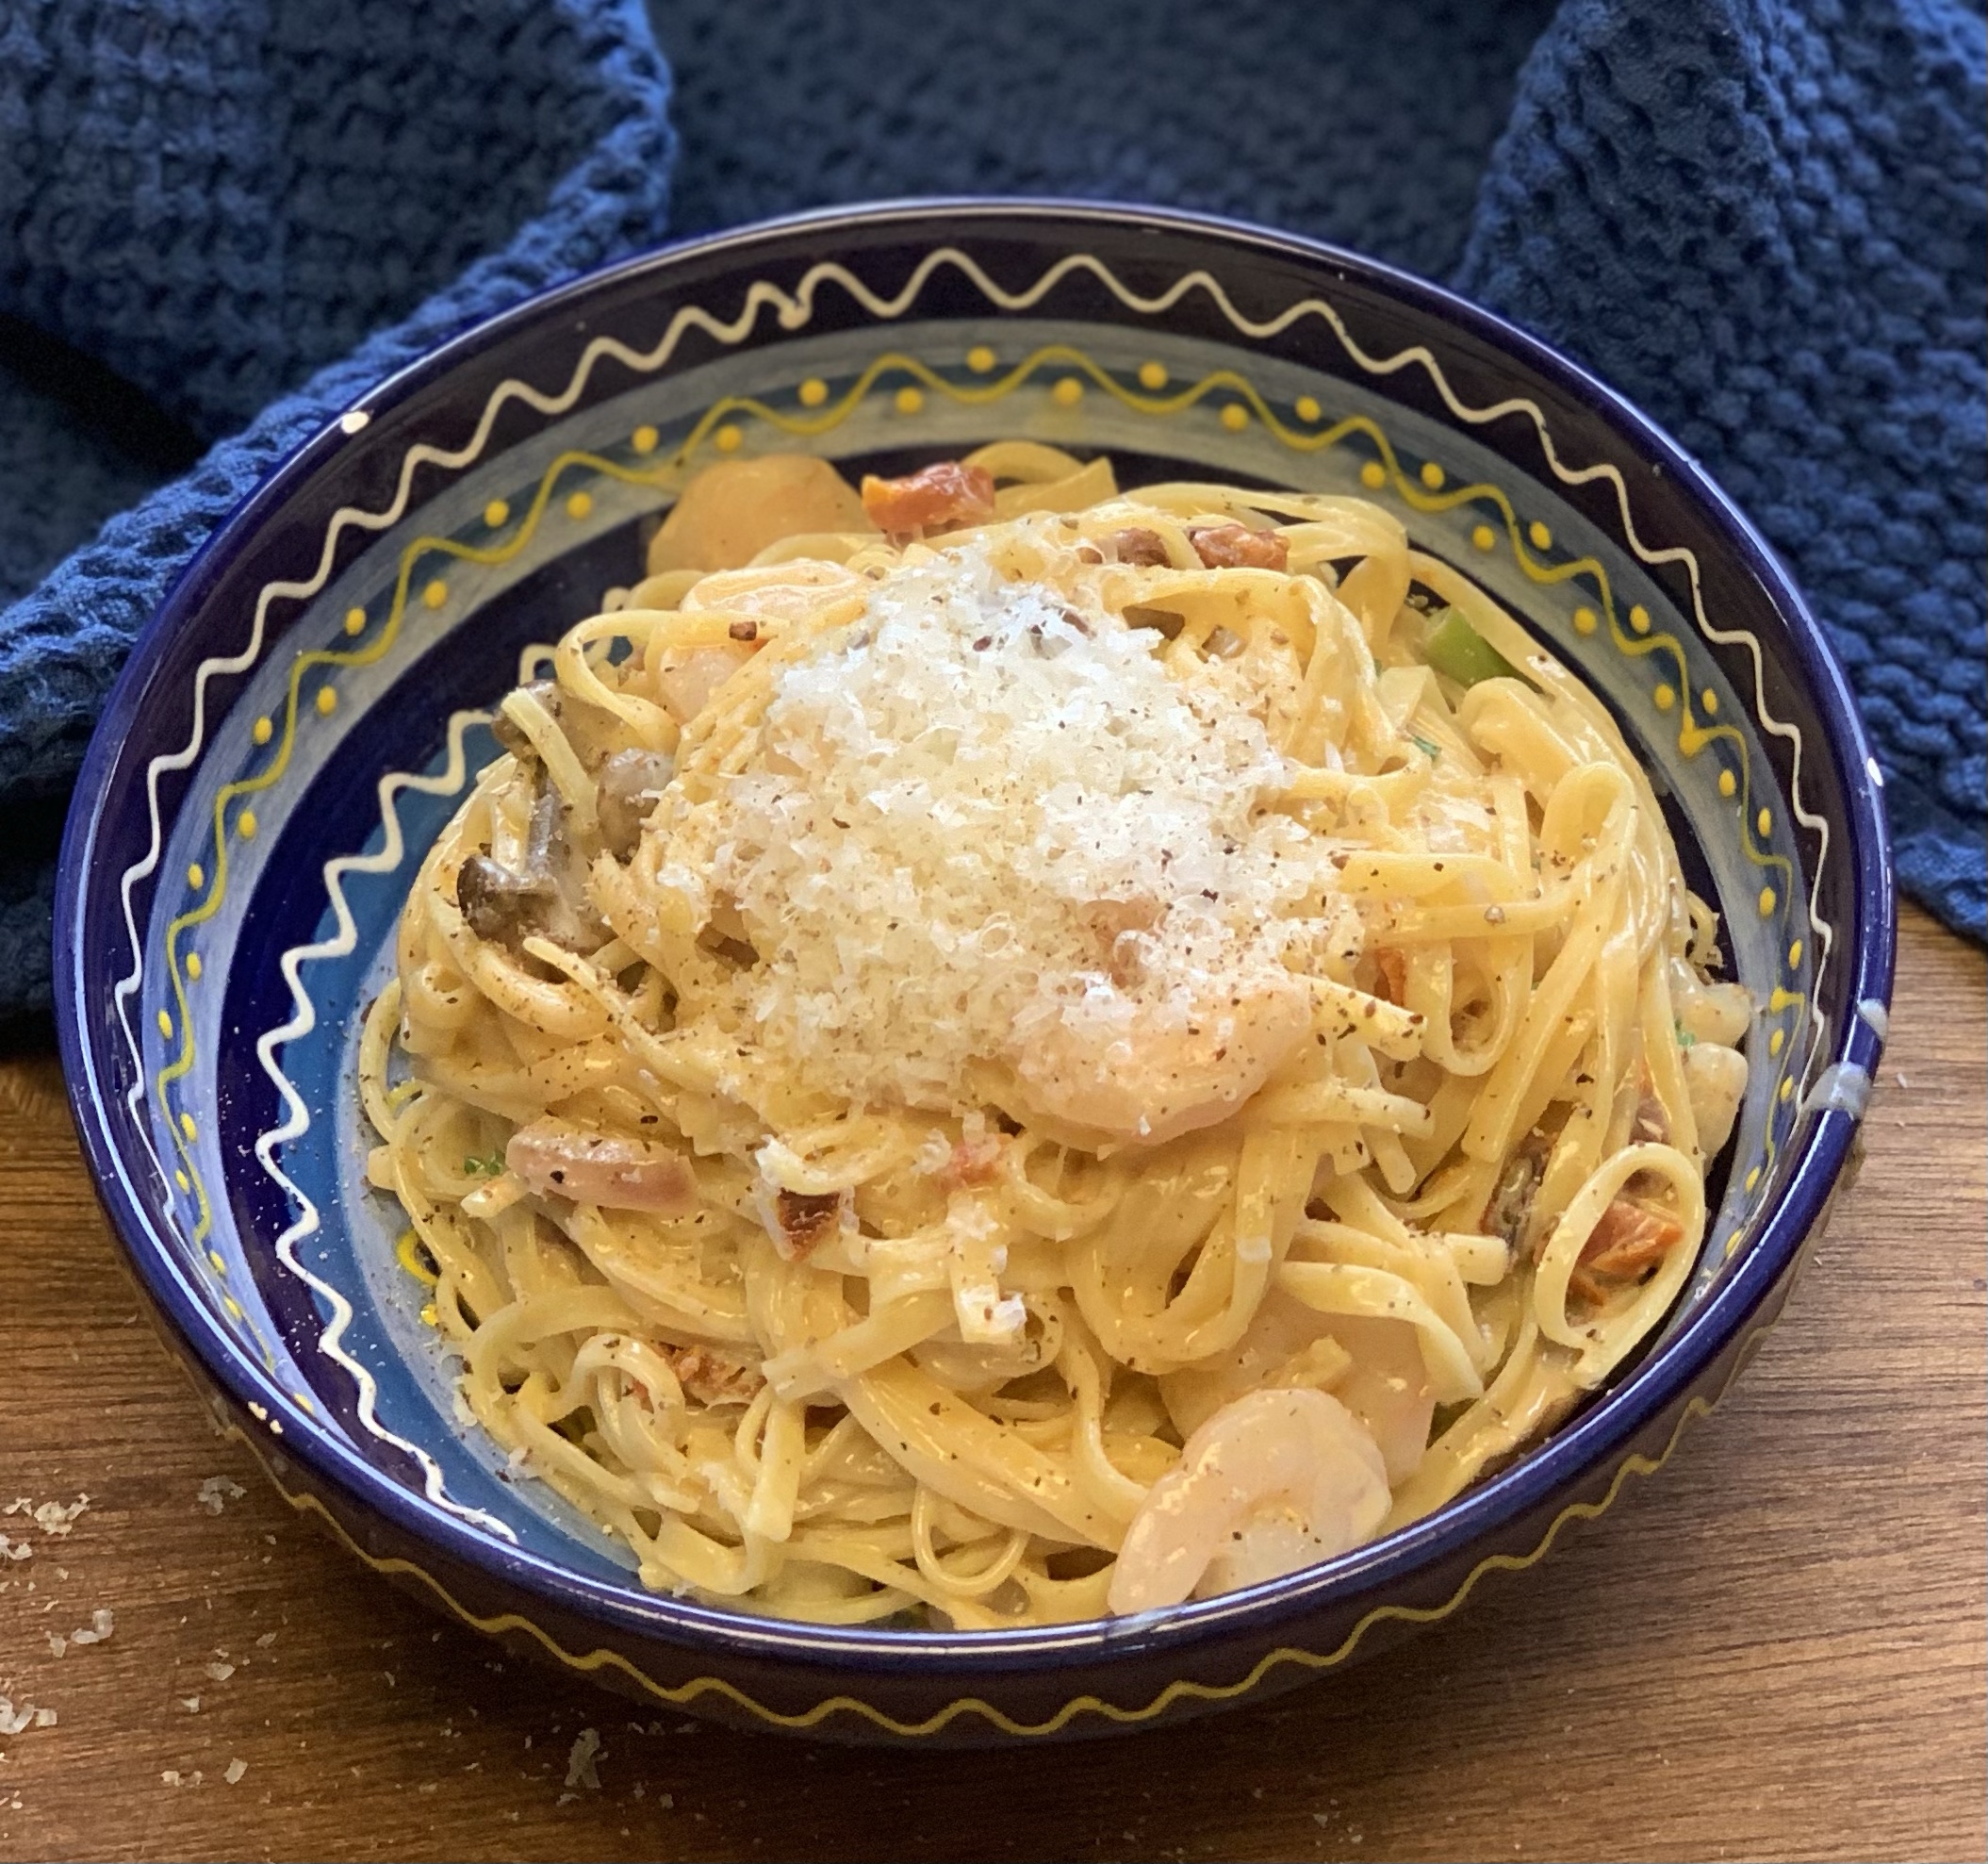
I don’t know about you, but an advertised 20 minute recipe NEVER takes me 20 minutes. This one was close tho ….. and very easy. Not only easy, but delicious and I’m more than happy to spend a few more minutes to achieve delicious.
8 ounces dried tagliatelle pasta (or really, any pasta you like!)
2 tbsp butter (separated, see below)
olive oil
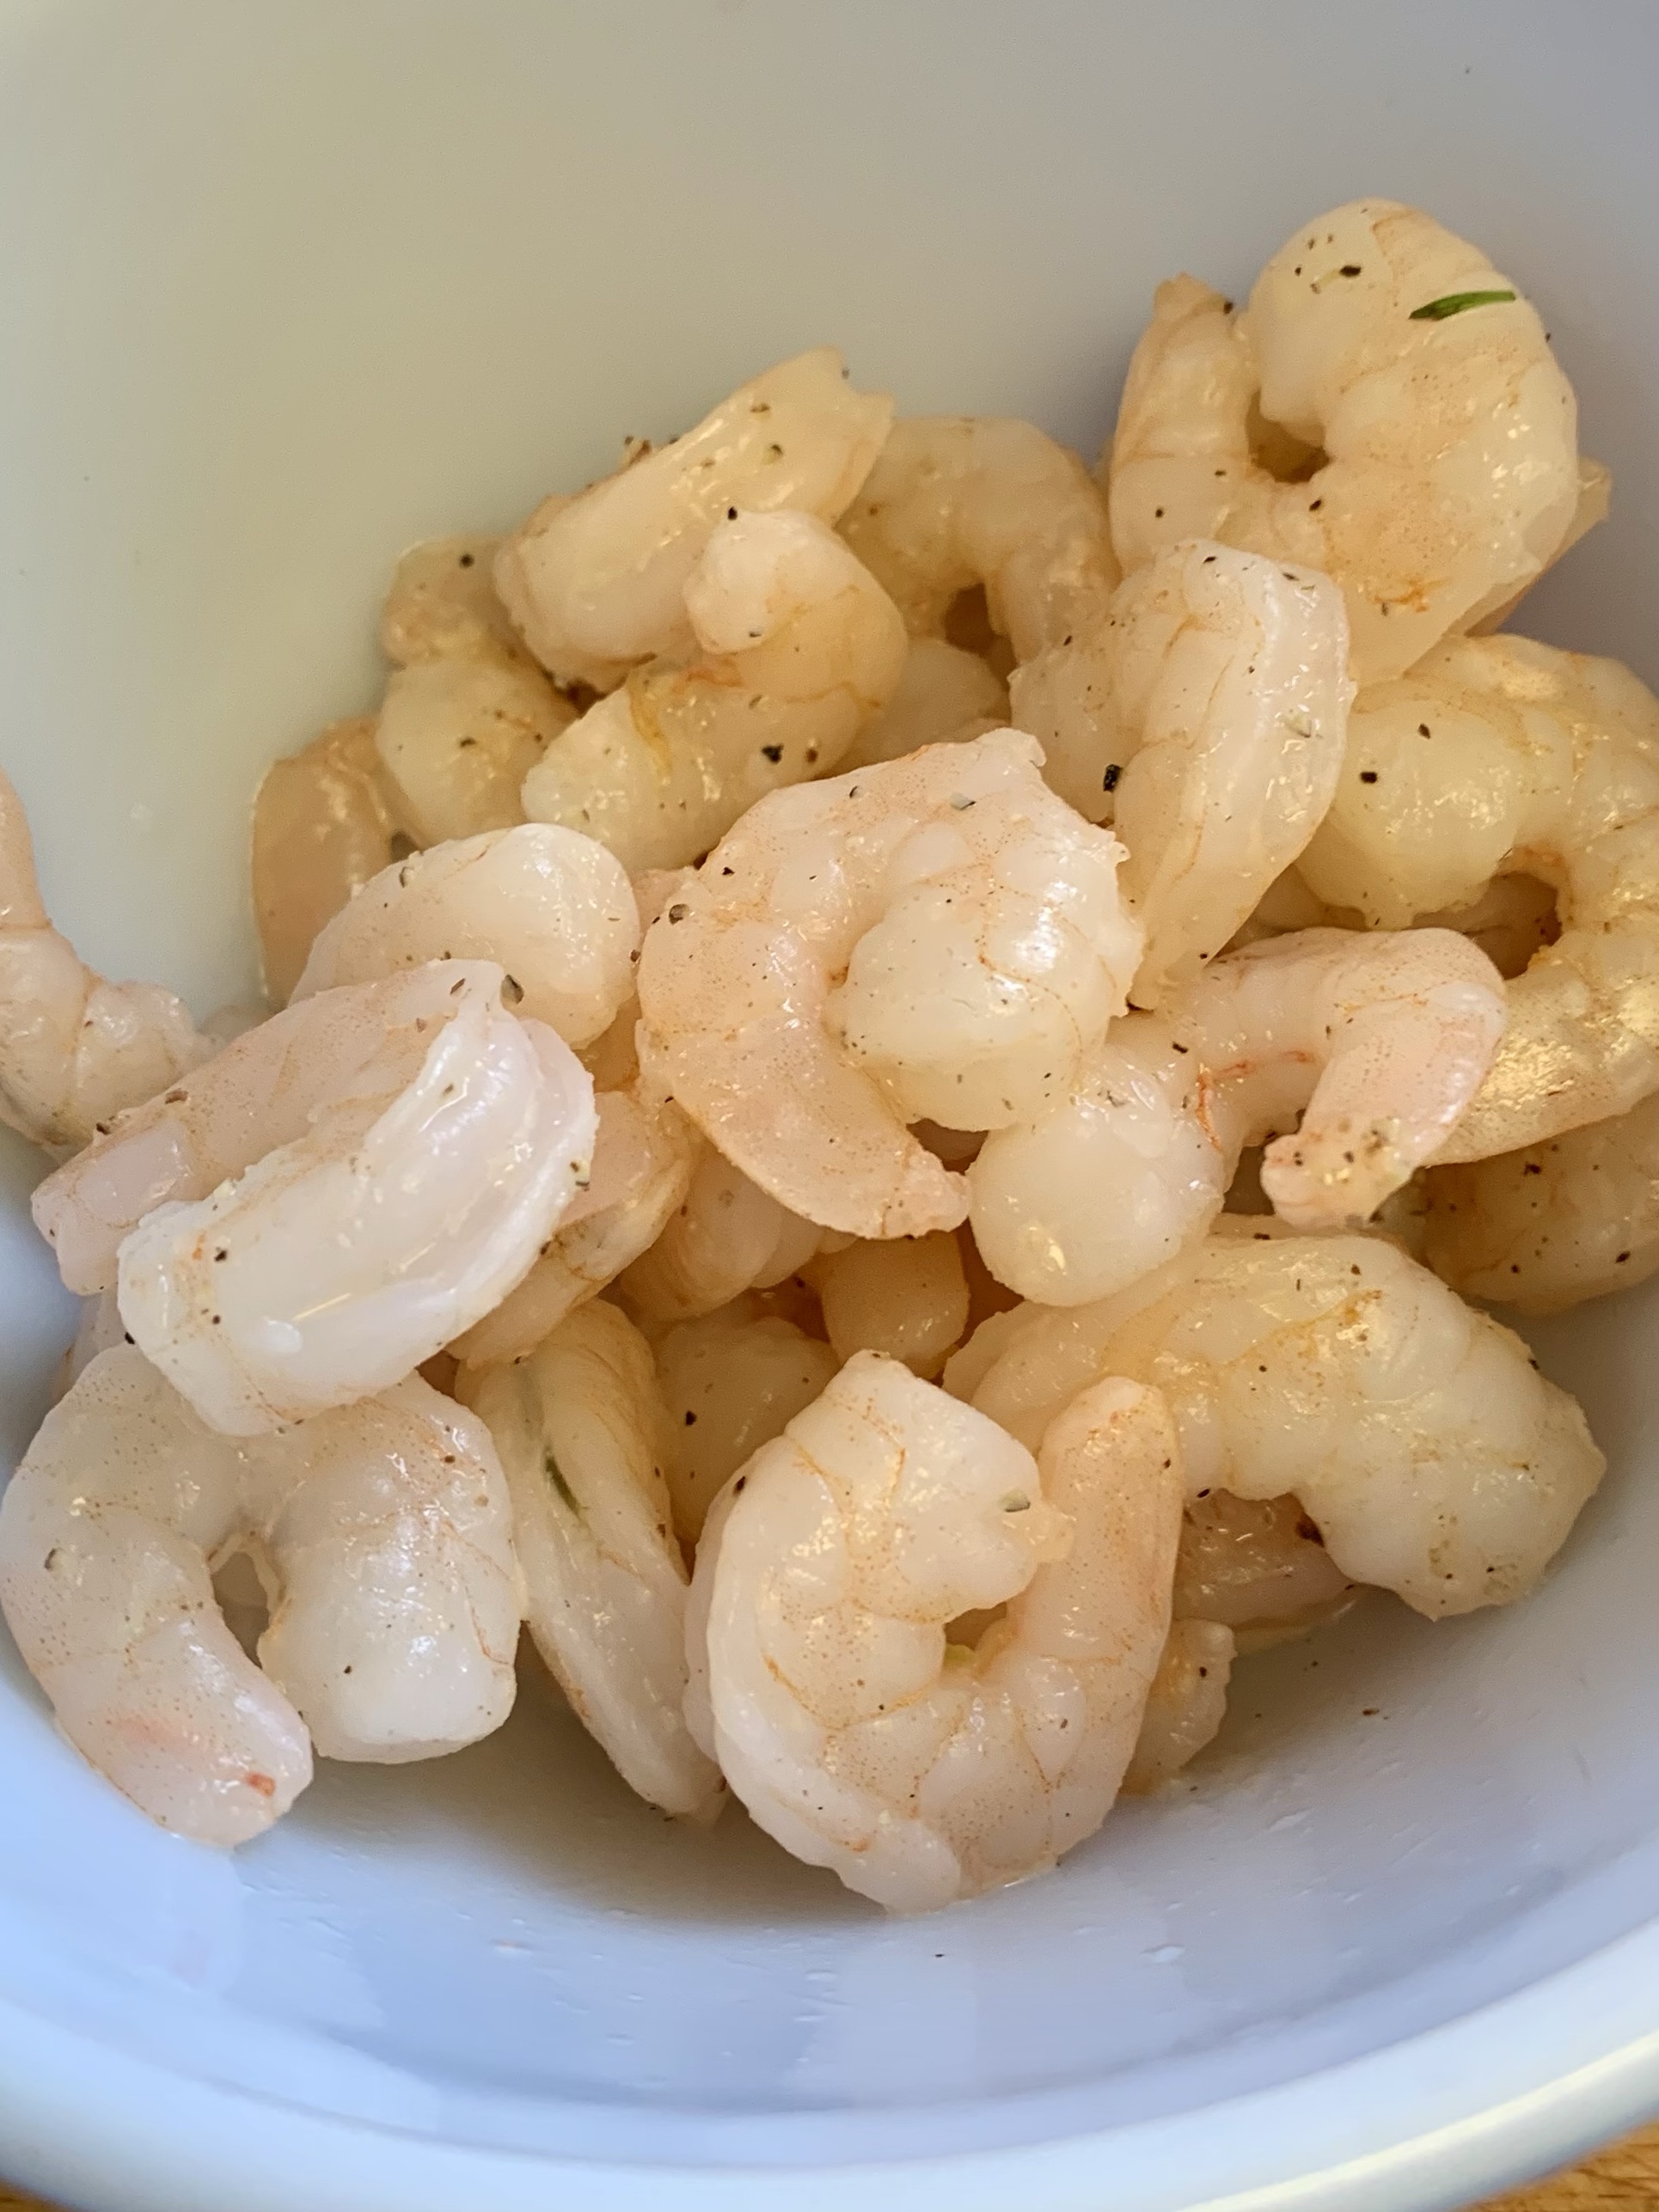
10 ounces small, peeled and cleaned shrimp
3 garlic cloves (yes, really)
1/4 cup dry white wine (I like sauvignon blanc but any dry white will work – stay away from sweet tho)
1/2 cup chicken broth
3/4 cup heavy cream
1/2 cup thinly sliced onion
1 cup sliced crimini mushrooms
1 cup asparagus (cut into 1″ pieces)
1/2 cup minced sun dried tomatoes
1/2 tsp chili flakes (or to taste)
3/4 cup freshly grated parmesan (do NOT use purchased grated!)
2 tbsp fresh parsley, minced
black pepper
more parmesan for serving
Get a large pot of water on the stove and bring it to a boil. Salt and add pasta. Cook to one minute short of the cooking instructions …. (in order to finish in the cream sauce).
Before draining, scoop out about 1/2 cup of pasta water.
Get a nice flat bottom skillet (non-stick works great here) and melt 1 tbsp butter. Drain your shrimp and pat dry (you don’t want them to steam) ….. toss the shrimp into the melted butter and sauté quickly – until ALMOST cooked. Depending on your shrimp size this might only take a minute or two. There is nothing worse than rubbery, overcooked shrimp. Well, okay, lots of things are worse including this COVID nightmare we are living through…. Remove from heat and lightly season with salt and pepper.
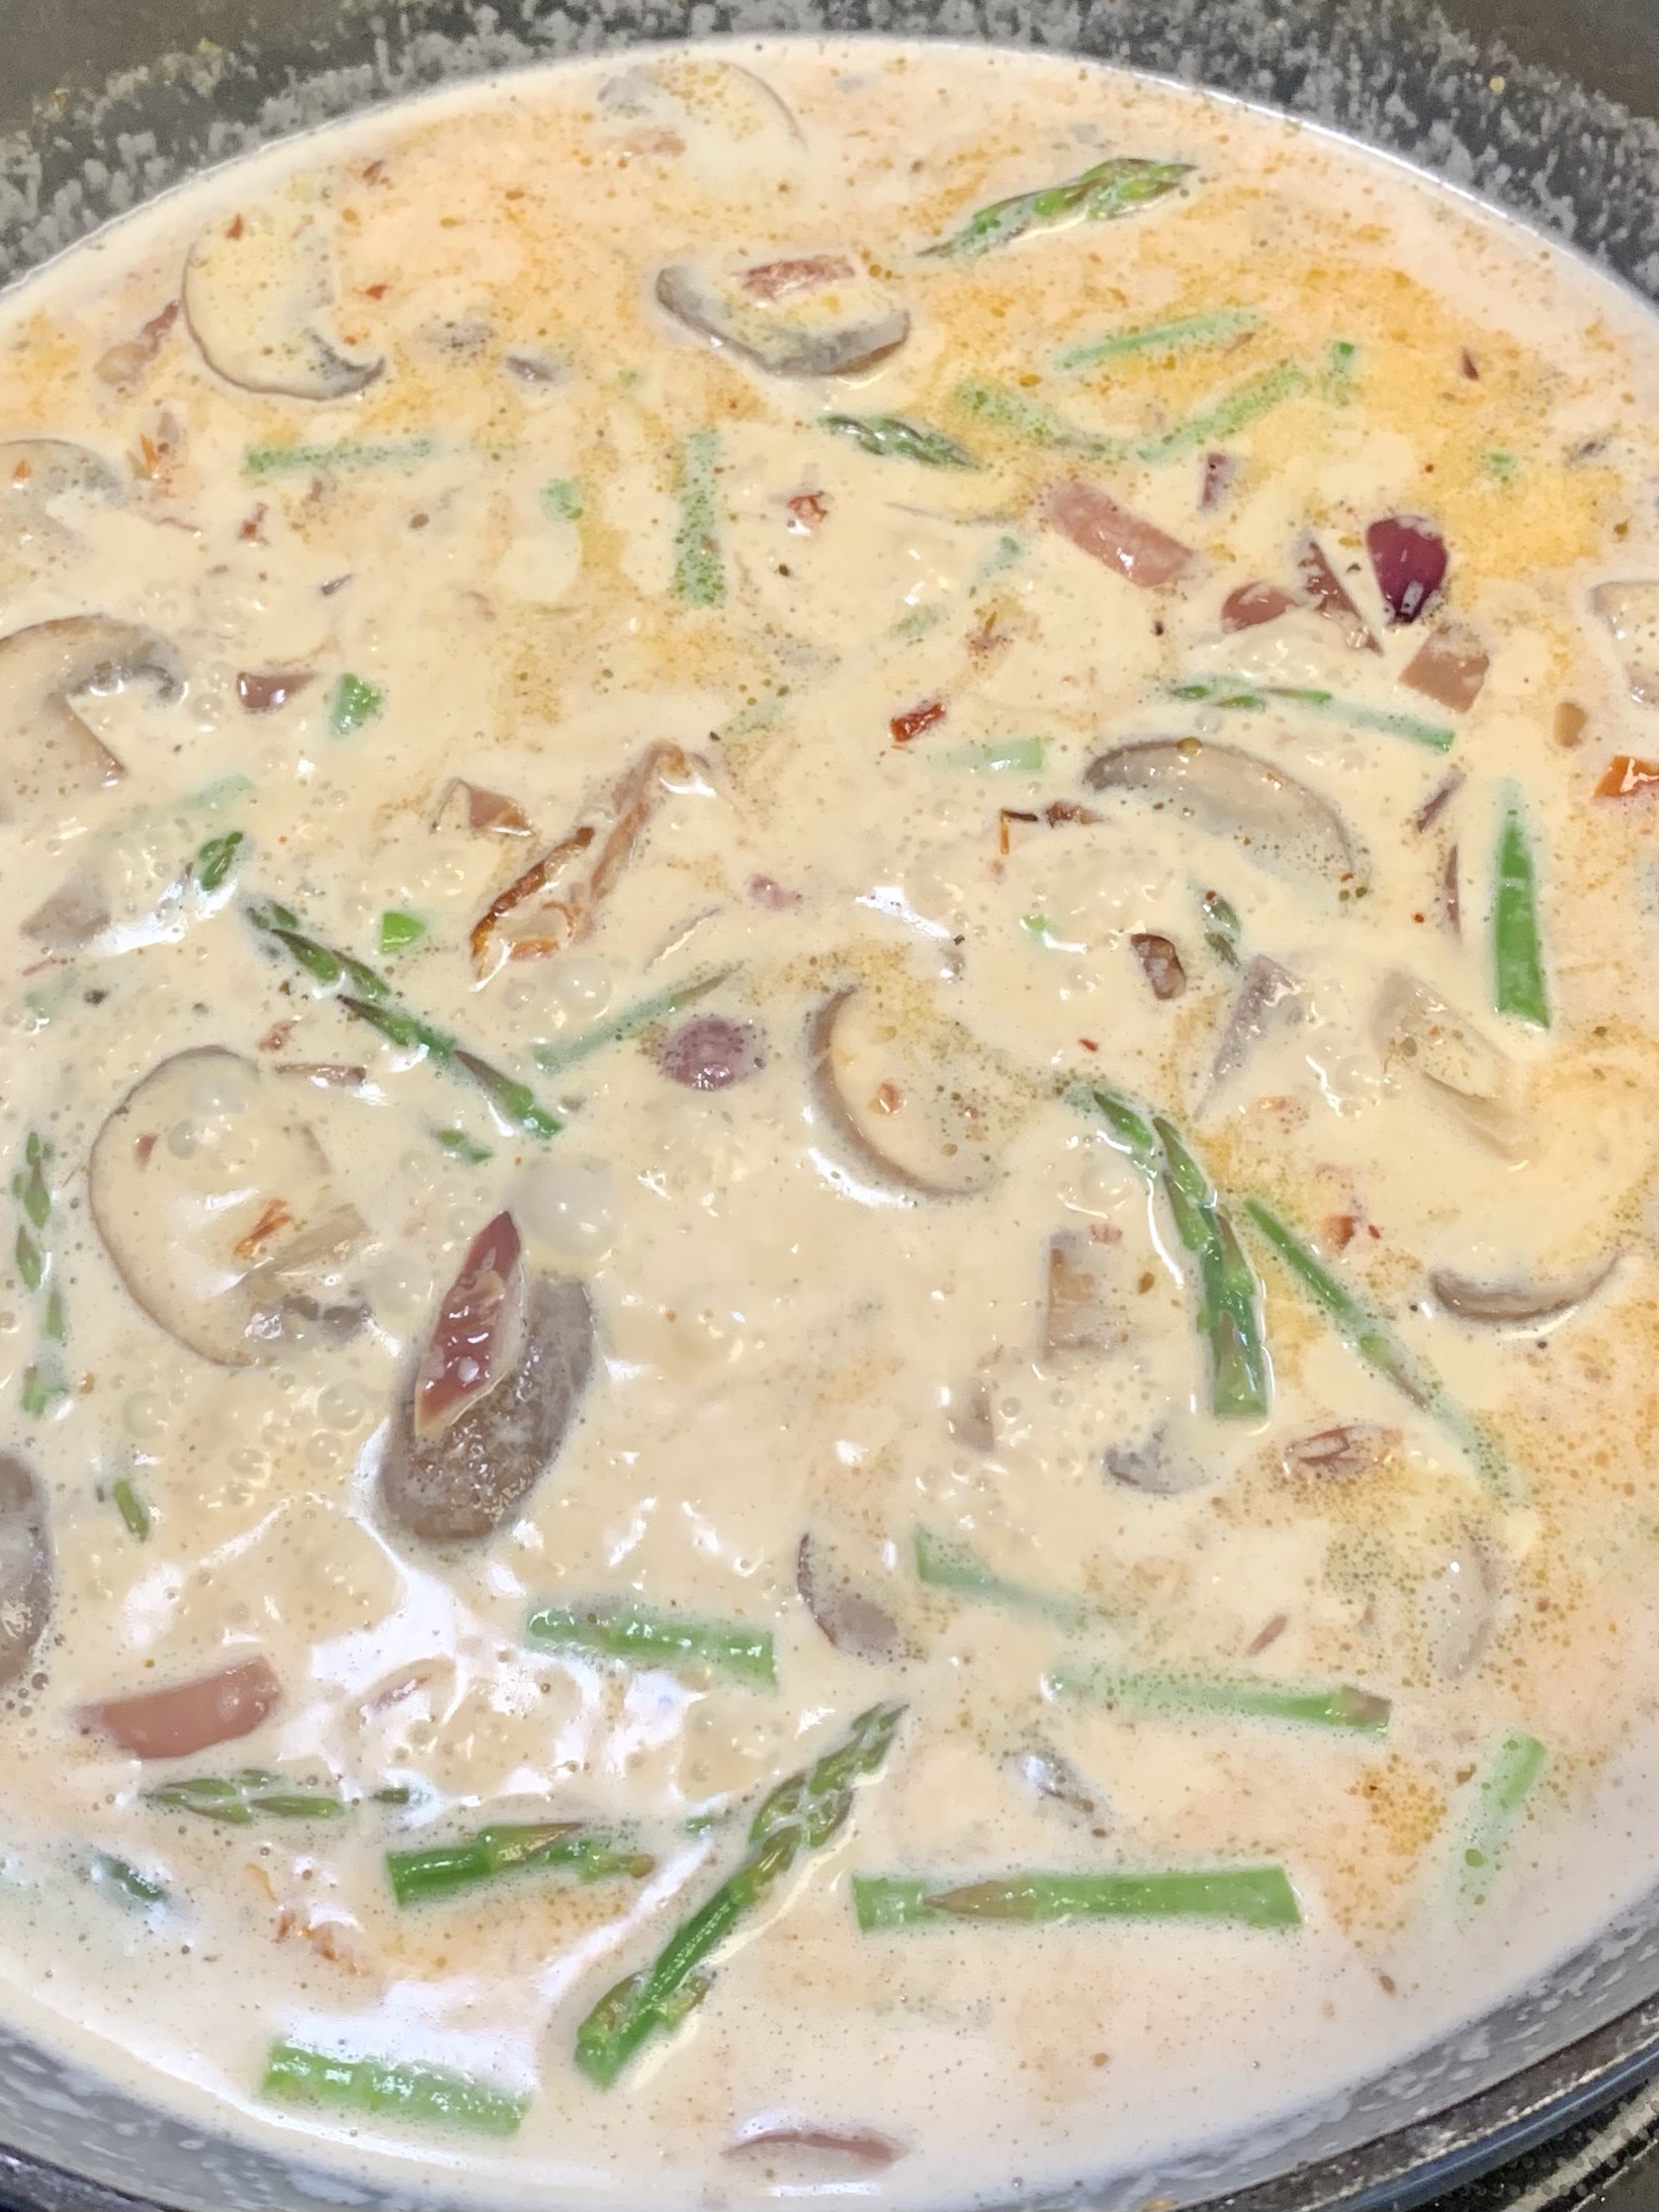
In the same skillet heat the other tbsp butter and add a splash of olive oil – once melted add the onions, sauté until soft, add mushrooms and cook until just lightly browned, then add the garlic, asparagus and sun dried tomatoes. Add chili flakes.
Stir in the white wine and allow to reduce slightly, then add the chicken broth, cream and parmesan. Season to taste …. I didn’t need to add any more salt but that finishing black pepper is great.
Add your mostly cooked pasta to the skillet and toss to cover. The sauce will continue to thicken and this is the time to add some of your reserved pasta water a bit at a time, only as needed. Stir in the shrimp to heat through, toss with parsley and serve with a grating of fresh parmesan and black pepper.
Dig in!
These plump & juicy little guys are barely cooked and will finish in the cream sauceEasy to make this a vegetarian meal – just stir in as many veg as you like and omit the shrimp.
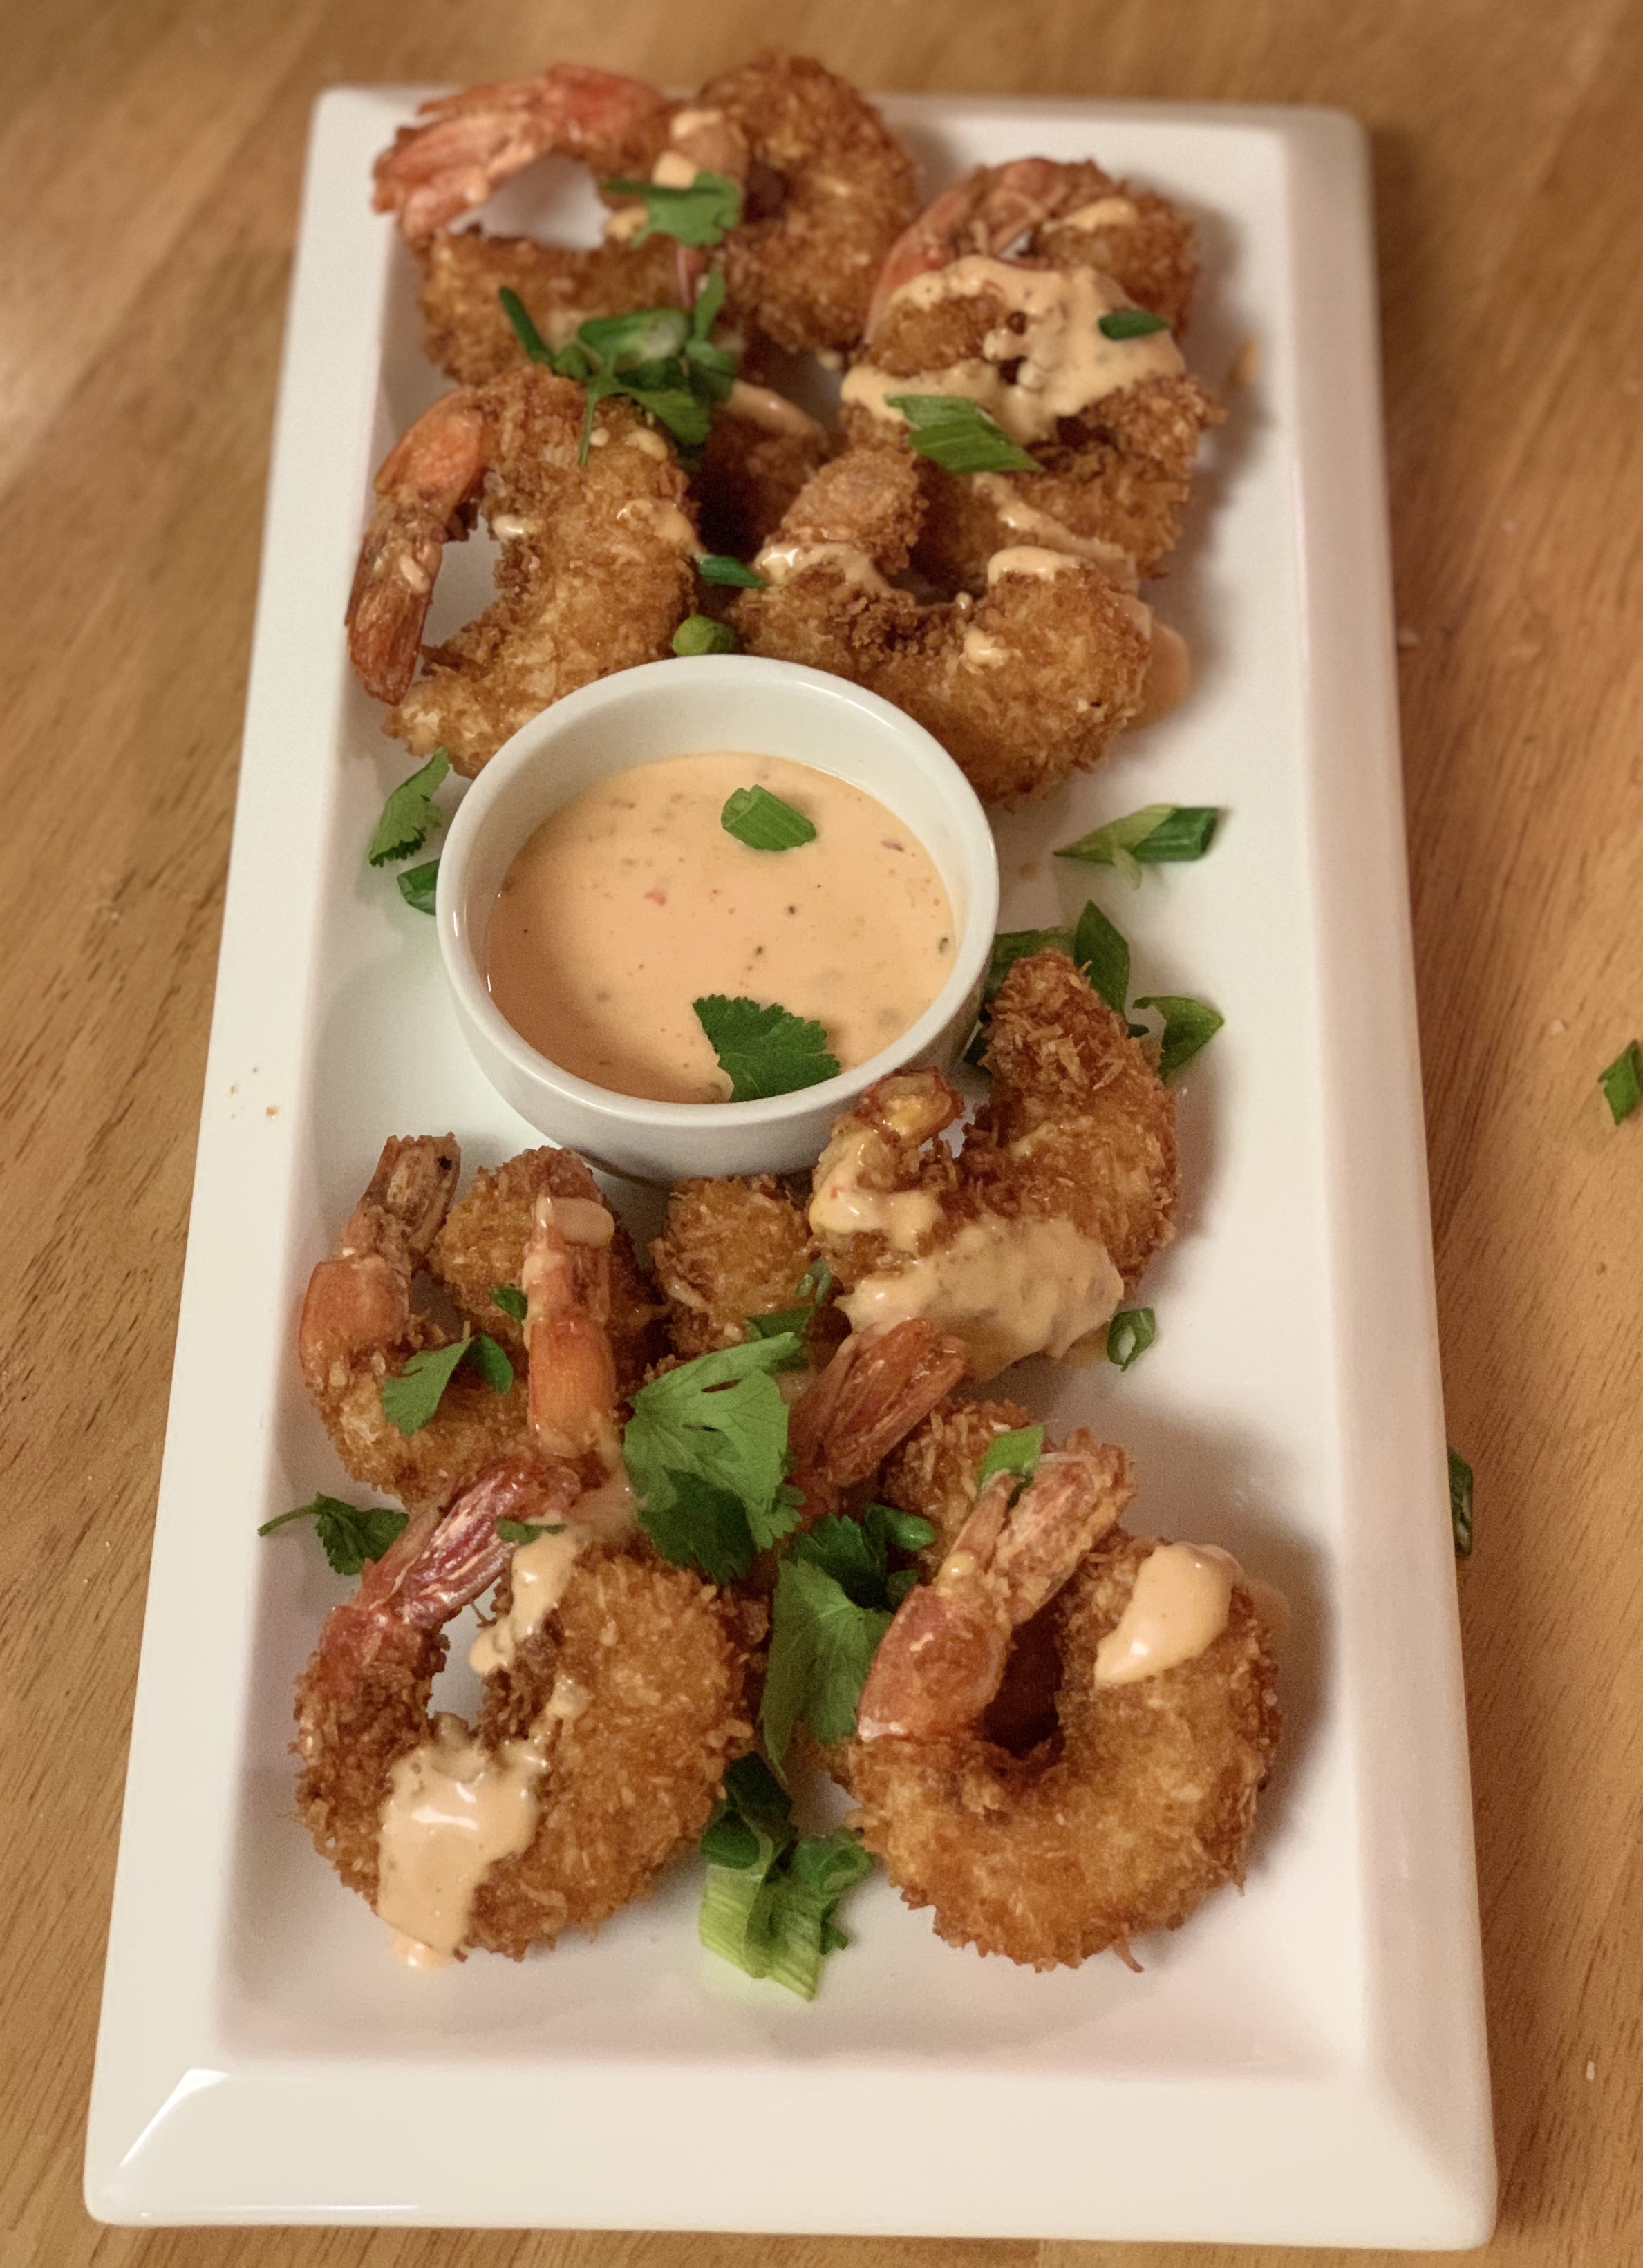
Couldn’t wait to dive into these. Every time I make them it surprises me how easy and how incredibly delicious they are.
Just like you get in the tropics….. minus the palm trees and ocean breeze. That dang Covid thing is still keeping us at home, during a time of the year when we’d so much rather be in the land of palm trees & sunshine, ocean bobbing and munching coconut shrimp. Never mind the beach, I’d happily settle for just being able to cuddle my granddaughters!!! Enough whining, here is the perfect recipe to make you feel like you’ve escaped to the beach.
2 cups vegetable oil
1 cup Panko bread crumbs
1 cup unsweetened shredded coconut
1 pound medium shrimp, peeled & deveined
1/2 cup all purpose flour
2 large eggs, beaten well (can just use egg white if you like)
salt and pepper to taste
Heat the oil in a large skillet or dutch oven over medium high heat (350-360 degrees)
Set up 3 dredging bowls:
flour
egg
panko/coconut mixture
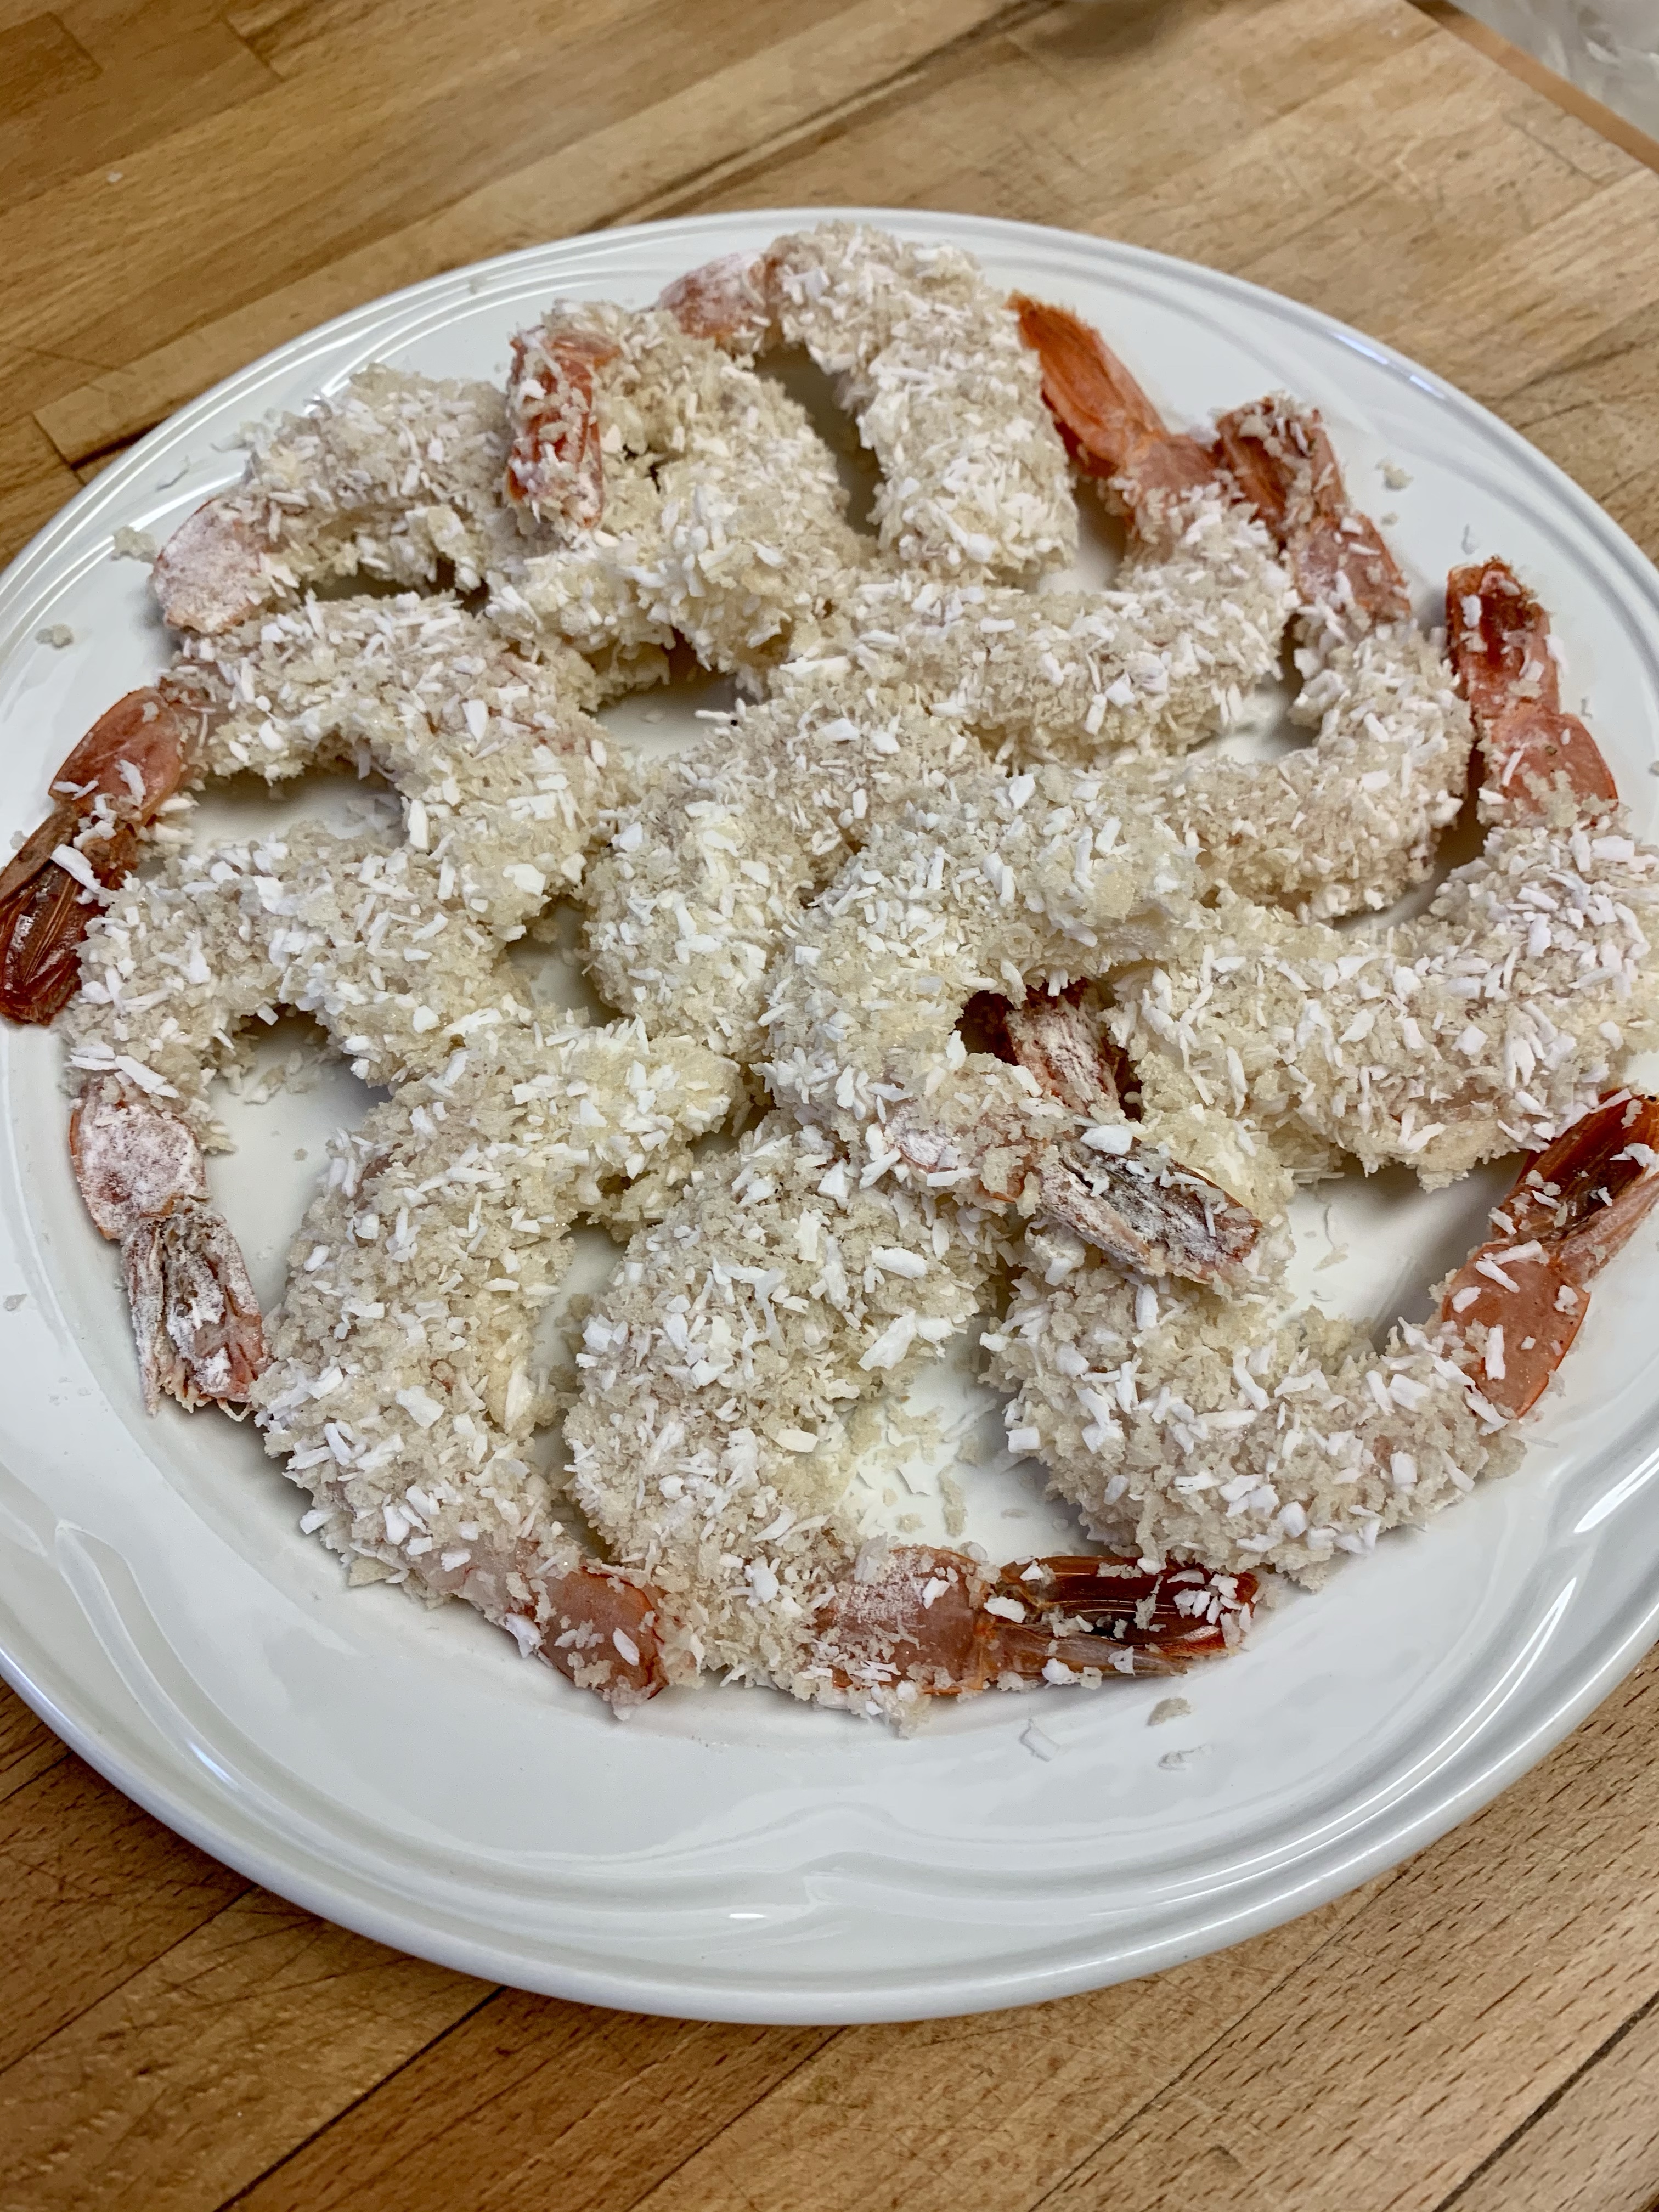
Season shrimp with salt and pepper, then working with one shrimp at a time, dredge through flour, then egg, then panko/coconut. Press into the panko mixture to make sure the shrimp are well coated. Set aside until you have them all coated.
Working in batches, add shrimp to hot oil and fry until golden brown, turning as necessary until they are crunchy and looking irresistible – around 3 minutes. Transfer to a paper towel lined plate.
Serve immediately with dipping sauce.
DIPPING SAUCE
1/2 cup mayonnaise
1/4 cup sweet chili sauce
1-2 tbsp sriracha (or to taste)
juice of 1 lime
salt and pepper to taste
Mix well to combine. If you think of it, mix this ahead of time and set in fridge to allow flavours to meld beautifully.
I can’t promise you will smell the ocean when you make these, but it might make you feel a little better about staying home!
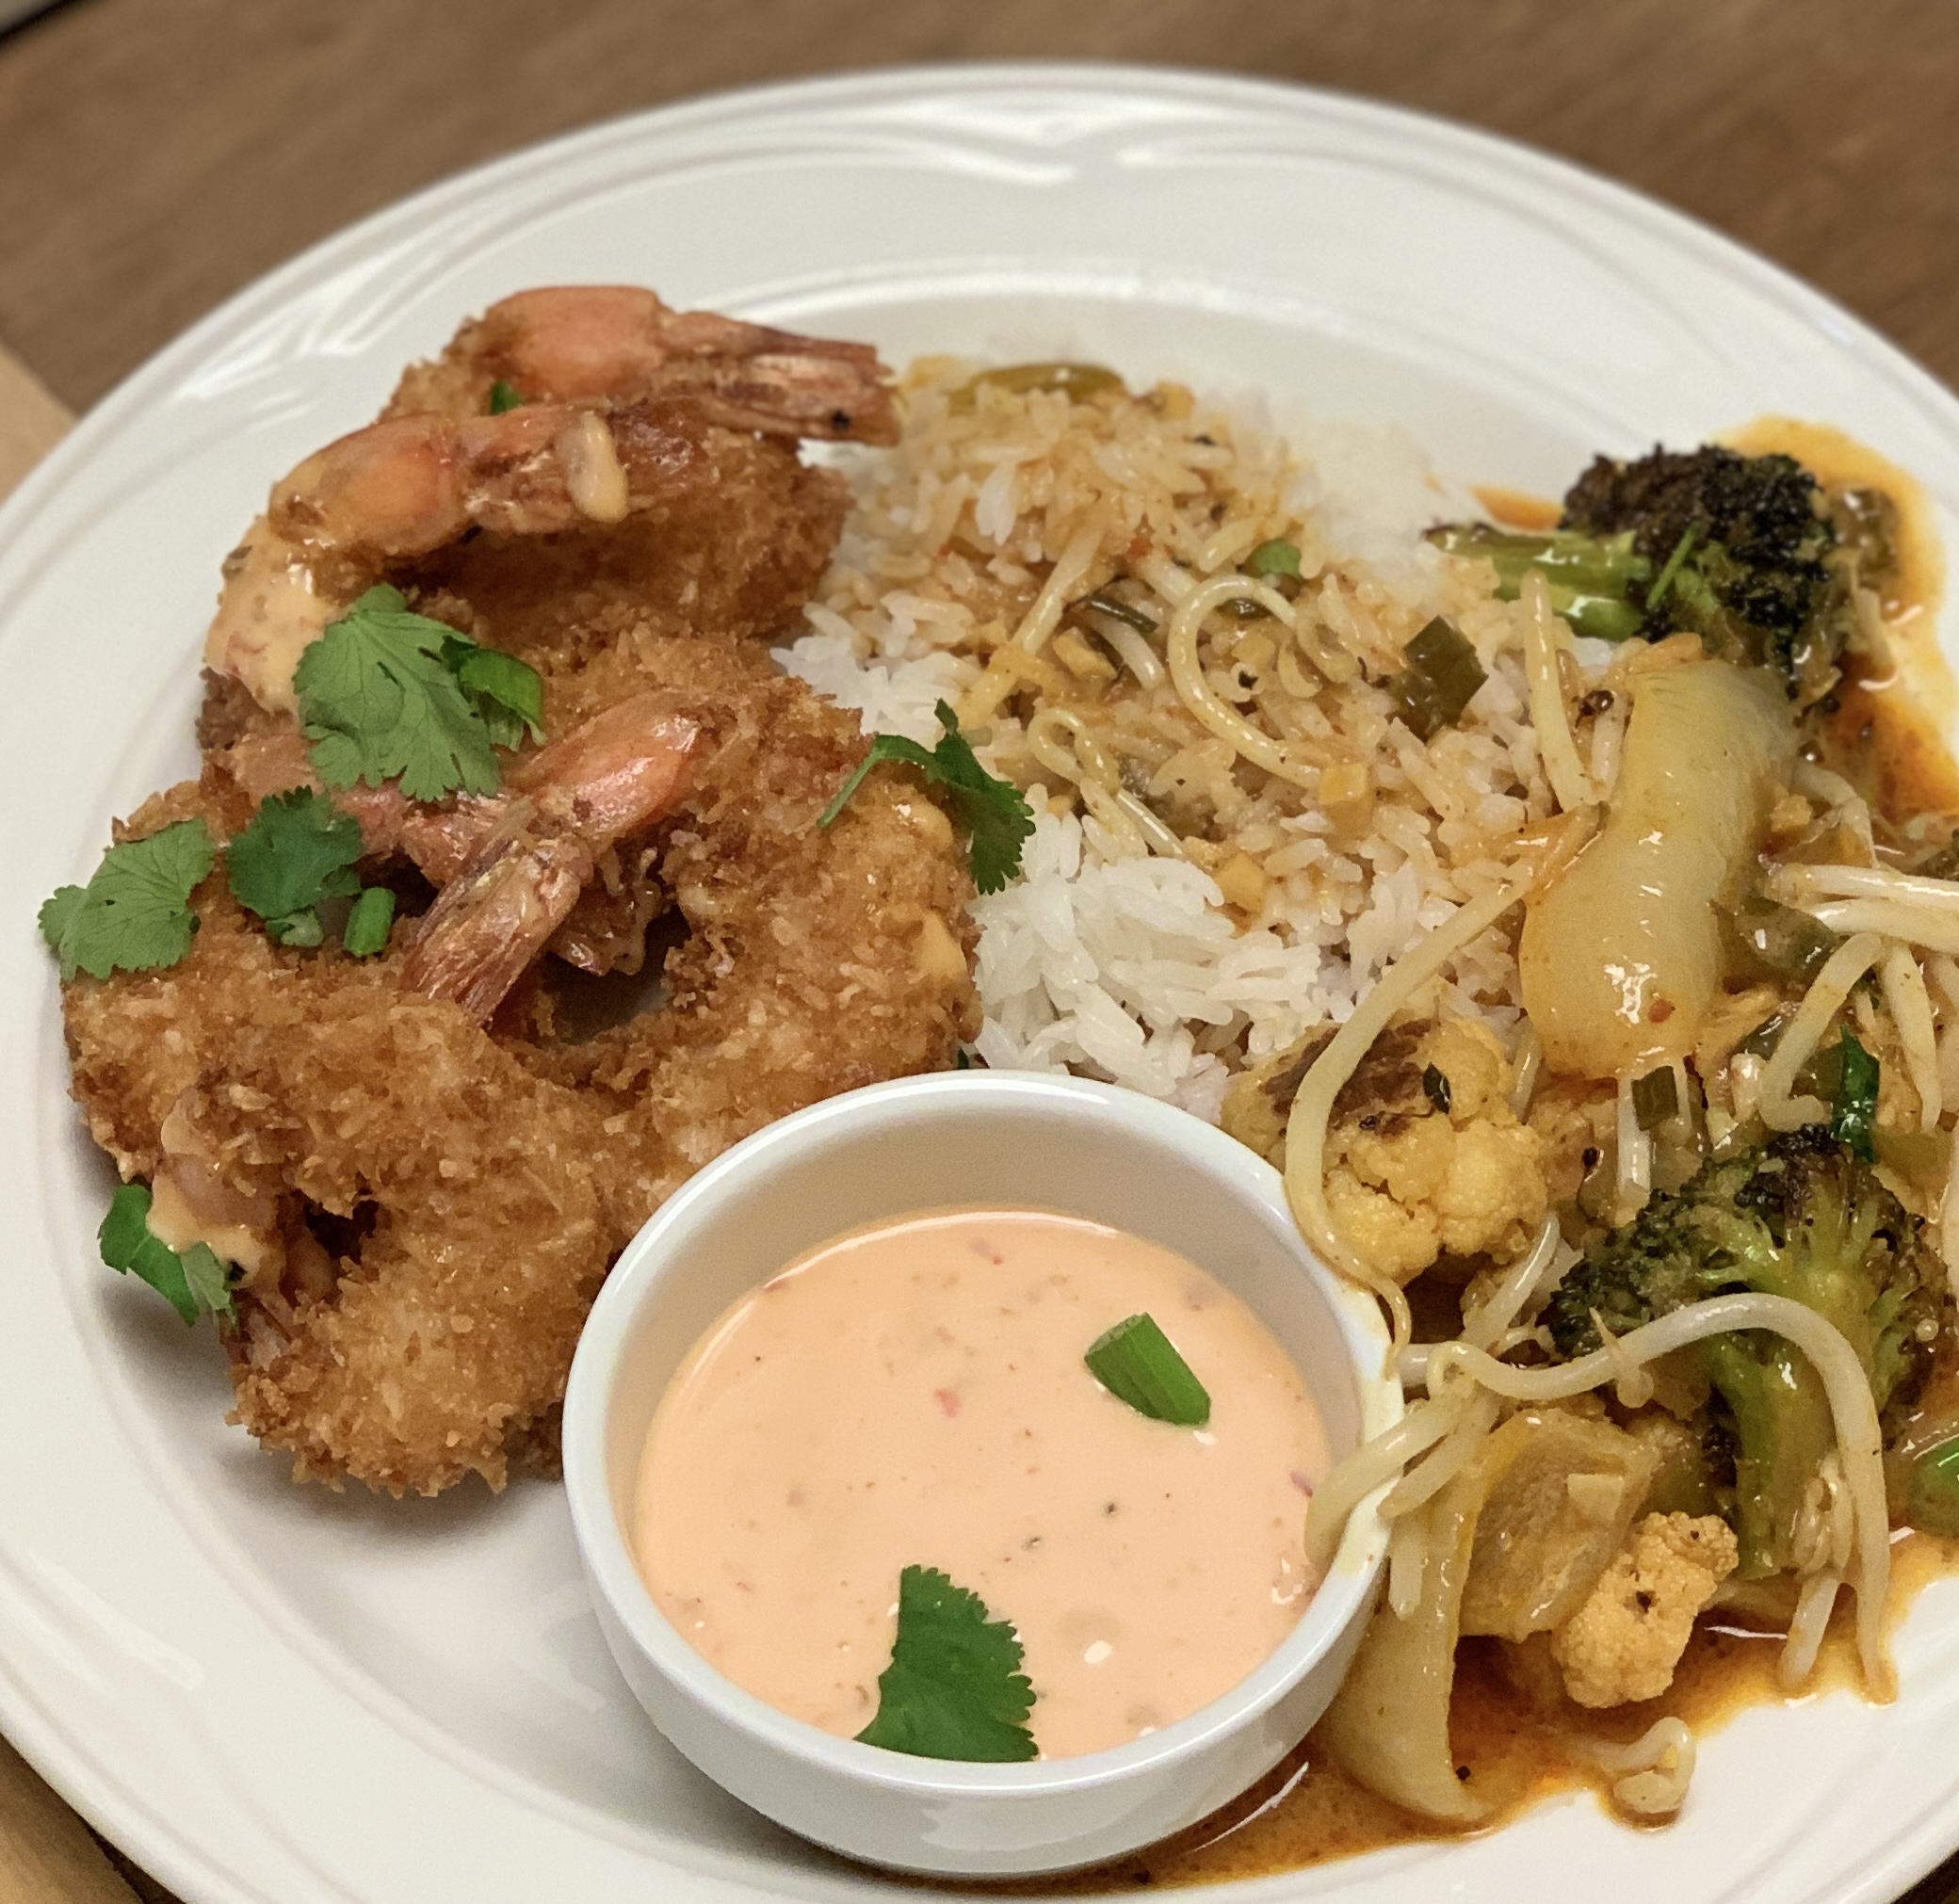
You can get these prepped ahead of time and just keep in the fridge until ready to fry.Served tonight with rice and curried vegetables. This would disappear in a hurry if served as an appetizer also.
I originally got this recipe off Damn Delicious website, and she’s right – they are damn delicious! The dipping sauce is my own concoction and it’s yummy!!
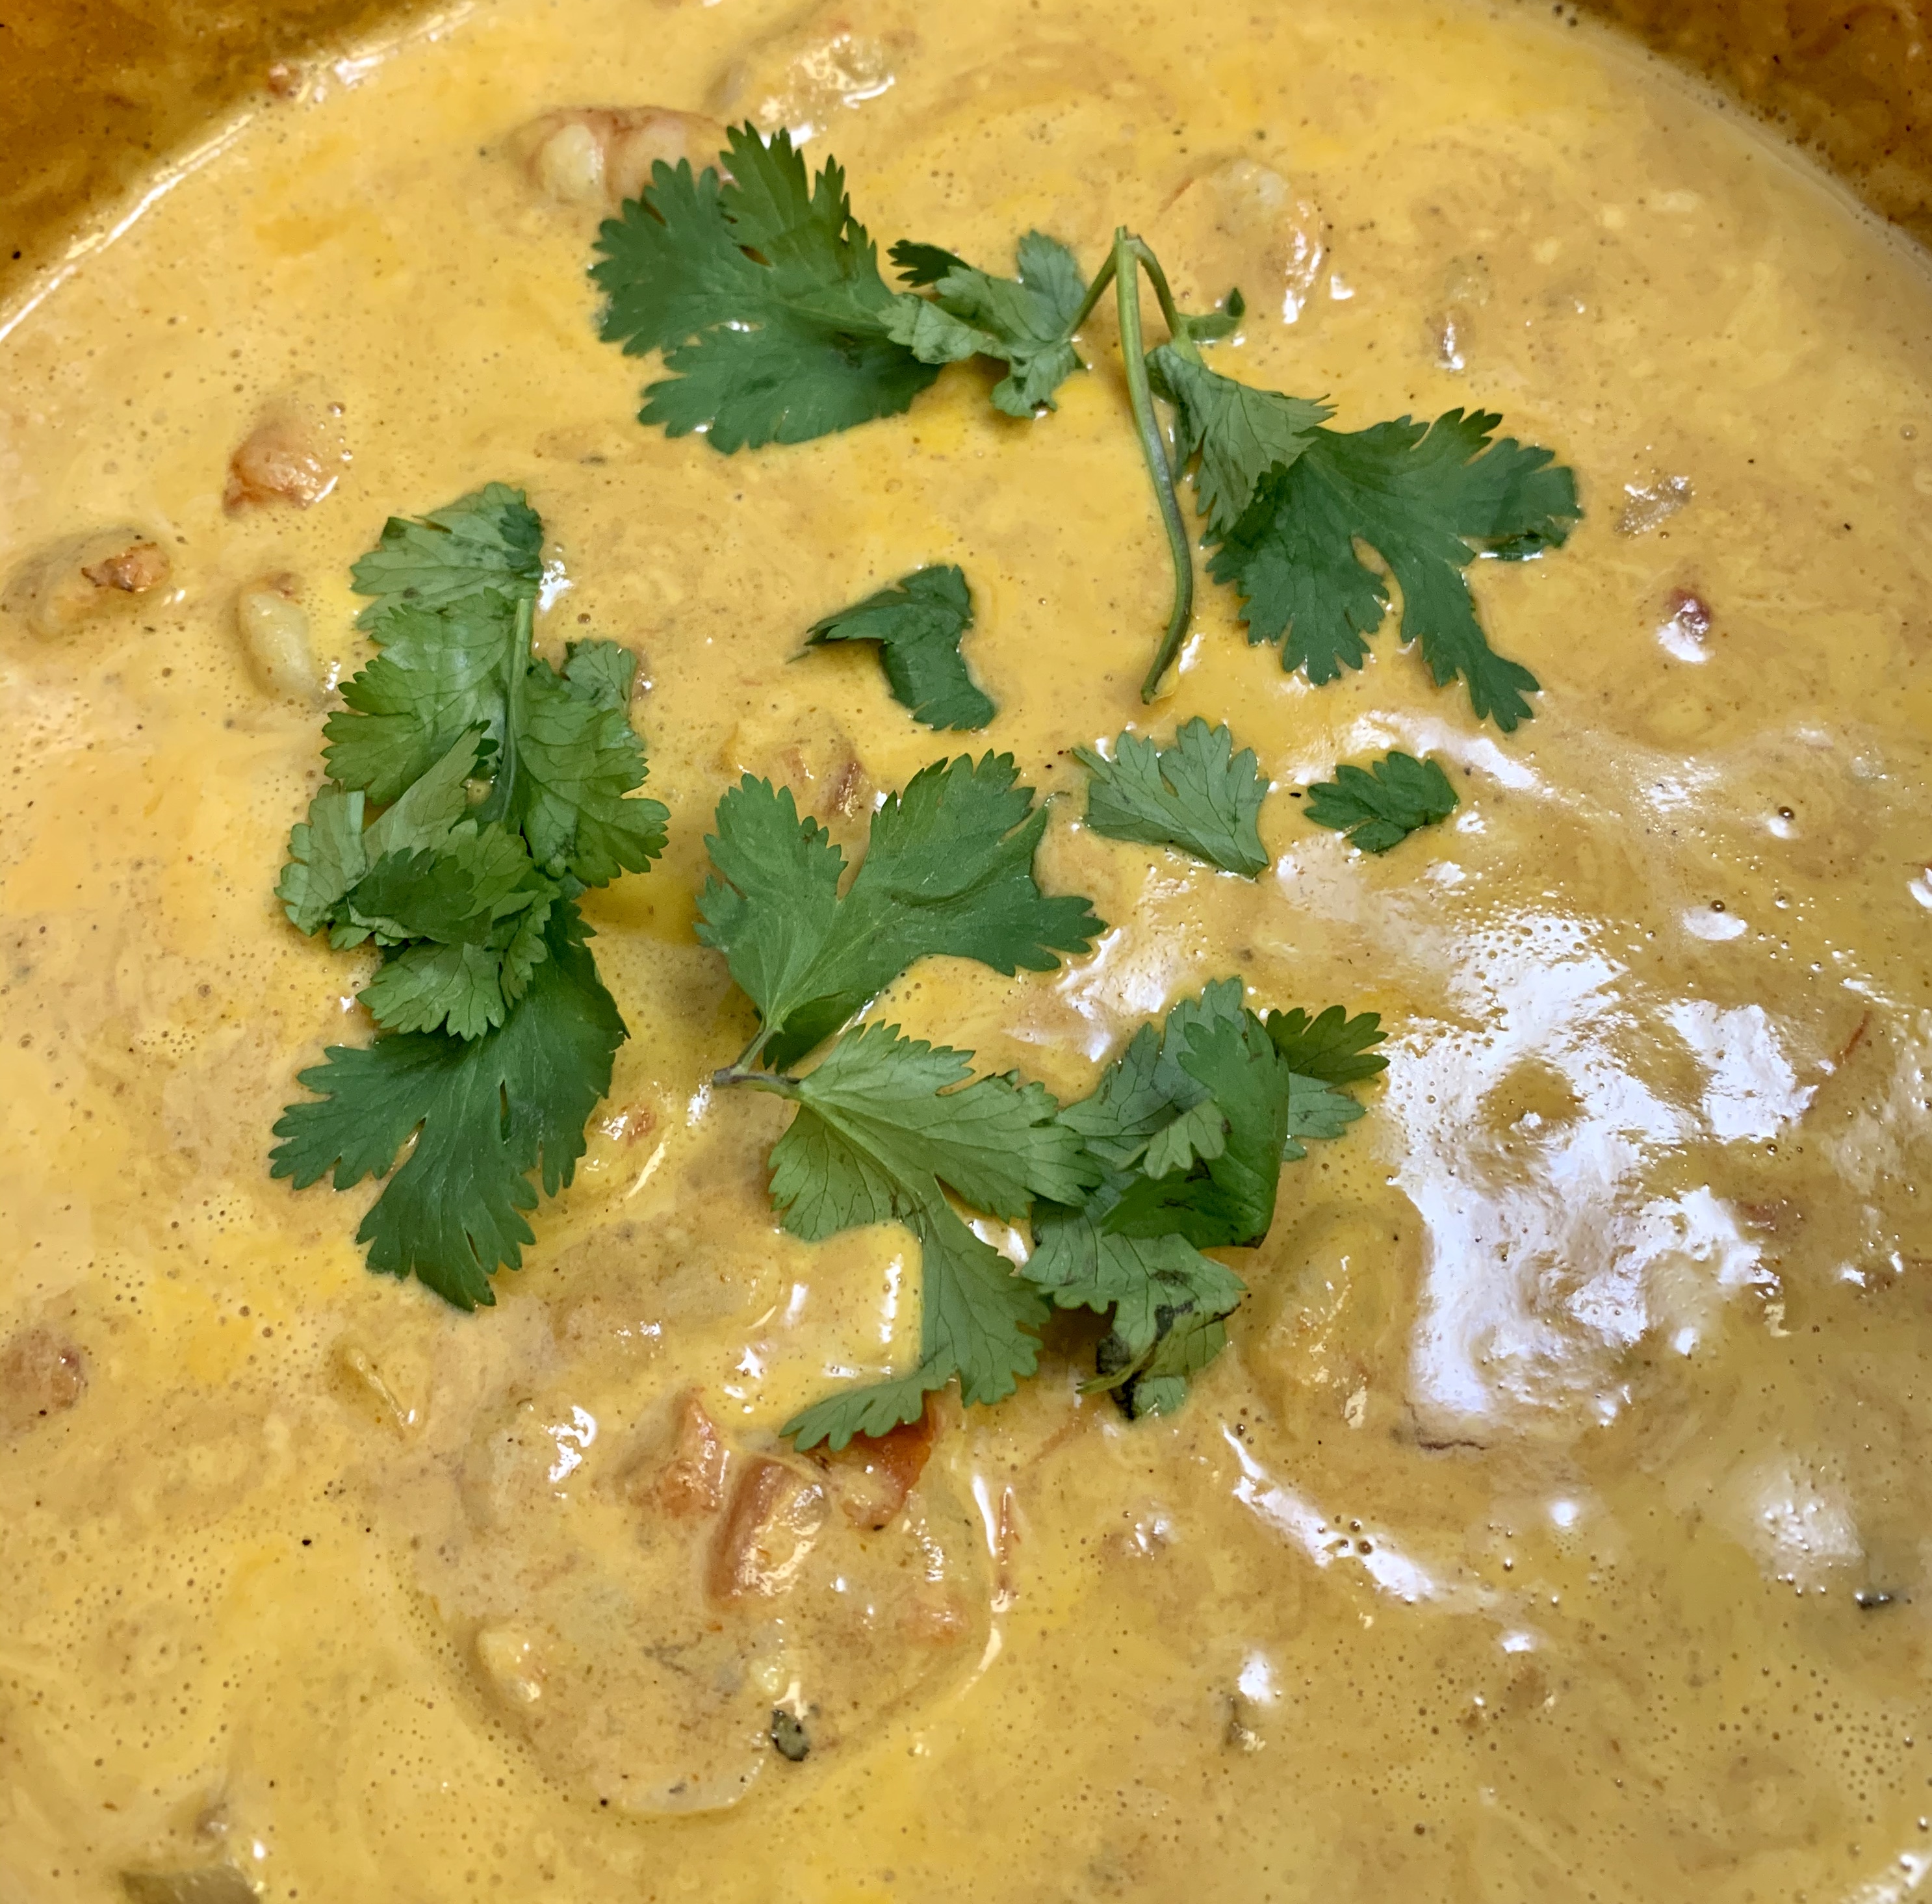
This sauce is incredibly good. How, I wondered, did so much flavour show up in 25 minutes?
I managed to get a few sprigs of cilantro on here for a photo, but it was ready so quickly, and smelled so heavenly there was no fancy plating for a photo!
I’ve made it with some jumbo prawns tonight but you could easily substitute any protein you like, or go straight vegetarian and you will be so glad you tried it.
SHRIMP & MARINADE
1 lb extra large shrimp, peeled & deveined
1/4 tsp salt
1/4 tsp freshly ground black pepper
2 tbsp lemon juice (freshly squeezed please)
CURRY SAUCE
1 tbsp coconut oil
1 medium onion, finely chopped
3 cloves garlic, minced
1 tbsp fresh minced ginger
1/2 tsp freshly ground black pepper
1/2 tsp salt
1/2 tsp turmeric powder
2 tsp ground coriander
1 tsp Madras curry powder
1 can (14.5 ounce) diced fire roasted tomatoes
1 can (13.5 ounce) coconut milk
cilantro for garnish
rice for serving
INSTRUCTIONS
In a small bowl toss the shrimp with the marinade ingredients. Cover with plastic wrap and refrigerate for 10 minutes.
While the shrimp is marinating, heat the oil in a medium size skillet. To it add the onion, and cook for 2 or 3 minutes until the onion softens and becomes translucent. Stir in the garlic, ginger, pepper, salt, coriander, turmeric and curry powder. Cook for another minute.
Add the diced tomatoes with juices and all, the coconut milk, stir and bring to a boil. Cook for about 5 minutes stirring occasionally. Add the shrimp with the accumulated juices from the marinade and cook for another 2 minutes or until the shrimp is pink and cooked through.
Serve over hot rice and garnish with cilantro or parsley.
I’d say the only way you could be disappointed by this dish is if your spices are old. They really aren’t meant to last forever just because they are dry!
Get your prawns gently tossed in the marinade and put in the fridge until you are ready to add them to the curry sauce. (I used chili flakes rather than cayenne pepper today)
Follow the instructions on how to build your flavour base – it really is important in many dishes, but I find especially so in Indian food.
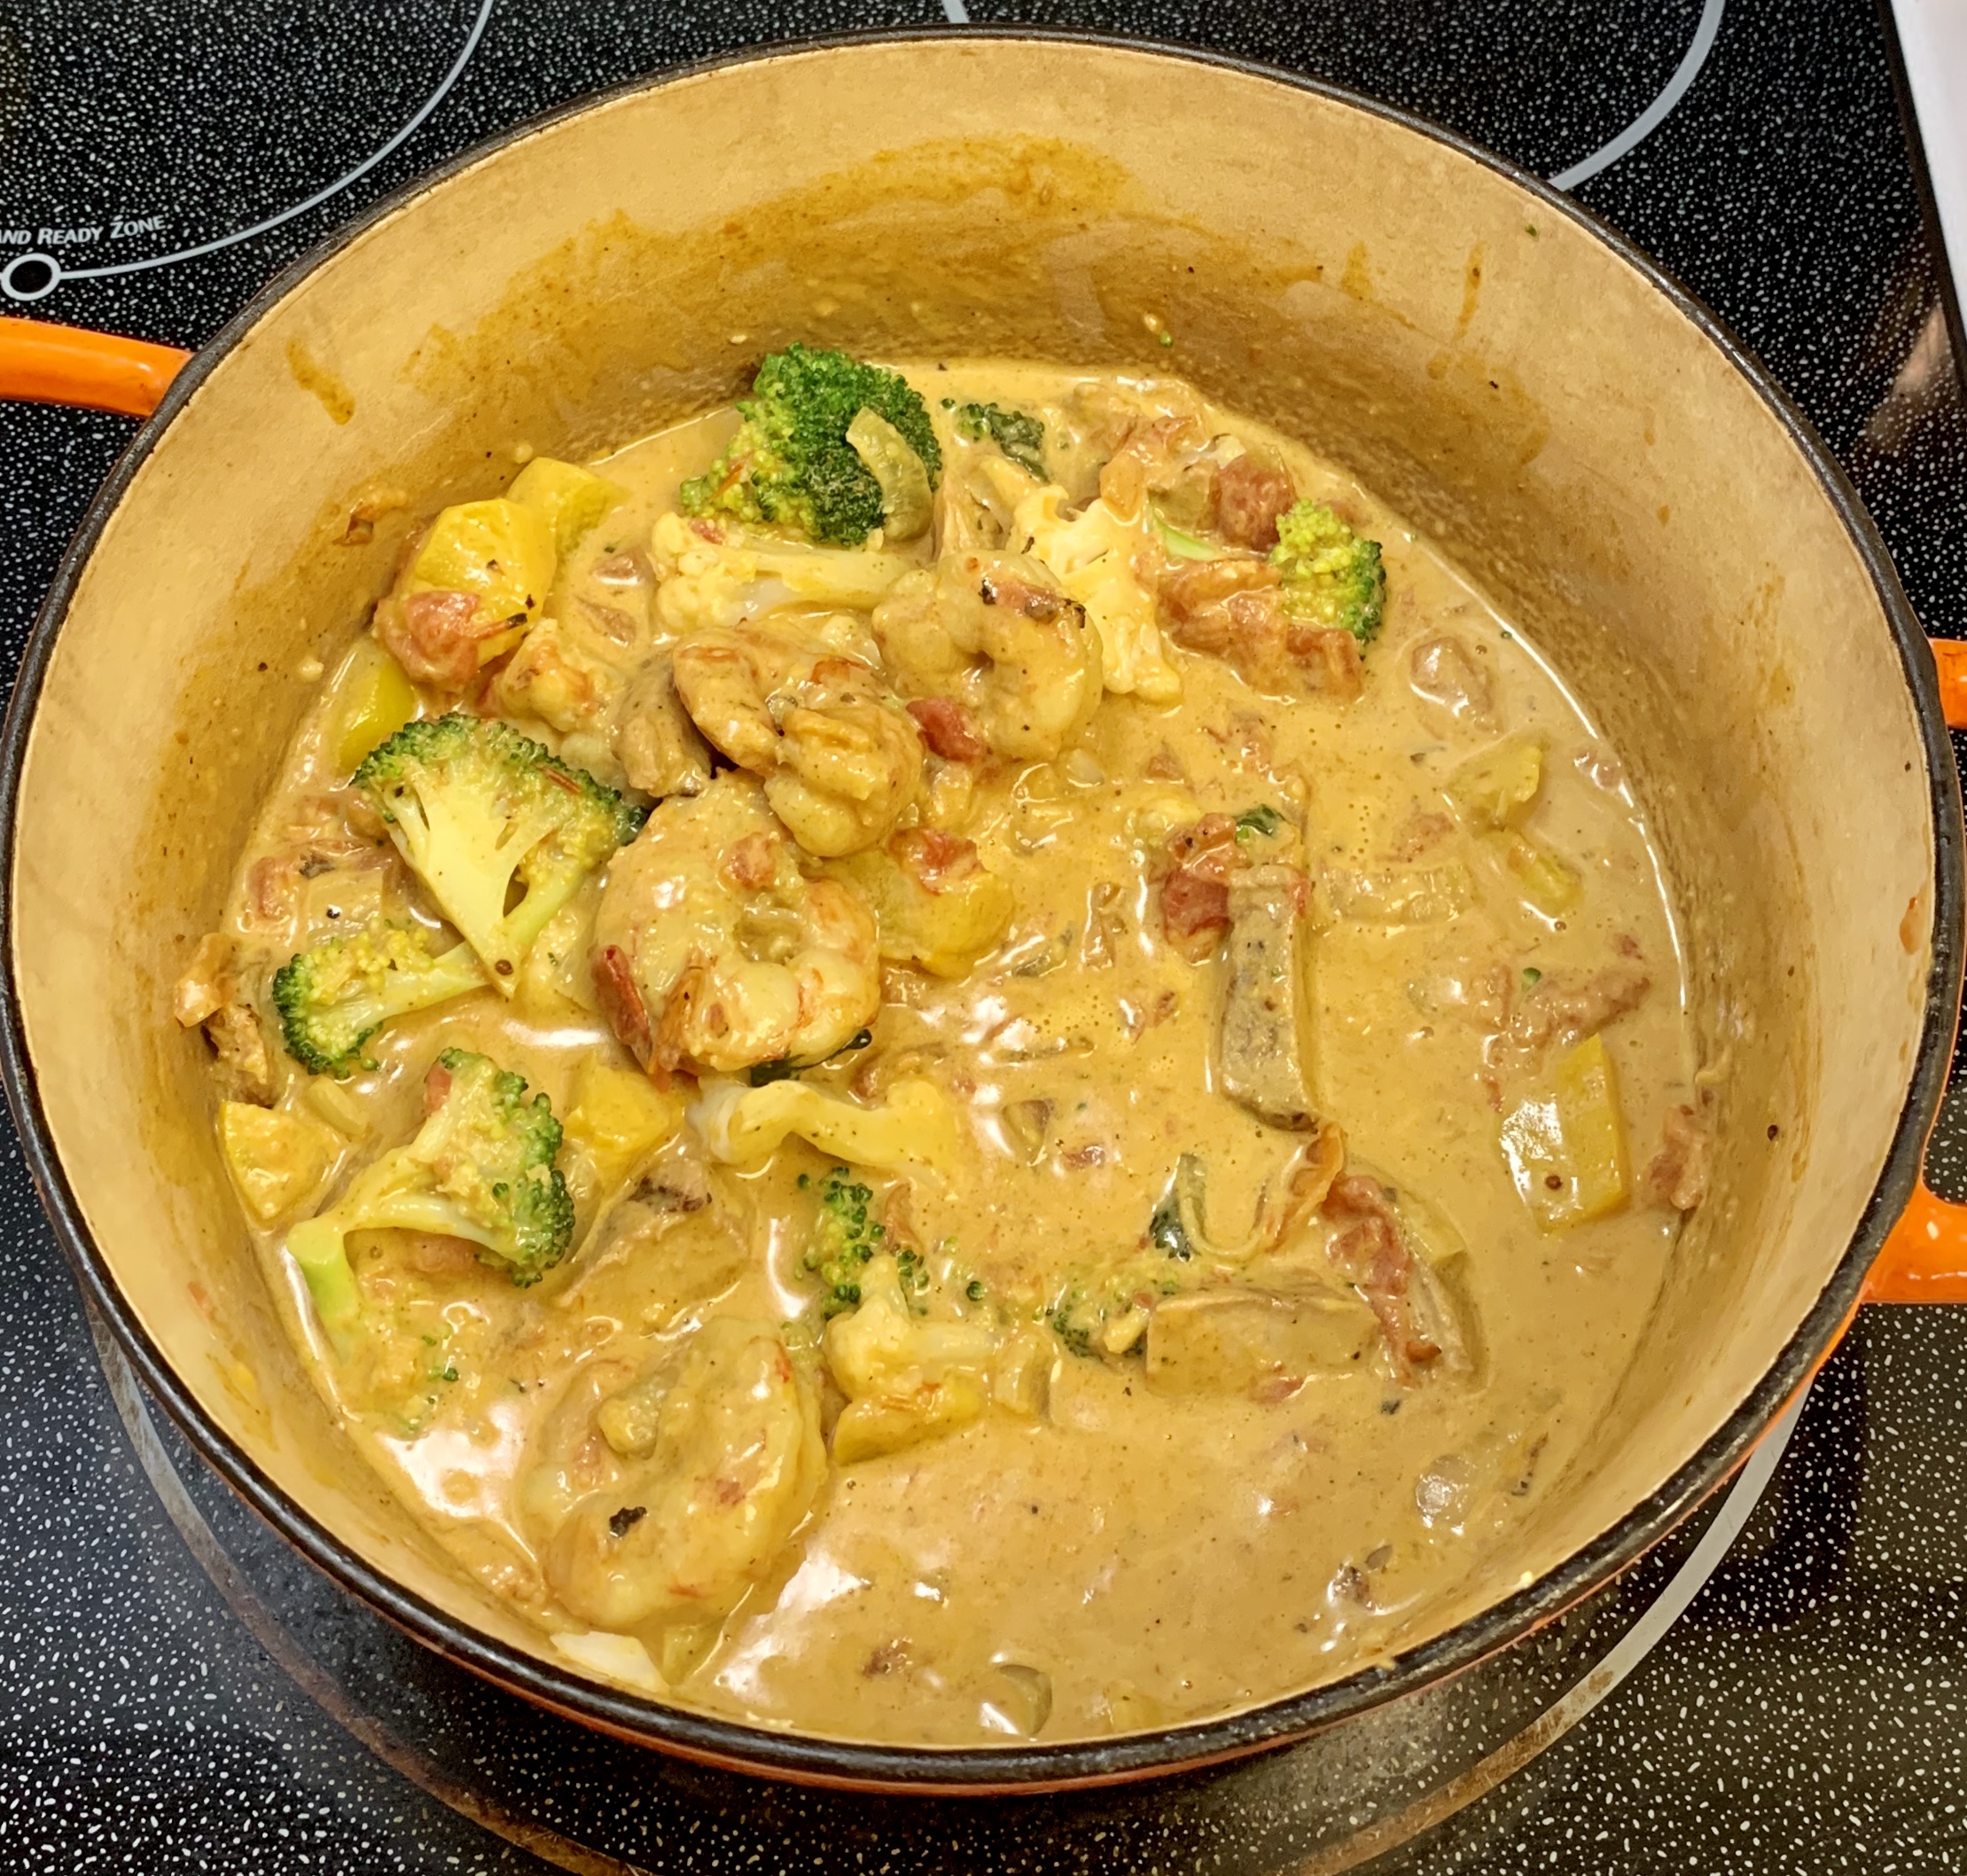
The next night we still had enough for another meal – so I lightly sauted some fresh vegetables in a sauce pan until just tender crisp. Then add the sauce and heat only enough to warm through. This keeps the individual flavour of your vegetables and doesn’t overcook either the remaining prawns or the curry sauce.
Make sure to serve these with Garlic Herb Naan – just what you need to sop up this inviting sauce.
These were my best naan ever! So tender, with dough that is very easy to work with. As an added bonus they freeze well so for nights when it is just the two of us I only cook half and freeze the other half …. ready for fresh frying when I am.
I have a lot of “authentic” food bloggers I follow for cooking dishes from India, Thailand, and Mexico just to name a few. This recipe came from a fellow Canadian! If you haven’t been to Jo’s website ….. http://www.jocooks.com then I recommend you do. She has specific hints to make everything better, and is well worth a read.
How to describe this? It’s really not a recipe – just ingredients and an idea of how to put it all together. Our friend Tom made this the other day and I was immediately hooked. How can something that just looks so simple end up feeling immensely satisfying and ever so delicious??
Looks like a pile in a pot ….. right? But, oh so good! I could eat this on a weekly basis!
The base of this broth is as simple as the kombu you create it with. Add about a 6 inch piece to 8 cups of water, let it sit for about 15-30 minutes, and then bring to a boil and allow to simmer until the kombu softens. Some recipes will say to remove it at this point, but I didn’t, and we ate it – a bit chewy but still good!
Prepare all your vegetables while the kombu softens. and broth simmers.
Keep the vegetables in groups according to how long it takes them to cook. i.e., cabbage takes longer than snap peas!
I used:
savoy cabbage
carrots
sweet peppers
snap peas
bok choy
red onion
asparagus
bean sprouts
For a protein I used chicken breast and tofu. The sky is the limit here, you can easily use whatever you like – just be aware of how long it will take to cook it, and put it in at the right time. The last thing you want is soggy veg.
Prepped and ready to go.
If you have a pint sized helper like Stella, she will add the vegetables in the right order and keep everything moving. That is teriyaki chicken beside her, and it was fantastic too.
For serving you need:
Ponzu (citrus soy sauce)
chili oil
toasted sesame seeds
thinly sliced green onions
cilantro, roughly chopped
Goma Shabu Sesame Sauce (I don’t have that one …yet)
Prepare Udon noodles while the sauce simmers.
The main objective here is not calling it a noodle bowl. They finish off the show. If you have individual mini bowls then each person can have their little assortment of the above condiments and sauces. Traditionally you would ladle the veg & protein into your bowl, accepting the small bit of broth that comes with it. You can either dress your bowl with the above, or dredge each bite in the accompaniments – your choice. The pure joy in this comes from adding your finishing touches so everybody has it just they way they like. When everybody is finished, then you add the noodles to the hot broth. Once again, traditionally this would be on the table with a heating vessel to keep everything hot but I found it was warm enough to stir in the cooked noodles once we had finished eating the first “course”. Those noodles are such a delightful way to finish slurping up your meal.
Shopping List:
assortment of veg
protein of choice
udon noodles (I like frozen best, if you can’t get fresh – over dried)
condiment toppings …… ponzu, sesame sauce, chili oil, sesame seeds, cilantro & green onion
kombu
This is the dried kombu I found – you only need about 1/2 of one piece to go with 8 cups of water.
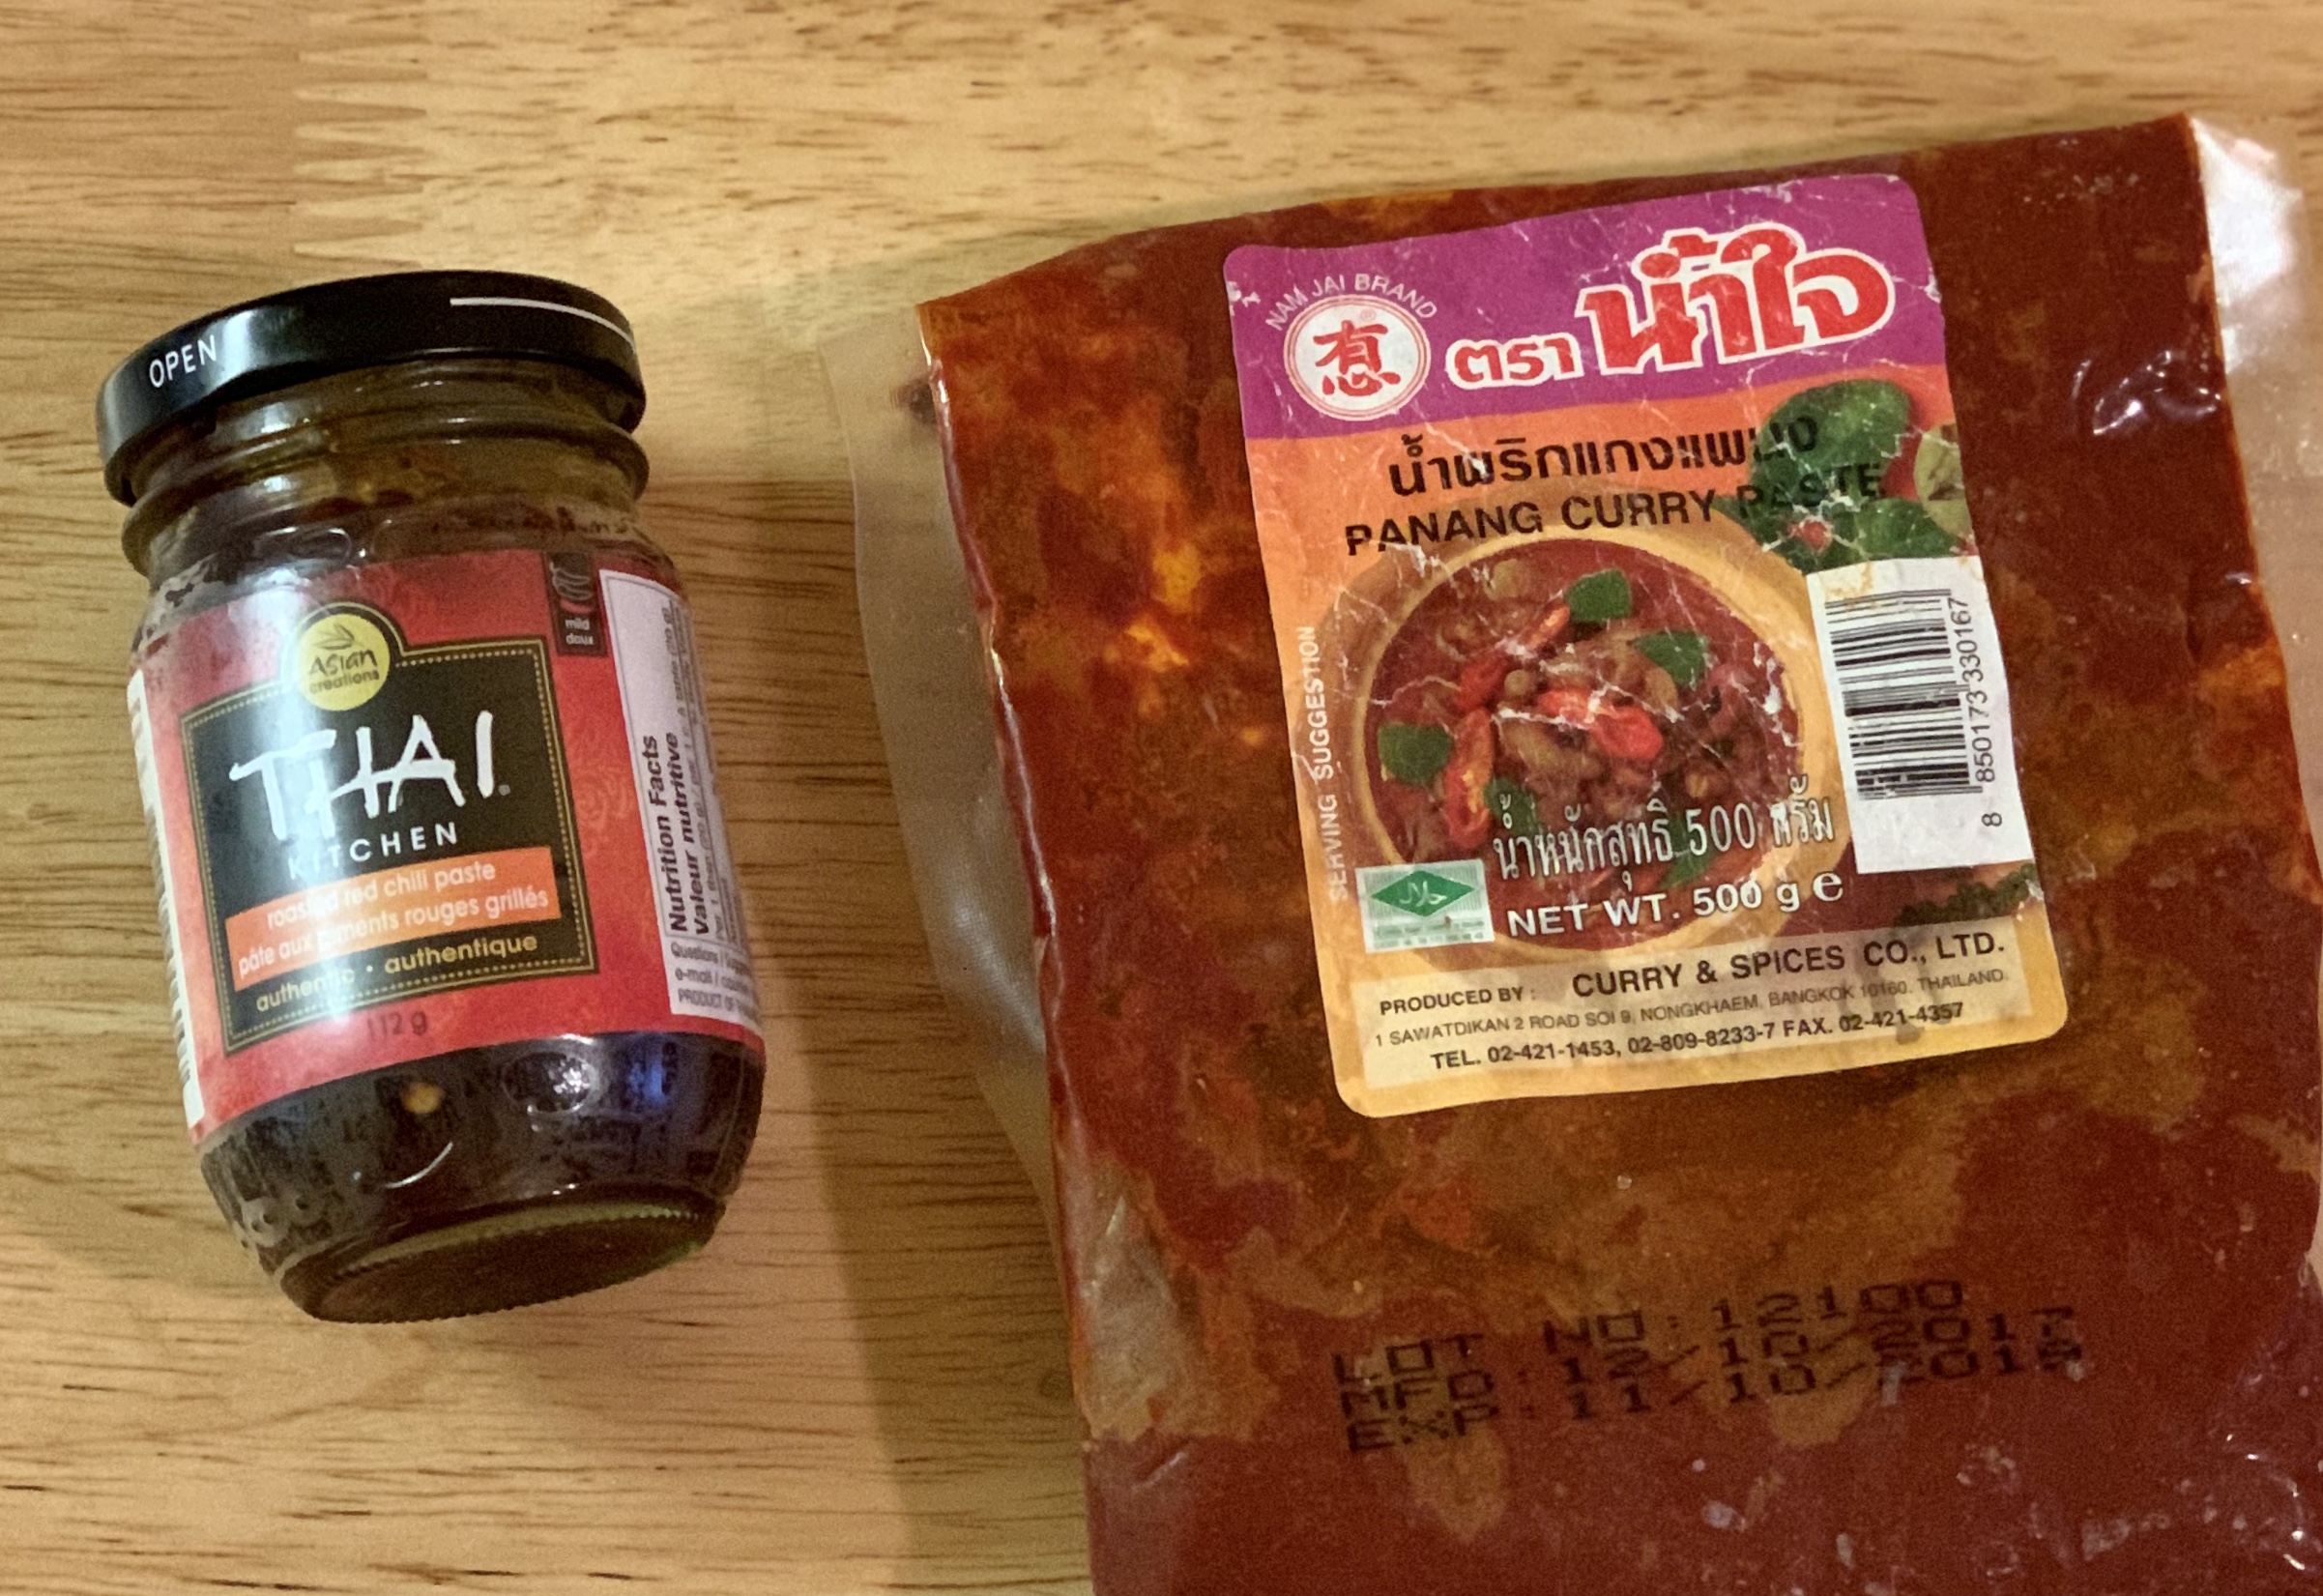
I made this today with Penang curry paste, which is my current fave, but it would be equally delicious with your fave curry paste.
This is one of the easiest, quickest curries I make. Amazingly, it is also one of the tastiest! We make it with halibut, but you could just as easily make it a vegetarian dinner or cook any protein you like to make the complete meal.
6 four ounce halibut pieces
peanut oil (or any neutral oil)
1 can coconut milk
1/2 cup sliced shallot
1 tsp minced garlic
1 tsp minced ginger
1 tbsp (heaped) curry paste
1 tbsp roasted red chili sauce
2 tbsp brown sugar
2 green onions, thinly sliced
juice of 1 fresh lime
2 tbsp (dry) white wine
salt & pepper to taste
Season halibut with salt and pepper. Fry in hot oil on each side for 2 minutes each … then set aside.
In the same pan, saute shallot, garlic, ginger, curry paste and chili paste. Cook for one minute just to allow the flavours to wake up. Add one can coconut milk, brown sugar, lime juice, and simmer until it has reduced by half. Depending on how fresh your curry paste is, you may need more paste. I also find that curry paste varies a lot by brand so please make sure you taste it to be sure you have enough curry flavour.
Taste …. does it need salt and pepper? If so, add to taste.
Now is time to add the vegetables if you are going to make this a one dish meal:
I’ve made this in so many ways:
on a sheet pan, roast cauliflower, patty pan squash & chicken thigh pieces
on a saute pan, cook shrimp just until pink and cooked through
saute bits of pork tenderloin with snap peas and peppers
saute tofu and mushrooms in garlic butter
Or simply add any vegetable you like:
bok choy
broccoli
red pepper
snap peas
No matter how you do it, this curry sauce enhances anything you come up with! Serve with jasmine rice, your protein of choice and this amazingly delicious curry poured over top.
Garnish with slivered green onions and toasted sesame seeds.
The brand of curry is my favourite …. it is the same as the packs I brought home from Thailand, and I always look for it. The “Thai Kitchen” chili paste is the best mistake I’ve made ….. didn’t have reading glasses on and thought I was buying red curry paste …. I love it, and add it to so many curry dishes, it just adds so much punch.
Throw in whatever vegetables you like. Today I used bok choy and red pepper from Farmers Market, and the last little broccoli floret I had in the fridge.
Sear halibut on both sides. (Or just use whatever protein you have on hand) I like that this curry dish is poured over the halibut, keeps the curry fresher tasting somehow.
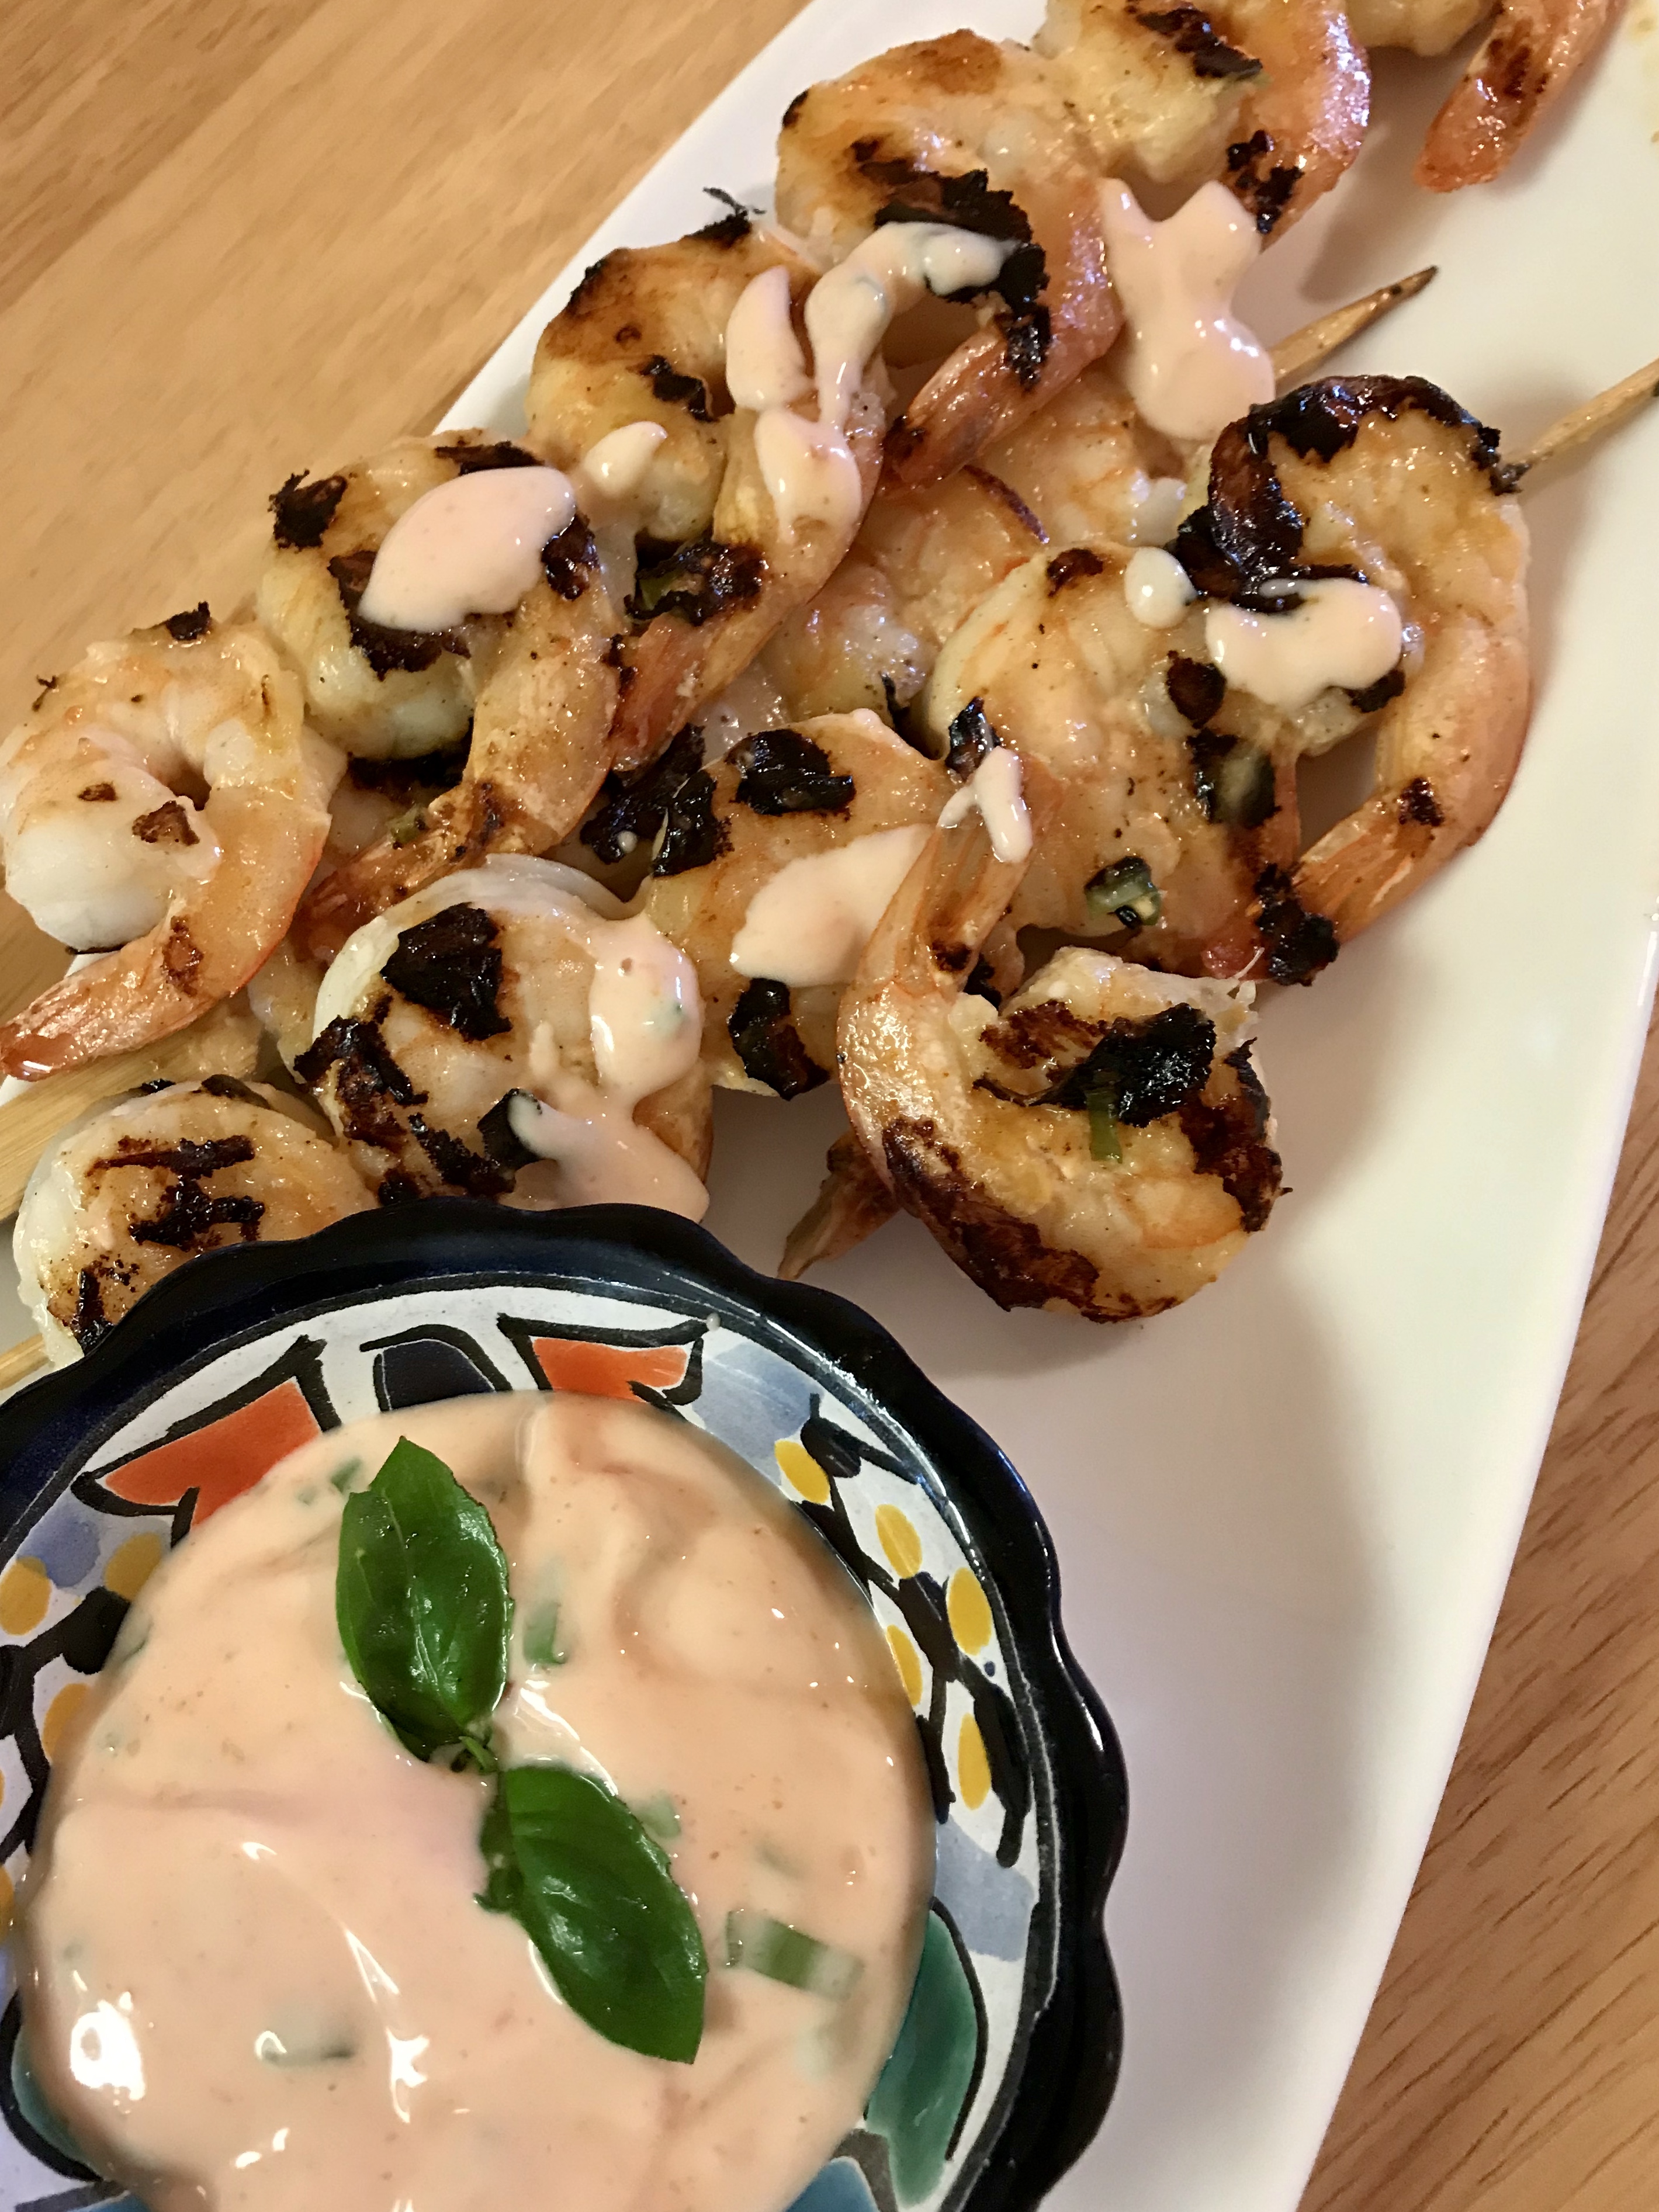
This is delicious, which makes it a winner in my books! The biggest bonus is that the whole dish comes together very quickly with ingredients that you likely have in your kitchen anyway. The dipping sauce is a bit sweet, a bit spicy and a bit tangy from the yogurt.
Grilling these outside would have been perfect, but the rain changed that plan!
INGREDIENTS
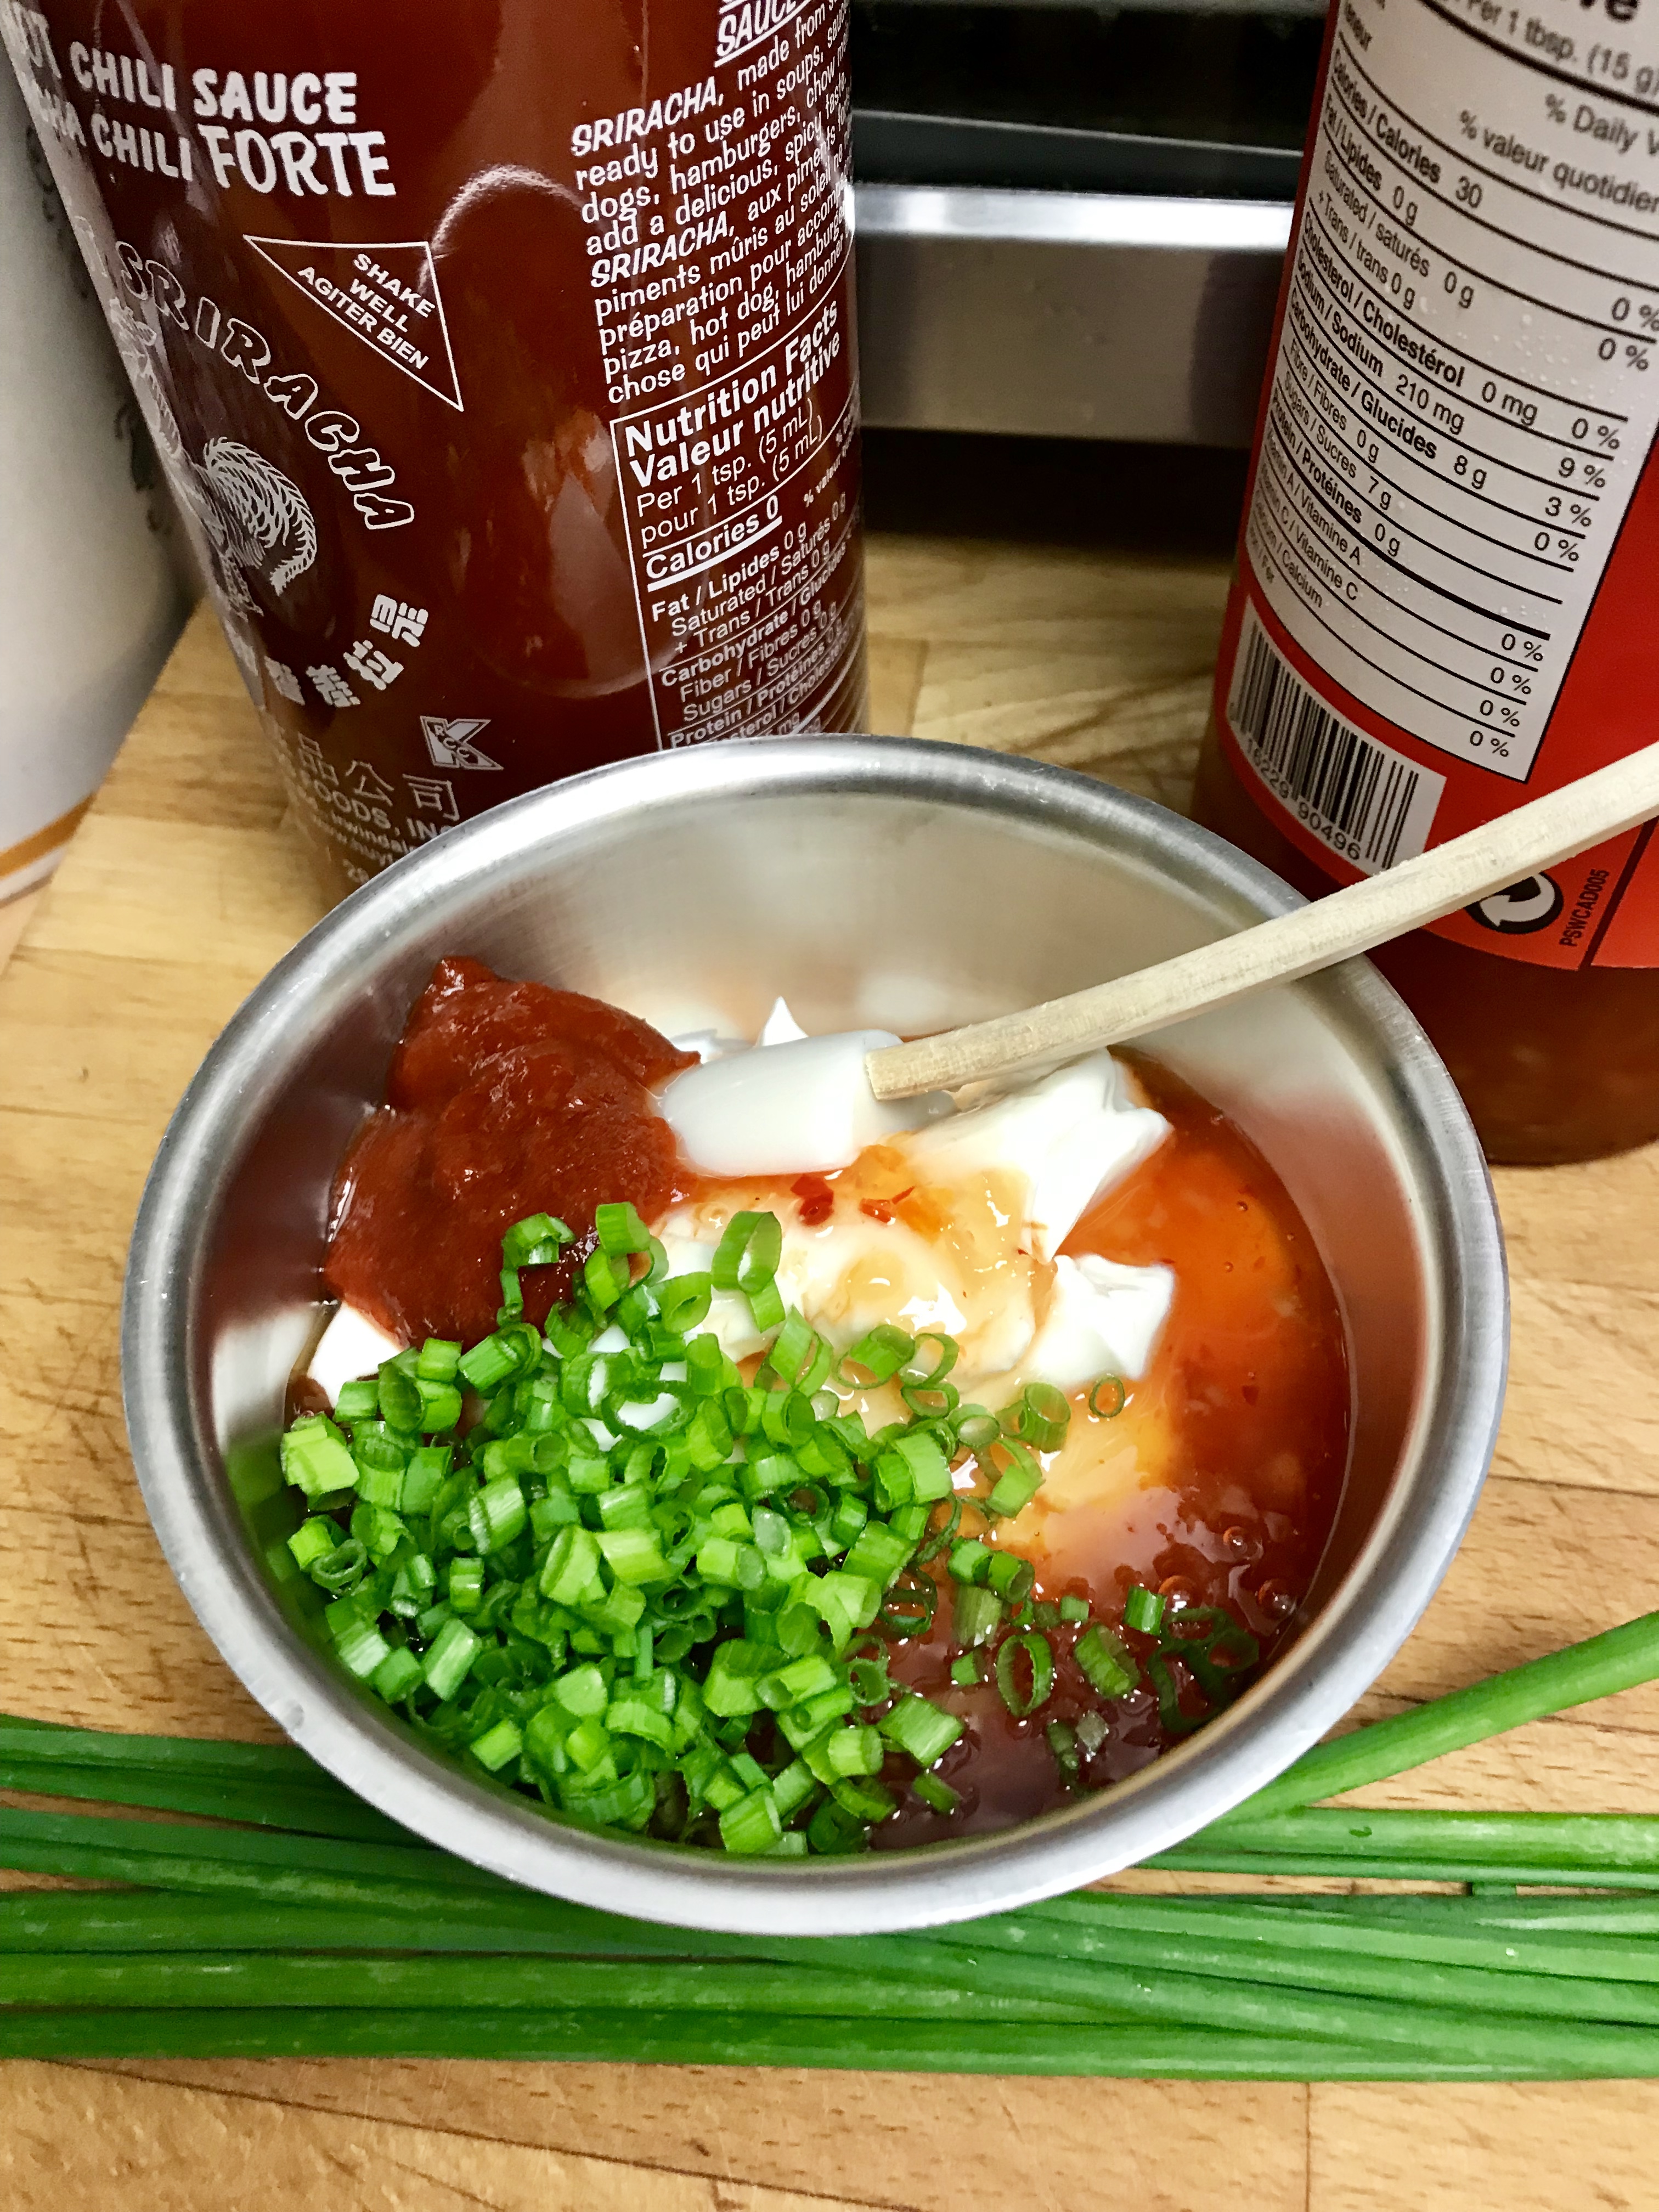
4tablespoonsplain Greek yogurt
3tablespoons sweet chili sauce
1teaspoon Sriracha sauce
1 tbsp minced chives
1 pound shrimp (raw, peeled and deveined)
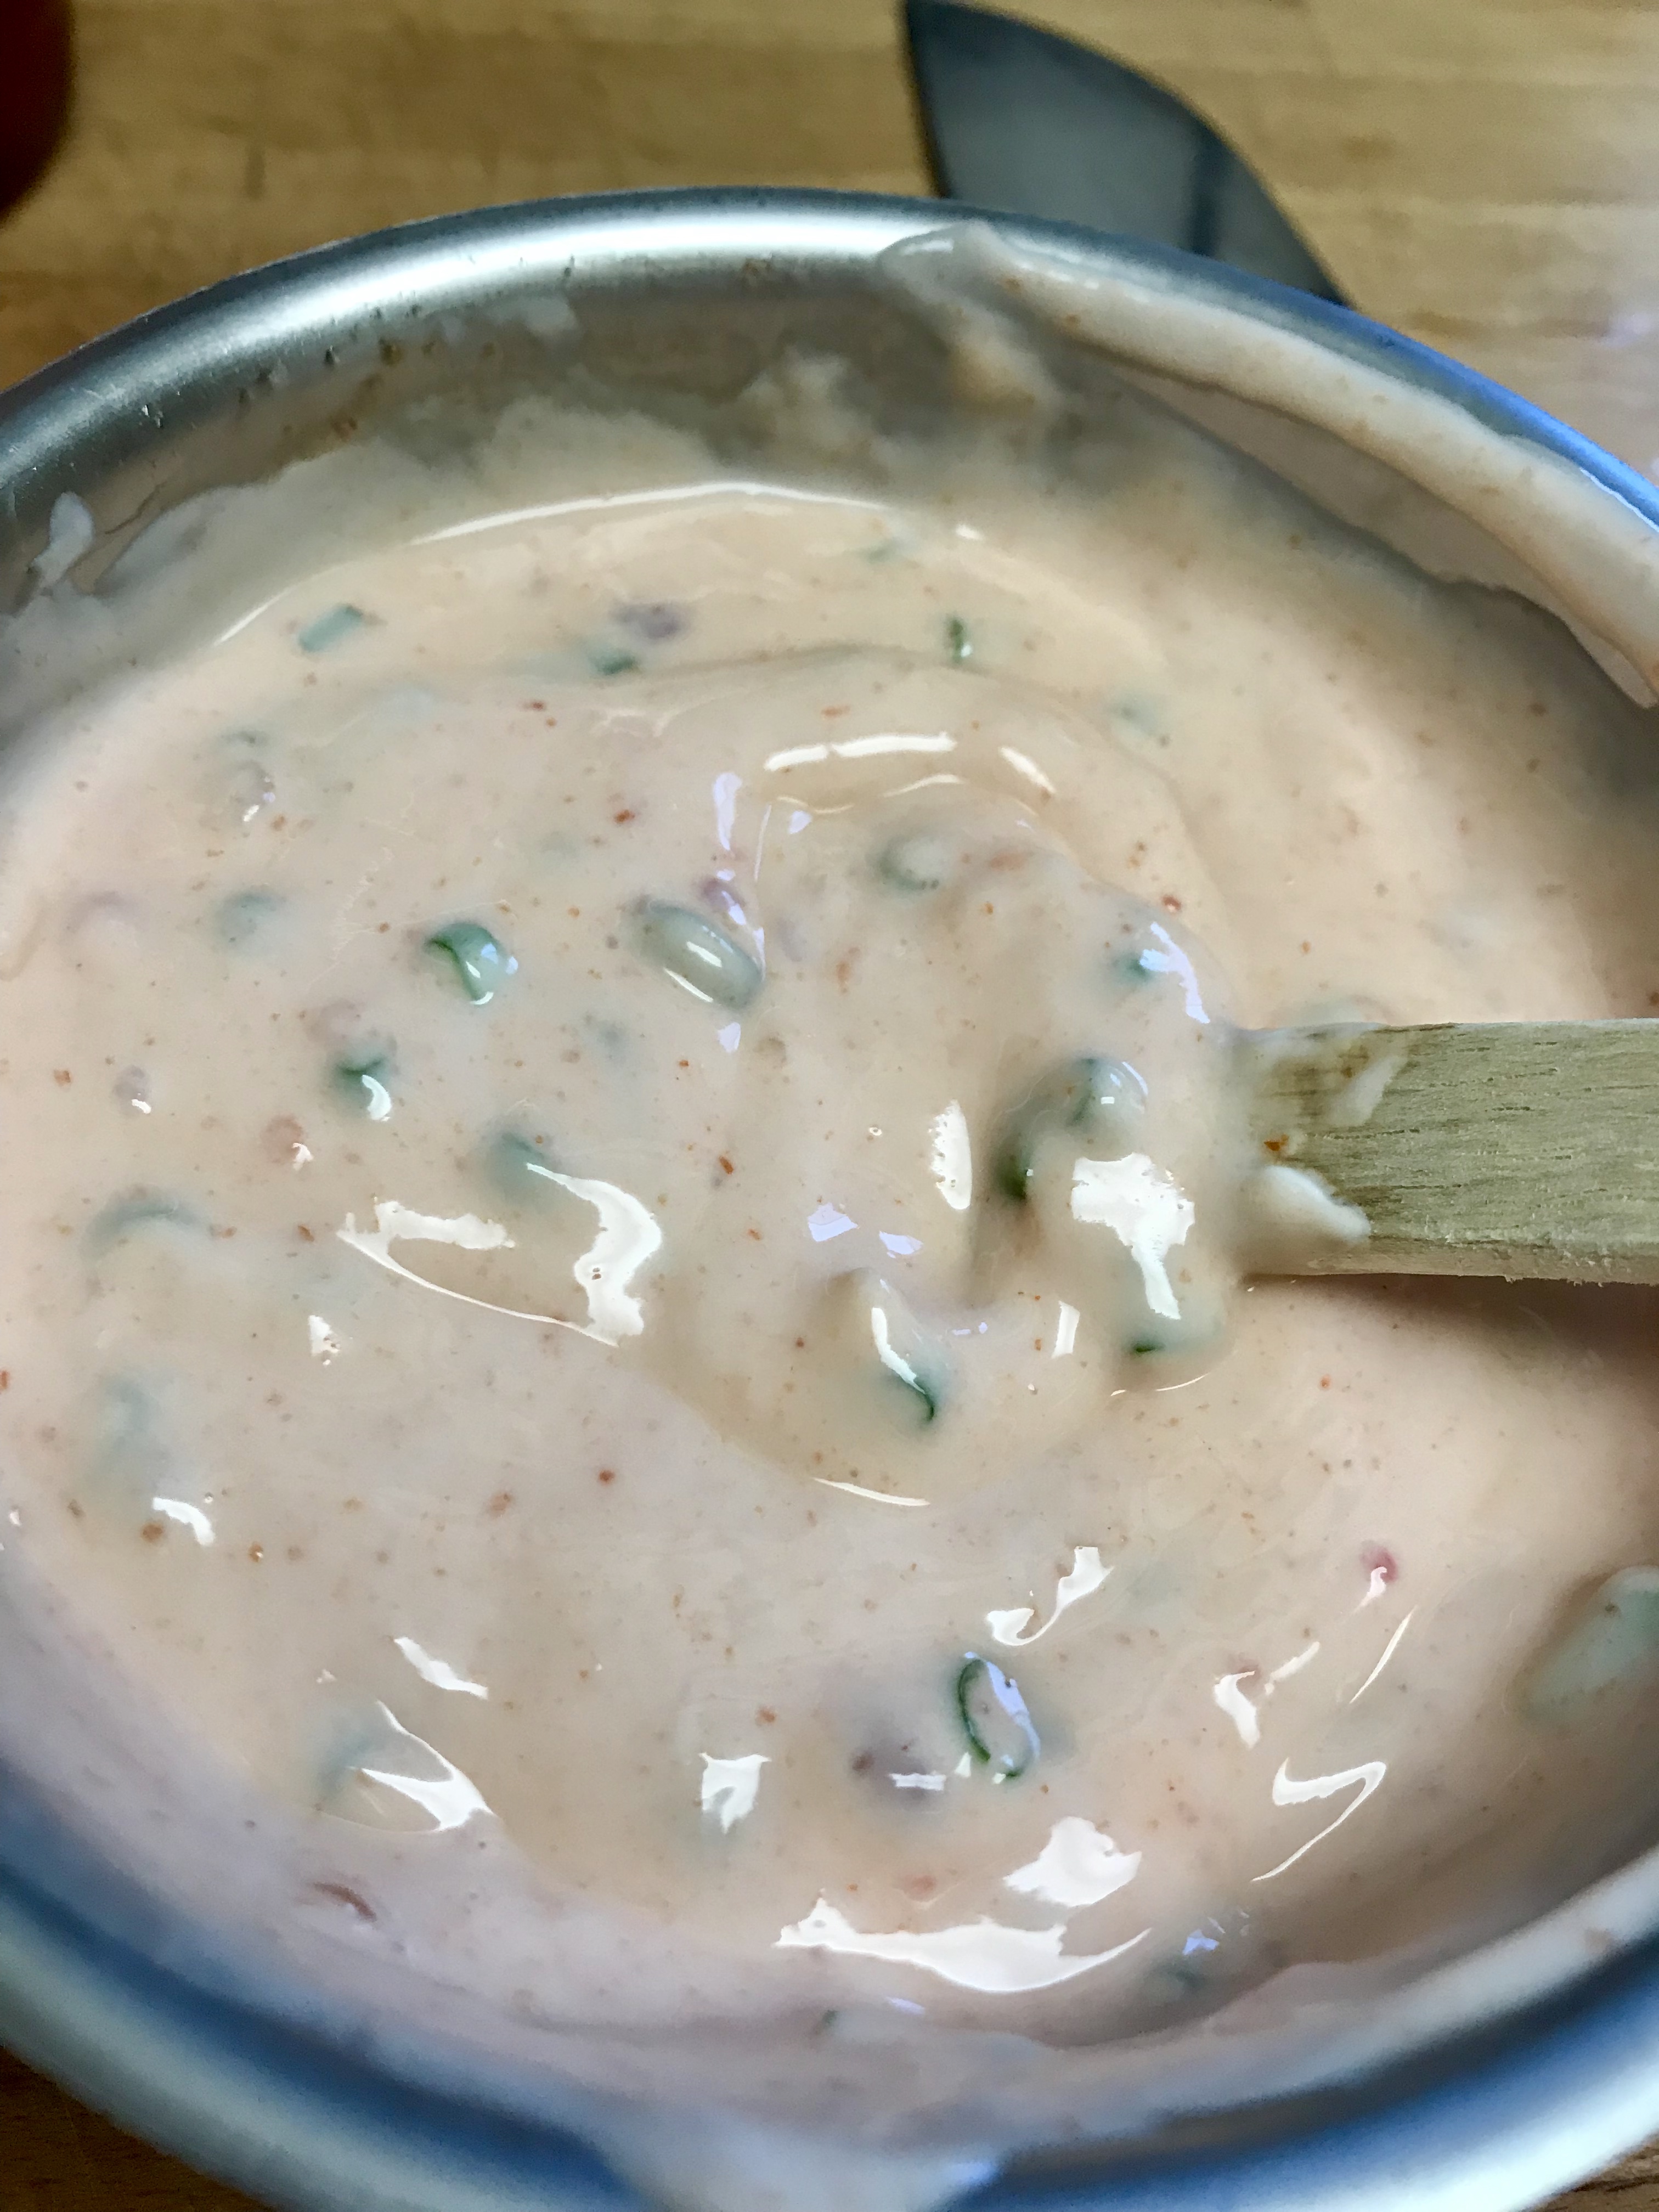
Mix together the first four ingredients and set aside.
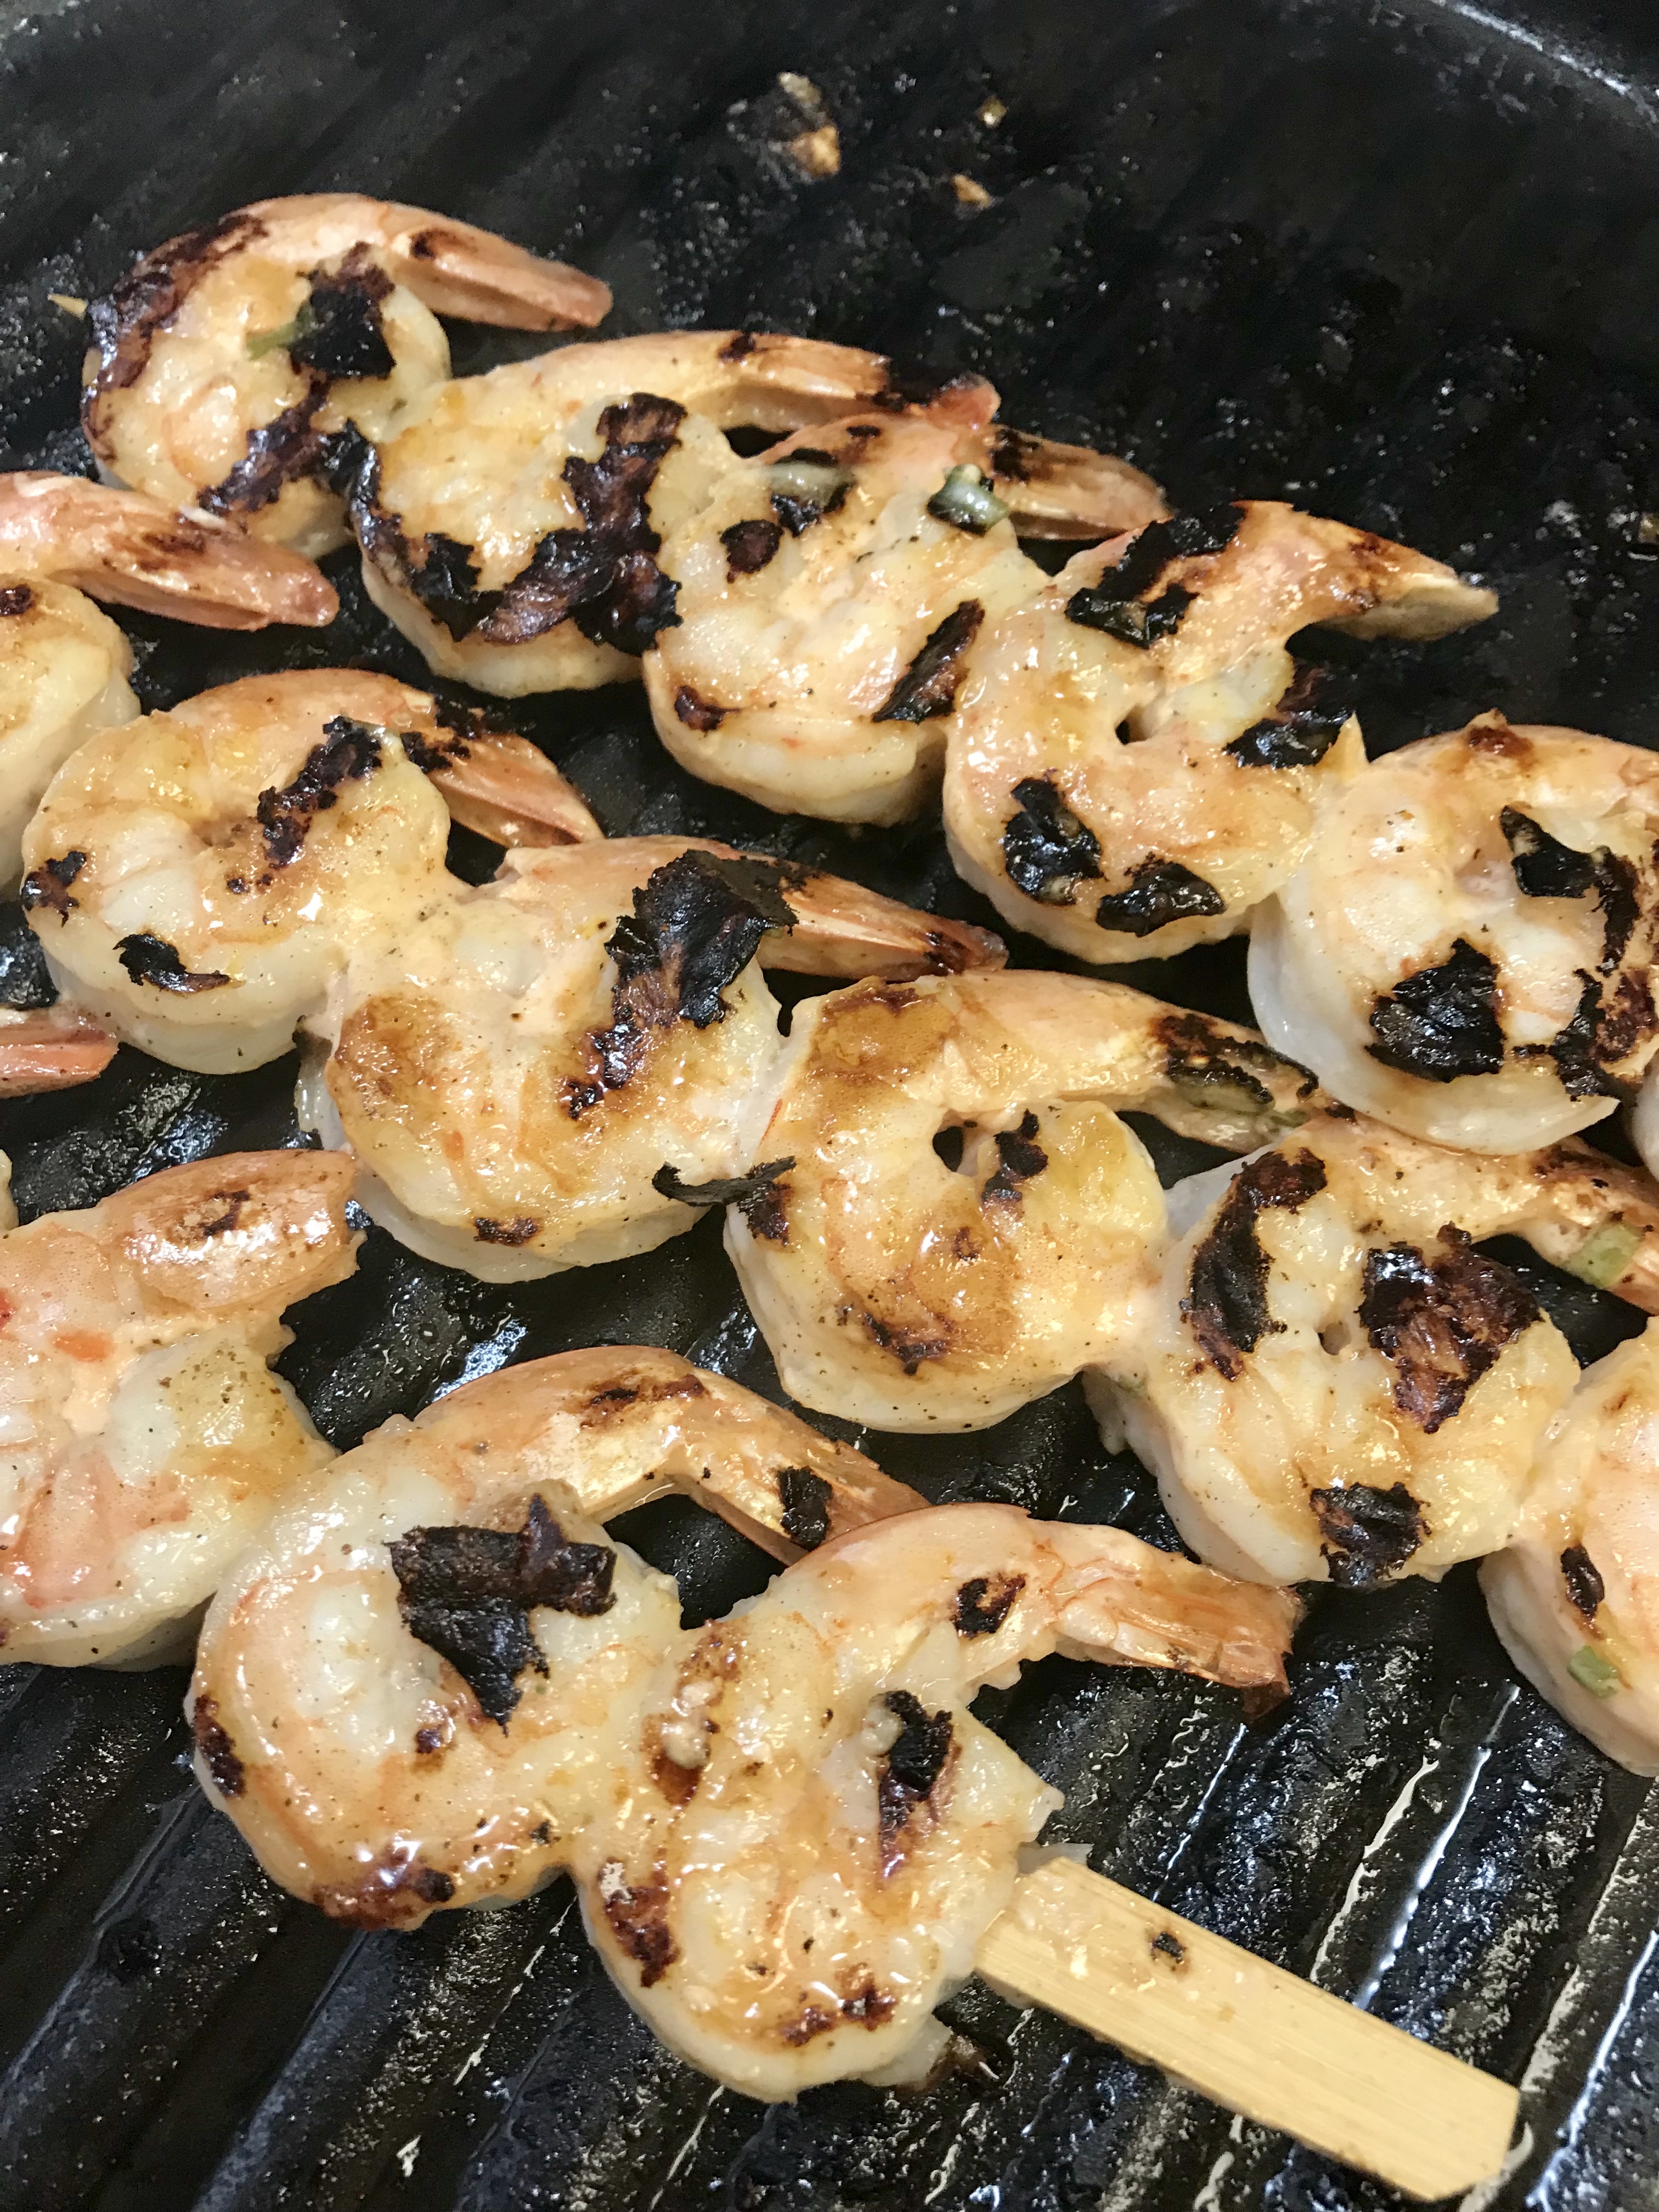
Thread shrimp on skewers (if using wooden skewers soak in water for 30 minutes first).
Brush the shrimp with some of the sauce and leave the rest for dipping after they are cooked.
Grill shrimp until just cooked through – it only takes a few minutes so watch carefully to be sure they are’t overcooked.
I’m sure you have all these ingredients on hand, and the dipping sauce is amazing to just keep on hand so make enough for leftovers.
Smooth, creamy and absolutely delicious.
Grill just until cooked through – today it had to be on a grill pan because it was absolutely pouring out there!
If you’ve had these at a Chinese restaurant they are usually deep fried in a light batter, and the dipping sauce is a lot heavier – made with mayonnaise. I prefer this version made with greek yogurt, and I bet you will too!
This is one of those recipes that is more a guideline. Inspired by the flavours of fish we’ve had served in the style of Veracruz in Mexico, this is so easy to prepare at home, and if you have a good source of fish, give it a try!
You will need:
enough fish to feed your family (I’ve used halibut here but any white fish will work)
green olives
fresh tomatoes
black olives
capers
roasted red peppers
fresh red peppers
your best olive oil
lemon
sea salt & pepper
Generously butter a baking dish (extra points for using a pretty one that you can also serve this dish in!)
Lay in your fish, cut in serving size.
Chop the olives, peppers and fresh tomato, and then cover your fish with all the toppings. Again, be generous with seasoning – liberally sprinkling salt and pepper over it all. Then – squeeze a whole lemon and drizzle olive oil over the top.
Roast at 375 just until fish flakes nicely. This will entirely depend on the thickness of your fish, so watch it carefully and check after 10 minutes.
Serve over rice, with a bright, crunchy salad on the side. Add crusty bread to soak up those juicy drippings and you’ve got a quick easy dinner good enough for company.