Set aside a bit of time to make this dish – today it took me 2 1/2 hours but it makes a lot, and keeps really well in the fridge for a couple of days. Just call it kitchen yoga and you are guaranteed to feel quite smug.

This Korean noodle dish is truly crave worthy. If anything, tastes even better the next day but don’t let that stop you from making and eating it for dinner the same day! It took a bit of effort to find potato starch noodles but it was worth the effort. They have a springy texture that is unlike any other noodle I’ve had.
- 12 ounces (340g) of pork loin or steak – cut into very thin slivers
- 3 garlic cloves, minced
- 1 tbsp water
- 1 1/2 tbsp chinese cooking wine (shaoxing)
- 1 /2 tsp oyster sauce
- 2 tsp sugar
- 1/2 tsp baking soda
- 1 1/2 tsp cornstarch
- 1/2 tsp freshly ground white pepper
- 1/2 tsp sesame oil
I’ve also learned a new technique through J.Kenji Lopez-Alt about velveting meat for stir frying, and trust me, it makes a huge difference!
First, give your meat a little bath – scrub it in running water and then squeeze to drain it really well.
Combine the meat with all the other ingredients in a bowl and massage it vigorously – I like my using my hands but feel free to use a spoon if you prefer. Set aside for 30 minutes, or in the fridge for 4 hours or so.
Blanch spinach or kale in boiling water, cool and chop a little.
Stir in:
- 1 clove minced garlic
- 1 tsp sesame oil
- 1/2 tsp salt
10 ounces (280 gr) of sweet. potato starch noodles (Dangmyeon) – cooked acording to package
Sauce for noodles:
- 1 tbsp sesame oil
- 1 tbsp soy sauce
- 2 tsp sugar
Once noodles are cooked, drained and rinsed, cut them into smaller pieces and stir with the sauce. Set aside.
- 1 onion, thinly sliced
- 1 red pepper, thinly sliced
- 1 yellow pepper, thinly sliced
- 3 garlic cloves, diced
- 3 scallions, cut in 3 ” pieces
- 1 pack of baby spinach or kale (as much as you like, really)
- bean sprouts (as many as you like)
OPTIONAL:
- raw carrot strands
- slivered snap peas
- pea shoots
- cucumber, thinly sliced
Japchae sauce
- 2 tsp sugar
- 1/2 tsp freshly ground pepper
- 2 1/2 TBSP soy sauce
- 1 TBSP sesame oil
- 1 TBSP gojuchang (korean spice paste)
Stir well in a large bowl. Taste and adjust for seasoning. I usually use low sodium soy sauce but using Gluten Free soy sauce, now that Stella is Celiac, we are all learning to cook without any wheat in our products, so initially I found this a bit salty, I adjusted with a little rice vinegar and touch of oil. (Basically, the vinaigrette I had made and in the fridge)
UPDATE – see below for a sauce suitable for all gluten free folks – it was so good!
Time to stir fry the veg!
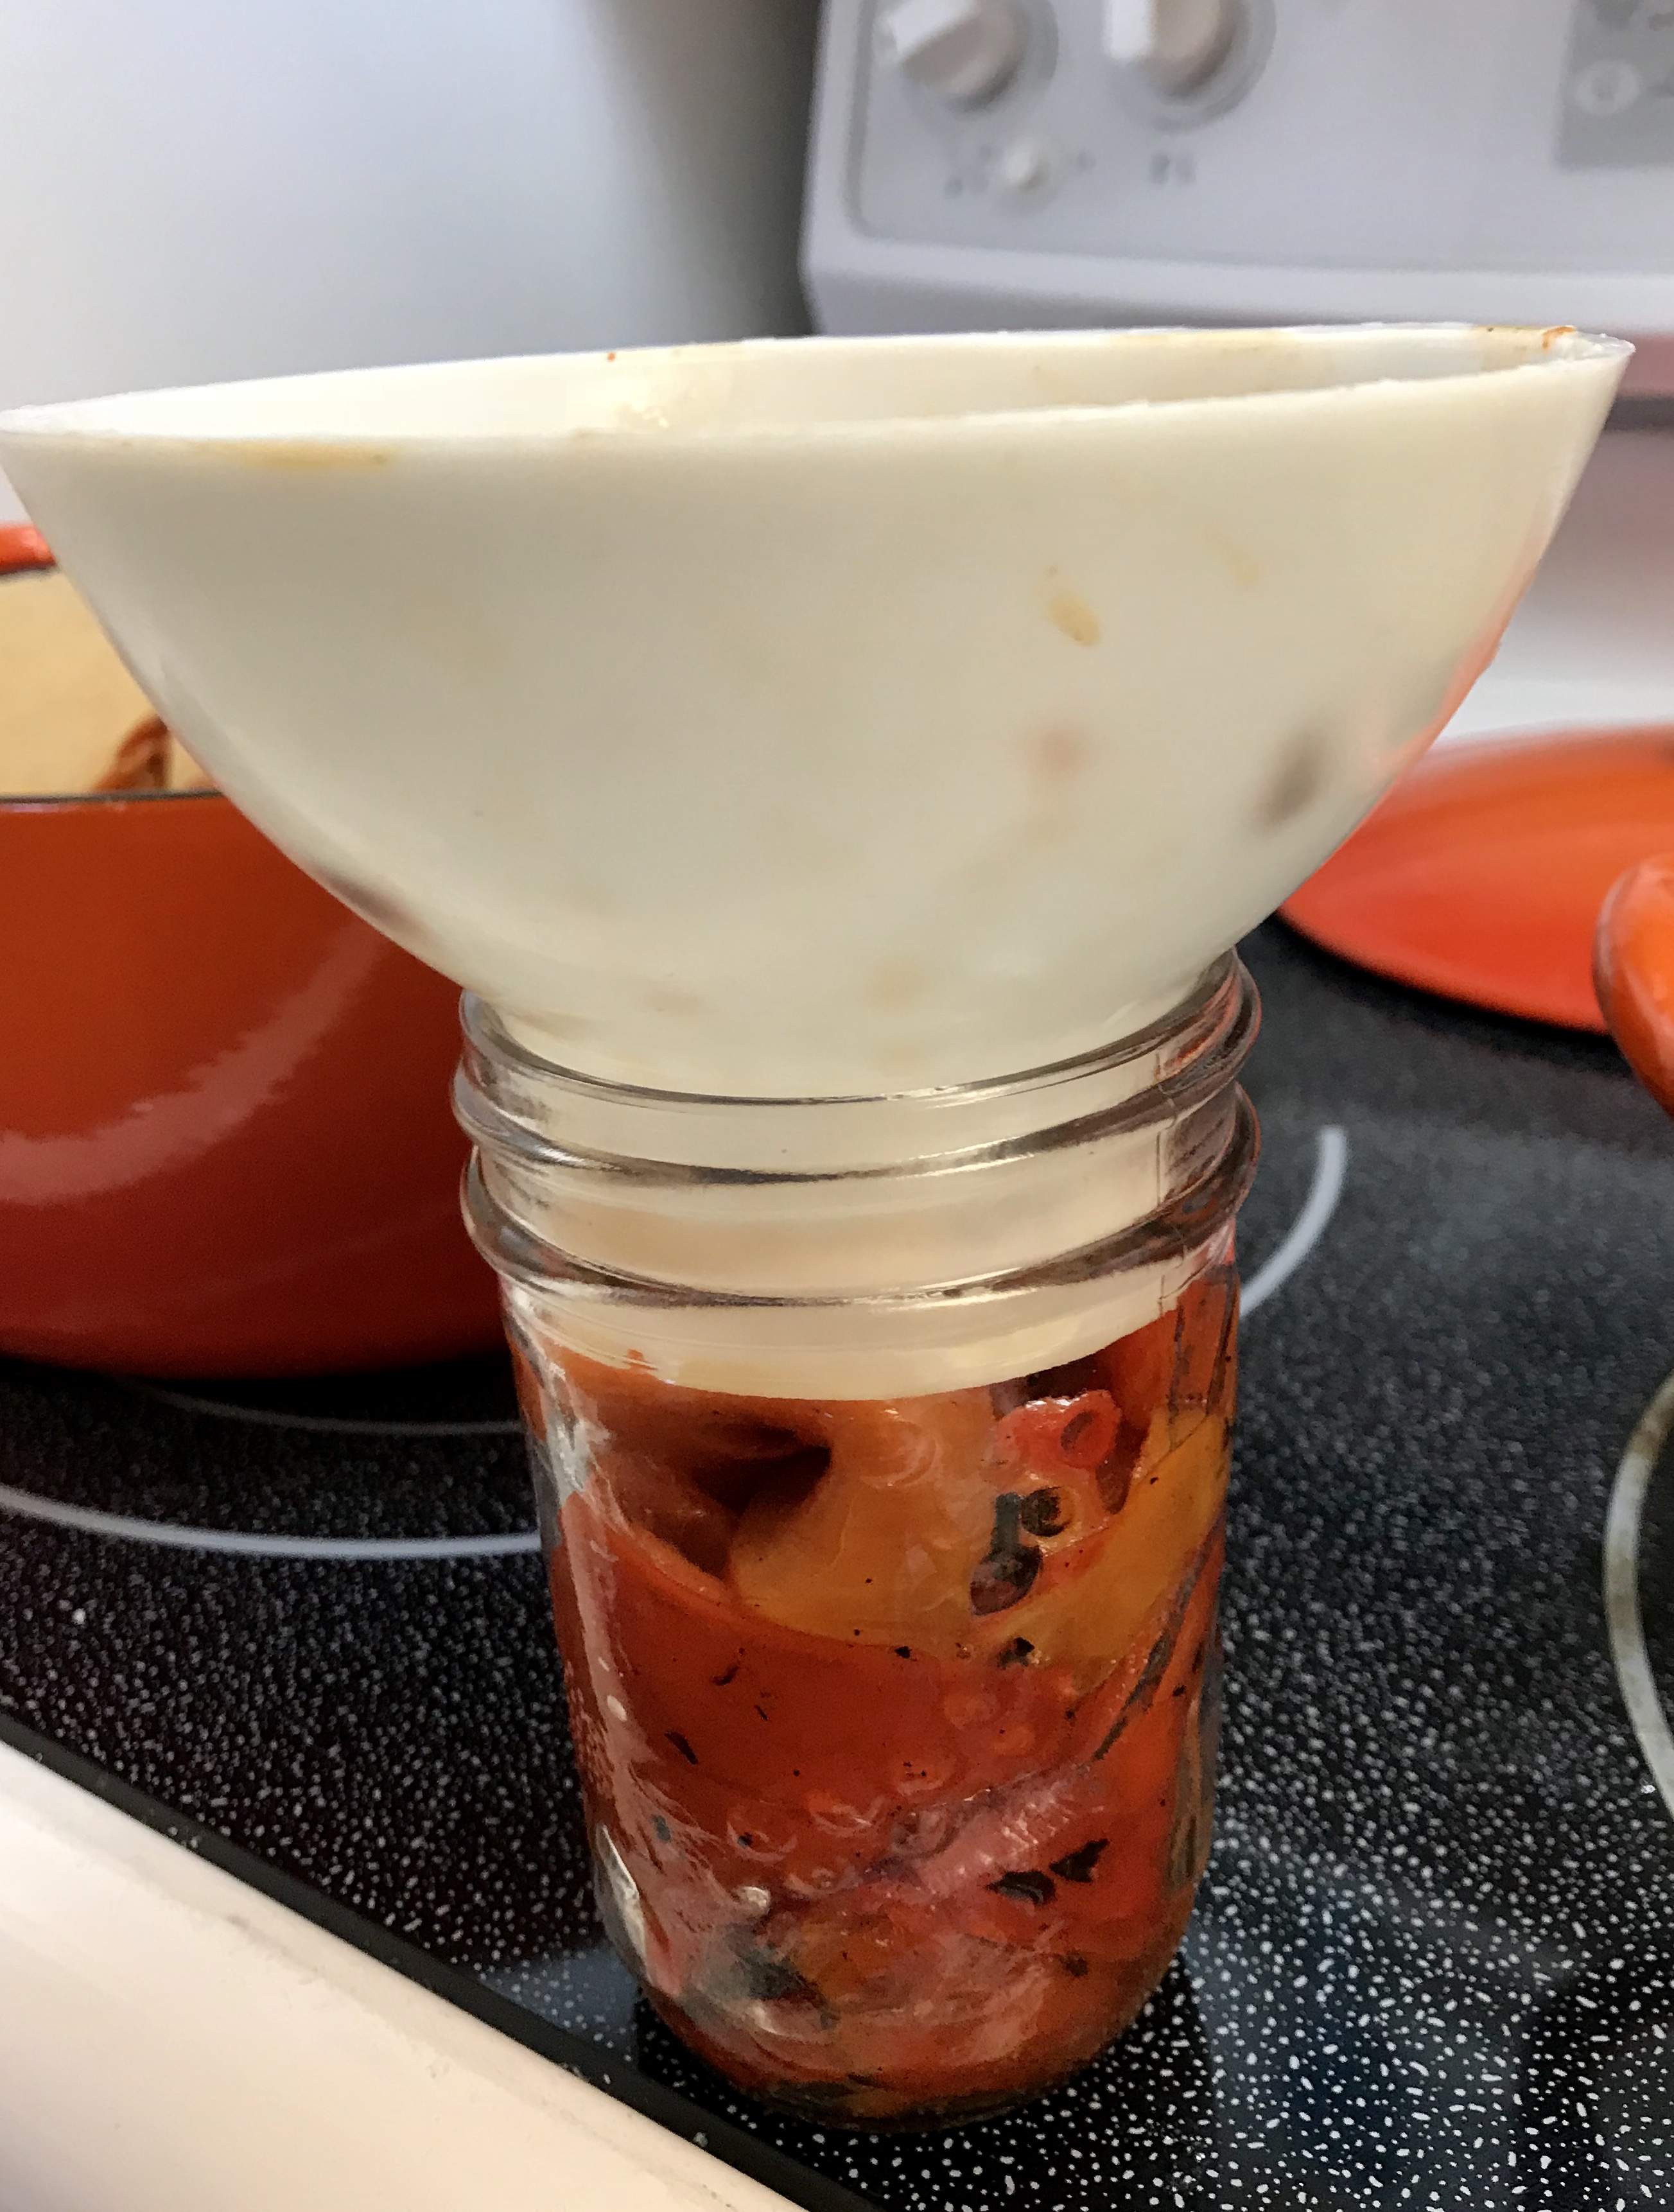
In a wok or large fry pan heat vegetable oil and stir fry onion and red pepper until soft and set aside. Then stir fry any other vegetable you choose to add.
I like to have a mix of raw and stir fried veg……
Heat wok again and add some vegetable oil – stir fry the meat, and add in the bean sprouts and kale or spinach, fry just until softened. Add back the red pepper, onion, garlic mix as well as the cooked noodles. Toss well to warm everything through and then add to the bowl with the sauce, mixing well
Once you have everything prepared, toss it all with the sauce. My usual tactic is to put all the veg in the bowl and then gradually add the sweet potato noodles, that way I don’t overload the bowl with too many noodles. Just ask Mike, I’m guilty of cooking more noodles than needed – always.
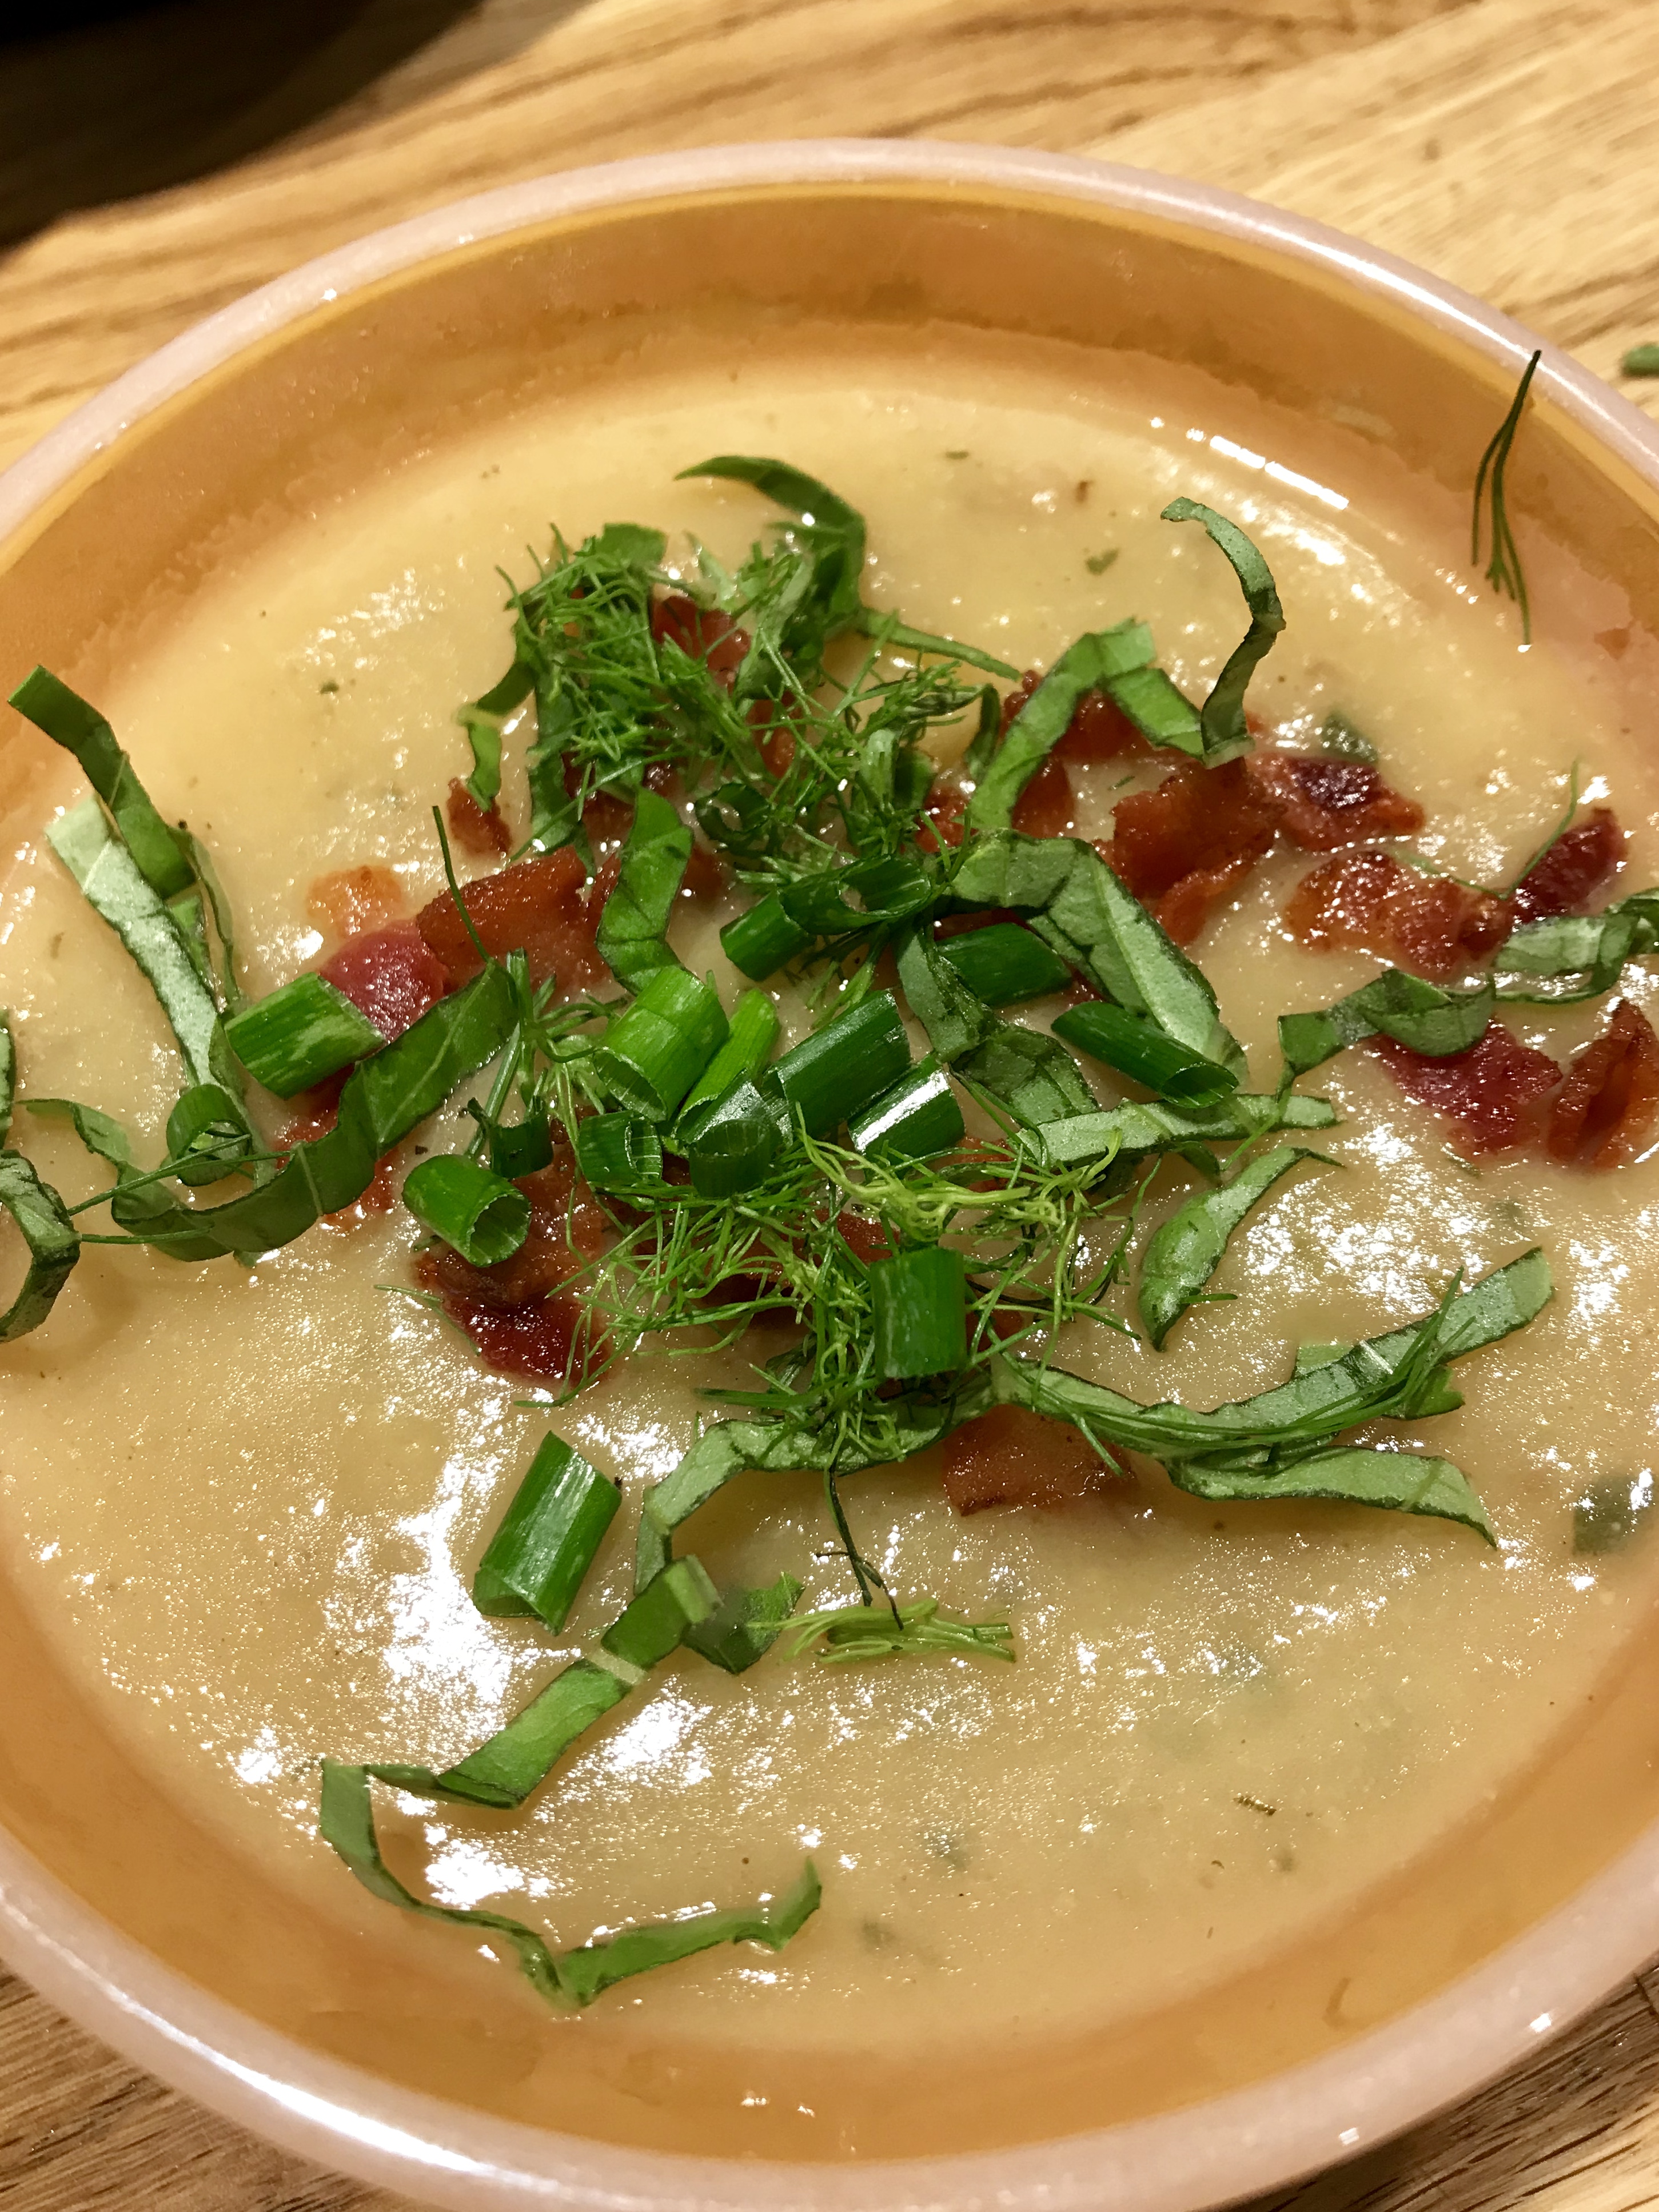
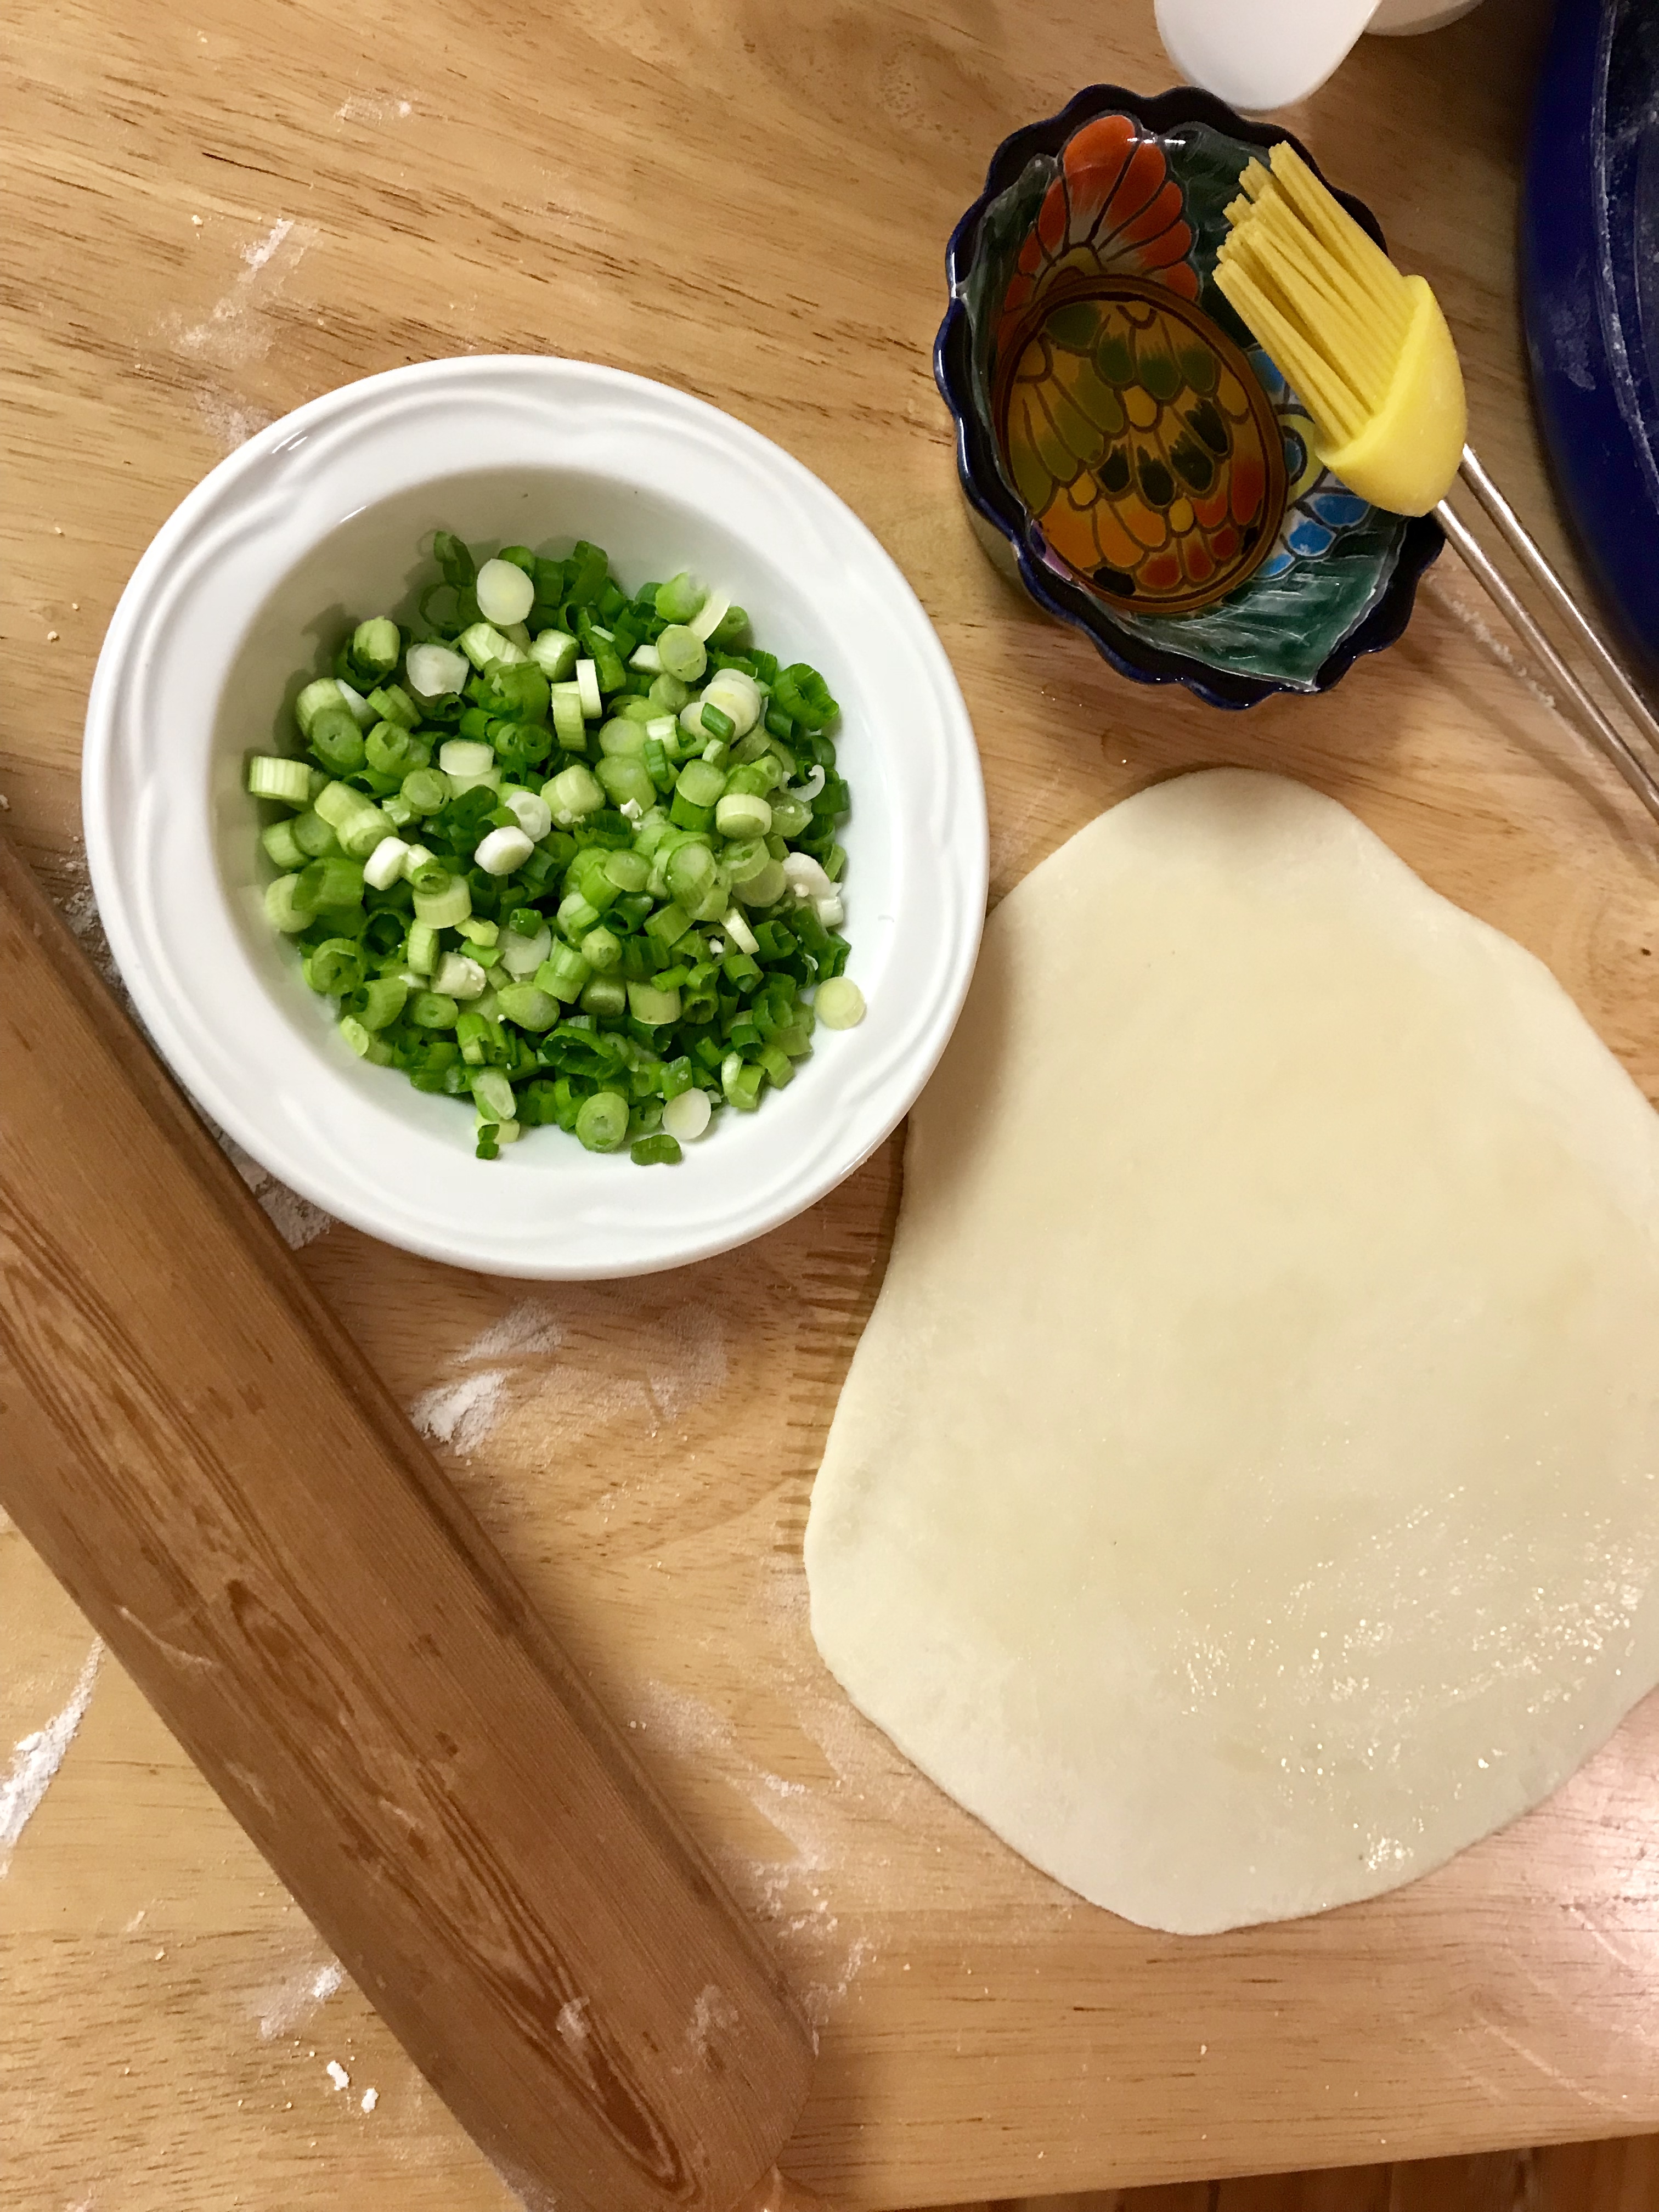
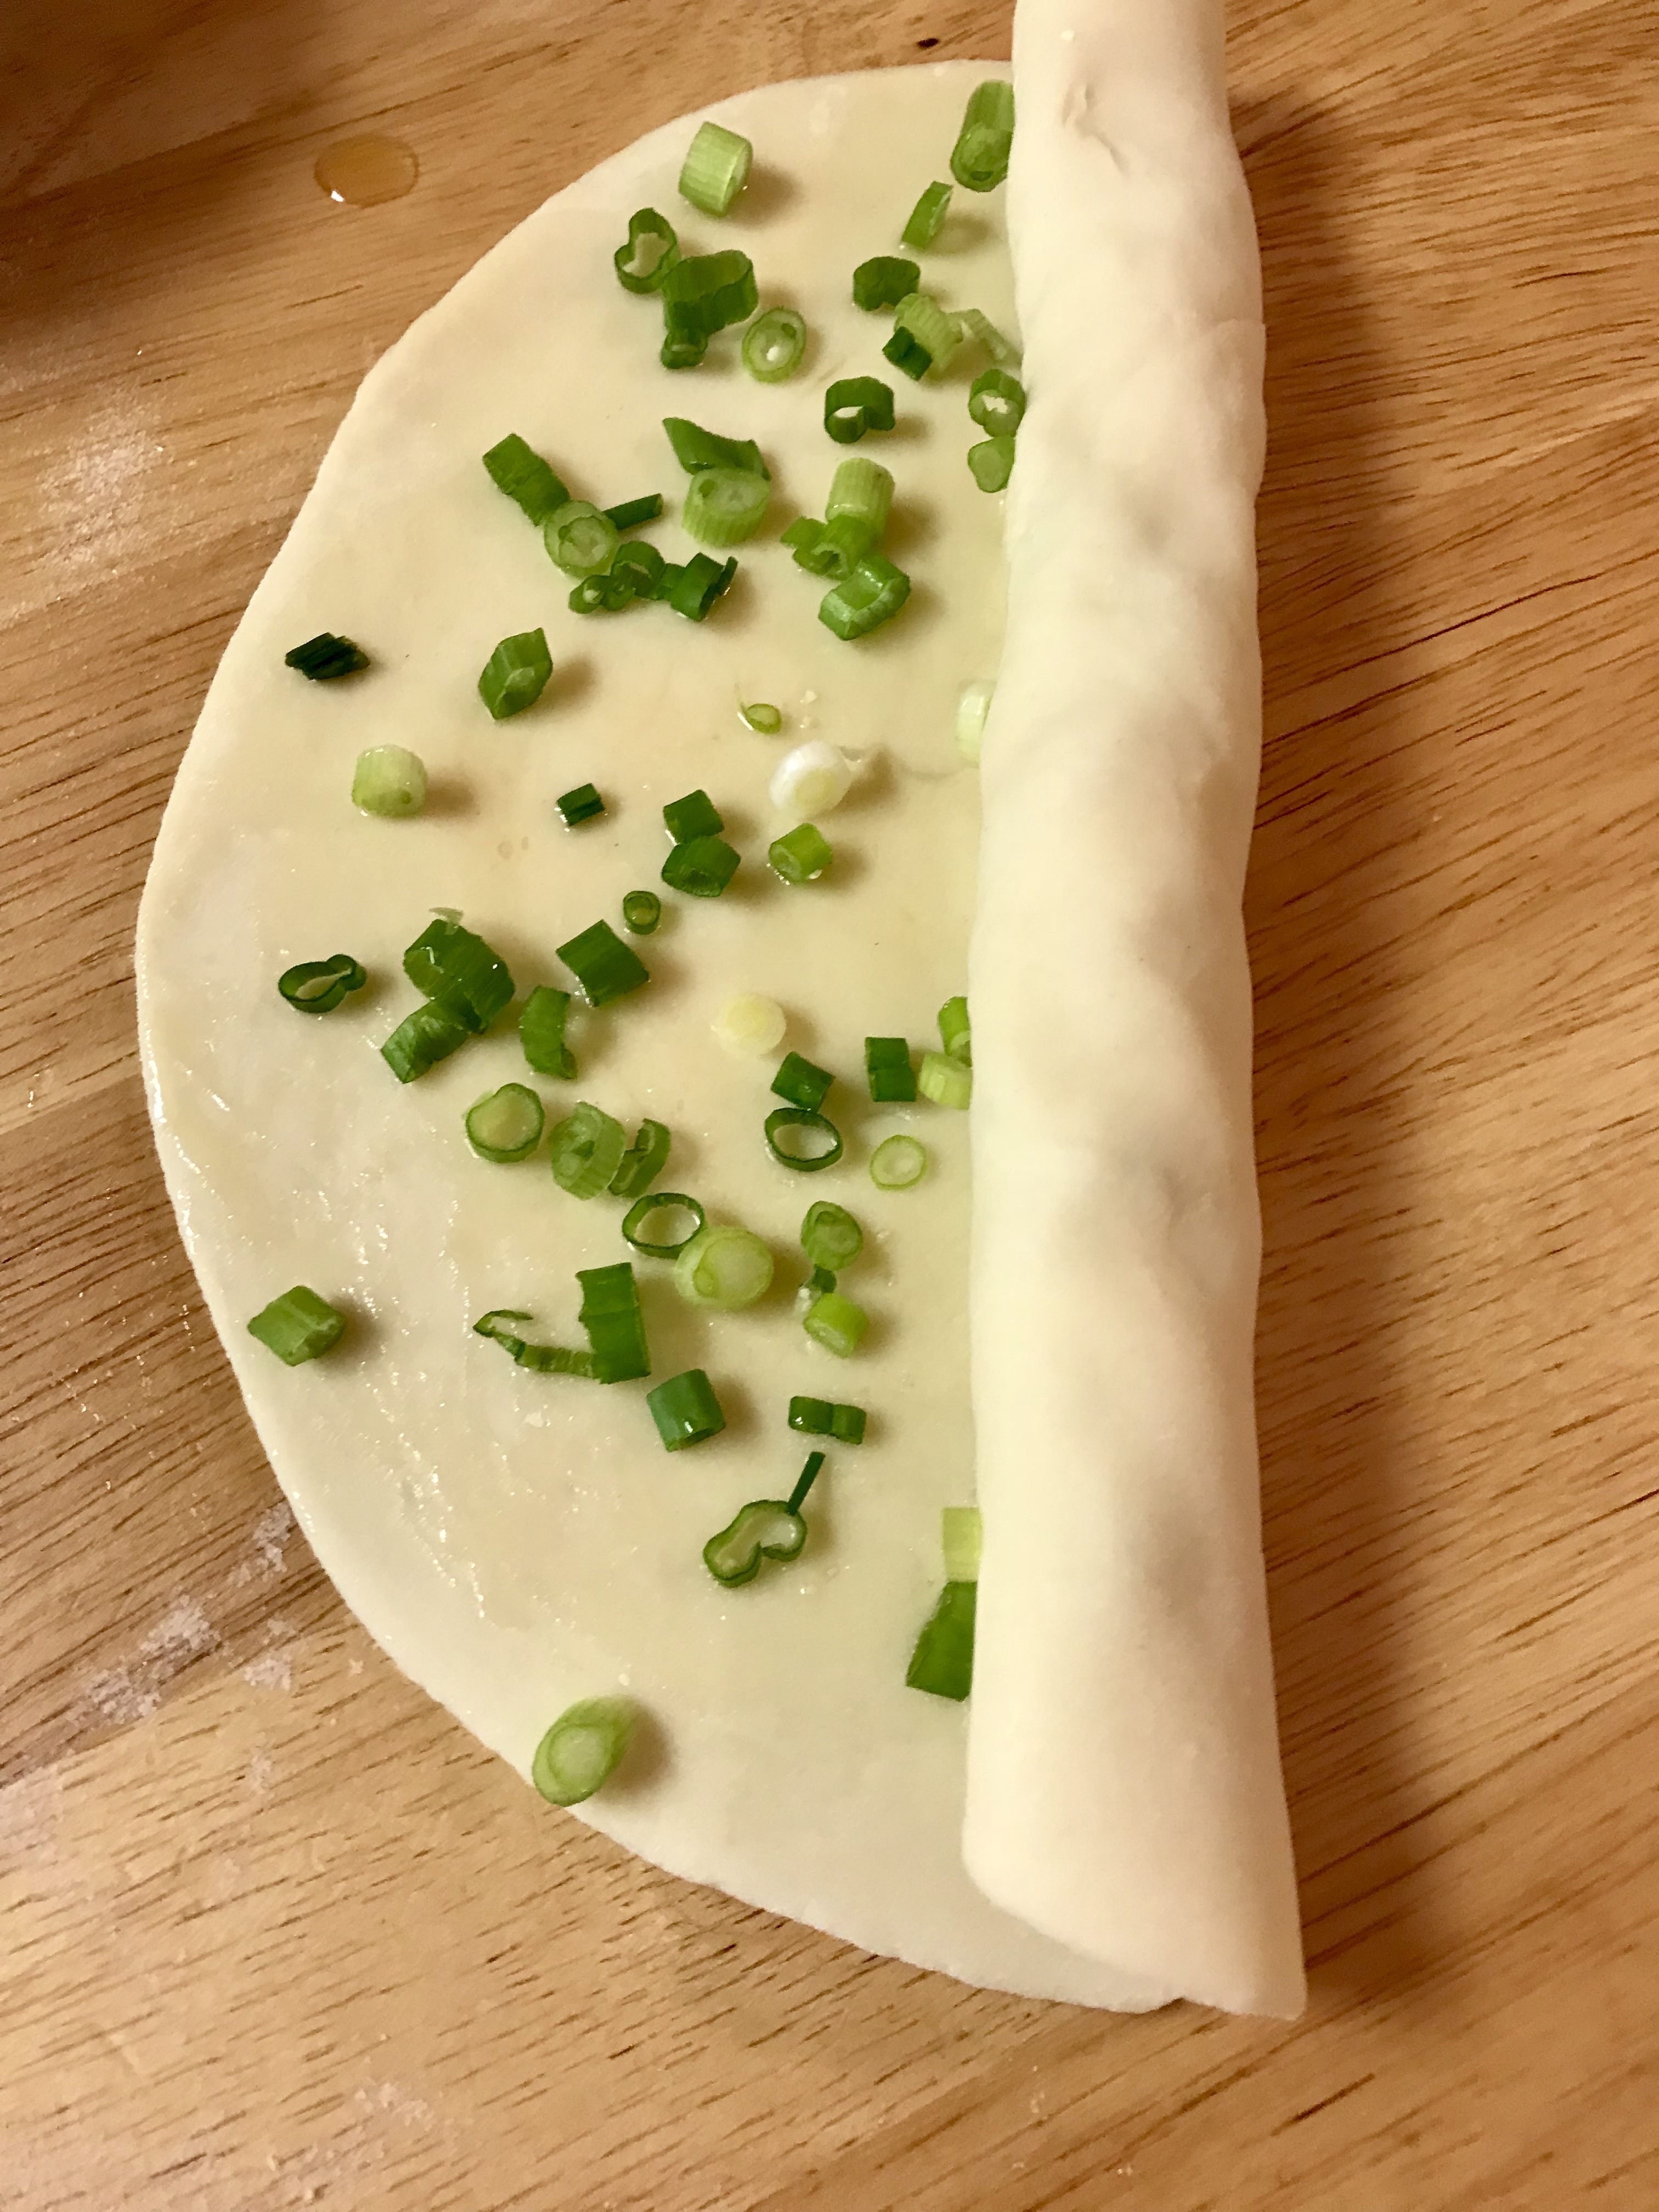
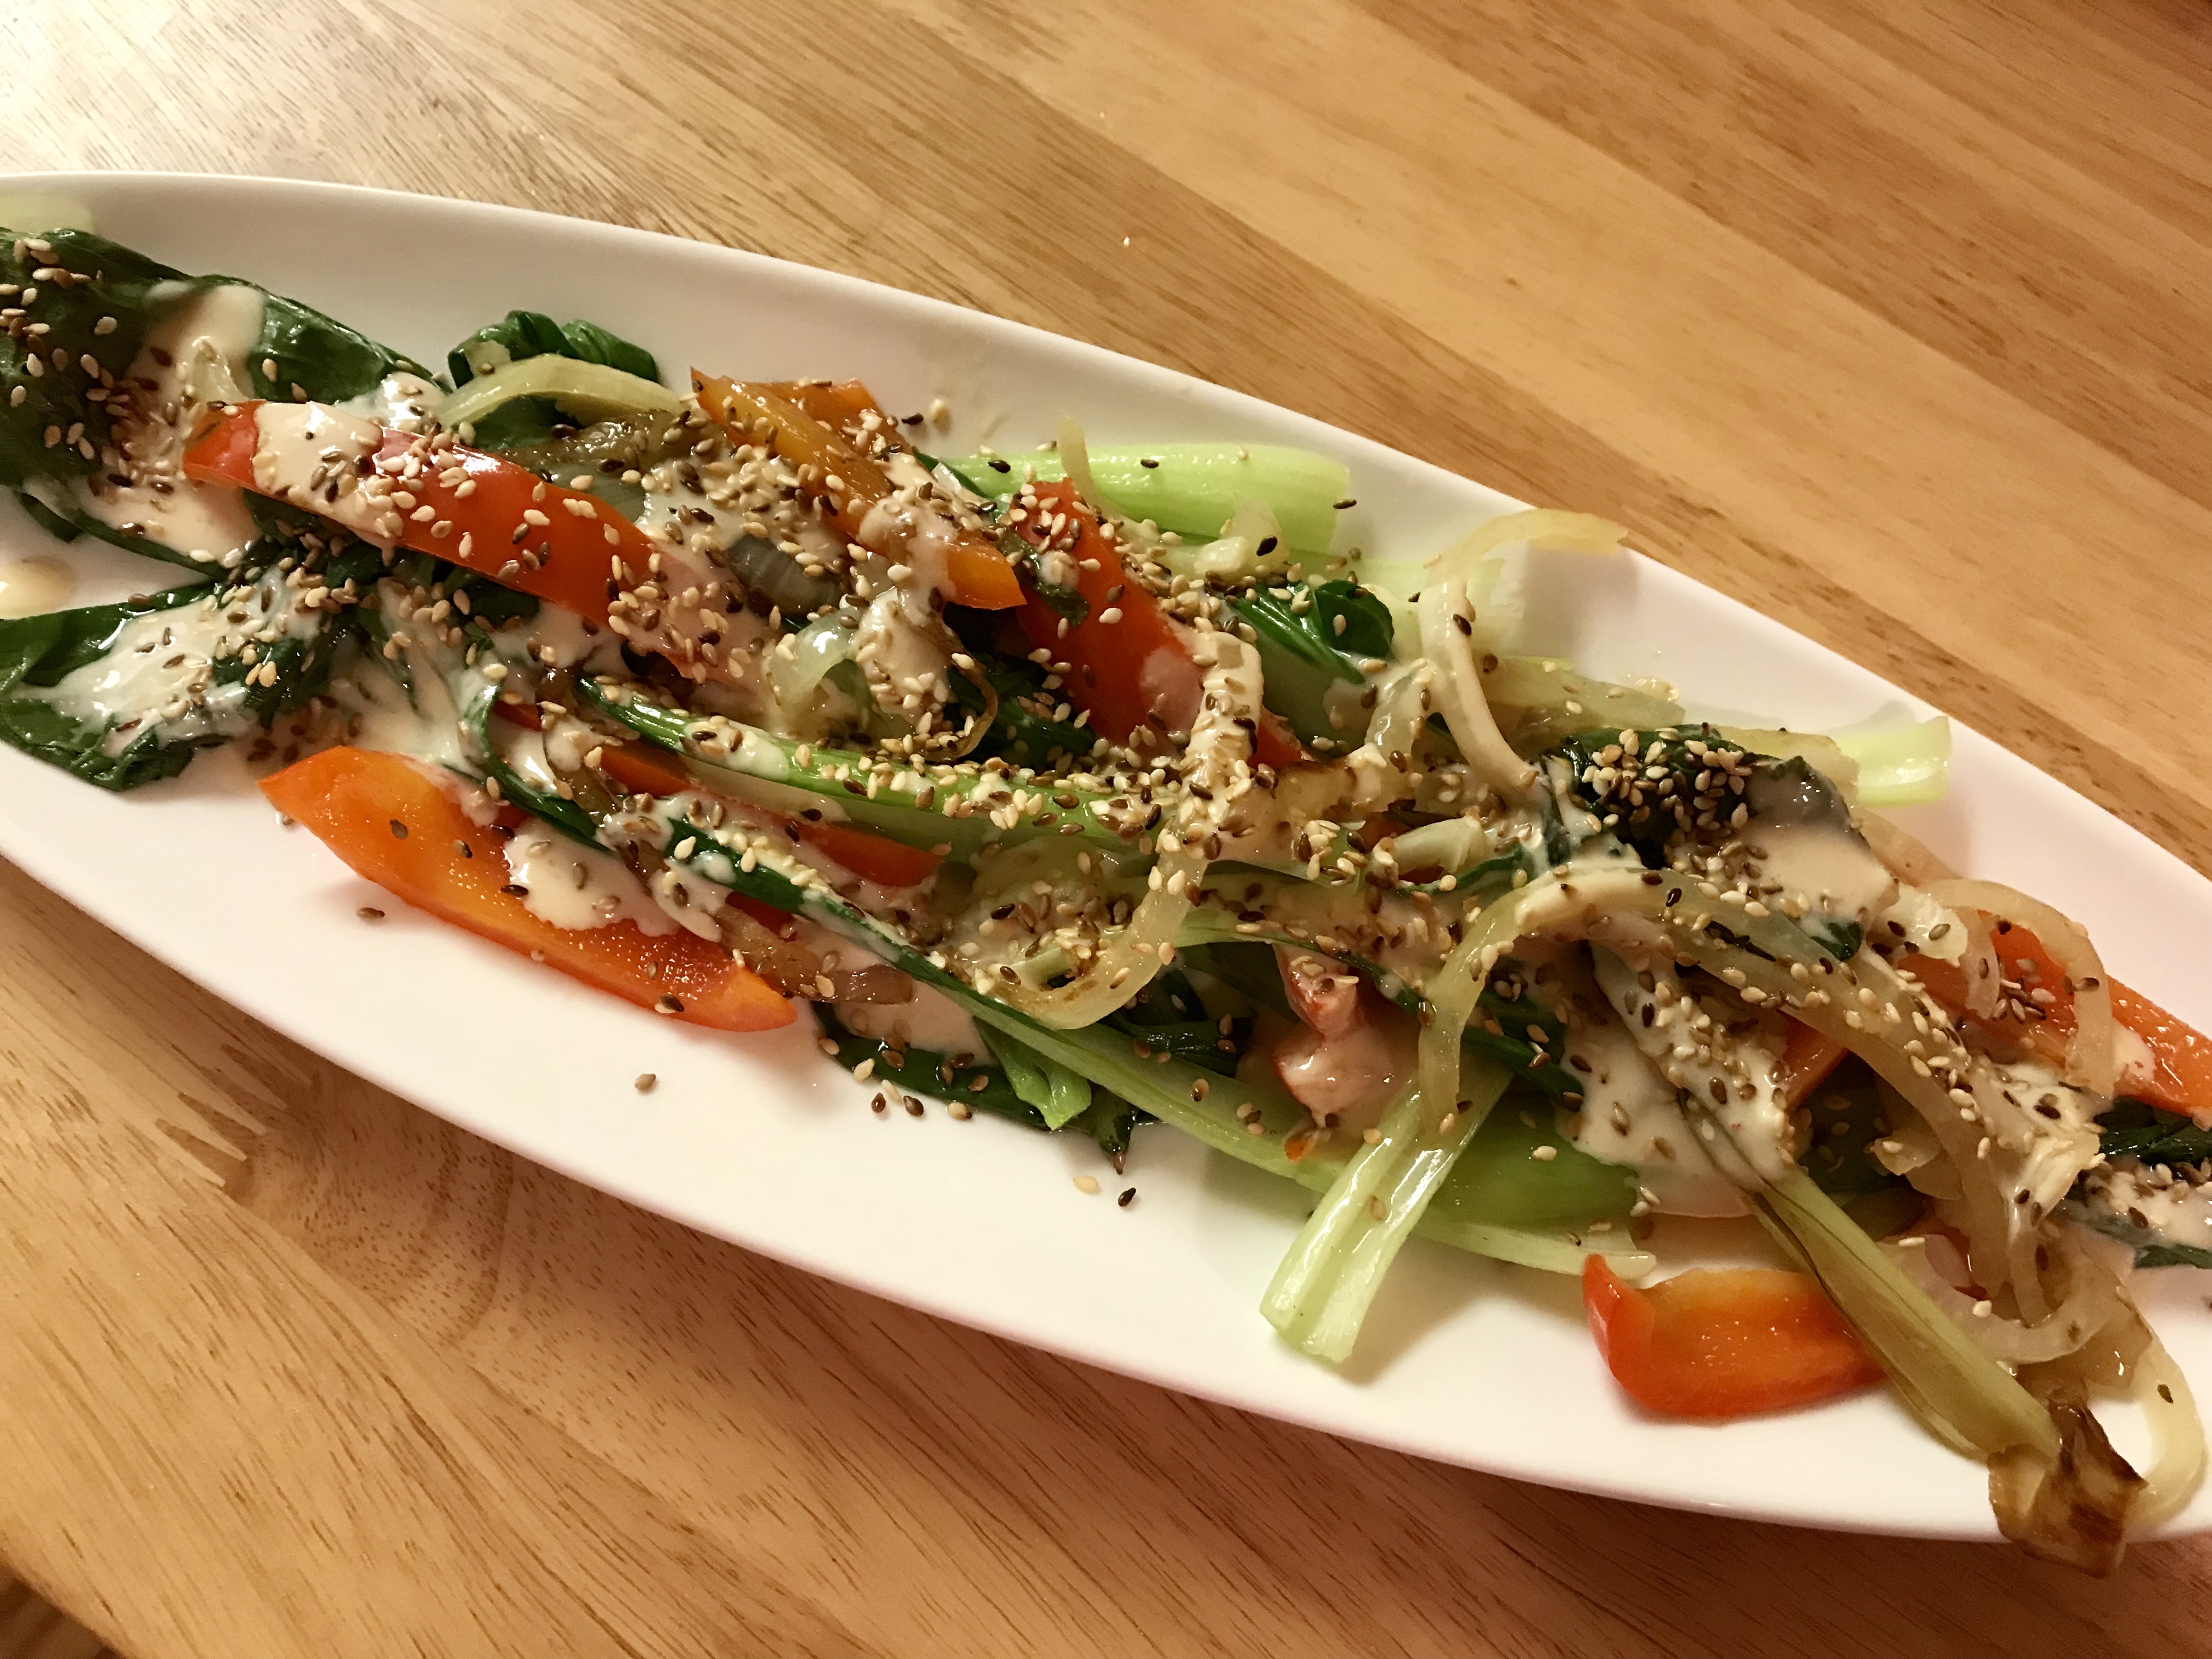
Sprinkle with toasted sesame seeds and chives or green onions for a little color.
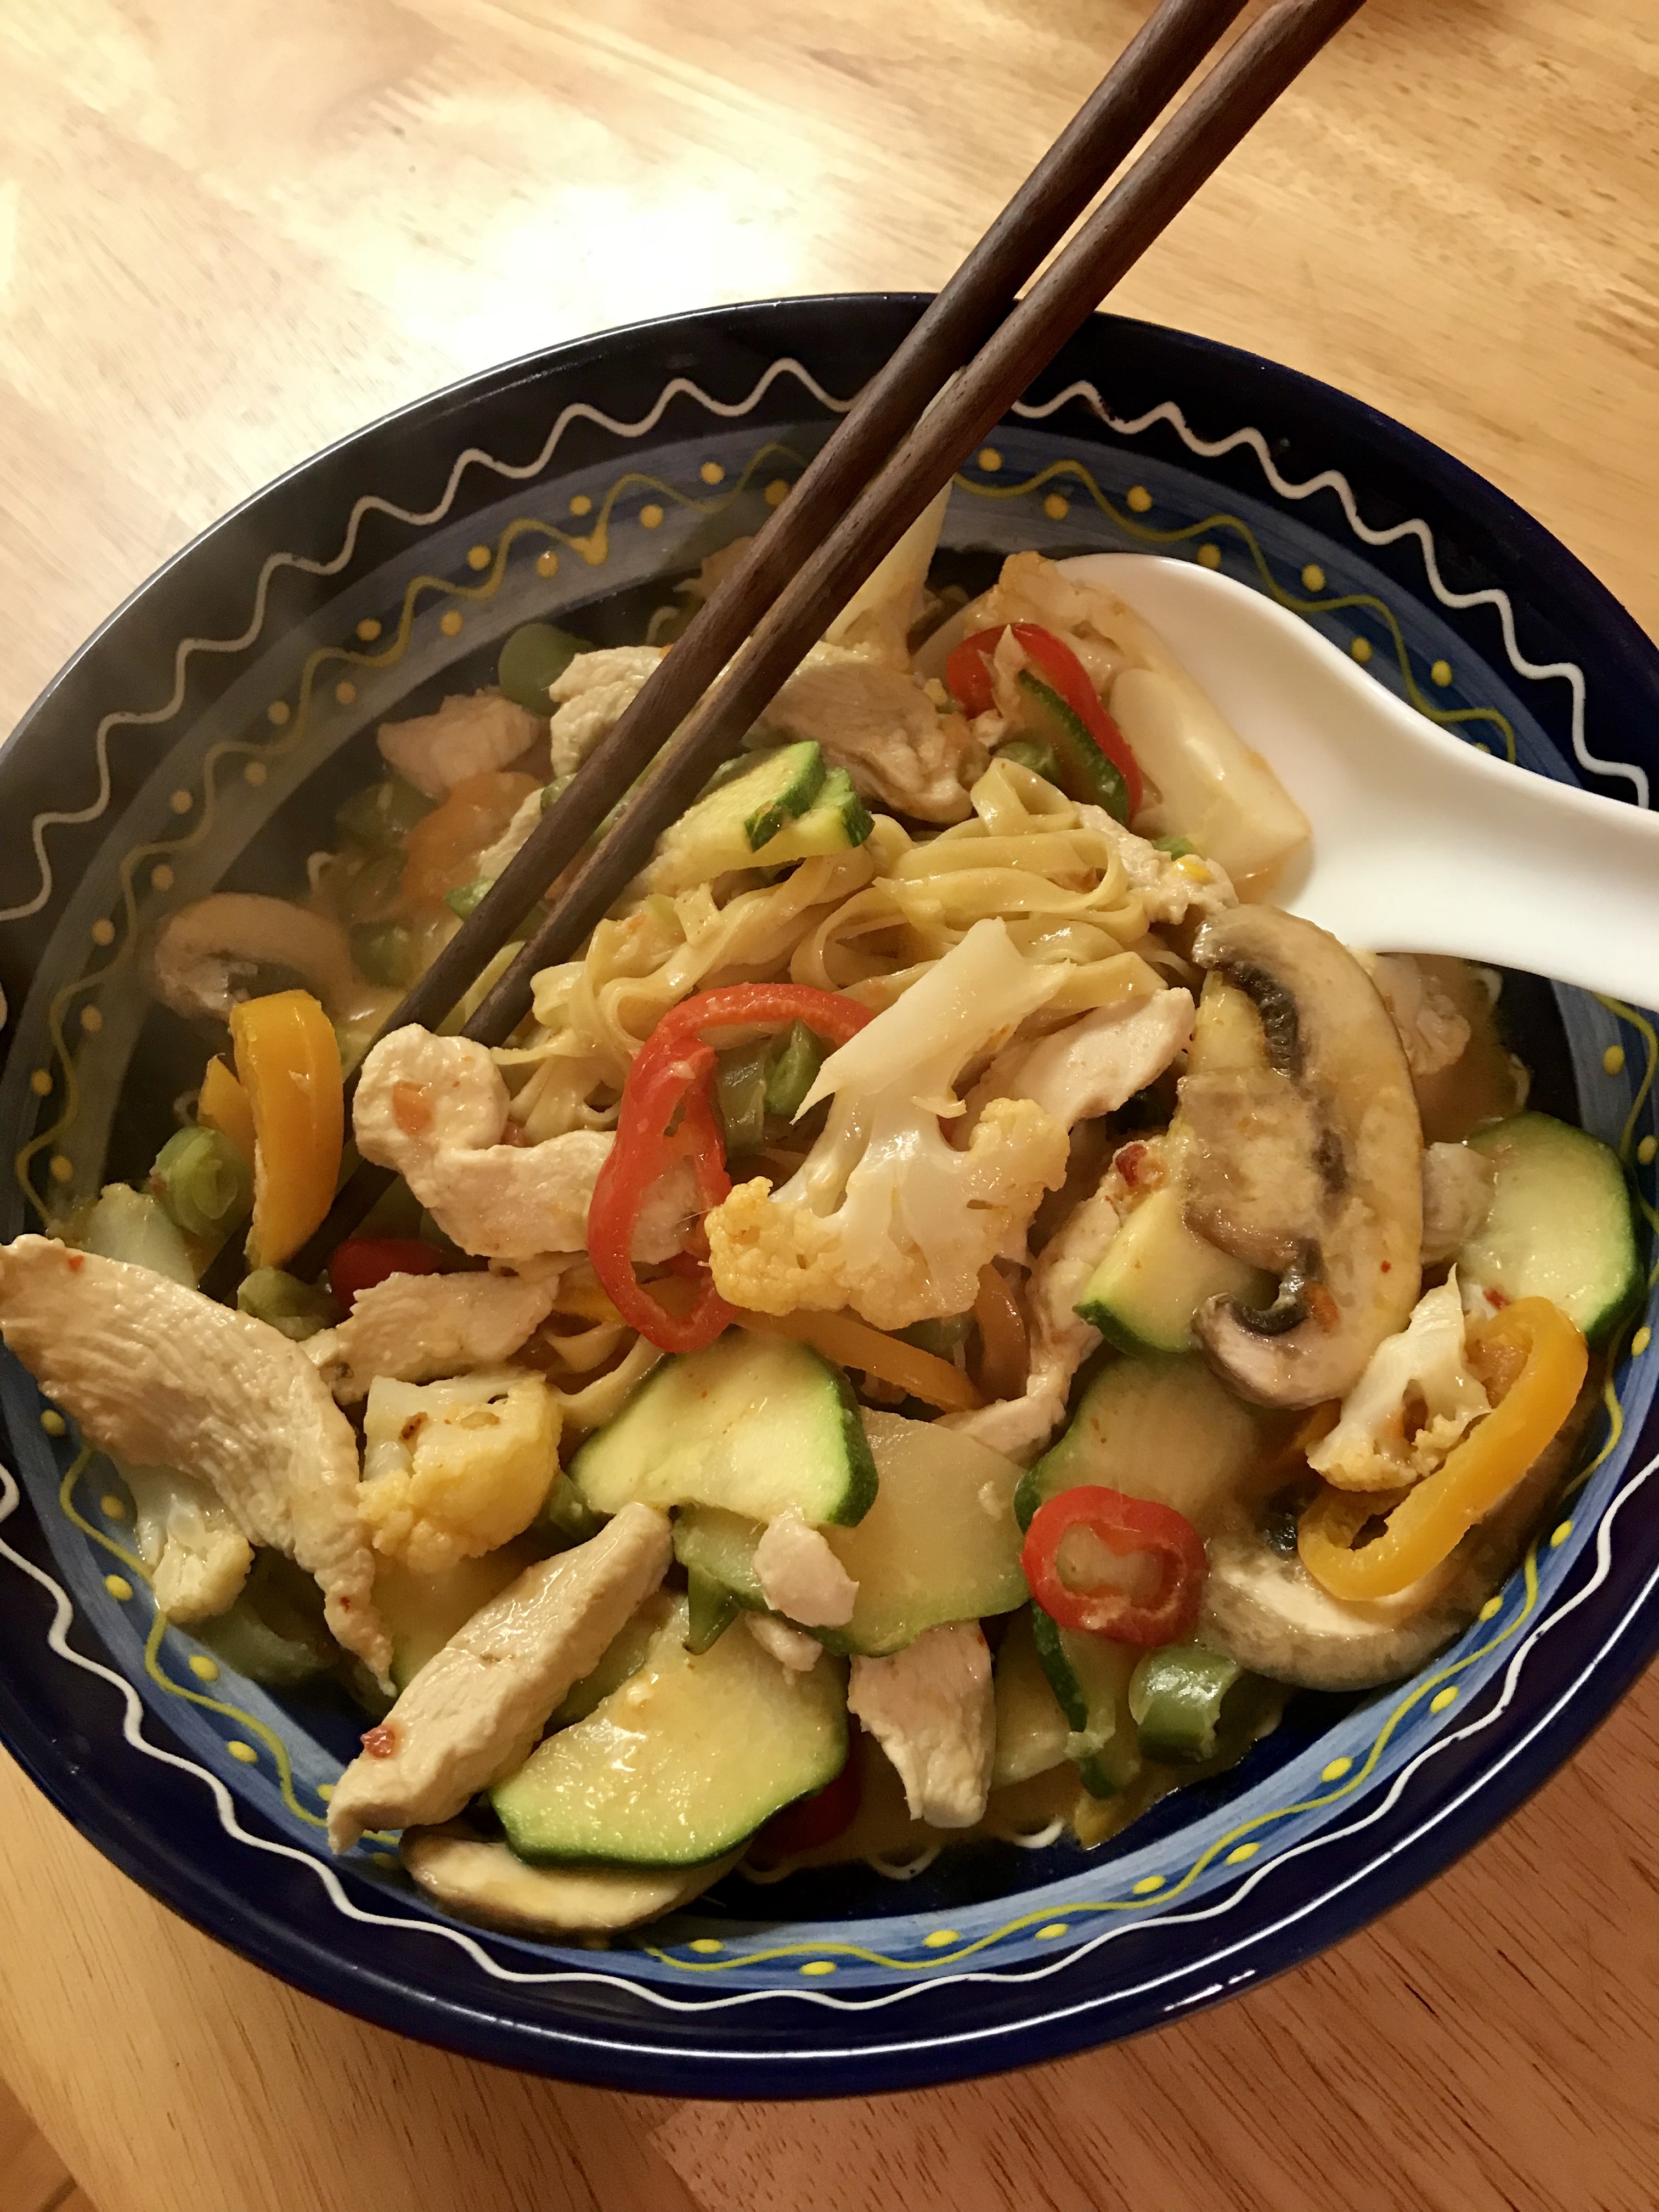
Sit back and enjoy! Pour yourself a glass of well deserved wine.

Todays version included sautéed mini bok choy. You could easily call this a clean out the fridge noodle dish, anything goes! This doesn’t have any meat in it at all, I felt like some Korean grilled chicken thighs – a bit of sweet, spicy and char makes it perfect. That is on the grill separately. If you leave it as is, you’ve got a great vegetarian dinner!
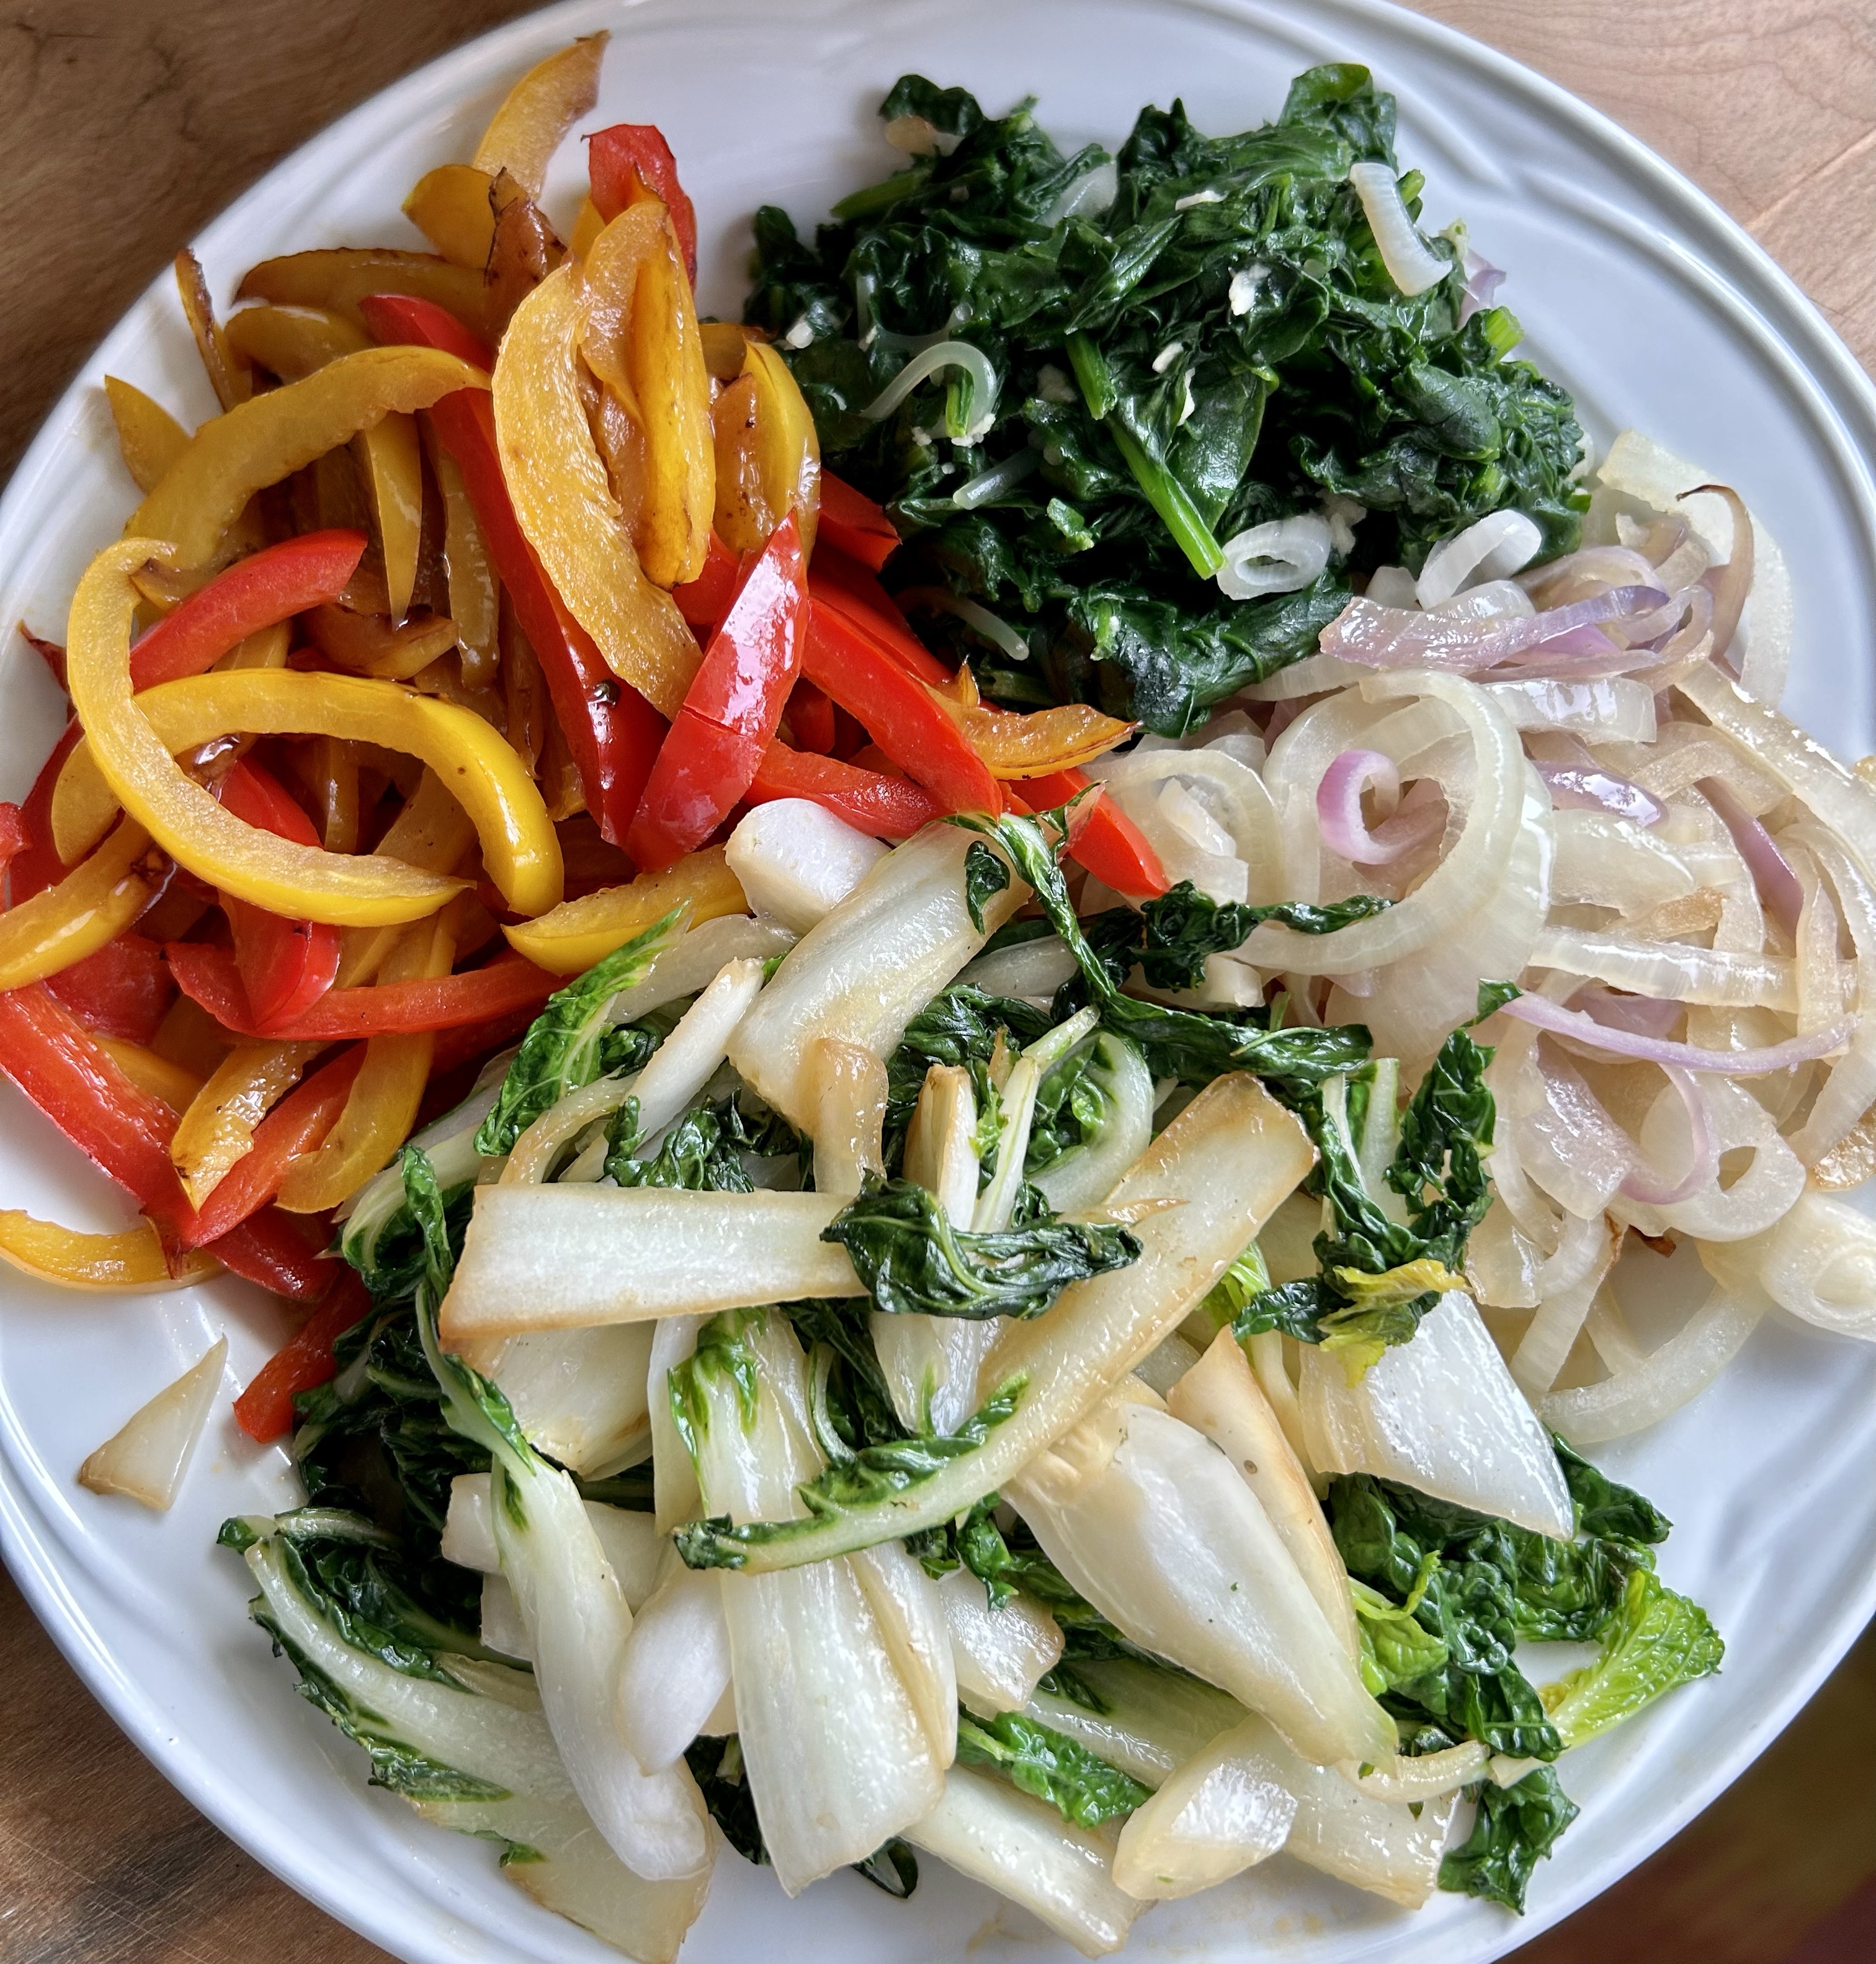
This was all the sautéed vegetables in tonights dish – each in the pan at separate times. I know, I’m fussy that way – go ahead and throw it all in at once if you like, and let me know if it makes any difference …. haha

Here are the raw veg – along with the cooked sweet potato noodles. – today was spiral carrots, bean sprouts, pea sprouts and slivered snap peas.
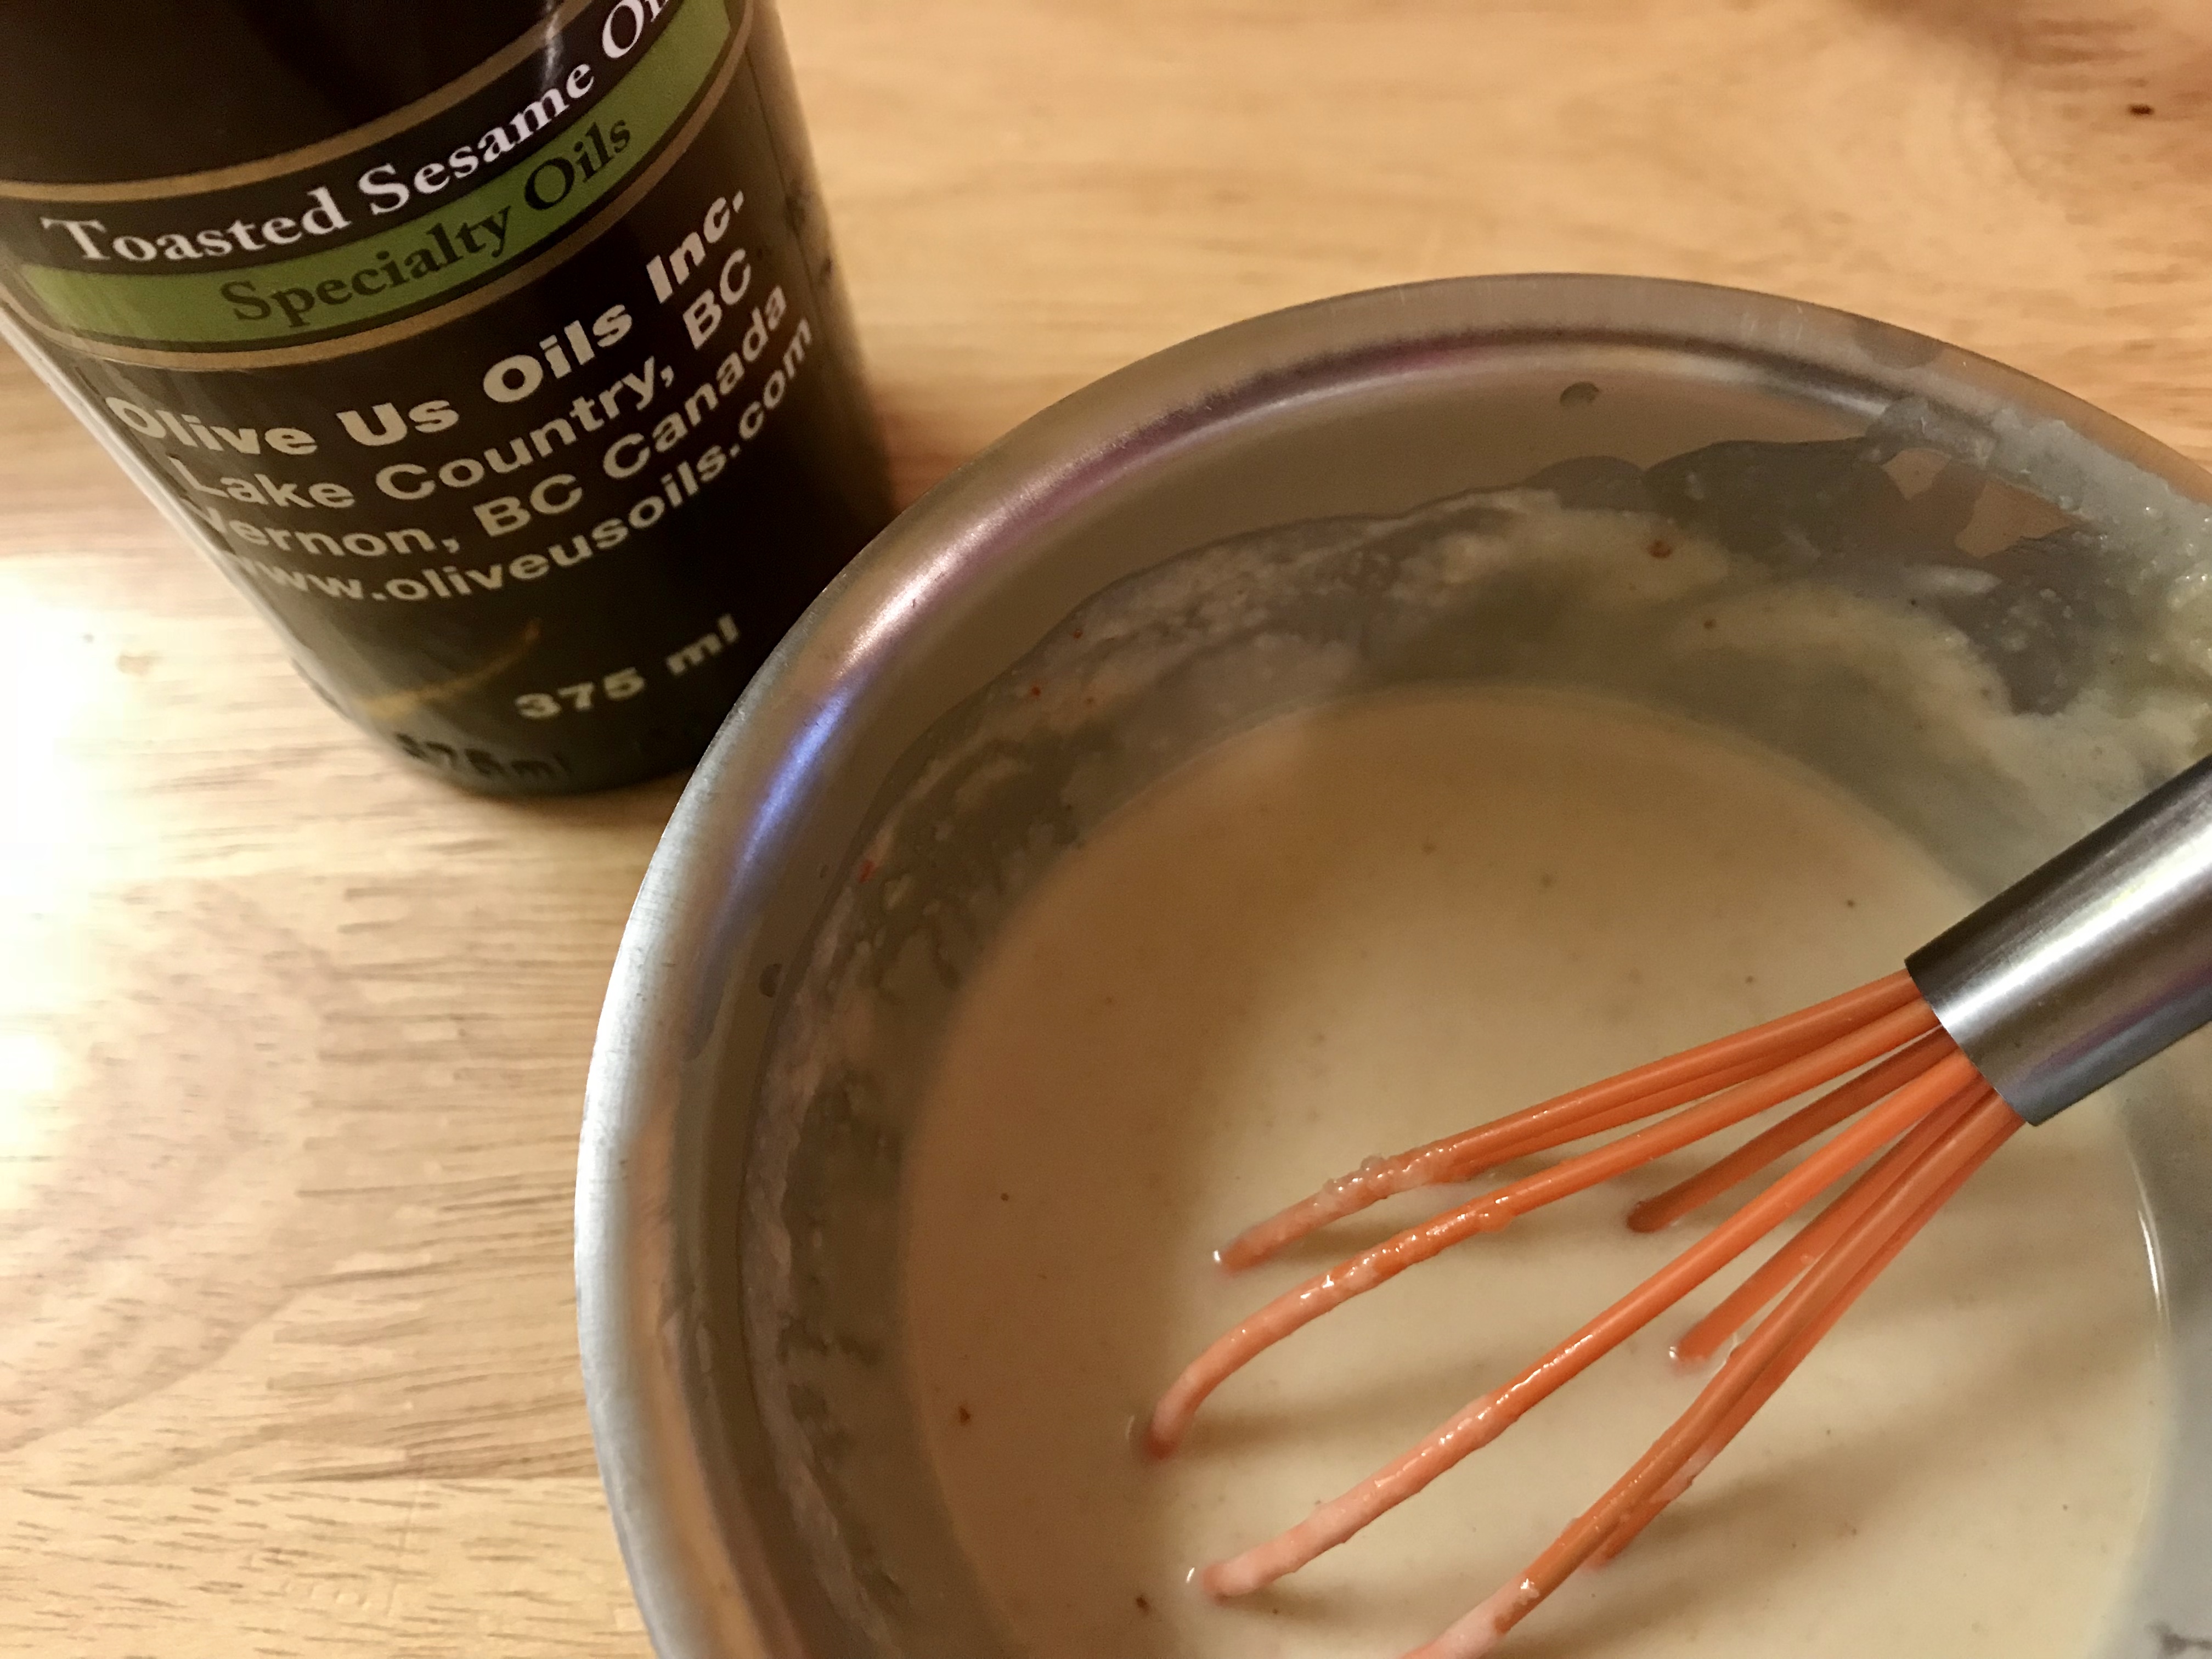
JAPCHAE SAUCE GLUTEN FREE VERSION
3 TBSP GF soy sauce
1 TBSP brown sugar
1/2 TBSP sesame oil
Whisk together until the sugar is dissolved. I added a bit of chili oil for a little kick, but honestly, this was fantastic, and we all loved it.
If you can find gojuchang free of malt barley, then you could just use the original sauce recipe.