Sloan’s Lemonade Scones

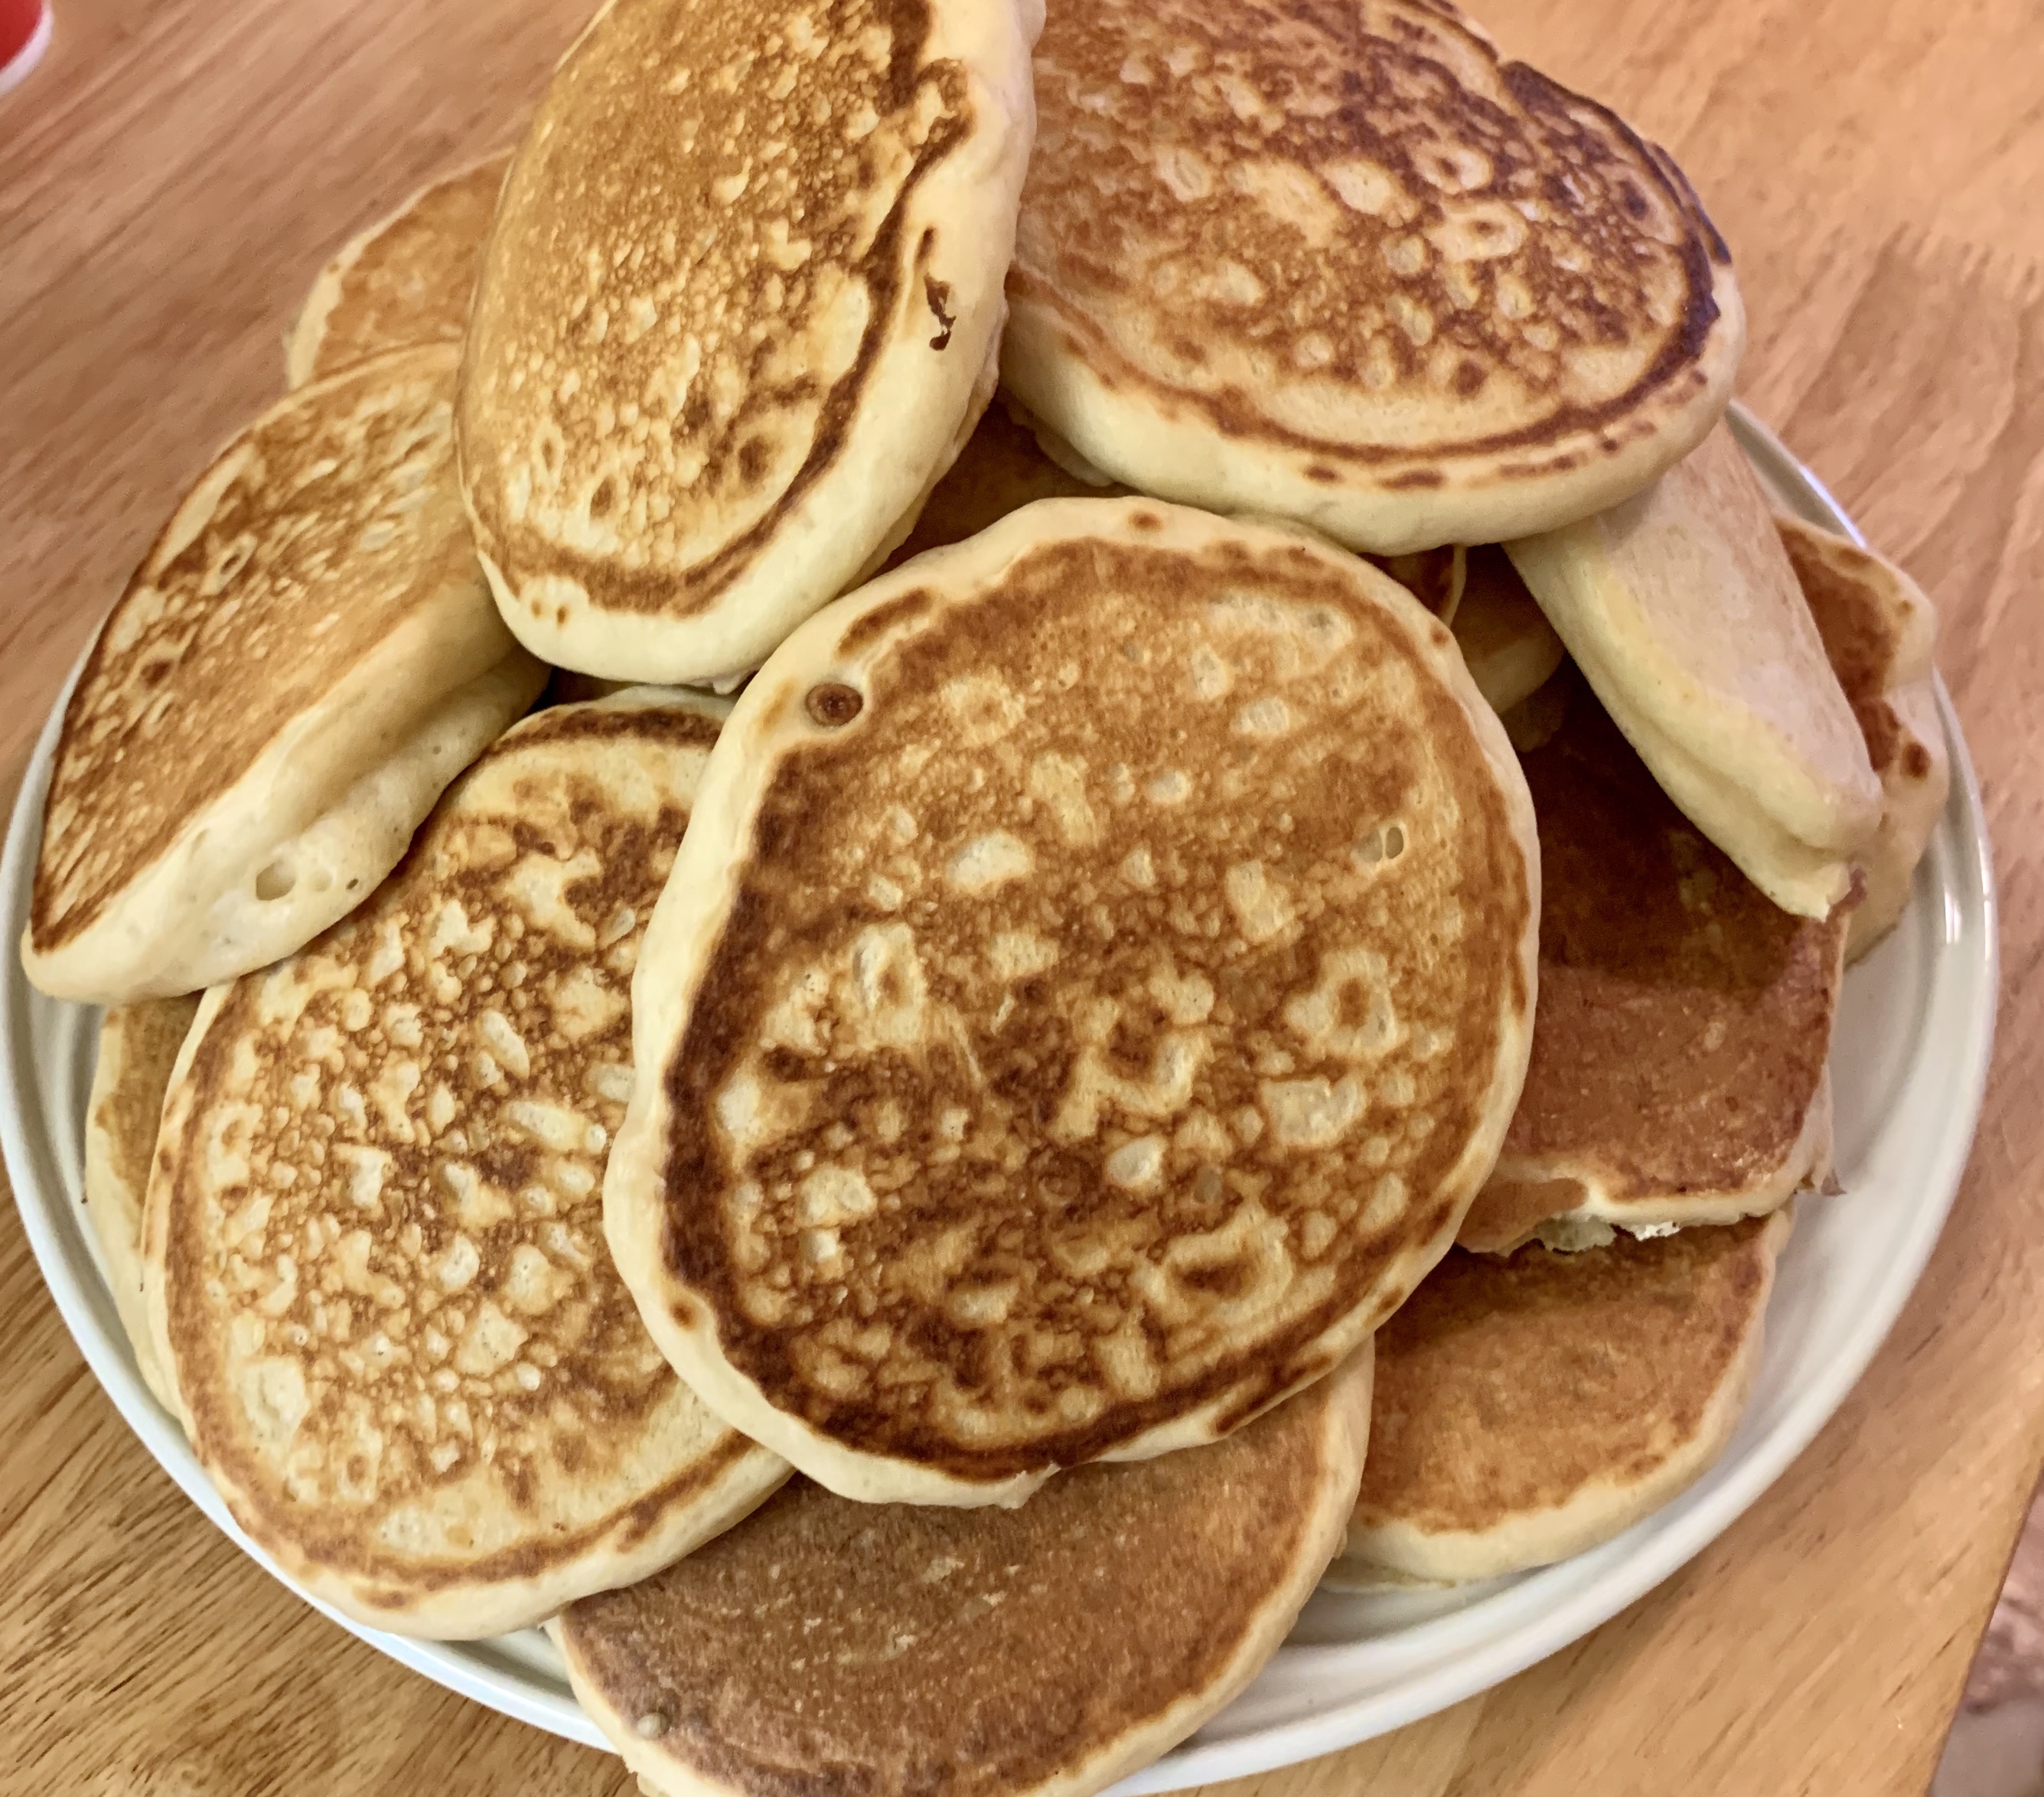
This is the first time I’ve had a guest contributor …. and it brings me great pleasure to introduce my granddaughter Sloan – 11 years old and very comfortable in the kitchen. She’s made these delicious little morsels with her Australian Nanny and wanted to make them at the orchard for breakfast – we loved them!

Ingredients

  • 3 1/2 cups self raising flour, plus extra for dusting
  • 1 cup heavy cream
  • 1 cup sprite

To serve (sweet)

  • whipped cream
  • jam

To serve (savoury)

  • cream cheese
  • ham

instruction

  1. Preheat oven to 200°C/390°F (180°C fan). Line tray with baking/parchment paper.
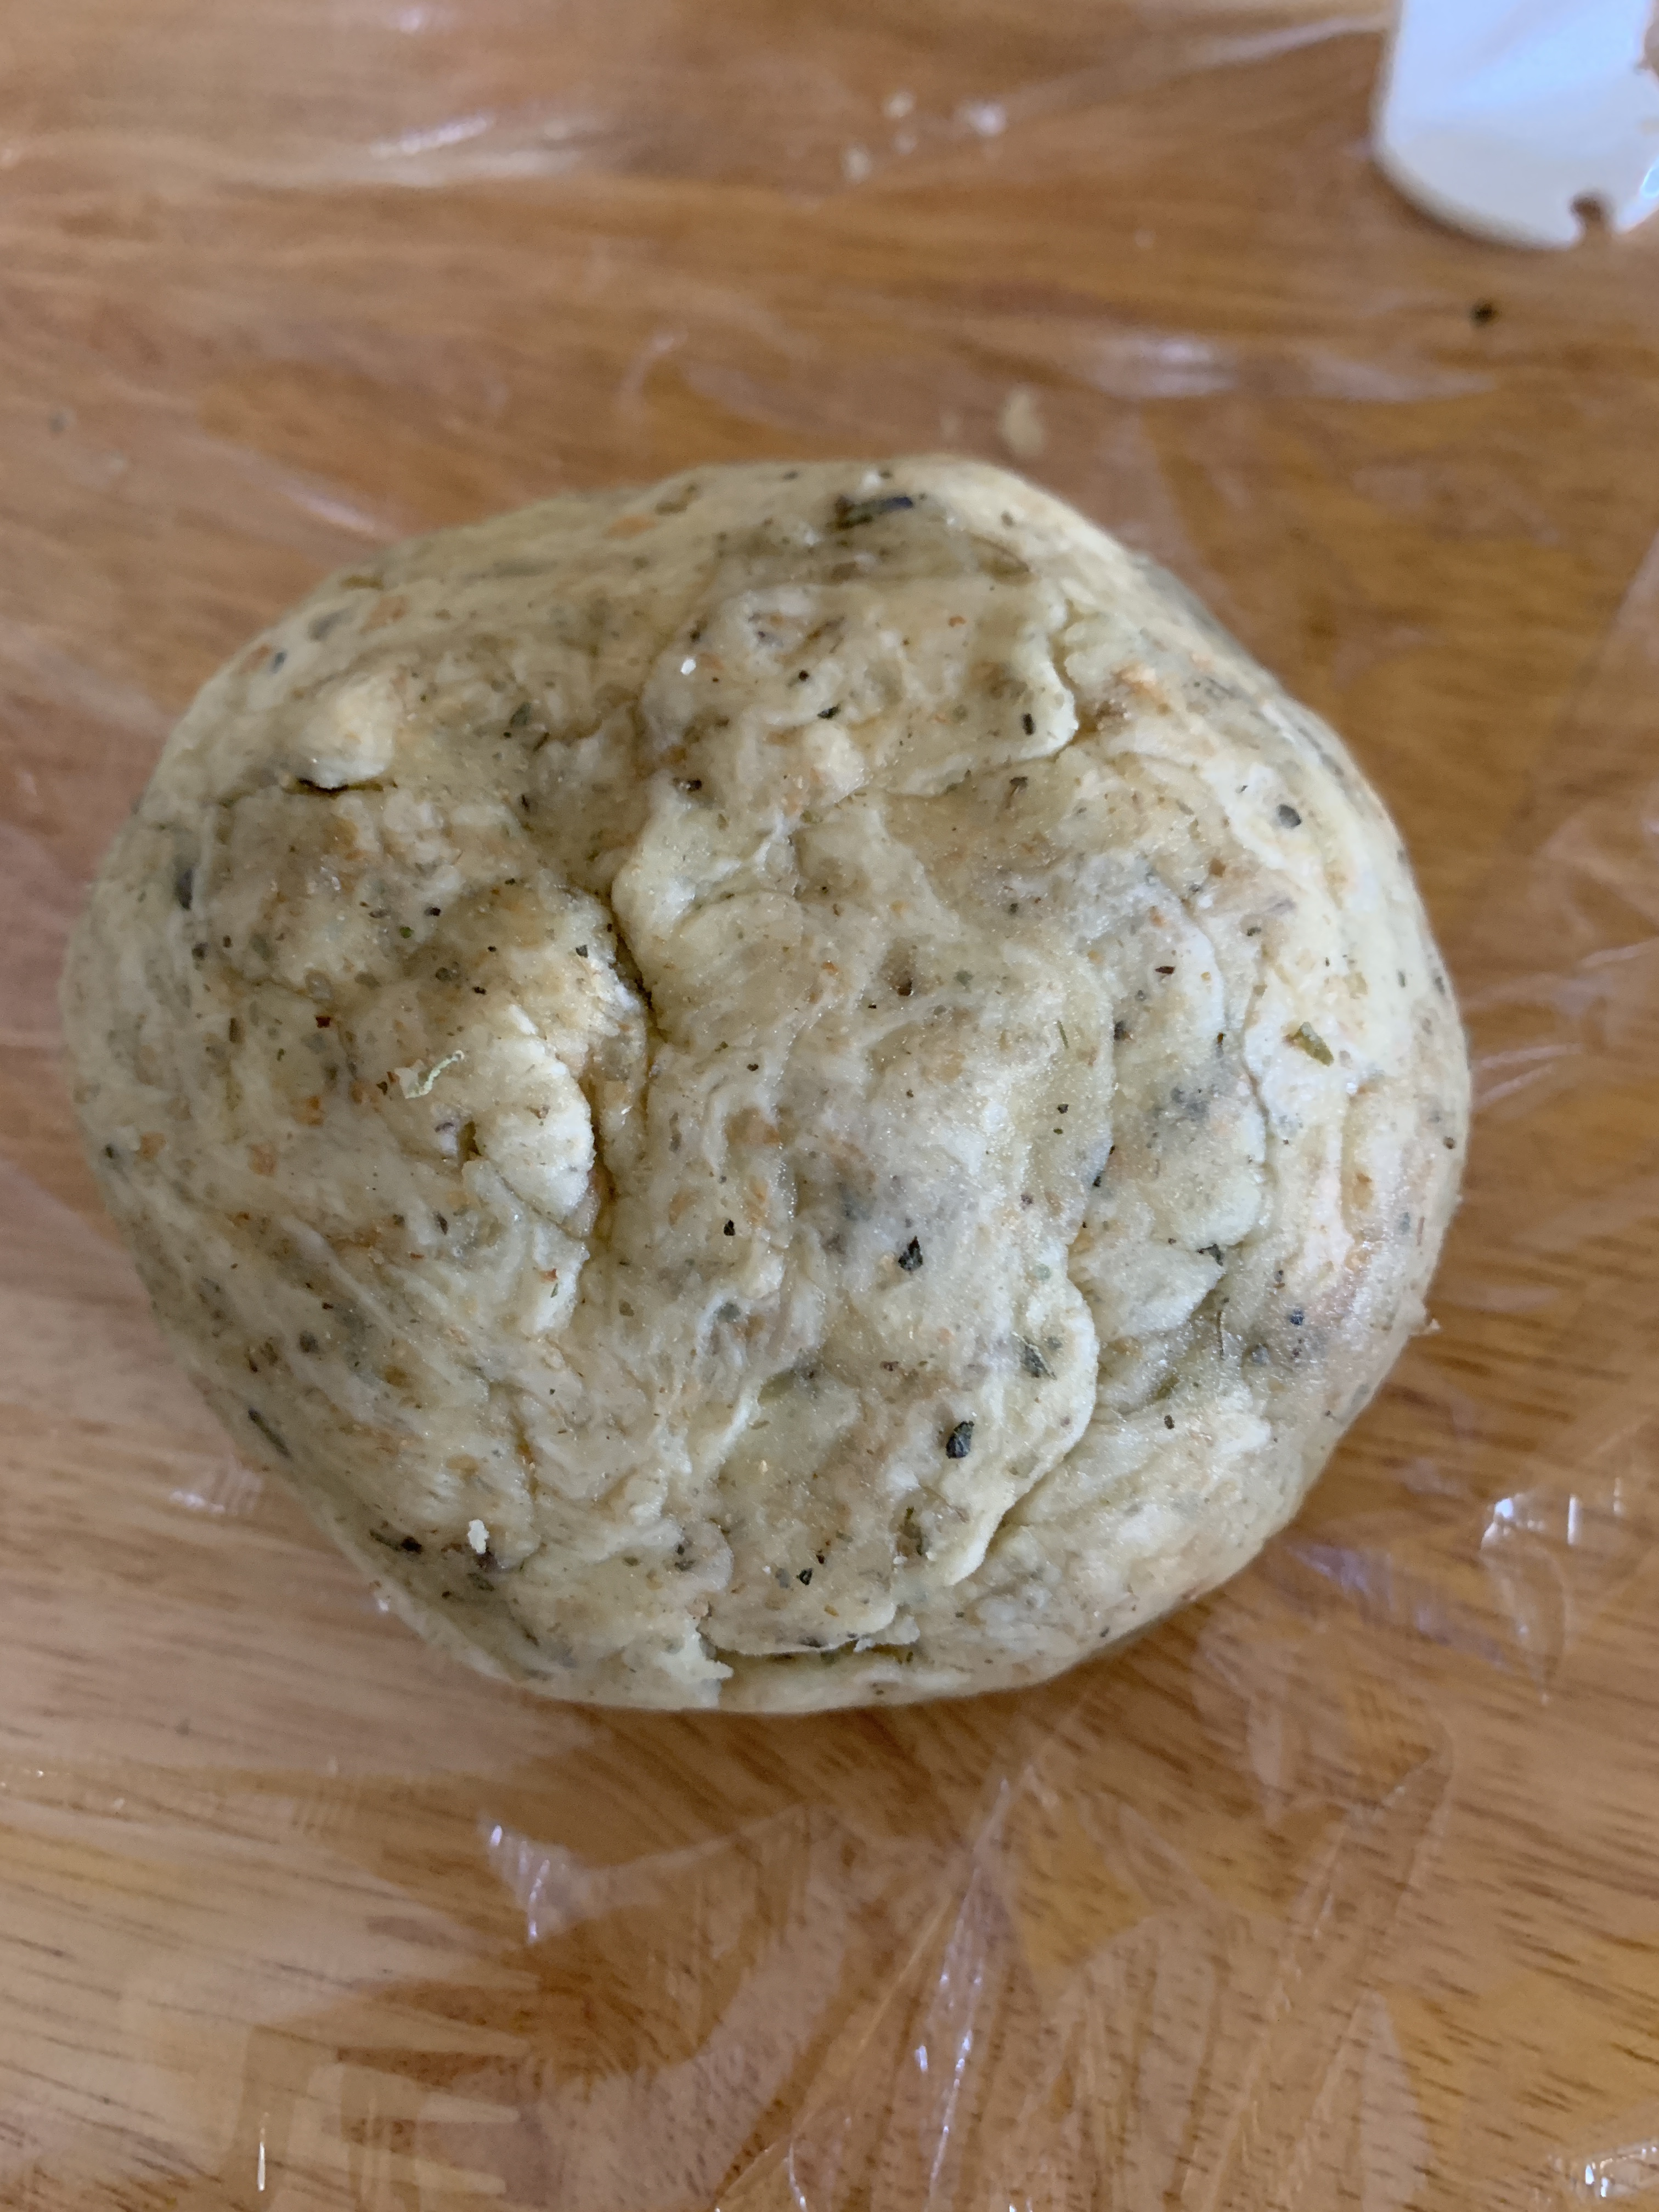
  2. Combine the flour, cream and lemonade in a bowl and mix until flour is mostly combined. Do not over mix, it will make the scones dense! The dough should be soft and fairly sticky.
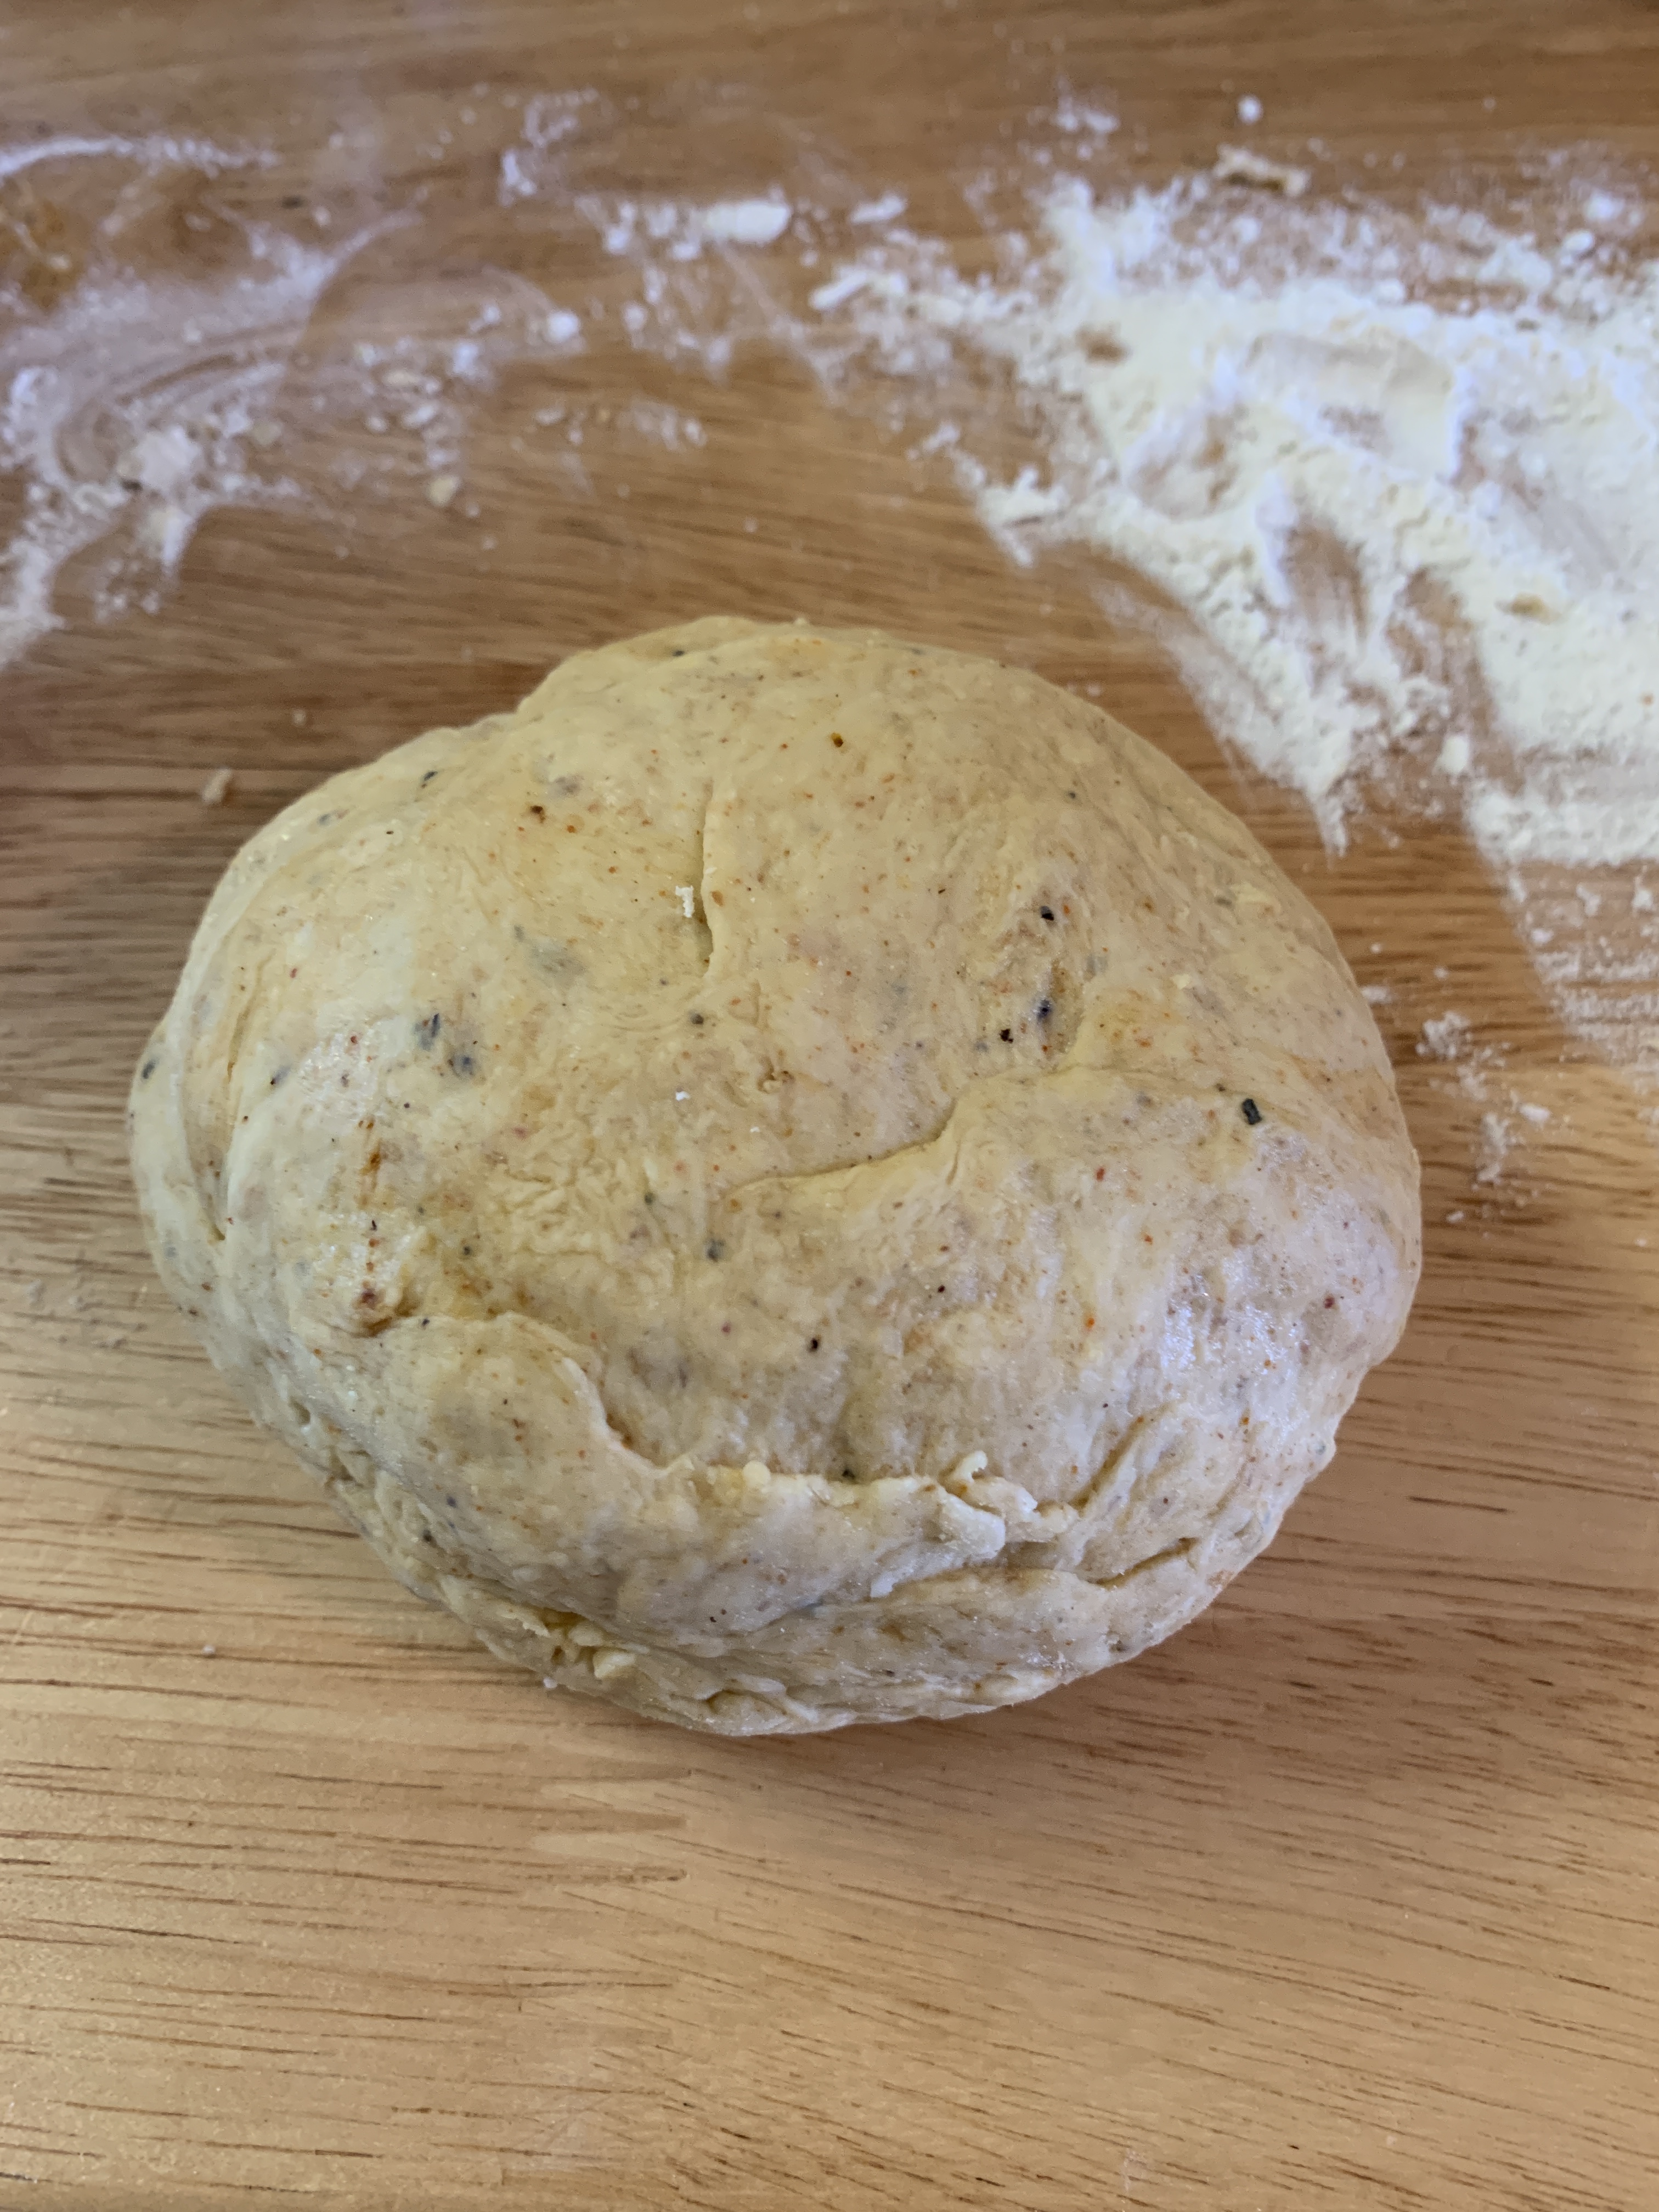
  3. Turn out onto a floured surface, and knead gently just 3 – 5 times to bring dough together, then gently pat into a disc shape 2.5cm/1″ thick.
  4. Use a 6cm/2.5″ round cutter to cut rounds – press straight up and down (don’t twist), flour cutter in between. (Note 4)
  5. Use a knife or similar to scoop up (avoid touching sides) and place on tray, slightly touching each other (they help each other rise).
  6. Brush the tops lightly with milk. (Note 5)
  7. Bake for 15 minutes until golden on top. Place on rack to cool. Place tea towel over them to stop the tops from getting crusty.
  8. Serve with copious amounts of cream and jam, and of course tea!

Tips

  • Less dough handling = fluffier scones. So only mix the batter until the flour is almost fully incorporated (ie can still some flour), then scrape onto work surface and knead as few times as possible to bring together into a disc shape with a pretty smooth surface (I aim for 5 kneads, 8 is ok).
  • Do not twist the cutter – press the cutter straight down and up, resist the urge to twist! If you twist, the sides of the scones gets “smeared” which affects how well they rise.
  • Avoid touching sides of scones – use a big kitchen knife or similar to transfer scones to tray to avoid touching the sides of the scones.
  • Place so they’re touching each other ever so slightly – because they help each other rise (isn’t that just so sweet? 😍)
  • Don’t be tight with the jam and cream – there’s nothing sadder than running out of cream mid scone scoffing!!

This recipe is from Recipe Tin Eats, thanks for a delicious breakfast!!

be careful not to handle them to much

Korean Kimchi Noodles

img_3504

Don’t you just love a noodle dish that is as versatile as whatever you have in your fridge or garden??  This is just what you need.  

NOODLES

  • 1 small zucchini, diced
  • 1/2 cup diced onion
  • 1/2 cup coloured bell peppers, diced
  • 1/2 cup slivered cabbage
  • 1/2 cup kimchi, diced fine (if you absolutely love kimchi go ahead and use more!)
  • 1/2 cup snap peas, sliced thinly
  • 1 cup bean sprouts
  • 1 lb ground pork
  • 1 Pound fresh noodles

GARNISH

  • Scallion, Toasted Sesame Seeds, Korean Chile Flake, Cilantro and Egg for Garnish

SAUCE

  • 1/4 Cup Gochujang paste
  • 2 TBSP soy sauce
  • 2 TBSP sesame oil
  • 2 TBSP rice vinegar 
  • 1 tsp natural sugar
  1. Mix the sauce ingredients together and set aside.
  2. Cook the noodles in boiling water according to the package instructions. Strain the noodles and rinse well. Drain and set aside.
  3. Prepare the kimchi & vegetables and stir fry until almost cooked, then add in the bean sprouts – remove from pan and set aside.  Add bit of oil to the pan,  stir in the pork and cook 2 minutes. Add in the sauce, reserved vegetables and bring to a simmer. Remove from heat. Stir in the noodles. Stir well to mix and coat.
  4. Serve with garnishes to taste.

img_3499

These are the assorted vegetables I had on hand today, and with the sauce it was delicious.  This makes a full meal in one if you pack in enough vegetables along with a little protein (if you are so inclined).  It certainly doesn’t have to be ground pork.  Today I had a wee bit of ground pork in the freezer so I used that along with some shrimp, (chopped up) but it could just as easily be any ground meat or tofu.


Sourdough pancakes

img_3493

Still looking for ways to use that sourdough starter or discard you created during this Covid-19 pandemic?  These pancakes are ideal!  You get that sourdough tang along with the fluffiest pancakes.  If you love buttermilk pancakes these will be a hit.

  • 2 cups all purpose flour
  • 2 tsp baking powder
  • 1 tsp baking soda
  • 2 tbsp granulated sugar
  • 1 tsp salt
  • 1 cup sourdough starter (or discard from your fridge)
  • 1 1/2 cups milk (any kind will do)
  • 1 large egg, well beaten
  • 1 1/2 tsp vanilla
  • 2 tbsp butter or light oil of your choice

Whisk all the dry ingredients together, then add in the wet.  I used a separate bowl to mix the wet just to get the egg incorporated but you certainly don’t have to.

Mix batter together just until it the dry ingredients are absorbed.  Don’t overmix or your pancakes won’t be as tender as they could be.

Use a little cooking spray or butter on your hot griddle and pour 1/2 cup batter on for each pancake.  Flip when the air bubbles have popped (about 1-2 minutes) and then flip over for another 1-2 minutes, just until lightly browned on the second side.

Make a big batch on the weekend and freeze for easy week day breakfasts!

img_3491

This is from 1 1/2 times the recipe ….. a big batch of pancakes!

Garlic Herb Naan

Garlic Herb Naan 1

Hands down, these were my best naan yet!  I think I had to convince myself to go with the lightly oiled pan as well as brushing butter on the naan itself before putting it in the pan – but it was SO worth it.

  • 1/4 cup warm water
  • 1 tablespoon honey
  • 3/4 teaspoon active dry yeast
  • 3/4 cup warm whole milk
  • 1 cup full fat plain greek yogurt
  • 4 cups all purpose flour
  • 1 1/2 teaspoons baking powder
  • 1 teaspoon baking soda
  • 1/4 teaspoon kosher salt
  • 8 tablespoons (1 stick) salted butter, melted and divided in half
  • 2-4 cloves garlic, grated
  • 3/4 cup chopped mixed herbs (such as parsley, cilantro, chives, and/or dill)

INSTRUCTIONS

1. In the bowl of a stand mixer, combine the water, honey, and yeast. Let sit for 5-10 minutes or until the mixture begins to bubble on top.

2. Add the milk, yogurt, flour, baking powder, baking soda, and salt. Using the dough hook, mix until the flour is completely incorporated, about 2-4 minutes. The dough should be sticky. Dust lightly with flour and knead the dough into a ball using your hands. Cover the bowl with plastic wrap and let sit in a warm place for 1 hour, until doubled in size, or if not using right away, overnight in the fridge.

3.  When ready to cook divide the dough into 8 equal balls. Using a rolling pin, roll each piece of dough into a large oval, about 8 inches long and about 1/4-inch thick. Repeat with the remaining dough.

4. Heat a large cast iron skillet over medium-high heat, you want the pan screaming hot. Brush both sides of the naan with half of the melted butter. Drizzle the the skillet with a teaspoon of olive oil, then carefully use a paper towel to wipe the oil around the skillet. Place the naan on the hot skillet, immediately cover with a lid and cook for 1 minute, bubbles will form. Flip and cook, uncovered for another 1-2 minutes, until large toasted spots appear on the underside. Remove from the skillet and wrap in a clean kitchen towel. Repeat with the rest of the naan, keeping them wrapped in a towel while you work.

5. To make the garlic herb butter. Melt together the remaining half of the melted butter plus the garlic. Heat over low heat until the butter is lightly browned and the garlic golden. Remove from the heat and add the herbs. Brush the garlic herb butter over the warm naan and serve. These are best served warm, right off the skillet, but leftovers are still delicious. Keep stored in an airtight container for up to 3-4 days or freeze for up to 3 months.

Garlic Herb Naan 4

Even from this photo you can see little air pockets waiting to puff up, and you can see how soft the dough is.  With only two of us to cook for during this Covid 19 pandemic, I cooked up 4 of them, and rolled the other 4 out to put in the freezer.                                                                             One busy day ahead I will have naan ready for the fry pan, and I’m pretty happy about that.


This is one of those “sometimes” recipes where you just have to go with full fat milk and full fat yogurt.  Of course, if you aren’t able to do that, they will still be delicious, just not quite as delectable.

Garlic Herb Naan 3

Naan is perfect for dipping in this creamy coconut shrimp curry.  

Thanks for this amazing naan recipe go to http://www.halfbakedharvest.com

I love her recipes – they always seem to turn out perfectly – I didn’t change a single thing on this.  If you don’t have a stand mixer, no worries, just mix by hand and then get your workout kneading the dough until it is soft and not too sticky.

Sourdough Sandwich Bread

I love those round loaves of sourdough bread, crunchy crust, chewy interior with lots of holes …… but this is not one of them.  Sometimes I also just want a soft sandwich loaf with all the flavour of my sourdough breads.  This makes enough for 2 loaves.  I made one in a traditional loaf pan and the rest of the dough turned into the most amazing rolls I’ve ever come up with.

Soft sourdough 6

Ingredients

Levain

  • 1 cup + 1 tablespoon (128g) King Arthur Unbleached All-Purpose Flour
  • 1/2 cup + 1 tablespoon (128g) cool water (60° to 70°F)
  • 3 tablespoons (44g) ripe (fed) sourdough starter

Dough

  • 5 1/4 cups (631g)  Unbleached Bread Flour or  Unbleached All-Purpose Flour*
  • scant 6 tablespoons (50g) milk powder
  • 1/4 cup (50g) sugar
  • 2 1/2 teaspoons salt
  • 2 teaspoons instant yeast
  • 1/4 cup (4 tablespoons, 57g) unsalted butter, room temperature
  • 1 1/2 cups (340g) water (70° to 80°F)
  • all of the ripe levain
*All-purpose flour will produce a somewhat stickier dough.

Instructions

  1. To make the levain: Mix all of the levain ingredients together and place in a covered container with room for the levain to grow. It will almost double in size, and will take about 12 hours to ripen (ferment) at room temperature (70°F). When perfectly ripened, there’ll be large bubbles (mostly below the surface) creating a somewhat rippled effect. It’ll appear almost fluffy. If the levain is covered with a froth of tiny bubbles, it’s a bit over-ripened; but don’t worry, you can still use it.
  2. To make the dough: Mix and then knead together all of the dough ingredients, including the levain, to make a smooth, supple, and not overly sticky dough.
  3. Place the kneaded dough in a lightly greased bowl, cover the bowl, and let the dough rise for 1 to 2 hours, until doubled in size.
  4. Divide the dough in half, and shape each half into 8″ logs. Place the logs in two lightly greased 8 1/2″ x 4 1/2″ bread pans. Cover the pans with lightly greased plastic wrap (or a couple of plastic shower caps), and let the loaves rise until they’ve crowned about 1″ over the rim of the pan, about 1 to 2 hours.

Soft sourdough 4

Look at all this from just a few moments work!  I almost injured my arm I was so enthusiastically patting myself on the back.

This recipe yielded such a beautiful soft sandwich loaf for sure, but it was these rolls that stole the show.  The dough is tender and incredibly flavourful.

Soft Sourdough 1

It’s the same principal as a cinnamon bun – but savoury!  You can fill the roll with anything you like.  Today I used Black Forest ham, cut into small squares, and spicy Calabrese sausage cut into little strips along with kalamata olives and diced yellow pepper.

Today I got frustrated because I wasn’t able to use tomato sauce like the pizza roll I envisioned.  So, Plan B …… I defrosted one of my basil almond pesto blocks, stirred in a bit more olive oil and spread that over the dough.  In the end, it was the happiest of Plan B’s ever!  In fact I got so excited by how good it was smelling that I rolled it all up, forgetting to add cheese.  Oh well, another Plan B – cheese sprinkled over the top before baking.

Soft sourdough 3

A mixture of aged white cheddar and mozzarella graced the top of these rolls right before baking and it was just fabulous.

I’ve been reading a lot of the King Arthur Flour website recipes during my sourdough explorations, and this recipe also came from there.  We don’t have any of that particular flour around here, but I wonder how much difference that makes?  We do have Rogers Flour locally and that is what I have been using with great success.

Sourdough Crackers

These crispy, crunchy, tasty crisps are the perfect way to quickly use up some of that sourdough starter discard that is threatening to take over your fridge.  Eaten on their own, or as a vessel for your favourite dip, they are a winner any way you serve them.

Sourdough crackers 8

A little fresh homemade tzatziki sauce was the perfect way to eat up a bunch of these crisps!

  • 200 grams (about 1 cup) mature sourdough starter
  • 60 grams (about 1/2 cup) all purpose flour
  • 60 grams (about 1/2 cup) whole wheat flour
  • 12 grams (about 2 tbsp) rye flour
  • 32 grams (3 tbsp) extra virgin olive oil
  • 1 tbsp dried herbs de Provence (or any herbs you like)
  • 1/2 tsp fine sea salt


  • flaky sea salt for topping

In mixing bowl combine all ingredients except for the flaky sea salt.  Mix well, kneading until you get it all together in a nice smooth ball.

To get 200 grams of starter, I often use what I have left from the jar I am feeding, then add to it with starter discard that is in the fridge.  If using entirely discard from the fridge you can either wake it up with a feed and use it once you see it has doubled, or just use it straight from the fridge.  With these crackers you are mainly looking for the flavour more than a rise like you expect from a loaf of bread.

Wrap tightly in plastic and put in the fridge for anywhere from 30 minutes to 24 hours.  Sitting helps the sourdough flavours to develop, as well as make the dough easier to work with.

Preheat oven to 350 and line 2 baking sheets with parchment.

Cut dough in half, place one half in fridge and roll out the other very thin, as thin as you can get and still work with it.  If you like a hardier crisp, then just roll out to 1/4 inch.  I’ve also used my pasta rolling machine with varied success.  When the dough feels soft and supple it works extremely well, but if your dough ends up a bit on the drier side of things it is easiest to roll out by hand)

You can either cut the dough before putting on the baking  sheet, or bake them as is and then break them into rustic crisps.

Spritz very lightly with water, then sprinkle with flaky sea salt right before baking.

Bake for 12-15 minutes – make sure you rotate your pans half way through for even baking.

Sourdough crackers 4

This dough is with the exact measurements and seasonings listed above.  It made a drier dough, and was much easier to roll out by hand than it was to put through the pasta roller.

Sourdough crackers 3

This dough was made with less whole wheat and rye flour, and it was by far the easiest dough to work with and slid through the pasta rollers with ease..  For seasoning I used my granddaughter Sloan’s magic taco seasoning mix.  They were delicious!

These crackers are only limited by your imagination!  Use any variety of flours or seasonings and get creative.

Sourdough crackers 1

These literally took minutes to make, and they are ready for the fridge.  I rested the dough until the next day (just because that was easiest today), and then rolled them out the next day.

Sourdough crackers

I cut these ones into long triangles prior to baking, but it is just as easy to create a more rustic crisp by baking them first and then breaking them up.

Sourdough crackers 2

These herby little bites were cut into a square (fish) shape prior to baking.

Sourdough crackers 5

Aren’t they pretty??  I loved these!  So easy to make, and the extra bonus is that so far I haven’t actually had to “discard” any of my discard.

I found this recipe during one of my many ventures down the internet rabbit hole in search of ways to use sourdough discard – it was on http://www.loveandoliveoil.com

img_3328

Pretty hard to go back to buying crackers when you realize how easy these are, and how absolutely delicious.


Carne Asada

Missing Mexico right about now, so these Carne Asada tacos were just perfect!

Carne Asada 4

Carne Asada is one of those quintessential Mexican dishes …. pretty simple really, meat and a tortilla shell.  Make it exceptional by adding pickled onions and a fresh pico de gallo, and I promise – everything will look bright and cheerful!

Ingredients

  • 2 limes juiced
  • 4 cloves garlic crushed
  • 1/2 cup orange juice
  • 1 cup chopped fresh cilantro
  • 1/2 teaspoon salt
  • 1/4 teaspoon black pepper
  • 1/4 cup vegetable oil
  • 1 jalapeno minced
  • 2 tablespoons white vinegar
  • 2 pounds flank or skirt steak

Instructions

  • In a large resealable bag, combine lime juice, crushed garlic, orange juice, cilantro, salt, pepper, vegetable oil, jalapeno, and vinegar. Squeeze it around to mix it up.
  • Put the entire flank steak into the resealable bag. Seal it up tight. Make sure all the meat is exposed to the marinade, squishing the bag around to coat. Refrigerate for at least 2 hours, or overnight.
  • Heat an outdoor grill to high heat.
  • Remove the flank steak from the marinade, and discard excess marinade. Cook on the grill for 7 to 10 minutes per side.
  • Once done, remove from heat and let rest 10 minutes. Slice against the grain, and serve.

We love to serve this with fresh, homemade flour tortillas (my flour tortilla game is way stronger than my corn tortilla game ….. so far)

Carne Asada

You won’t believe it, but the rib eye steak was on sale, not the flank …. so that is what I used.  It was incredible.  All the citrus shows up in the marinade, and you can still taste it in the grilled steak, but it doesn’t overpower the meat.

Carne Asada 1

Grilled to perfection, moist and juicy inside – this steak is the best bite.  Just hope some gets to the table for the tortillas.

Carne Asada 2

Just look at how moist that steak looks.  Yum.

carne Asada 3

Place it all out on the table, and let the family make their own plates.  Smiles all around!


The “stay at home chef” adapted this recipe from one of my favourite chefs – Rick Bayless.  This is so easy to do at home and gives you the flavour you might expect from sitting in a Mexican cantina ….. not only that, it is easy!

Cambodian Lok Lak

Lok Lak is one of Cambodia’s national dishes, we fell in love with it during our trip this year.  The marinated beef is delicious on it’s own, but dipping in the lime pepper sauce accentuates everything.

Lok Lak 1

We are food geeks, it is true.  One of our trip highlights was visiting a pepper plantation in Kampot, home of the worlds best pepper.  La Plantation was incredible, and we loved seeing pepper being harvested by hand.  Of course you can use whatever pepper you have on hand, we just happened to bring it home with us.

Ingredients

  • lb beef steak , sliced
  • 3 tablespoons vegetable oil
  • 4 scallions , chopped

Marinade

  • 3 tablespoons tomato sauce
  • 3 tablespoons soy sauce
  • 3 cloves garlic , chopped
  • ¼ teaspoon salt
  • 5 tablespoons fish sauce
  • ¼ teaspoon Kampot pepper
  • 2 tablespoons sugar
  • 3 tablespoons vegetable oil
  • 1 teaspoon chicken broth powder
  • 2 teaspoons potato starch (or cornstarch)
  • 3 teaspoons paprika

Sauce

  • Juice of 5 limes
  • 3 tablespoons cold water
  • ¼ teaspoon salt
  • 2 cloves garlic , chopped
  • 2 teaspoons sugar
  • 1 tablespoon fish sauce
  • 2 tablespoons vegetable oil
  • ½ teaspoon Kampot pepper

Sides

  • A few leaves lettuce
  • 2 ​​tomatoes , sliced
  • Steamed white rice

Instructions

  1. Mix all the marinade ingredients in a salad bowl, add the meat and stir well.
  2. Marinate the meat for 1 hour in the refrigerator.
  3. Heat the 3 tablespoons of vegetable oil in a wok or pan and fry the chopped scallions over medium heat until they turn light brown.

  4. Add the meat, mix well and sauté for 5 to 10 minutes.
  5. In a bowl, stir all the ingredients of the lok lak sauce vigorously.
  6. Prepare large plates.
  7. In each plate, place a bed of lettuce leaves and a few slices of tomato.
  8. Place the meat on the lettuce leaves and sliced ​​tomatoes.
  9. Serve with steamed white rice.
  10. Place a small bowl of lok lak sauce on the side or the center of each plate.

Lok Lak 2

Crispy but tender beef, soft rice, and a lime pepper dipping sauce to brighten it all up.  In Vietnam it is often served with French fries, but we like the rice best.

I found this recipe on a website 196 Flavors, and it was just like the Lok Lak we enjoyed in Cambodia …. lick your plate good!

Sour Cream & Onion Biscuits

Buttermilk Chive 2

Layers and layers of flaky biscuit with fresh chives …. these are a winner any day of the week.

You know those potato chips of the same flavour??  I don’t like them one little bit.  In the first place, I don’t care for sour cream.  Sure, I use it in recipes, but never as a topping for anything where you just taste sour cream …. yuck.  I know I’m in the minority on that.  These biscuits though?  The sour cream makes them rich and gives them a slight tang that is perfect to offset that richness.  Scallions are my favourite in everything right now …. just desperate for fresh vegetables at this time of year I guess.

  • 8 scallions, sliced thinly
  • 12 Tbsp. chilled unsalted butter, divided
  • 2½ tsp. kosher salt
  • 1 tsp. freshly ground black pepper
  • 1¾ tsp. baking powder
  • ½ tsp. baking soda
  • 1¼ tsp. sugar
  • 2½ cups all-purpose flour, plus more for surface
  • 1¼ cups sour cream, plus more for serving
  • Flaky sea salt

Place a rack in middle of oven; preheat to 425°. Line a baking sheet with parchment paper. Trim root ends from 8 scallions. Thinly slice crosswise (not on a diagonal); set aside.

Melt 2 Tbsp. chilled unsalted butter by whatever method is easiest for you; set aside. Whisk 2½ tsp. kosher salt, 1 tsp. freshly ground black pepper, 1¾ tsp. baking powder, ½ tsp. baking soda, 1¼ tsp. sugar, and 2½ cups (313 g) all-purpose flour in a large bowl to combine.

Cut remaining 10 Tbsp. chilled unsalted butter into ½” pieces. Add to dry ingredients and toss to coat. Using your hands, work butter into dry ingredients, smashing it between your fingers and flattening it between your palm until there are lots of thin shards and pea-size bits. Add reserved scallions and toss to evenly distribute.

Create a well in the center of mixture and add 1¼ cups sour cream to the center. Using a fork and working in circles, mix until large shaggy clumps form. If your bowl is wide enough, fold dough over itself a couple of times inside it until it comes together.

  • Pat dough into an 8×4” rectangle about 1” thick.

  • Working from a short side, fold dough in thirds as you would a letter. It doesn’t need to overlap perfectly. Pat dough into another 8×4” rectangle, then fold dough in thirds like a letter one more time. (You’ll have done the folding procedure two times total.) Pat dough back into an 8×4” rectangle and straighten up with your hands and/or your bench scraper. (This folding method is what will create those nice flaky layers in your final biscuits.)

  • Cut rectangle in half lengthwise, then cut each half crosswise into 4 squares for a total of 8 biscuits.

Transfer biscuits to prepared baking sheet. Brush tops gently with melted butter; sprinkle with flaky sea salt.

Bake biscuits until golden brown, 18-22 minutes.  Serve warm with sour cream or butter.

Buttermilk Chive 3

Ready for the oven – already you can tell they are perfect.

Buttermilk Chive 1

Just look at all those flaky layers – it comes from the folding technique.

If you want more concise instructions on how to make these, pop on over to the Bon Appetit website, and check out their “Basically” section.  Molly Baz made these, and not only are her instructions (complete with short videos) simply perfect, these biscuits are divine.

Flakiest Biscuits

Okay, here they are – BACK by popular demand … my fantastic baking powder biscuits.  

Biscuits 1

I’ve tried out a new technique …. folding the dough.  Pat into a rectangular shape and then fold into 3 (like folding a letter into an envelope), pat out into another rectangular shape and repeat.  You can literally see the folded dough, and just look at those flaky layers!  Finish with a little melted butter and sprinkle with salt and freshly cracked pepper before baking.

Once you get this down pat you will rely on these biscuits for anything from a summer morning with fresh peach jam or a winter evening served with a family favourite – chili, soup, stew … every household has their own comfort dinner!

  • 2 cups flour
  • 1 tsp salt
  • 1 tbsp sugar
  • 4 tsp baking powder
  • 1/2 cup cold butter
  • 1 egg
  • almost 1 cup milk or buttermilk

Stir dry ingredients to blend and then with pastry blender, or 2 forks, blend in 1/2 cup cold butter (my tip: freeze the butter for 15 min ahead of time, and use the large holes on a box grater to grate the butter – instant flakes of butter)

Lightly beat 1 egg in a 1 cup measure, then stir in enough milk to reach the 1 cup mark.

With a fork, stir the egg/milk mixture into the dry ingredients – only enough to have it start to hold together.  Turn onto floured surface and … oh so gently … without overmixing … pat it together, and then into a solid shape, about 1 inch or so in height.  Using floured biscuit cutter (or your favorite glass) cut out shapes and place on floured baking sheet.

These are so flexible – if you want to add any herbs, or cheese – do so at the dry ingredient stage.  Go ahead and experiment – makes these your own family favorite!

To guarantee extra tall, fluffy biscuits, pop them into the fridge or freezer for a few minutes.  The combination of hot oven and cold butter creates magic!

Bake at 400 for 15 – 20 minutes (depending on your oven – check it at 15) until lightly golden and very fluffy!  Image