Stella was insistent that I get my recipe for vegetable pancakes on the blog right away so she could make them at home with Hayley! Such a quick, easy and delicious way to have a meal on the table in minutes, these are great for lunch, dinner or snacking. I usually make a pile and they warm up quickly in the toaster oven. They are a bit of a mash up of Korean pajeon, Japanese Okonomiyaki and Chinese scallion pancakes (even a bit like my zucchini fritters!)

- 1/2 cup all purpose flour (once Stella was diagnosed with celiac, we used Gluten Free Flour)
- 1/2 cup potato starch or cornstarch
- 1/2 tsp baking powder
- 1/2 tsp Chinese 5 spice powder (optional but we liked it)
- 1 tsp sea salt
- 1 egg
- 3/4 cup very cold water ( soda water works great!)
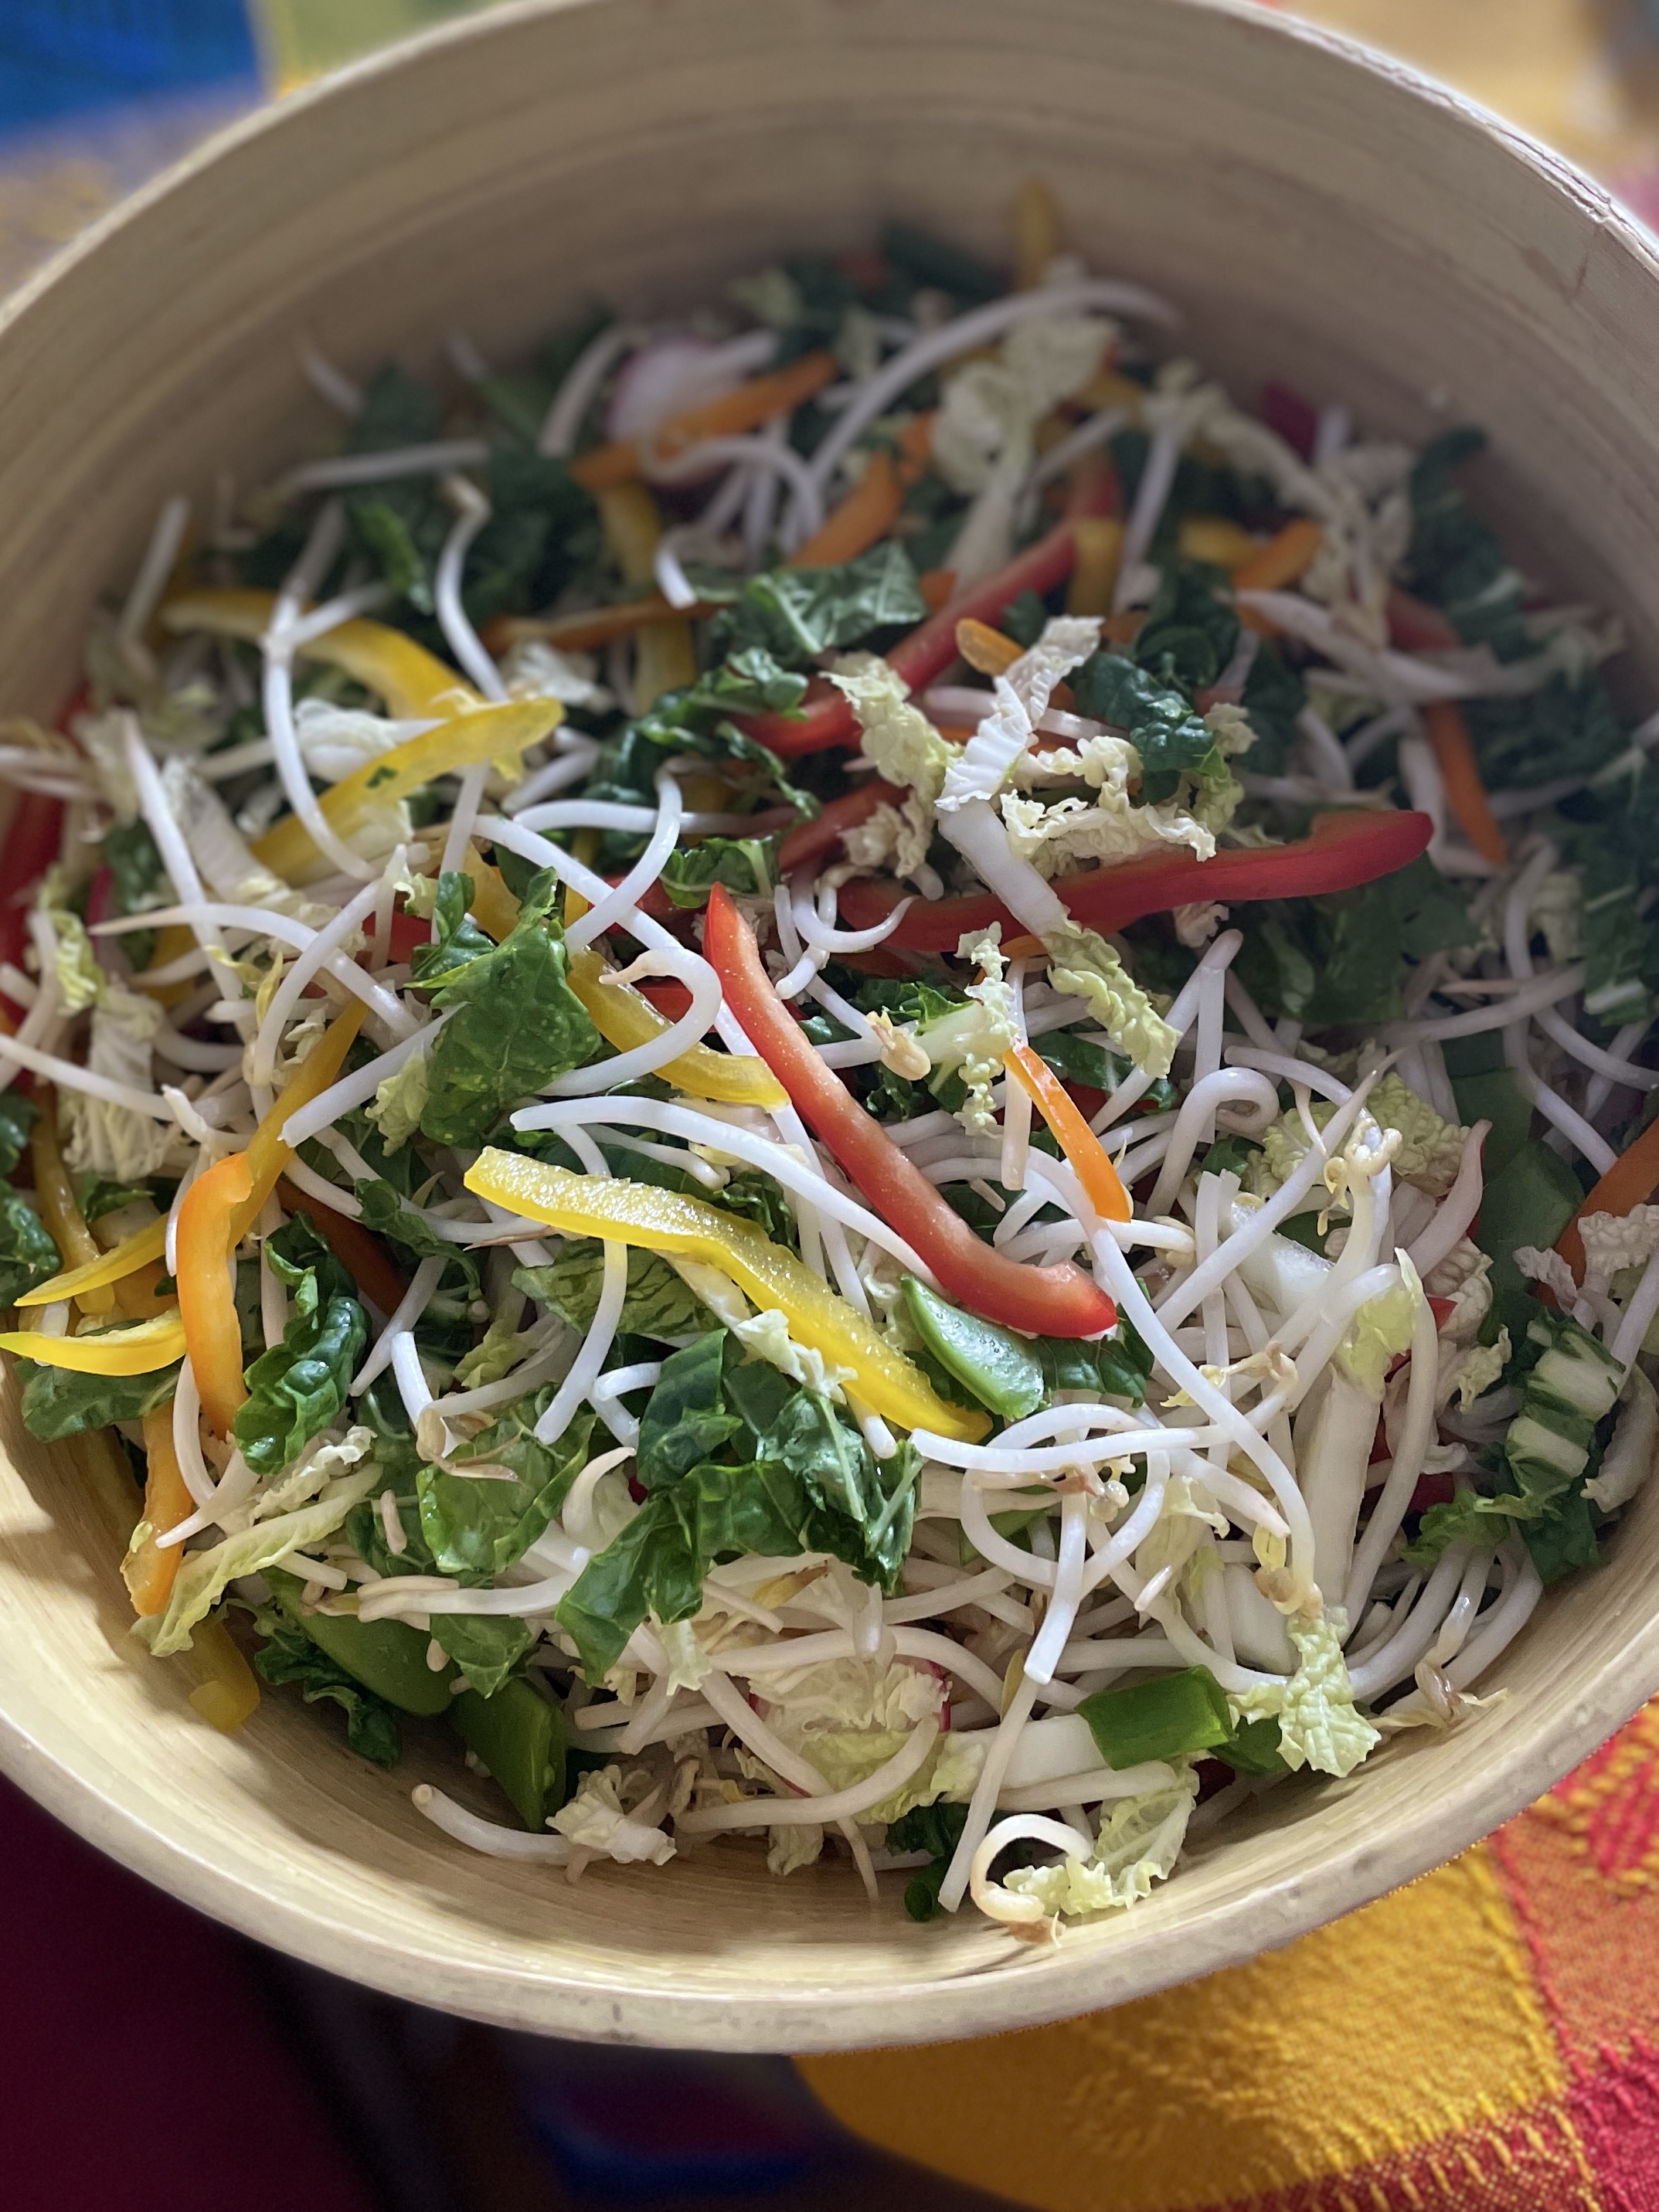
- 4-6 cups very thinly sliced or julienned vegetables
oil for frying
Whisk dry ingredients together, then stir in egg and water. Add in all your vegetables and stir just to combine. You only need enough batter to hold the vegetables together.
Preheat oven to 300 to keep the pancakes warm as you cook them.
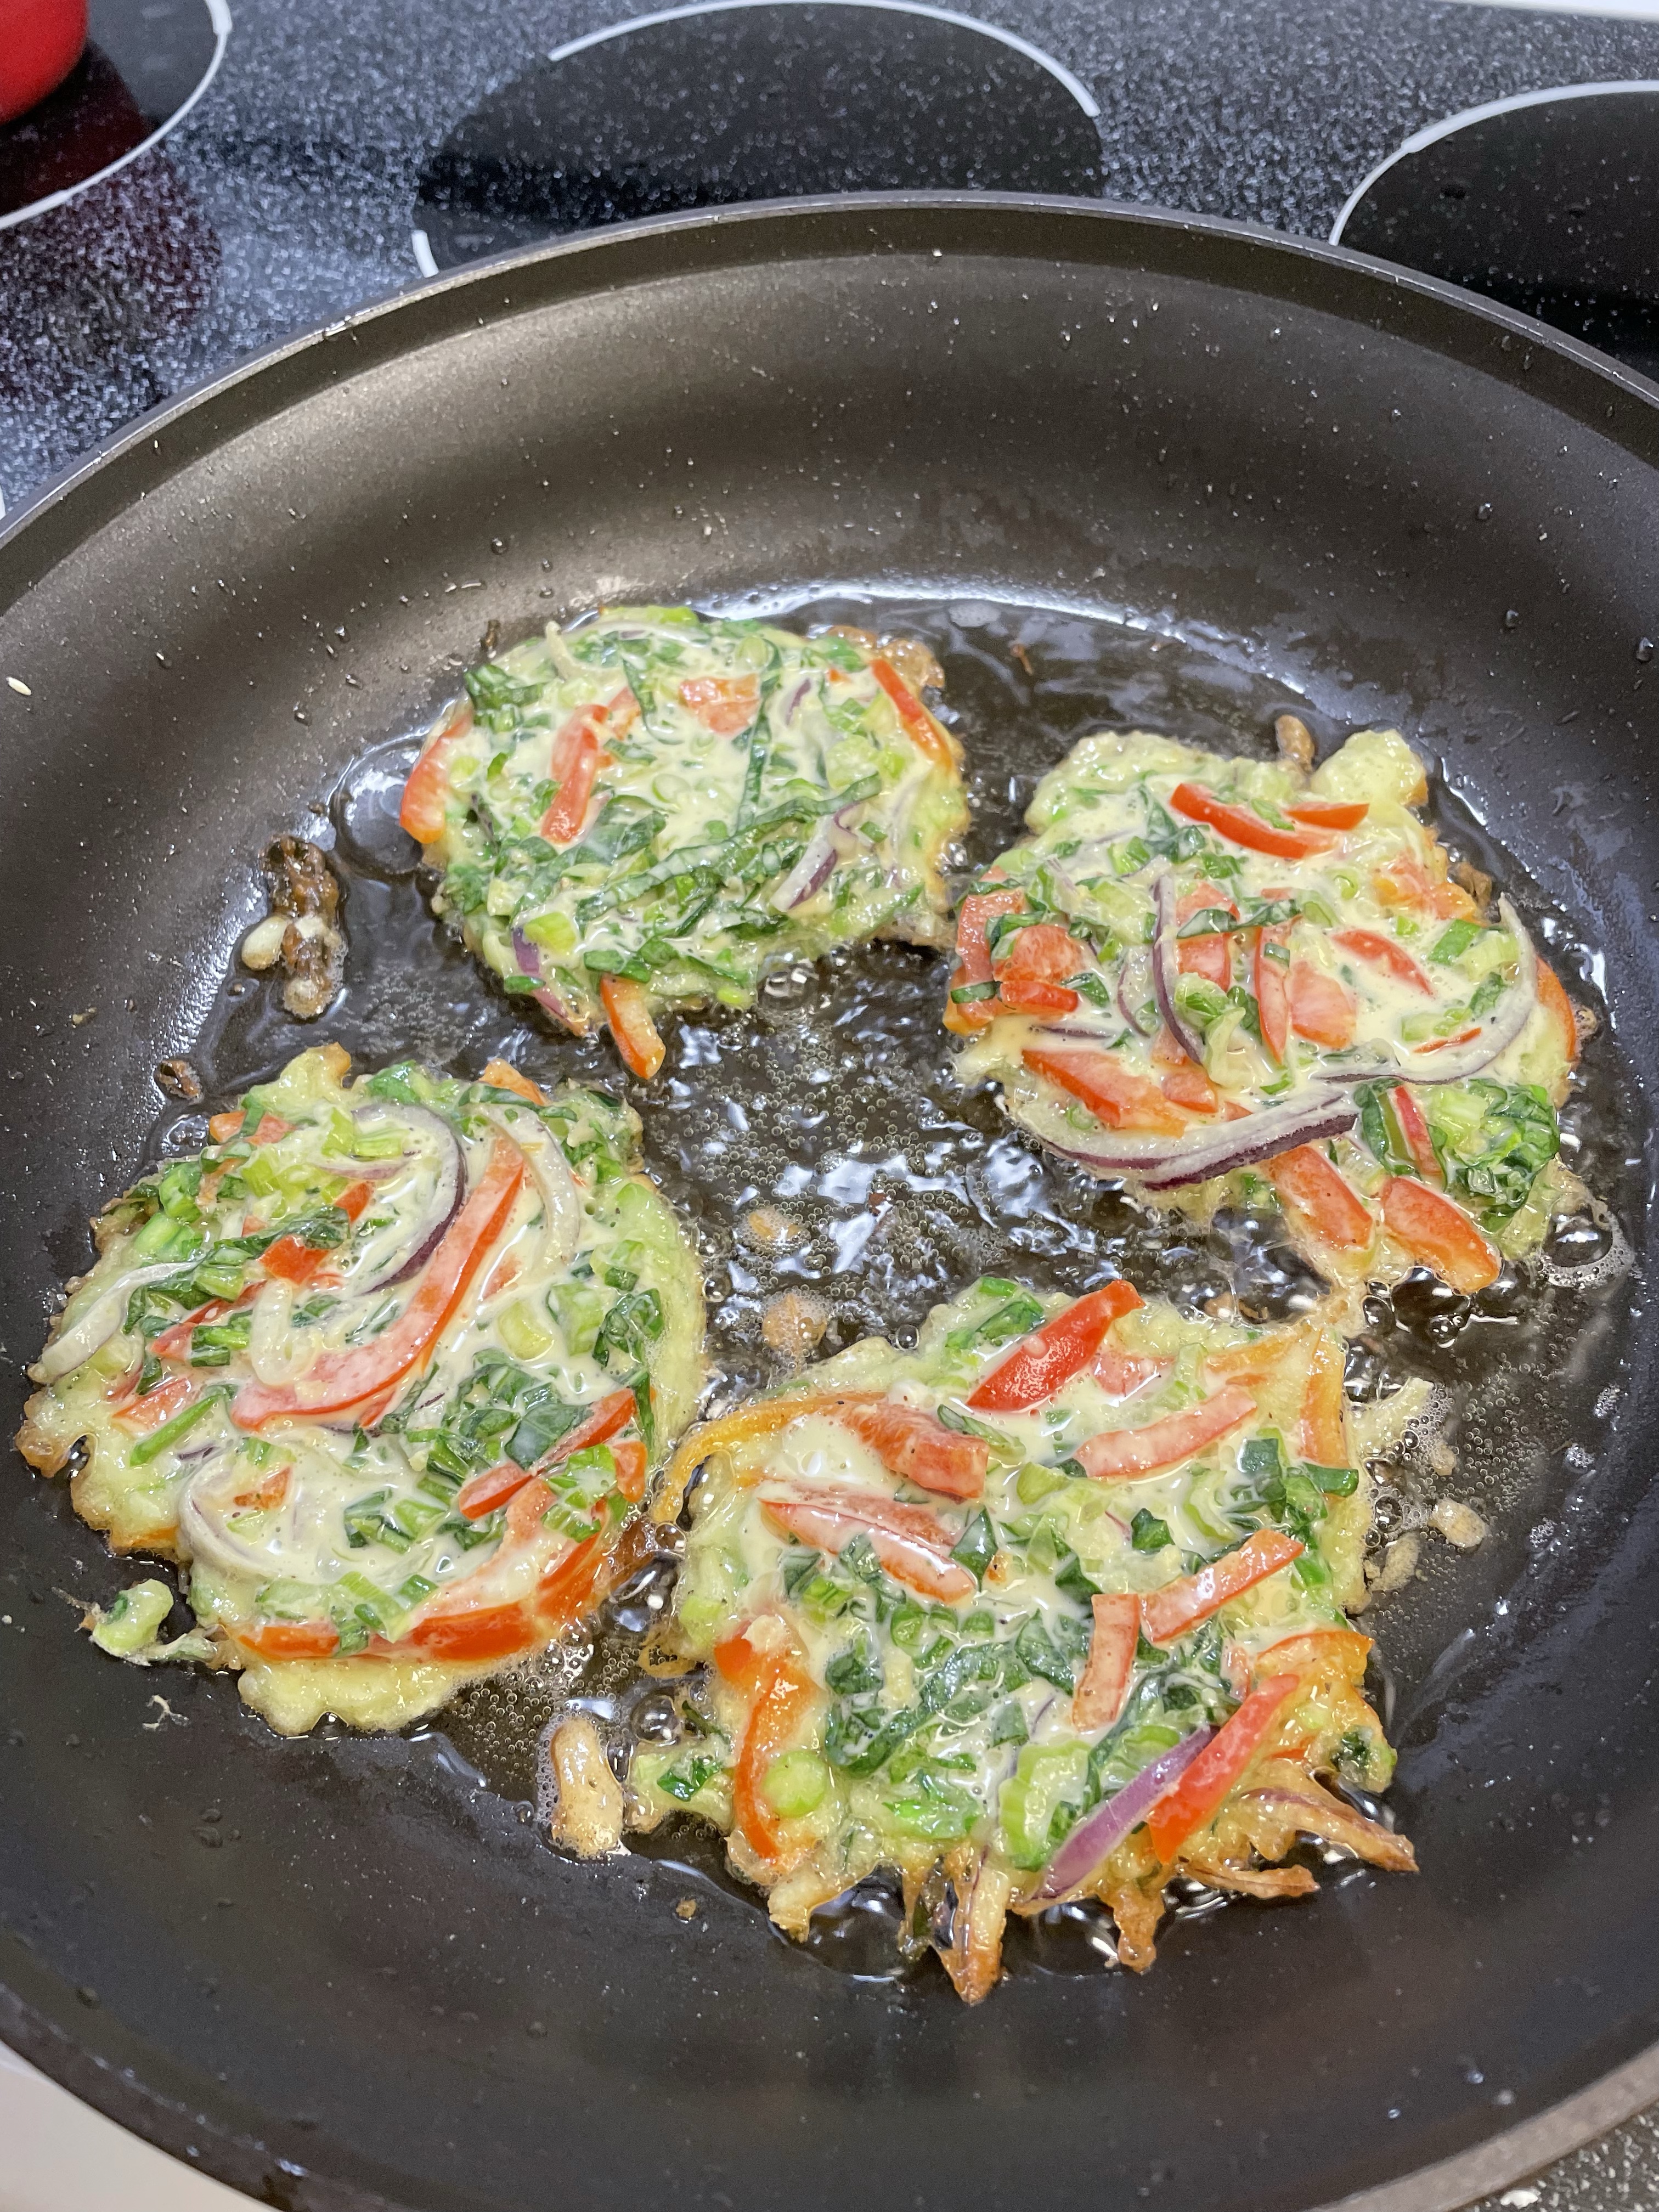
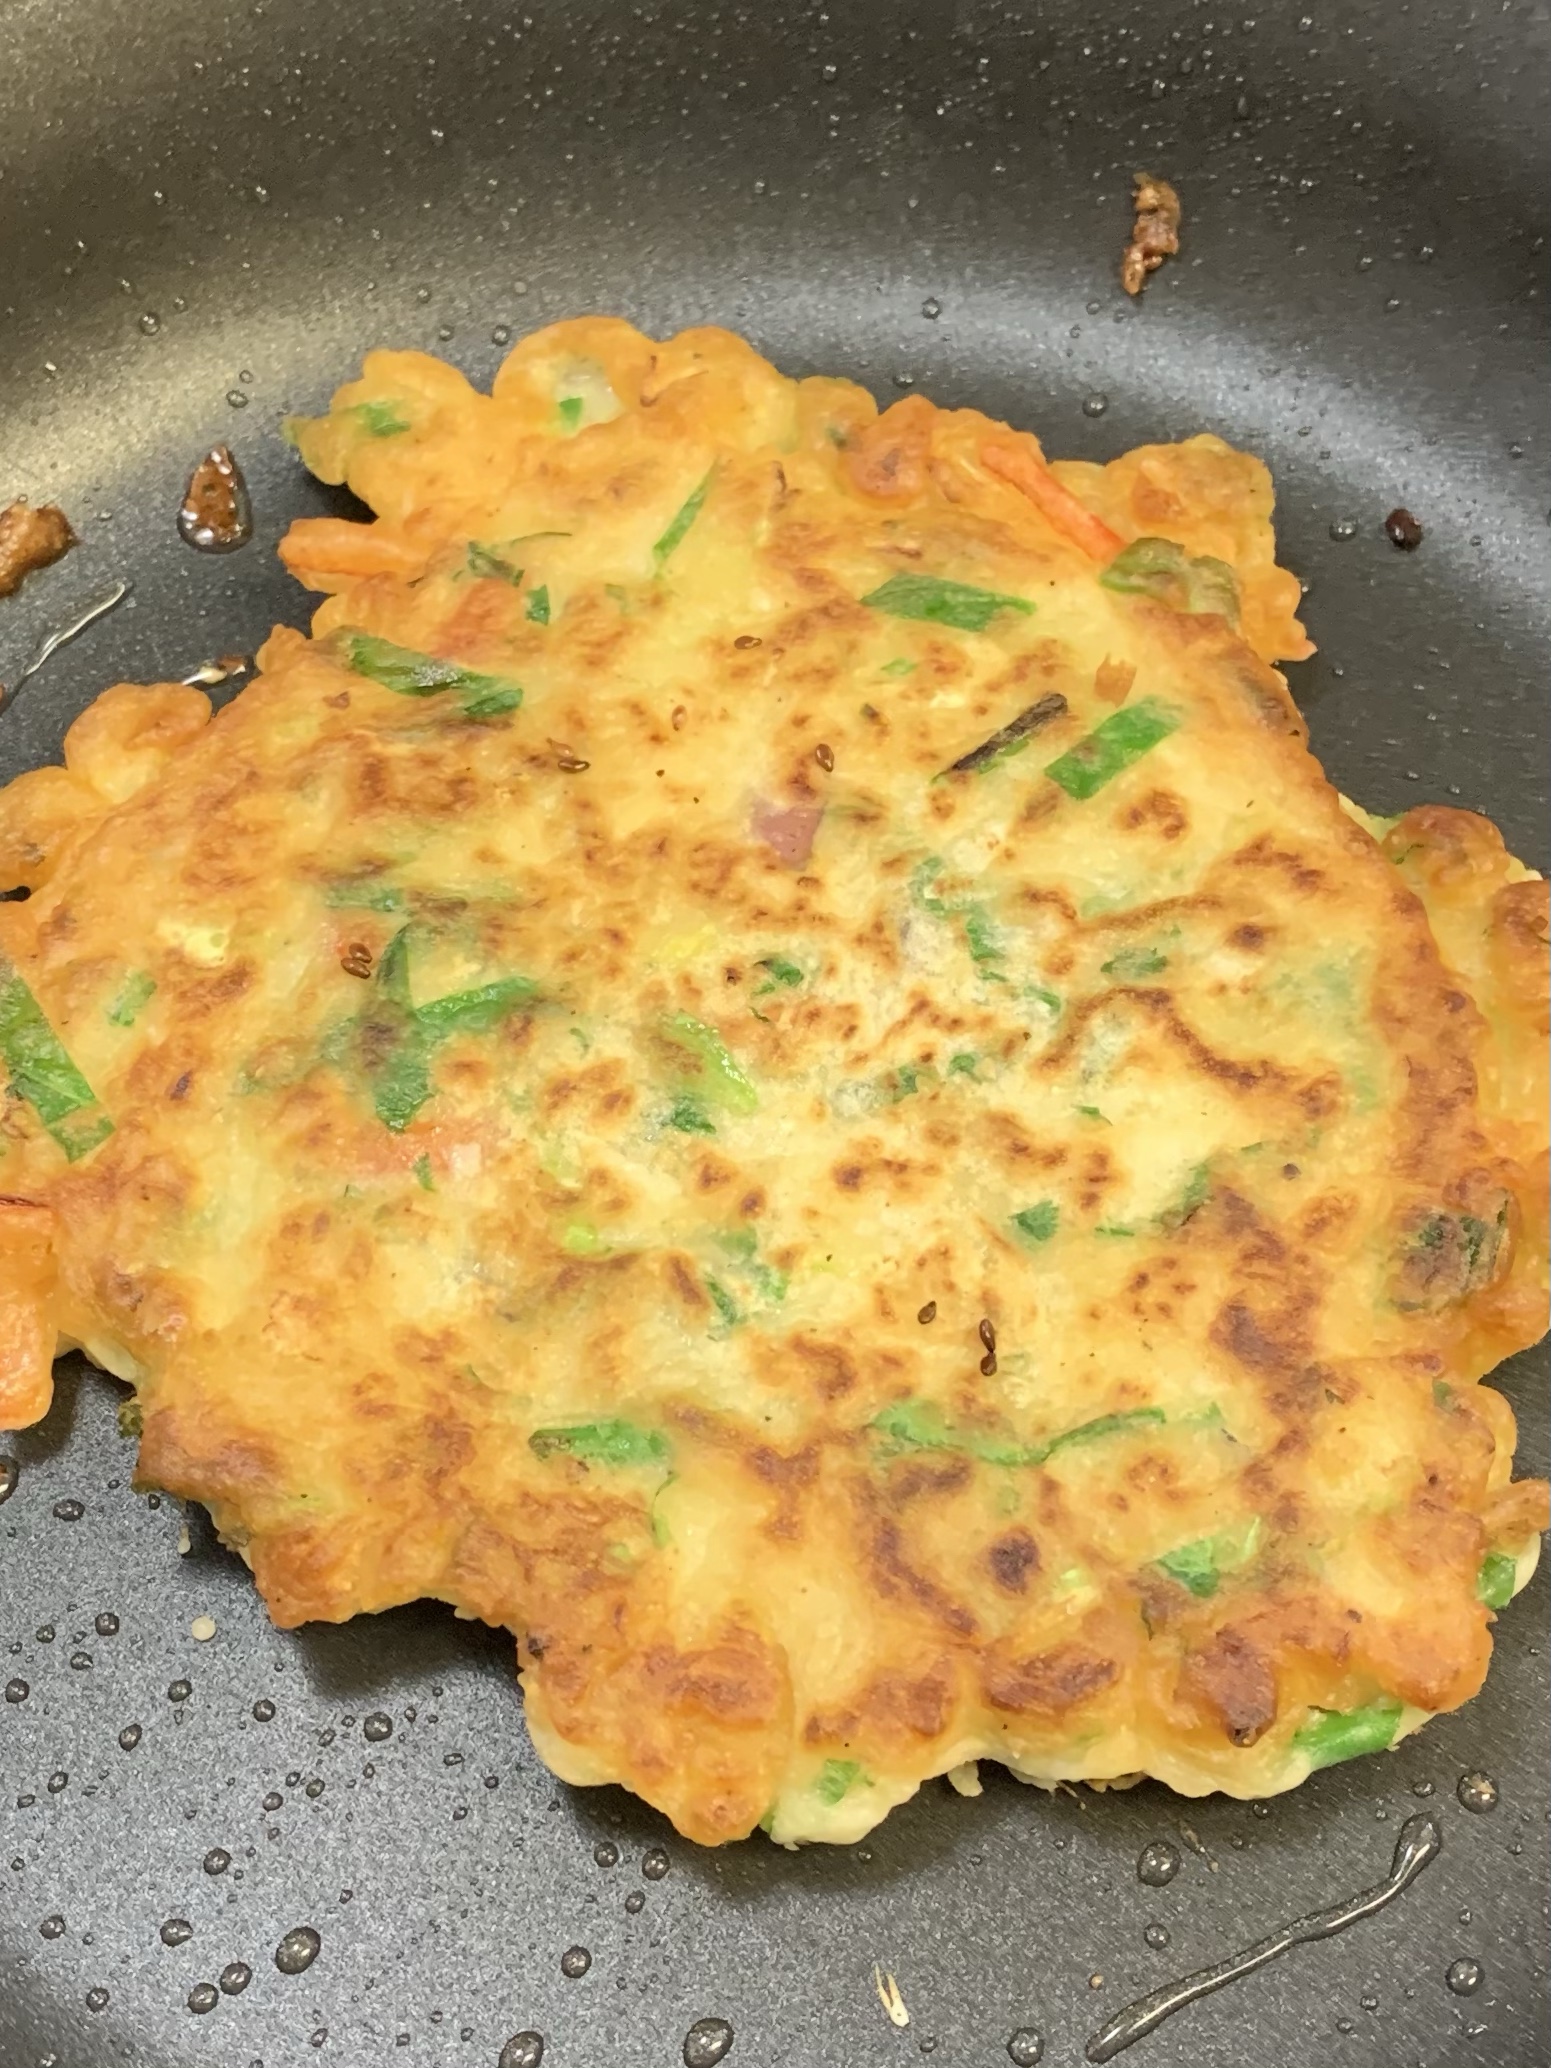
Heat oil in frying pan, and drop in 1/4 cup amounts, flattening them out slightly. Cook for 3-5 minutes on each side until golden brown and crispy. You will have to do this in batches, so keep them warm in a 300 oven until you have them all fried. Don’t crowd the pan or they will steam rather than fry.
I first tried this recipe as Korean pancakes, adding some chopped kimchi as well as a bit of the juice, but ended up using it for many different vegetables.
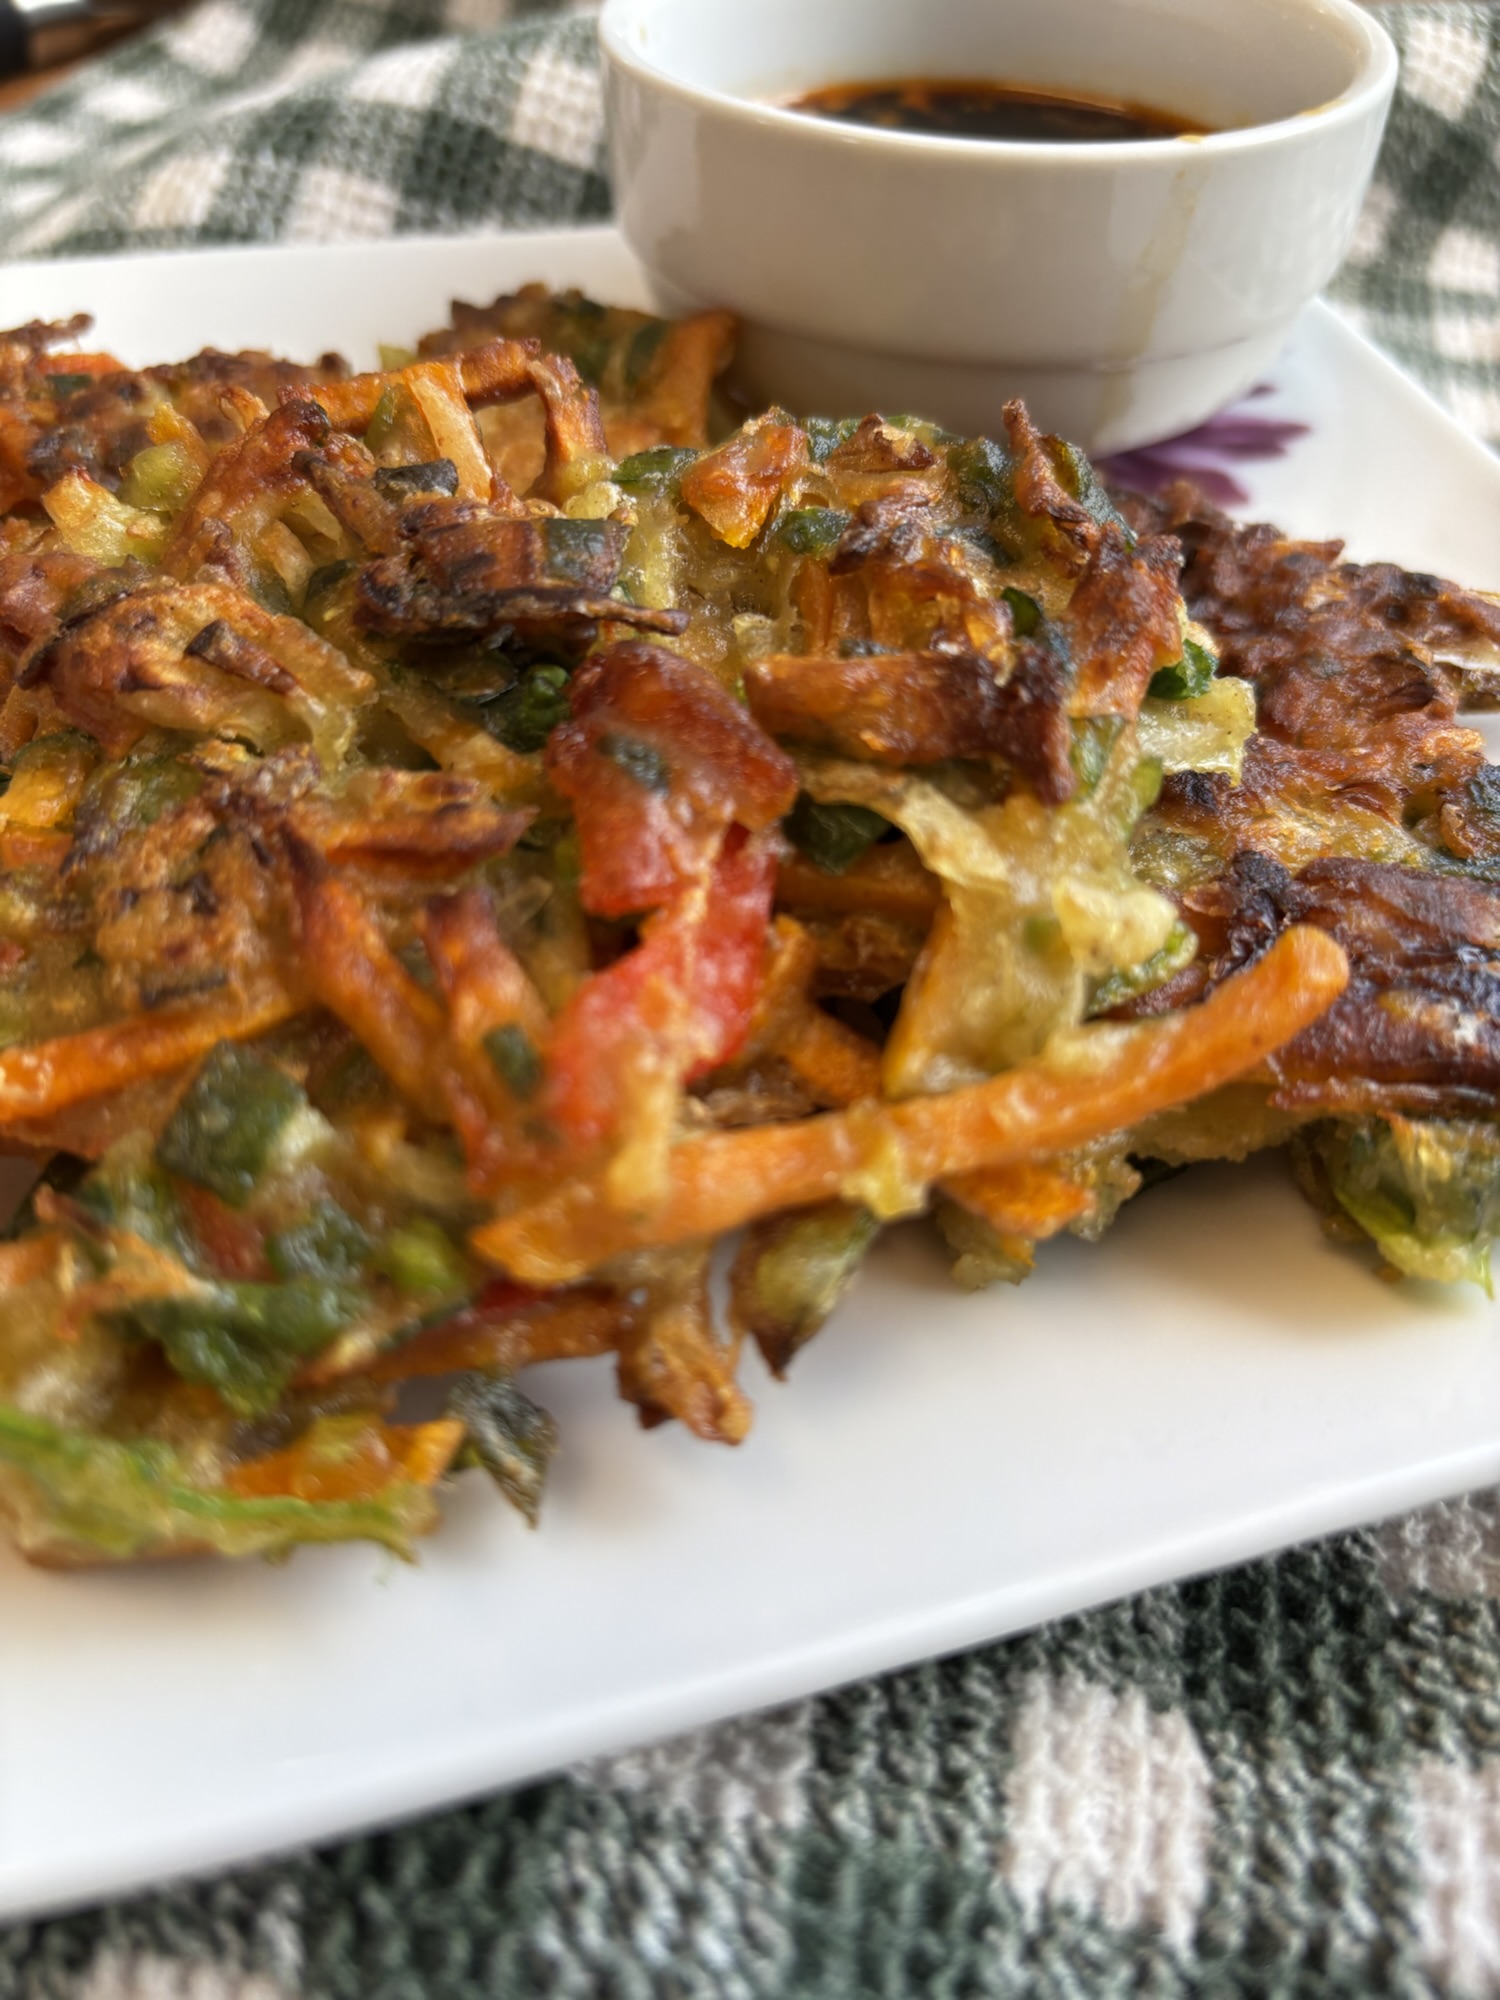
Serve with dipping sauce:
- 1/4 cup soya sauce
- 1-2 tbsp rice vinegar
- 1/2 tsp sesame oil (I like toasted)
- 1/2 tsp sugar
- 1/2 tsp hot sauce or chili crisp (such as sriracha)
Stir together and set aside for service. Taste and adjust for your personal preference.