
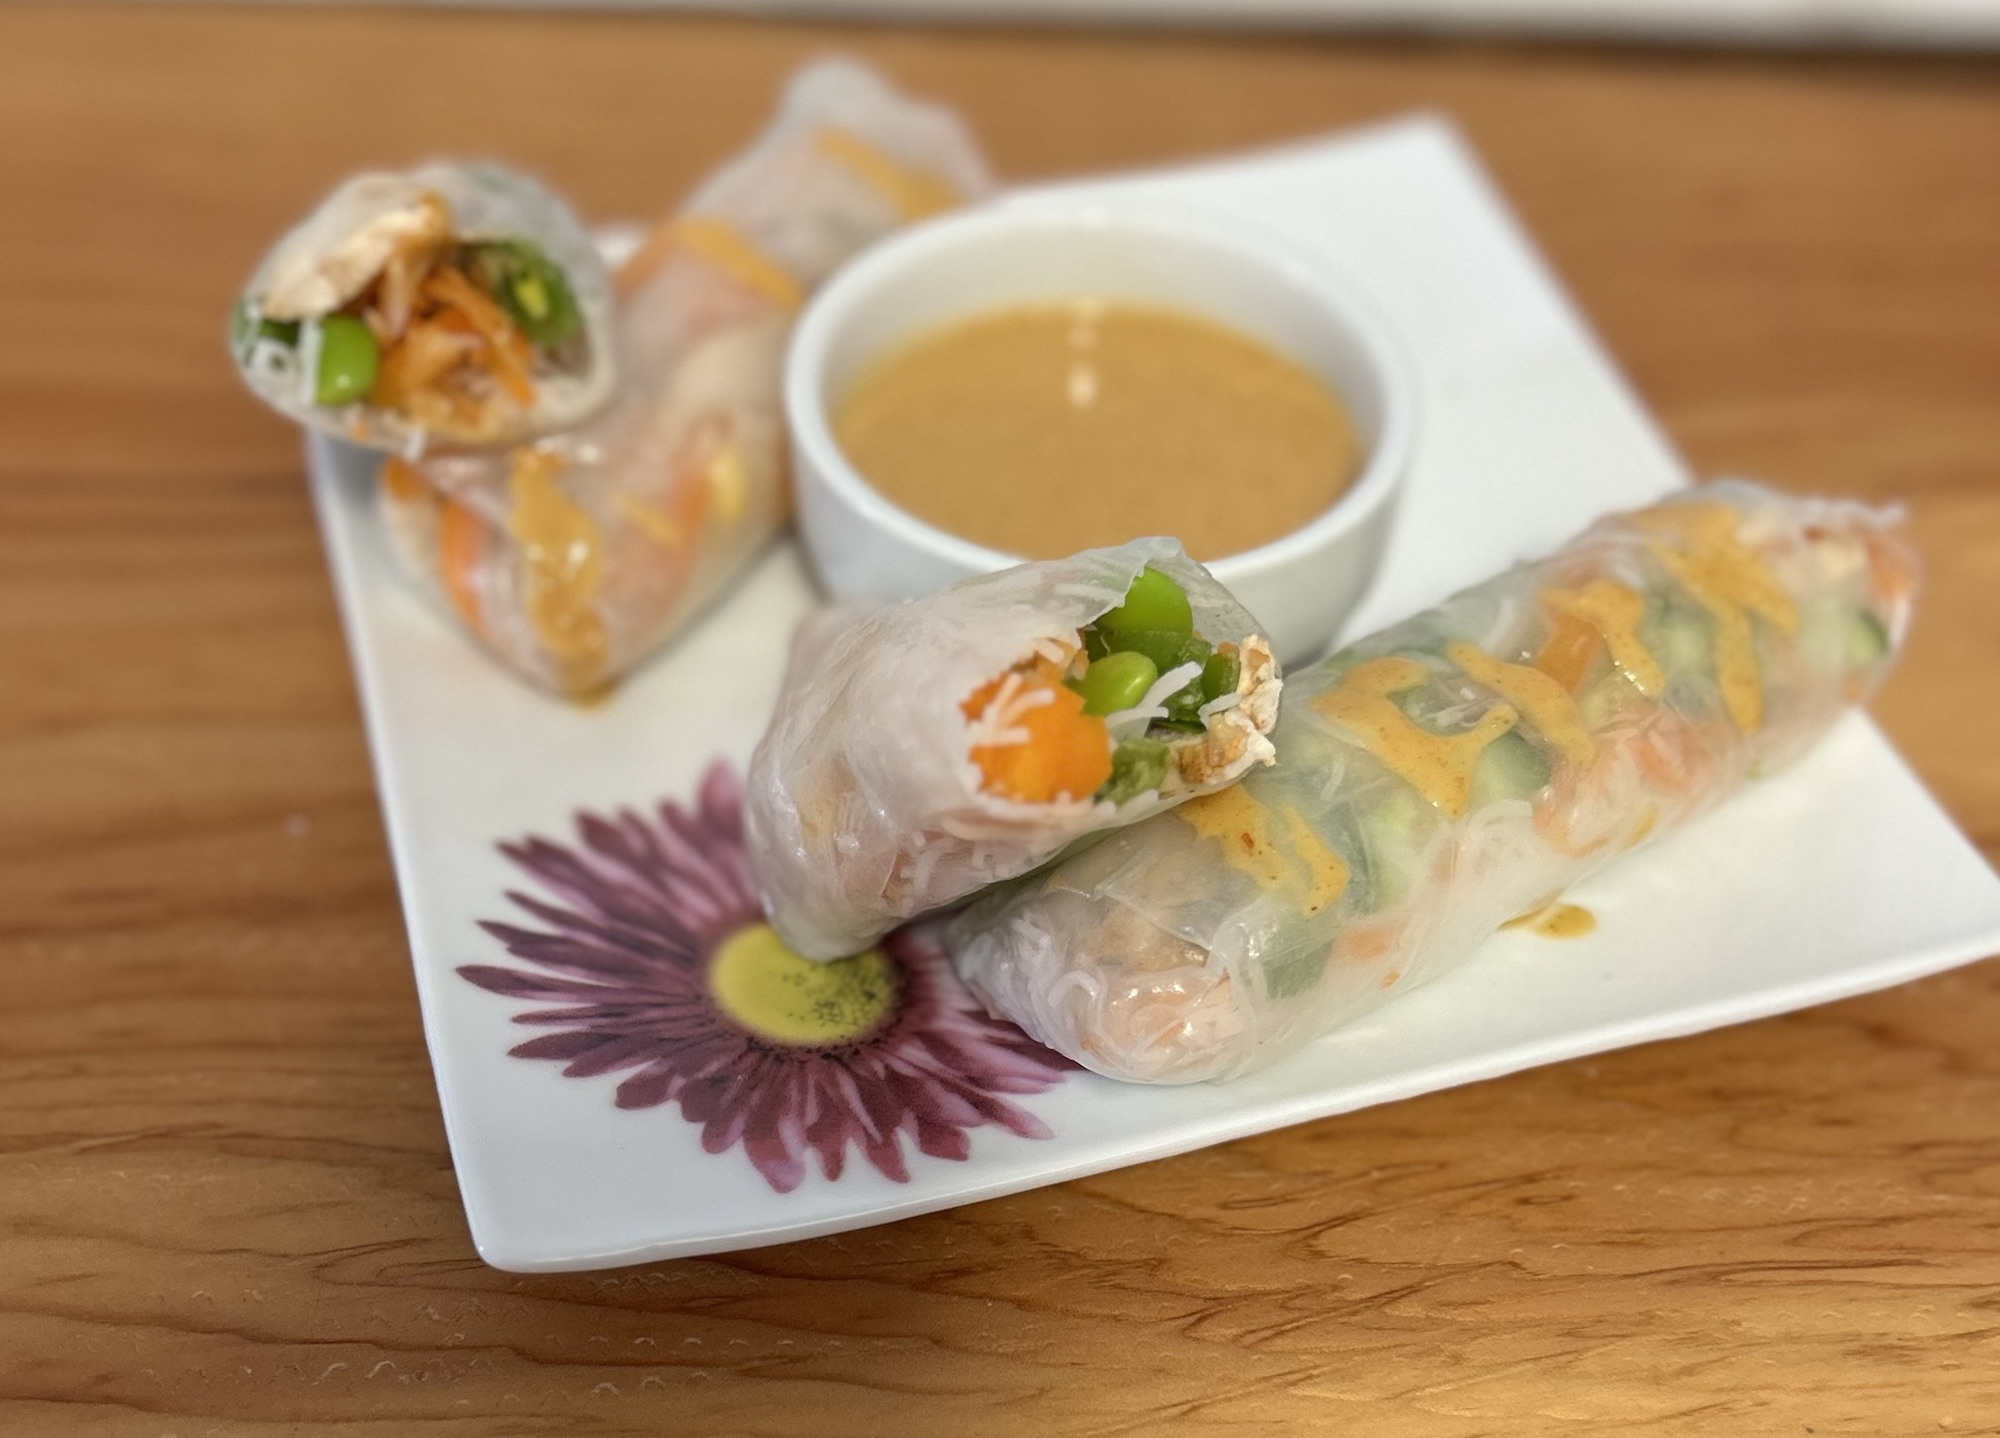
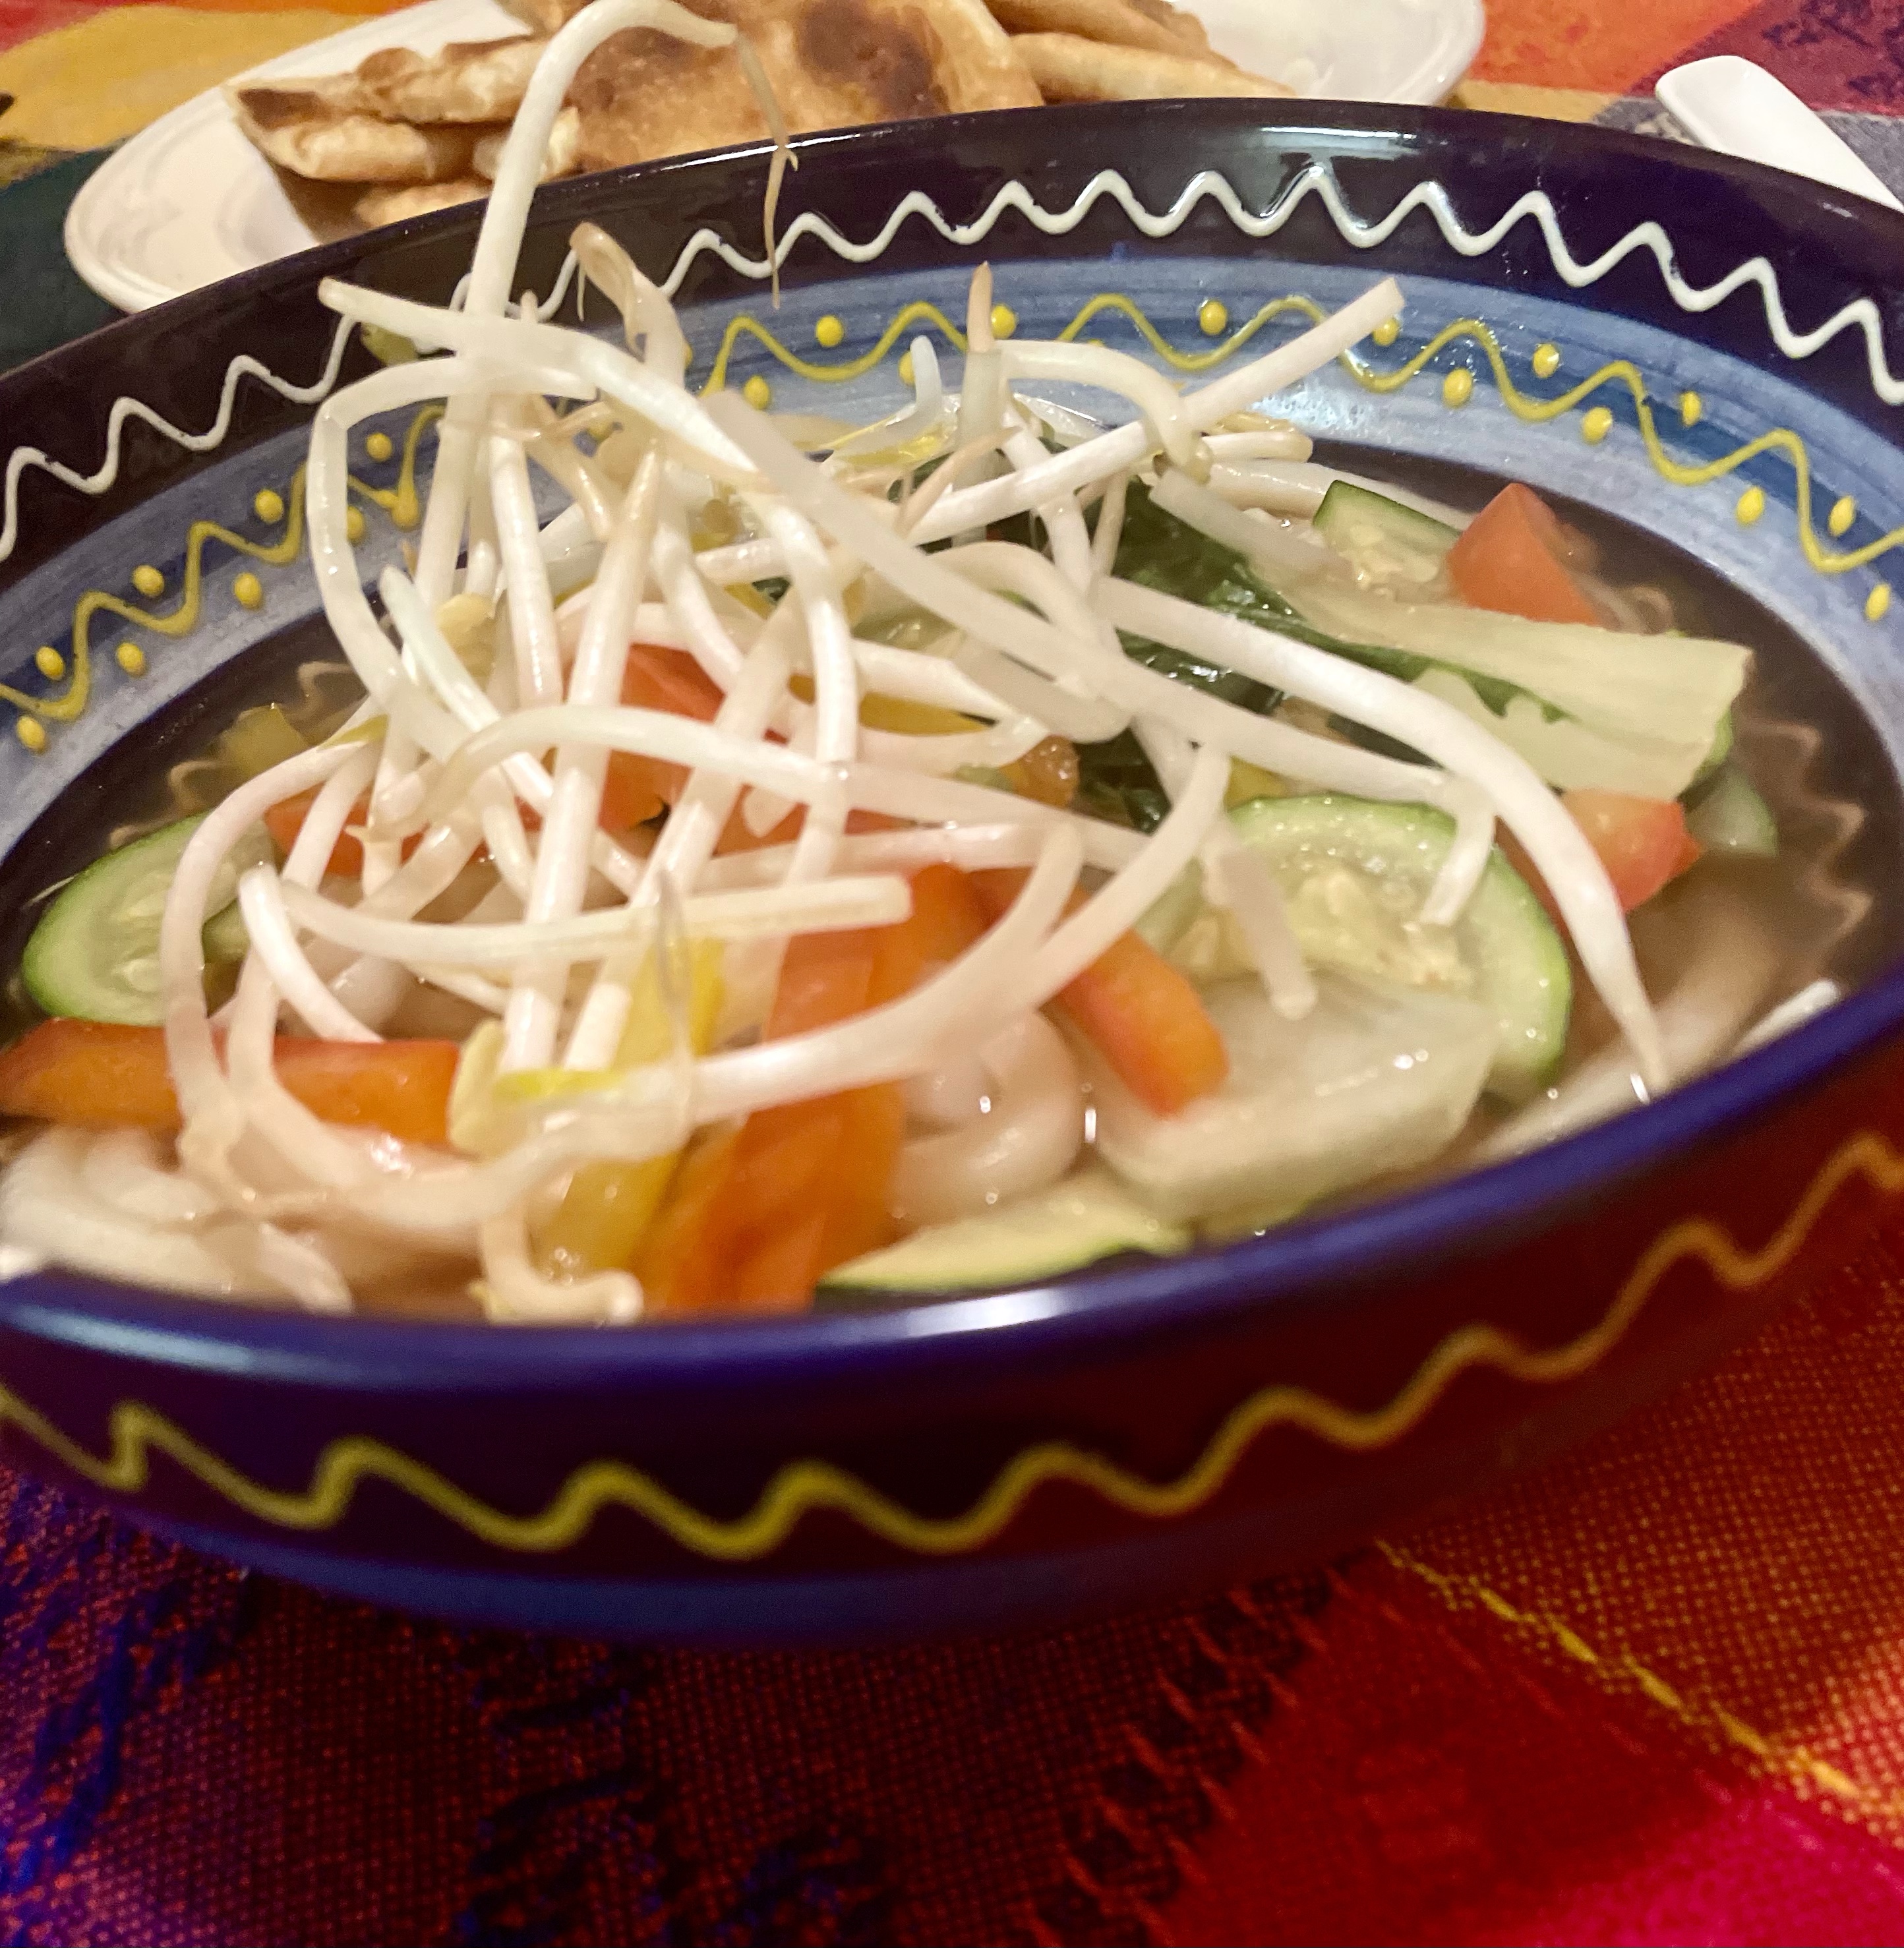
We had Salad Bar (Sloan’s choice) for Sunday dinner, which meant creating these salad rolls from the leftovers was a breeze! Stella and I often get stuck in on projects for lunch, but this was so quick and easy, utilizing the grilled chicken and prepared vegetables.

What sells this though, is the peanut sauce! So good, Stella and I decided it better go on the blog right away so we remember the recipe, and how quickly it came together.
SALAD ROLL INGREDIENTS
- rice paper wraps
- cooked thin rice noodles
- cooked chicken, grilled prawns, or whatever protein you fancy
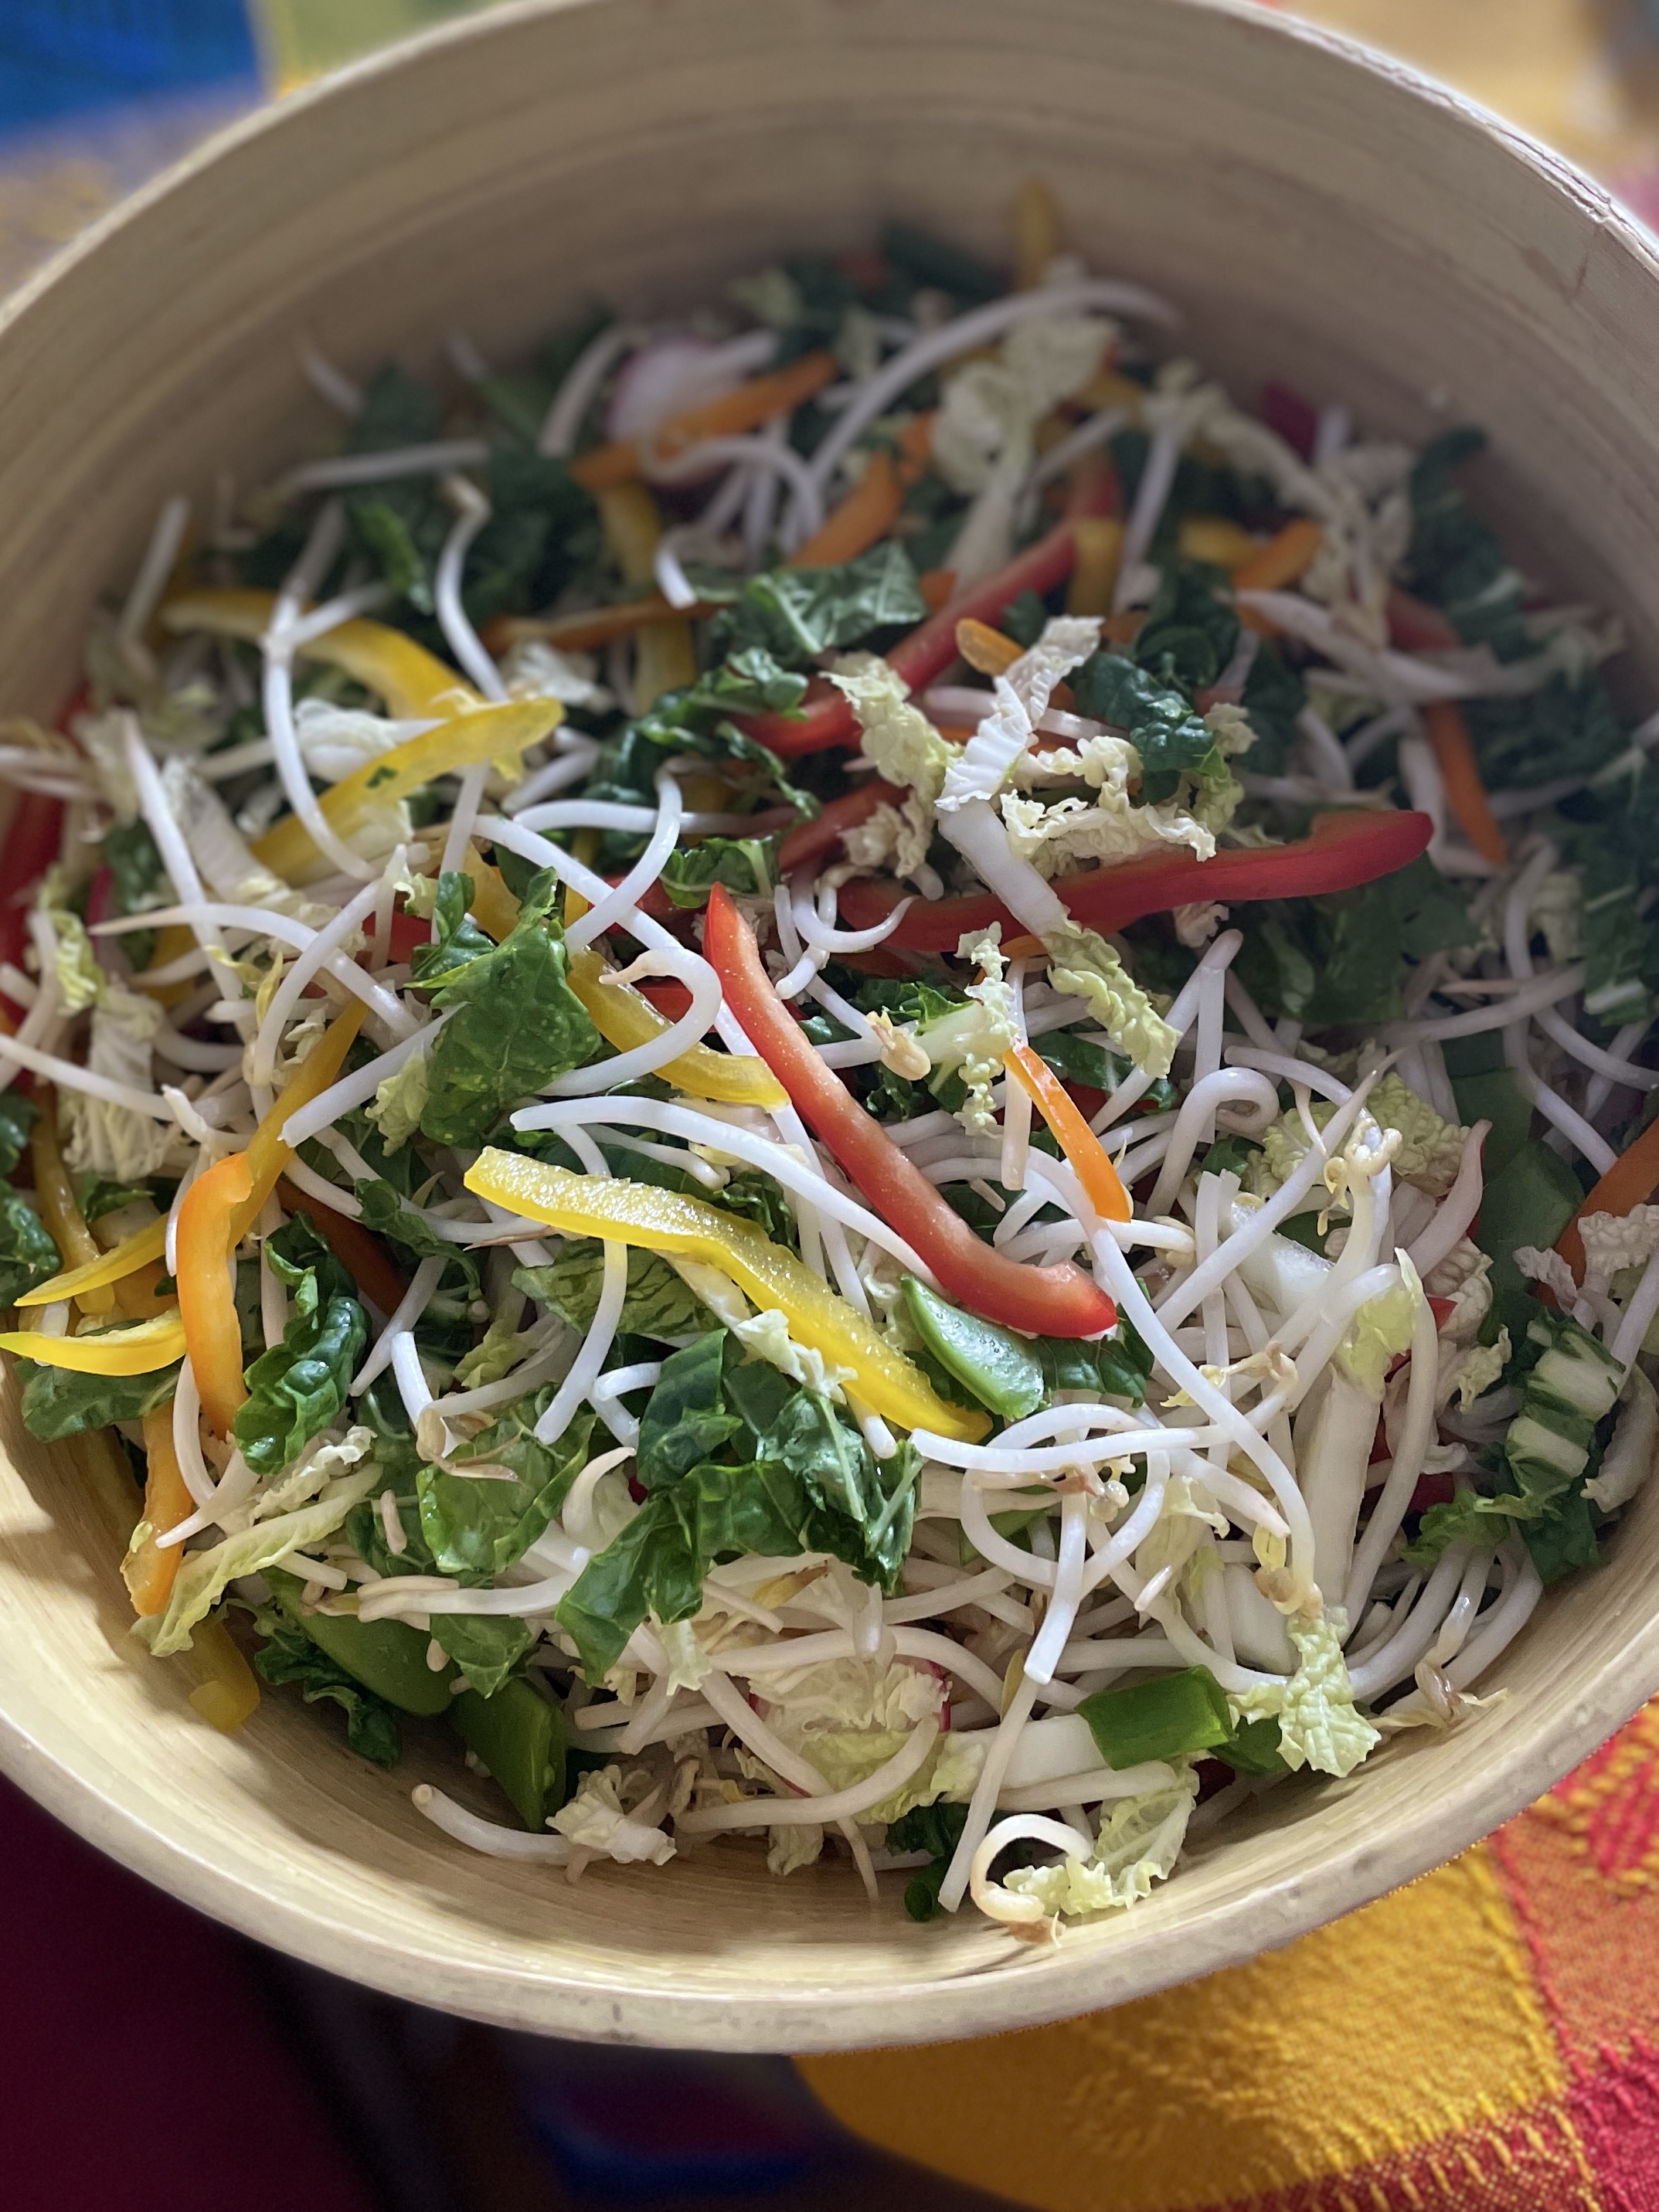
- slivered vegetables, whatever you like
- bean sprouts
- lettuce
Soften wraps in warmish water, don’t allow to get too soft or they will tear as you wrap. They continue to soften as they sit.
Lay wrap down, and with lightly moistened fingers place your ingredients in the lower half of the wrap, fold edges in to trap filling and then roll as tightly as you can. The sky is the limit with whatever you like to fill your salad rolls with. We didn’t have any lettuce but if you do, laying a leaf down, and then placing the filling on the lettuce helps to prevent the wrap tearing and gives the salad rolls a nice crunch.
(you can google wrapping salad rolls – there are lots of those videos available)
The star here …. PEANUT SAUCE
- 1/2 cup peanut butter (use natural for the most peanut flavour)
- 1/3 cup soy sauce
- 2 tbsp toasted sesame oil
- 2 tbsp rice vinegar
- 2 tbsp sambal oelek or chili paste
- 1 tbsp hoisin sauce
- 2 tbsp sugar (could sub honey if you prefer)
- 1 knob of fresh ginger, peeled (to taste)
- 1 garlic clove, peeled
- Up to 1/4 cup of water, to thin as needed.
Whiz all this up in a blender, using water as you see fit and taste to see if it needs any adjustments.
The chili paste is where the little bit of spicy heat comes from. We both like a little bit of heat, but not overwhelmingly spicy. We found 2 tbsp was perfect but go according to your own tastes, and of course the type of chili paste you have.
I got the base of this recipe from Lindsay at Pinch of Yum, and we decided to get it on here so we don’t keep looking for one … thanks Lindsay!


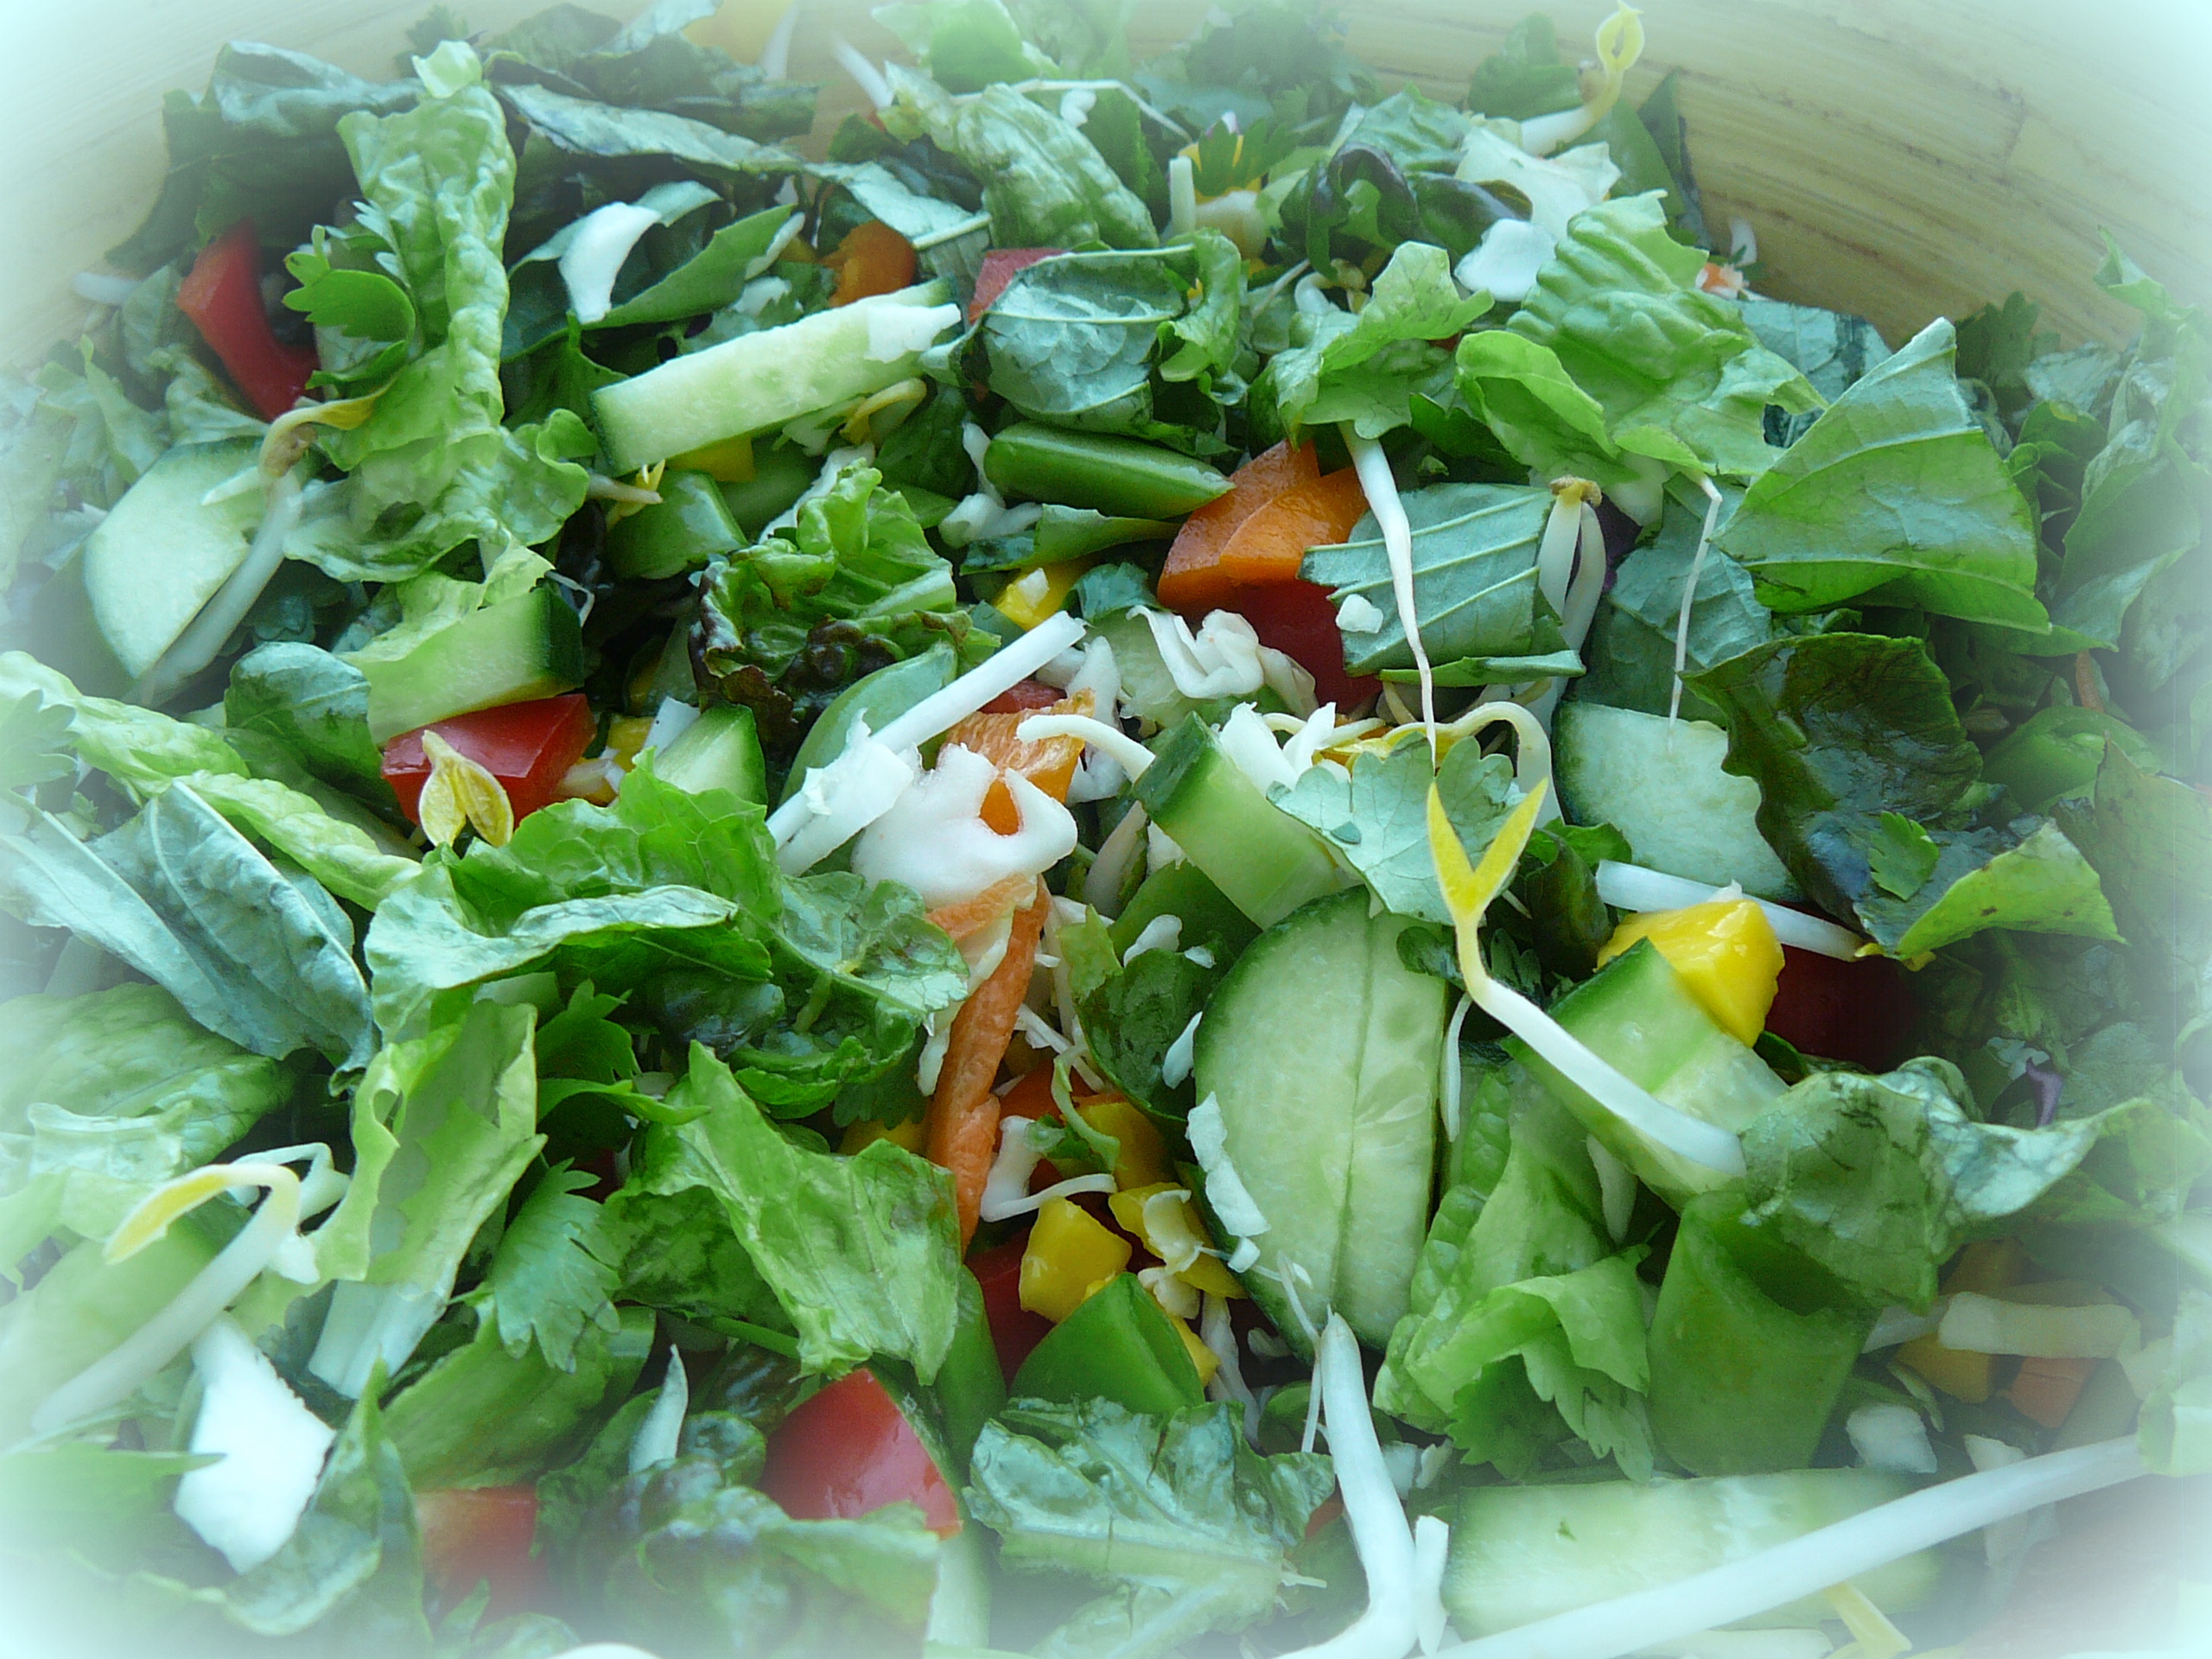 This is the best, most refreshing light and lively salad dressing whenever you are having a Mexican style meal – salad may not be something often on a Mexican comida menu, but we usually want a bit of a green, fresh vegetable element on our dinner table!
