Gram Shirley was known for making this dessert, and we all loved it when she did. Grant has been asking me to make it and I finally took the plunge into jello desserts. Believe it or not, in the southern states, they call this a salad. This looks like a lengthy recipe, but it’s actually quite easy, the time comes in with allowing the 3 layers to be prepared separately.
Graham Cracker Crust
Preheat oven to 350 F.
- 2 1/2 cups graham cracker crumbs. (make sure these are finely ground, it will make it easier to cut)
- 1/2 cup butter (melted and allowed to come to room temperature)
- 3-4 tbsp sugar (depending on how sweet you like it
Whisk together the graham crumbs and sugar, stirring in the cooled (but still melted) butter, and make sure it is well mixed.
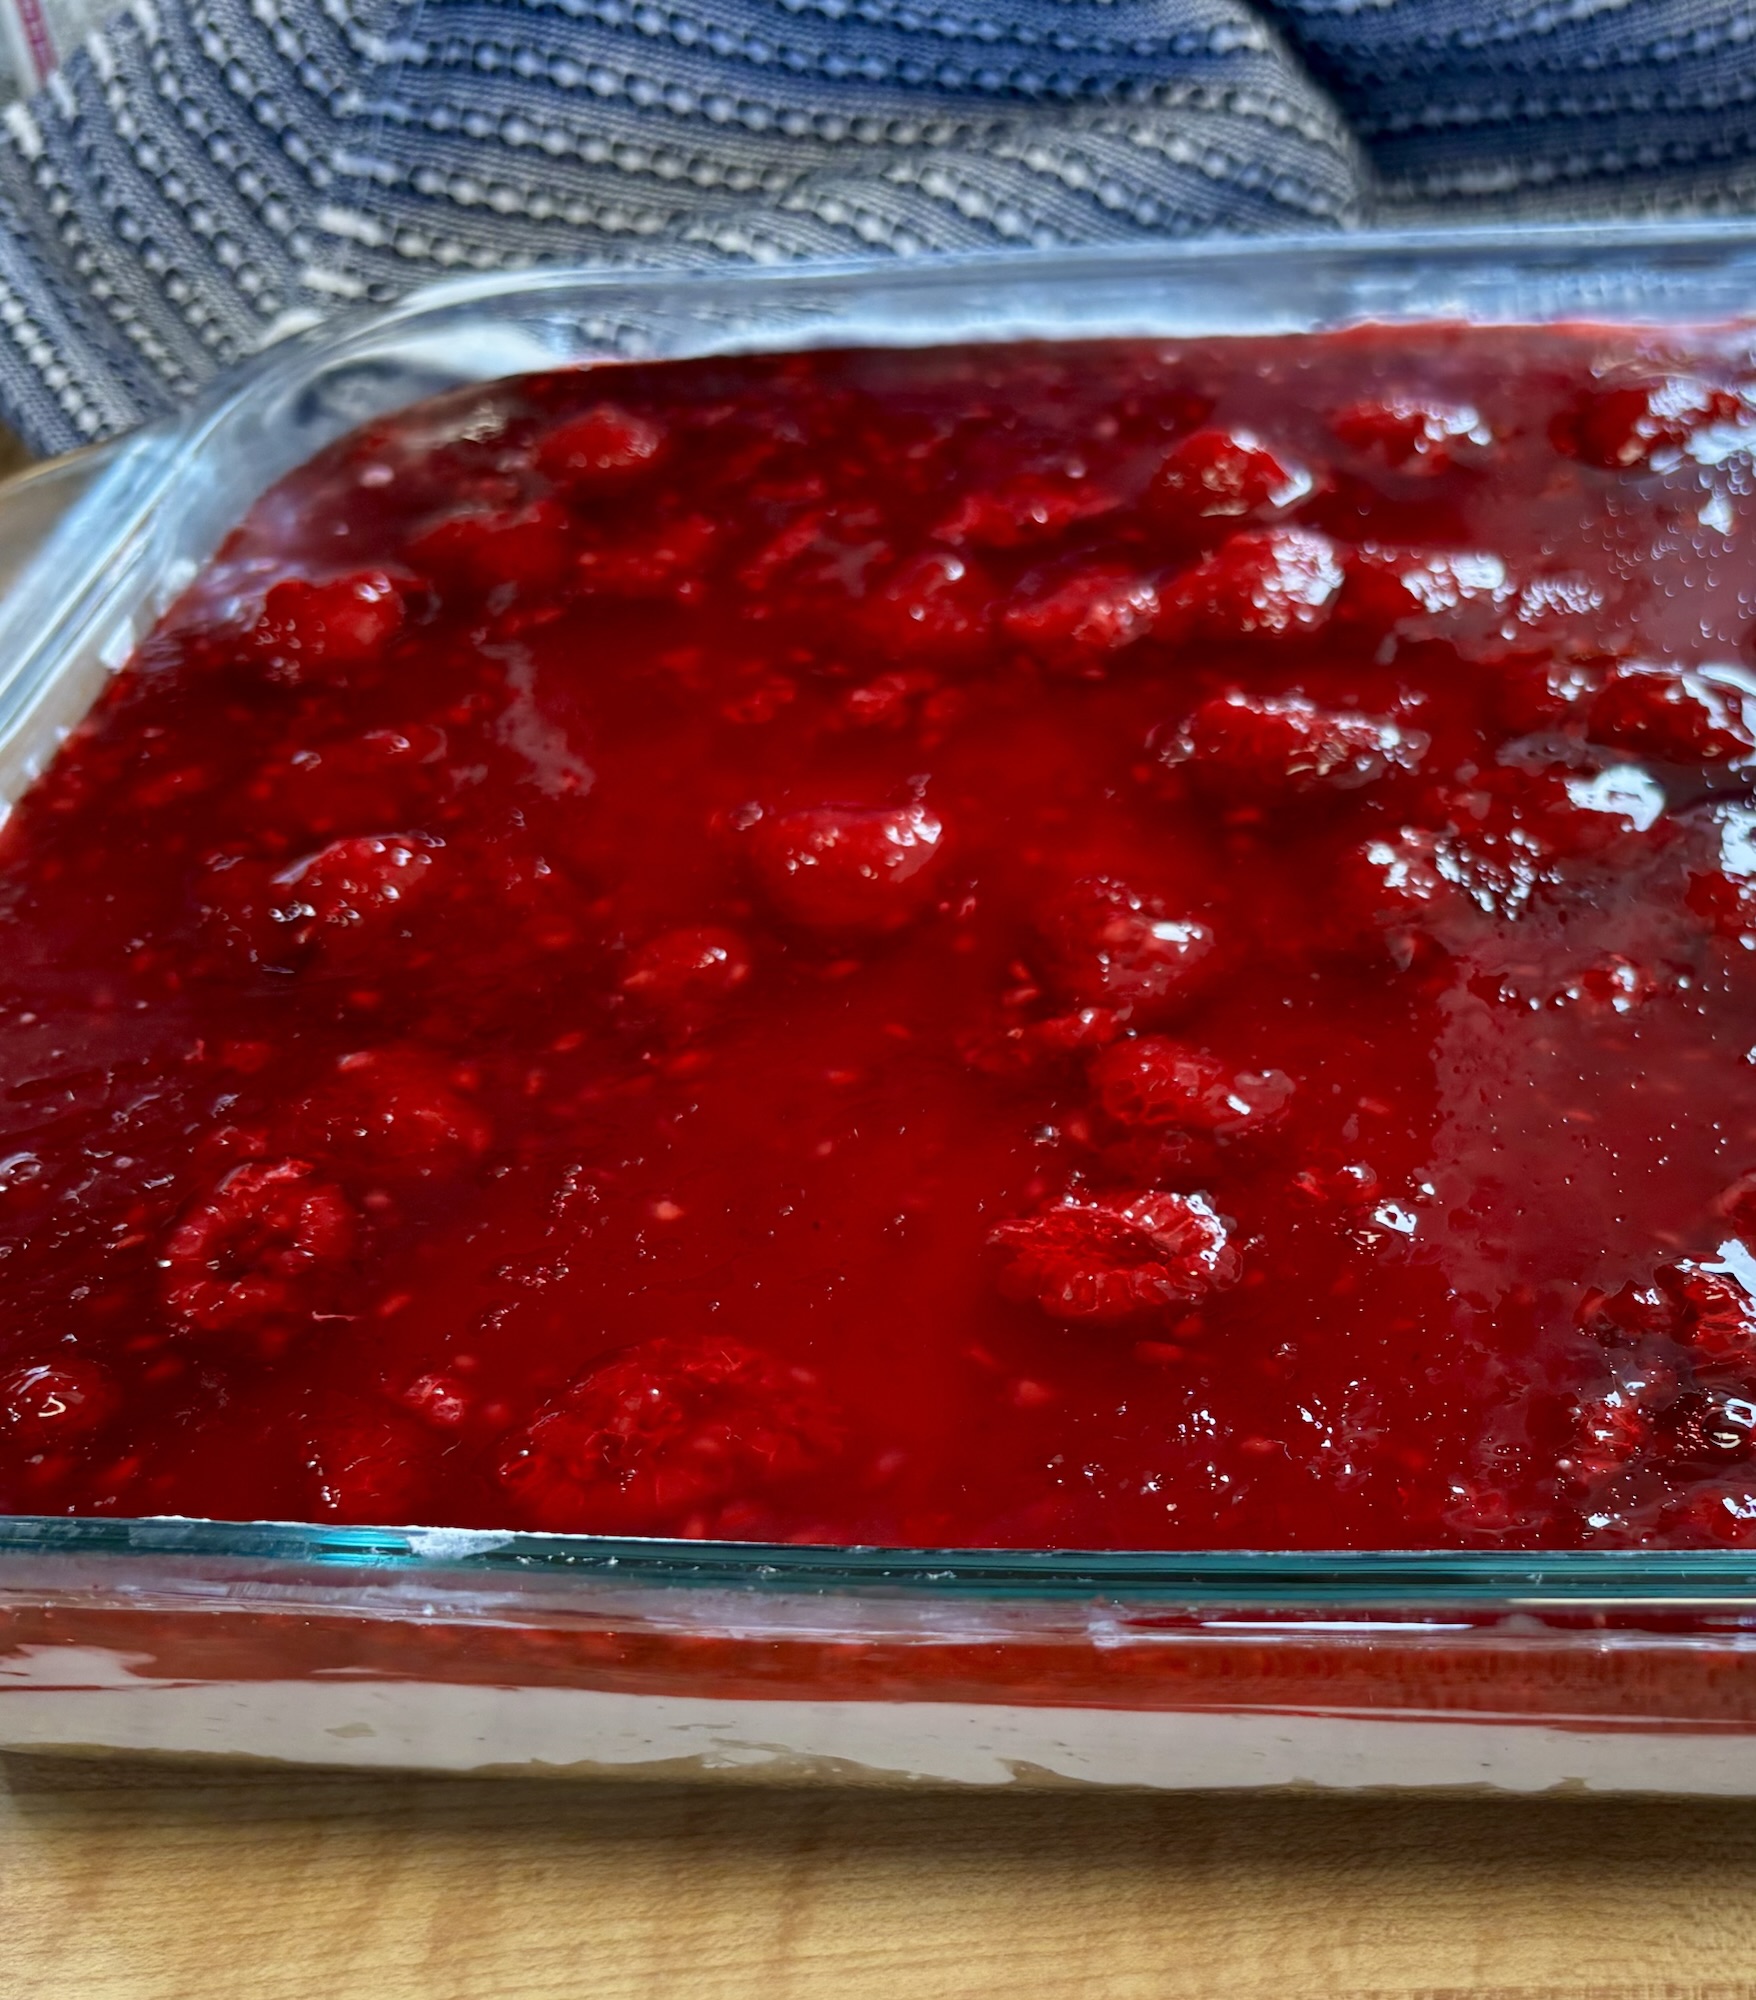
Lightly grease a 9 x 13 baking dish (I like to use glass so you can see the layers) … and because Shirley always did!
Press the graham crumbs firmly into the baking dish, make sure it is a smooth layer, use the bottom of a measuring cup if you need, to press it smooth.
Little tip here – if you use hot butter it will make your graham crust greasy
Bake at 350 for 8-10 minutes, then allow to cool completely.
Cheesecake Layer
- 2 bricks cream cheese (8 oz each) (I’ve seen it with just 1 brick also, and if so you’d want to reduce sugar by half)
- 1/3 cup sugar
- 1 tsp vanilla bean paste
- 8 oz of whipping cream, whipped until firm
Use a hand mixer to blend cream cheese and sugar together until light and fluffy, add in the vanilla. Gently stir in the whipped cream until fully incorporated. (Original recipes call for Cool Whip, but I just couldn’t do it)
Spread evenly onto the FULLY cooled graham crust, making sure you get right to the edges of the dish. If you don’t the jello layer may seep below and soften the graham crust.
Cover and set in the fridge until the jello layer is ready.
Raspberry Jello Layer
- 2 cups boiling water
- 1 6 oz pack of raspberry Jello
- 16 oz frozen raspberries (do not thaw)
In a heatproof bowl, add first the jello powder, then stir in the boiling water. Once dissolved, stir in the still frozen raspberries, as this will help it to cool and thicken.
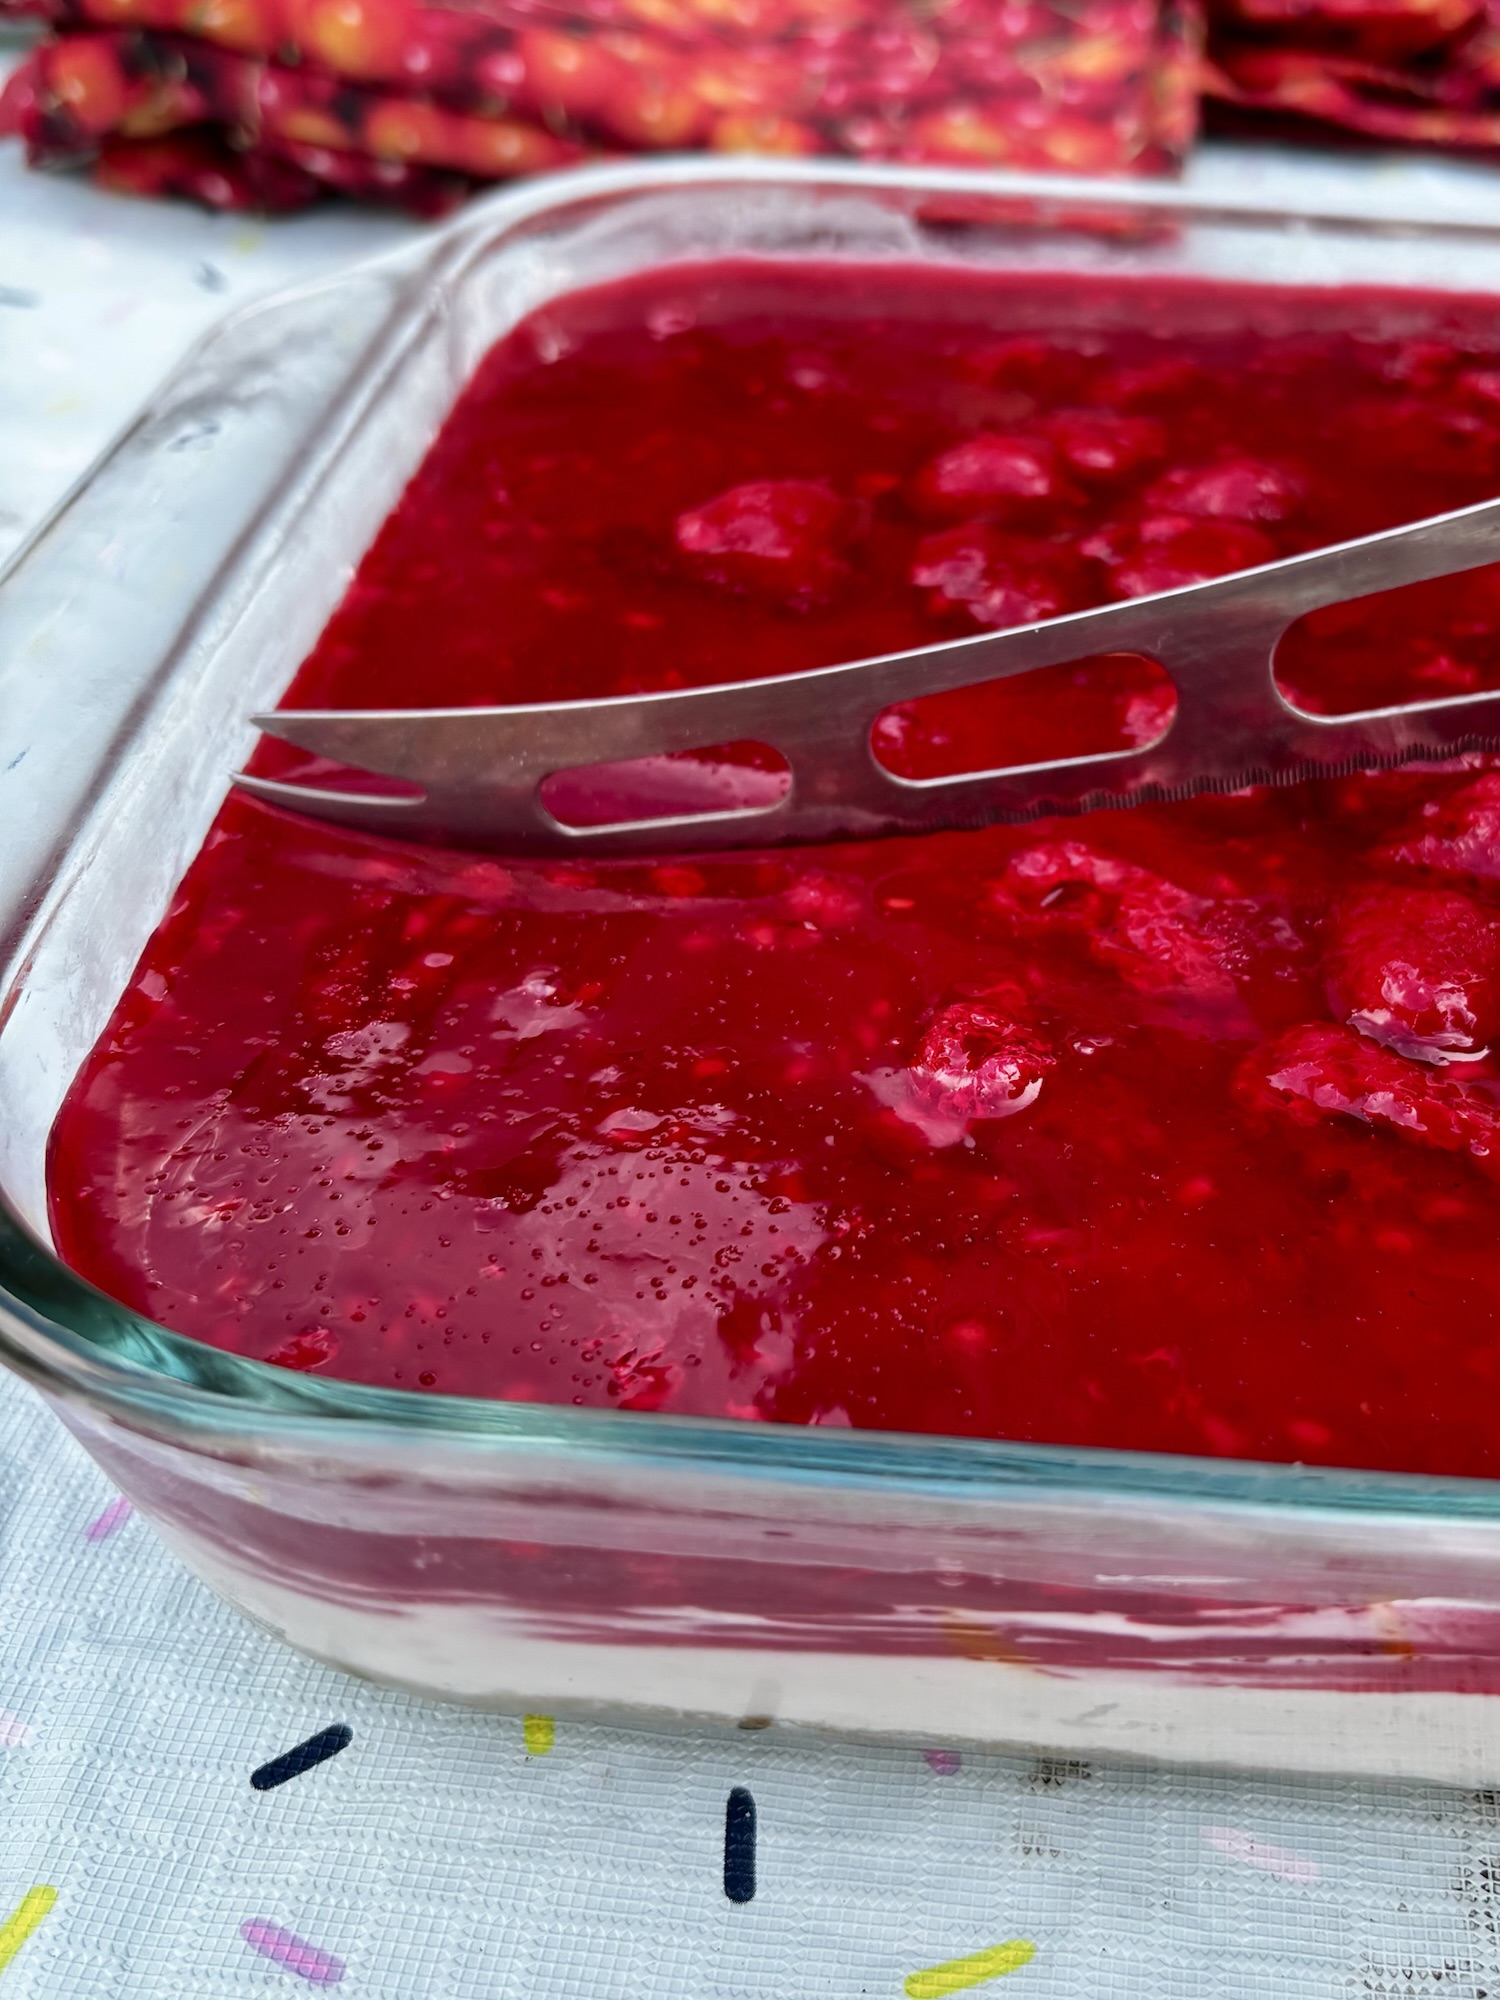
If it has cooled to room temperature (but don’t let it start to set), gently spoon it over the cheesecake layer and cover tightly with wrap. Allow to set up in the fridge for at least 4-6 hours before slicing and serving.
This dessert is best served prepared the same day, although it is till tasty the next day!
Like many retro desserts, this is not the time to worry about calories. Use full fat cream cheese and whipping cream – no skimping here as it just doesn’t work as well.
Today’s was made for Sunday Family Dinner, so always gluten free – the only change was to use gluten free graham crumbs.