Lemon Meringue Pie

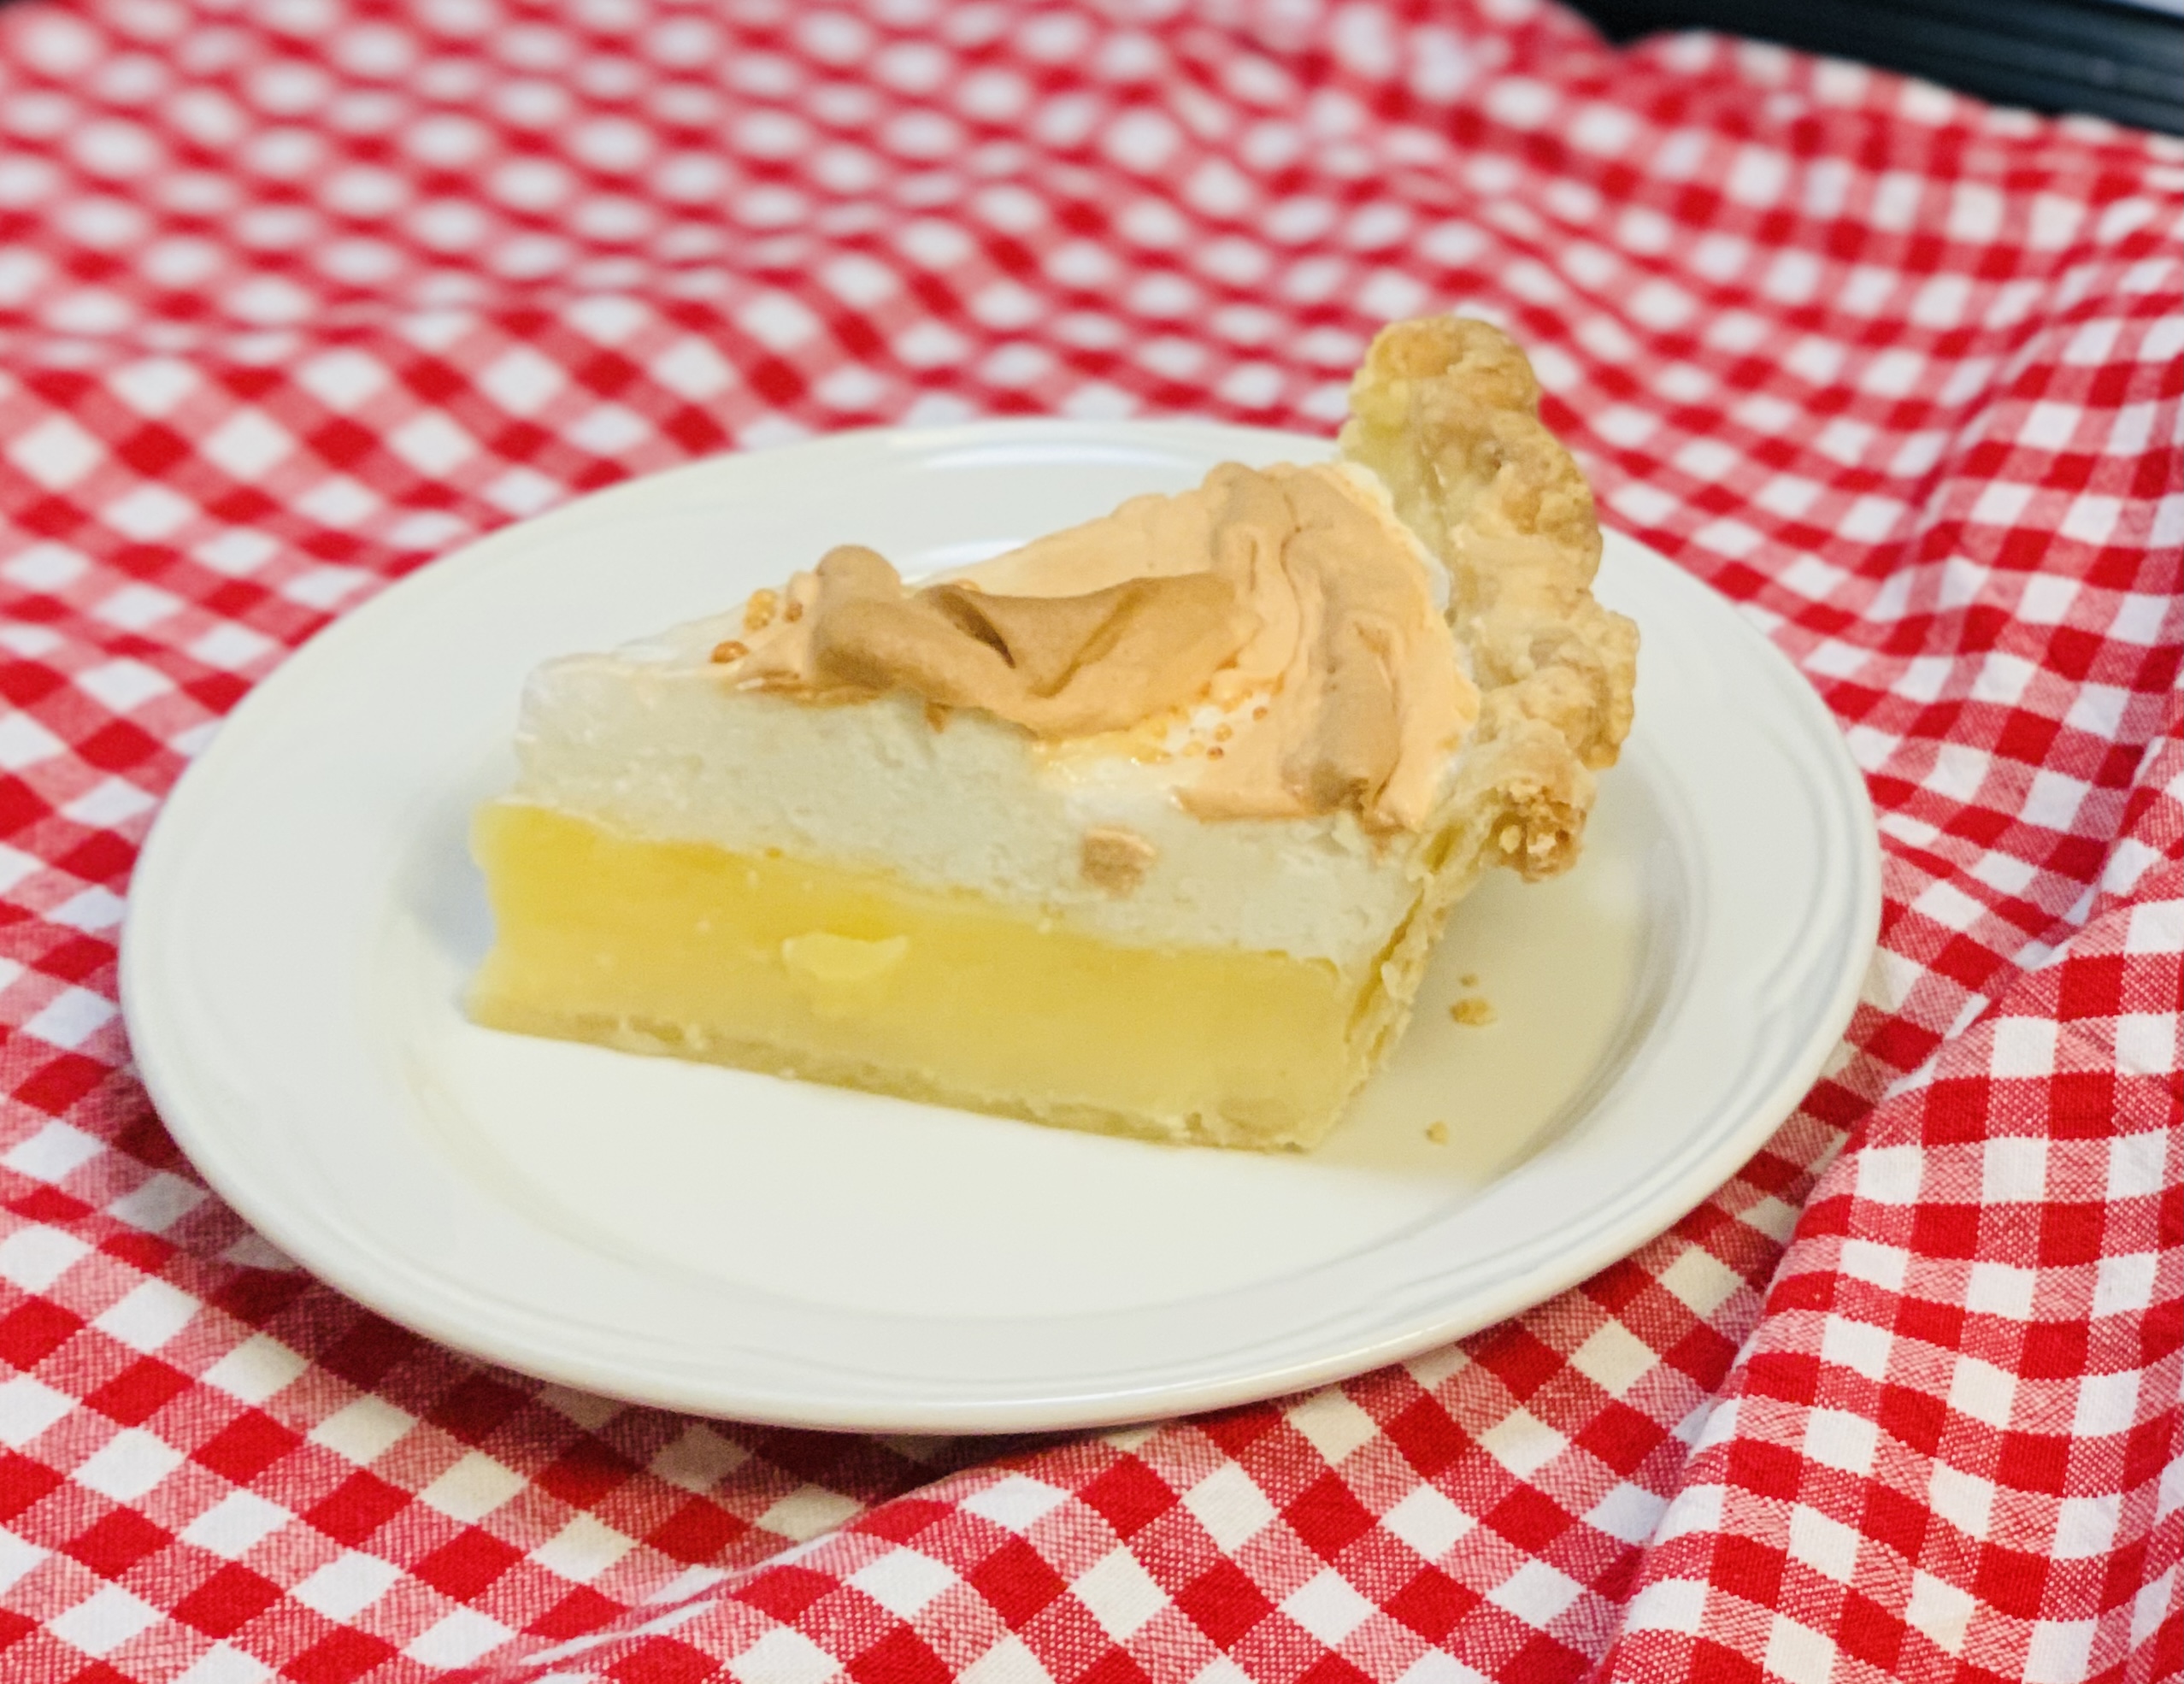
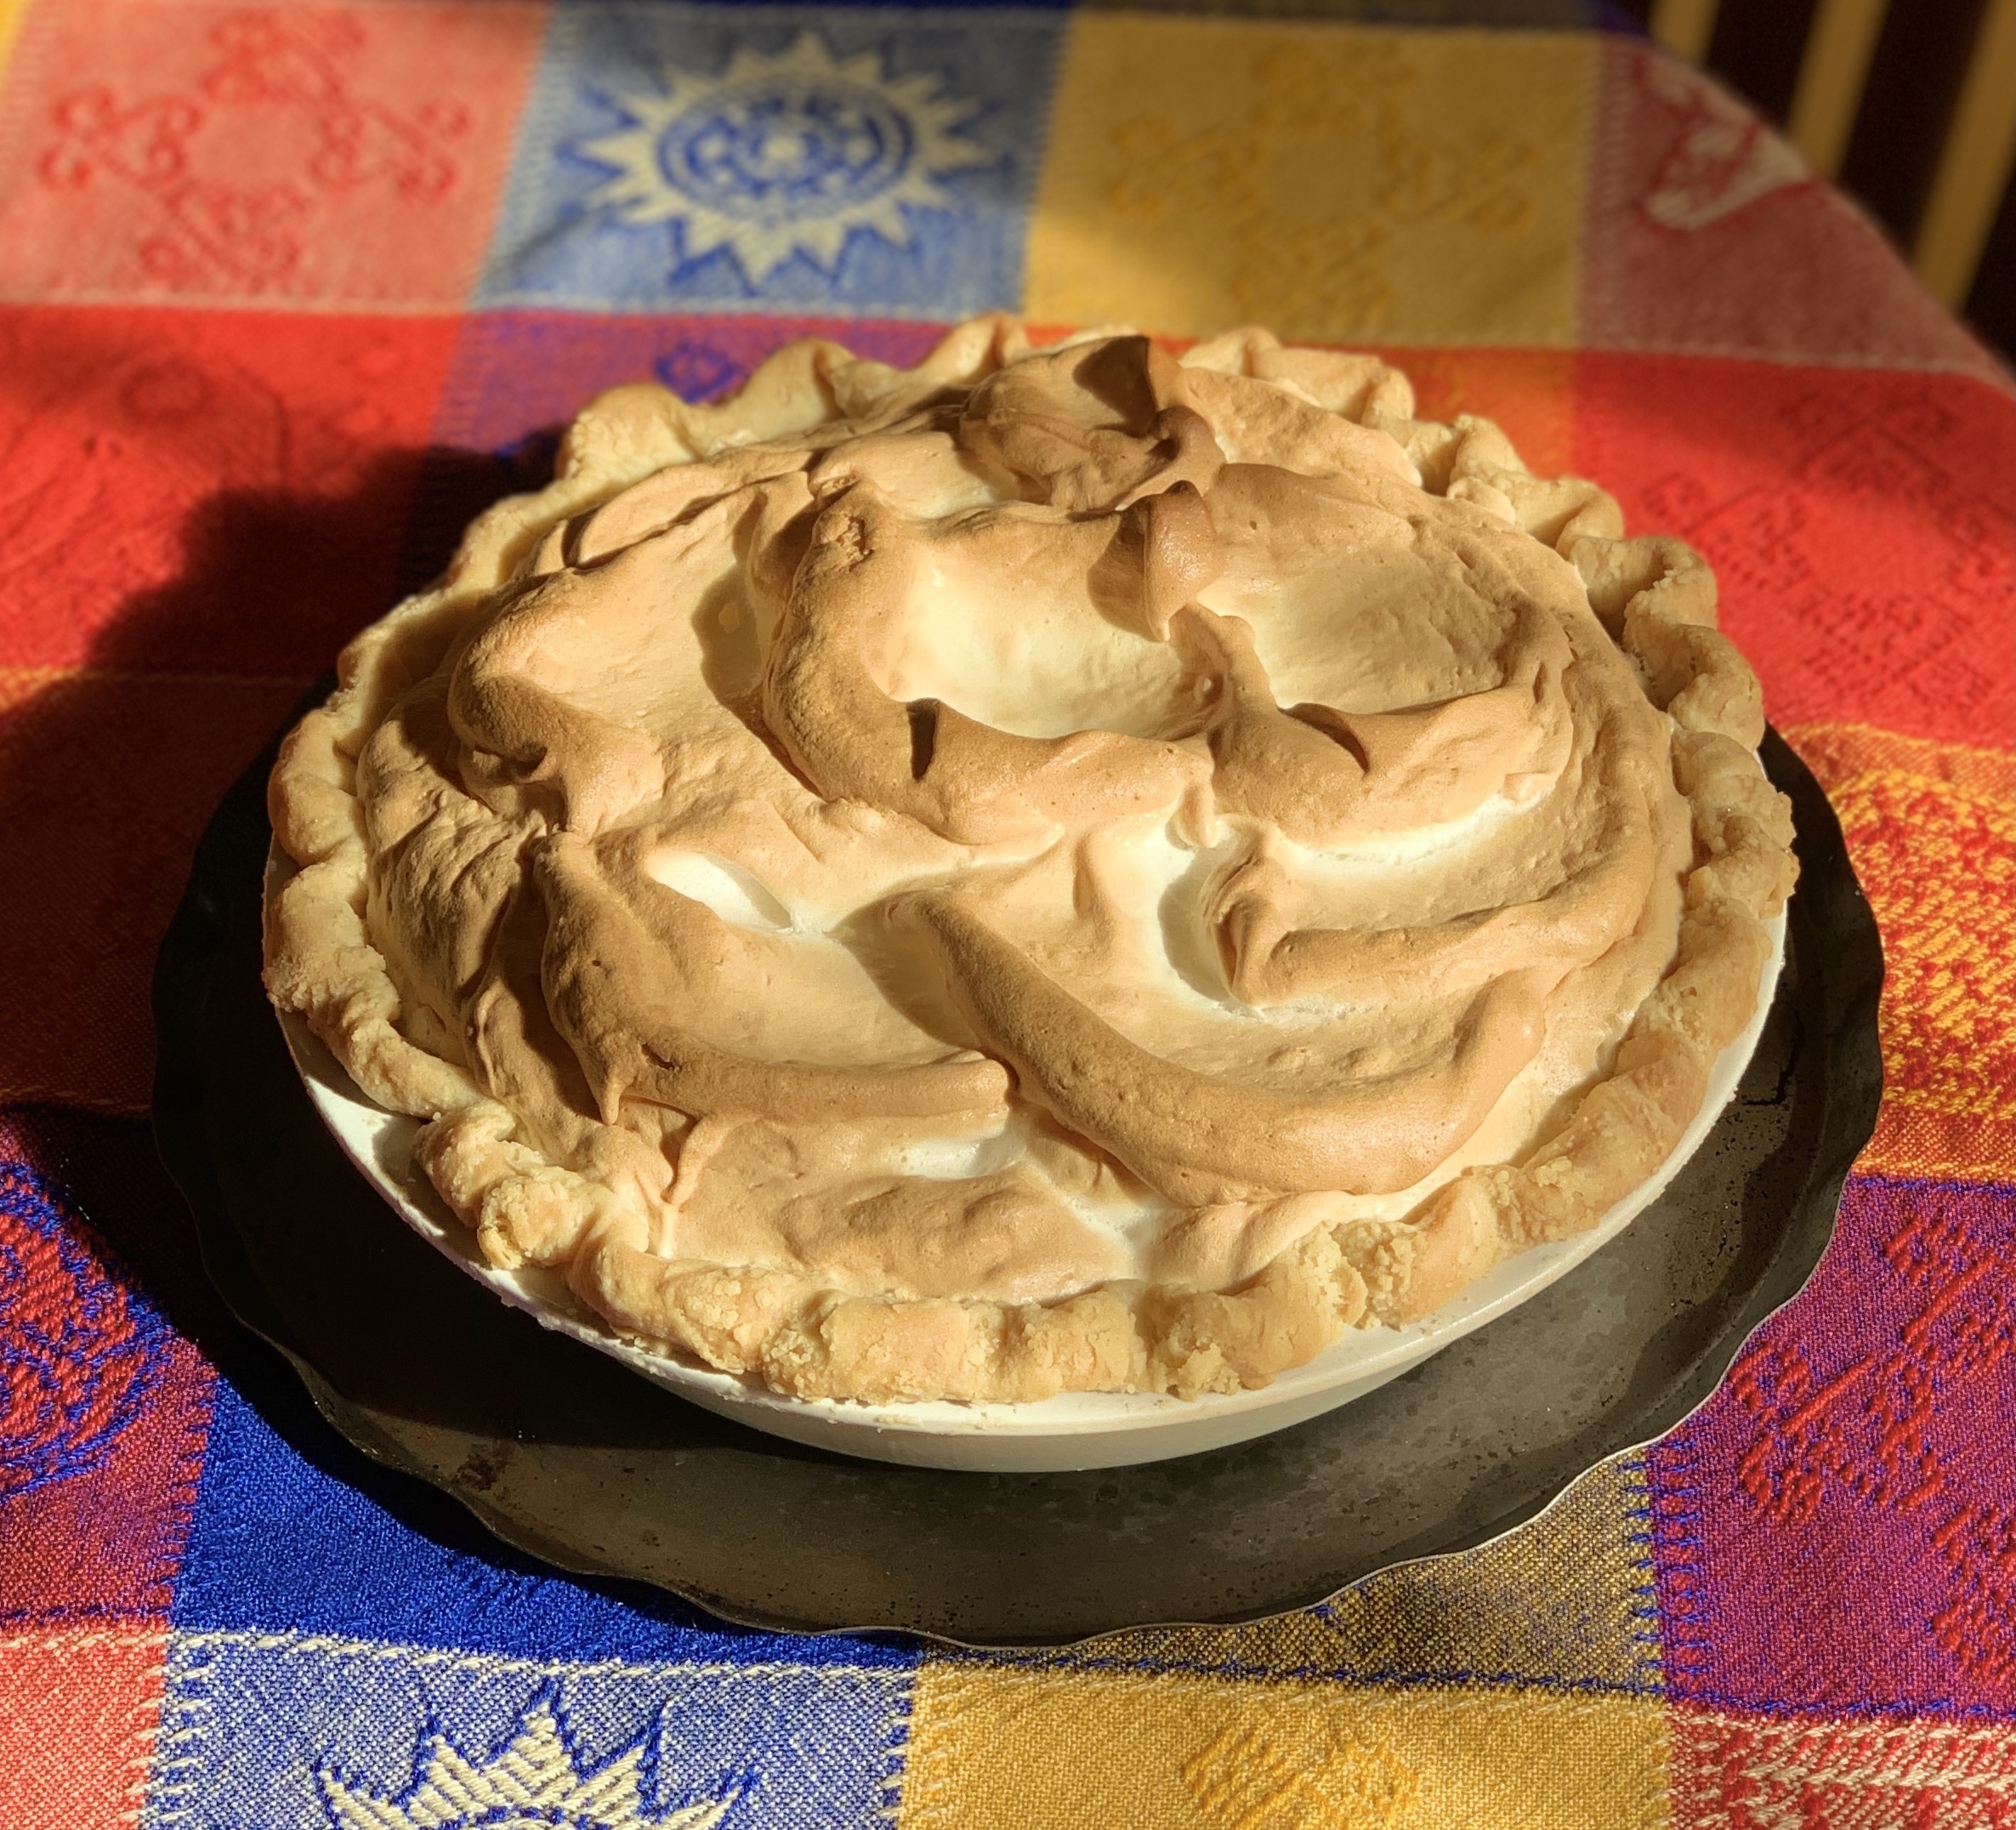
It’s really not spring here yet, but I can feel it’s arrival any day now, and what better way to celebrate than with lemon meringue pie. It is Grant’s favourite pie, and I just had to make it on a bright sunny day, feeling that this spring in particular is so welcome!

We were in such a hurry to eat the pie that my photo isn’t the best, and yes – I just can’t seem to get away from having the meringue weep! Still delicious….

LEMON CURD

  • 5 large egg yolks (save the whites for meringue below)
  • 1 1/3 cups of water
  • 1 cup granulated sugar
  • 1/3 cup cornstarch
  • 1/4 tsp salt
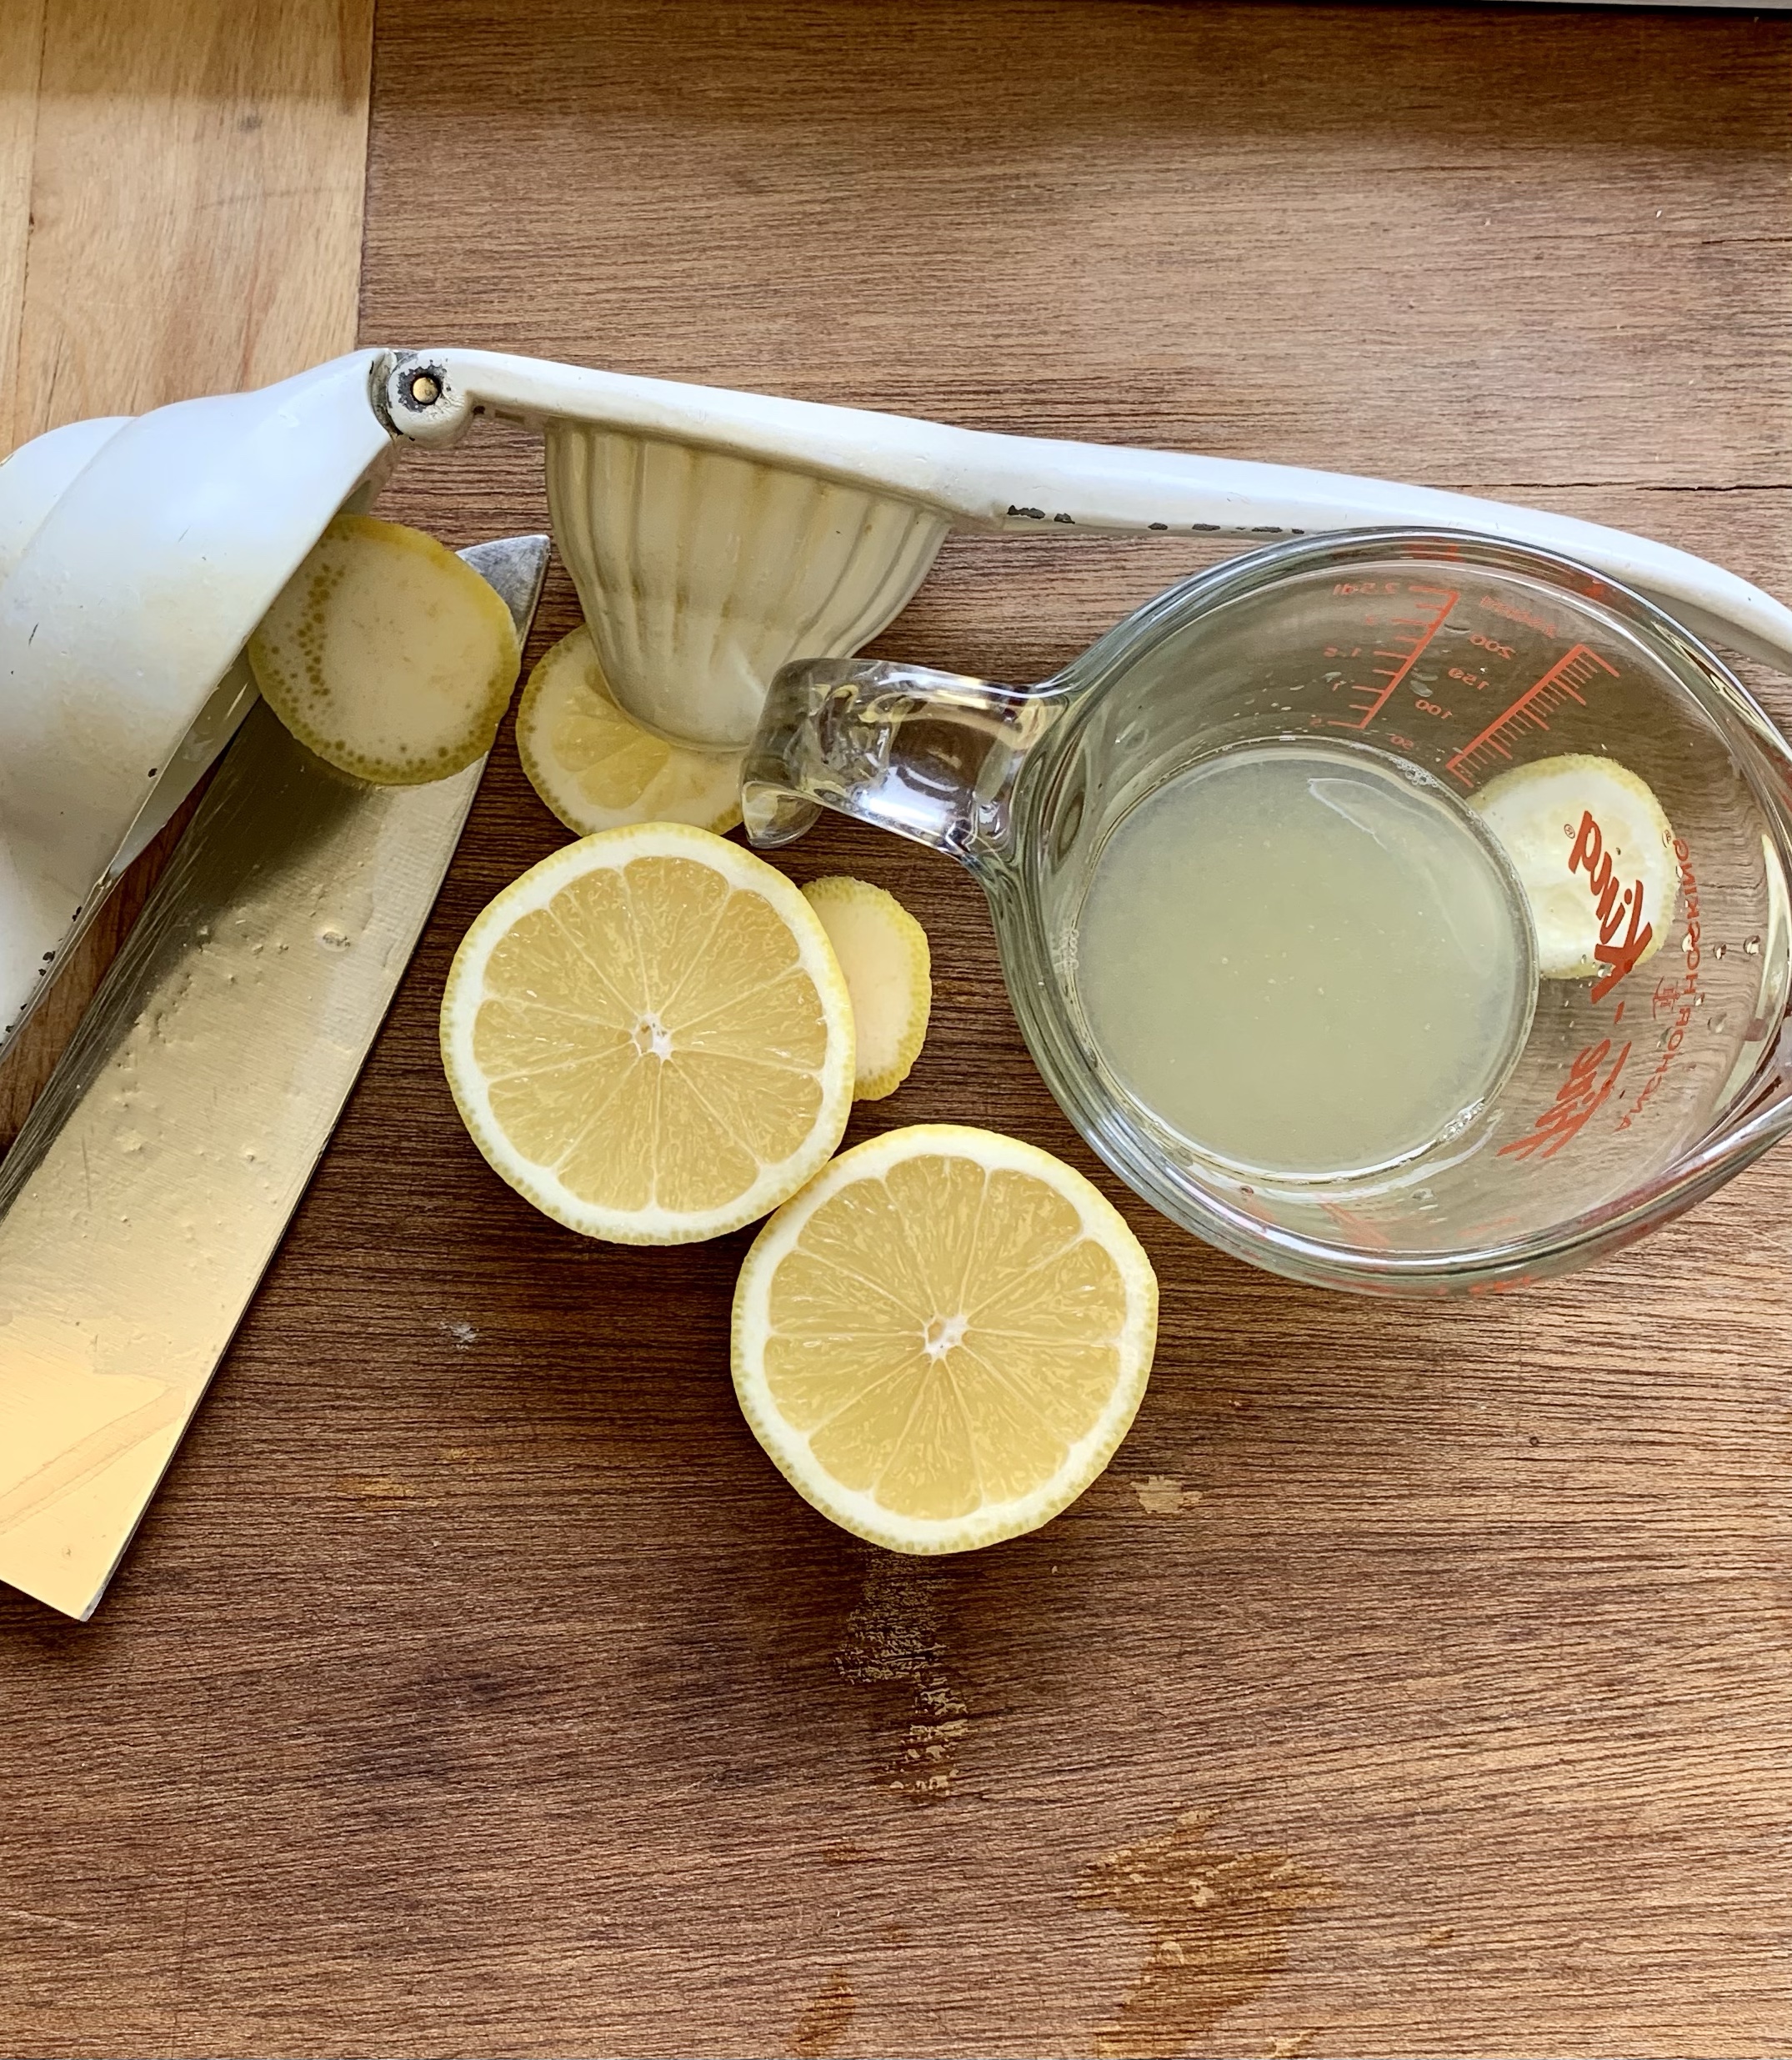
  • 1/2 cup freshly squeezed lemon juice (yes – fresh is best!)
  • zest of 2 lemons
  • 2 tbsp unsalted butter, soft and at room temperature

Whisk egg yolks together and set aside.

Combine water, sugar, cornstarch, salt lemon juice and lemon zest in a medium heavy bottom saucepan. Cook over medium heat, stirring FREQUENTLY. Trust me, you don’t want this to burn. Once it thickens up, S L O W L Y stir a couple of tablespoons into the reserved egg yolks. Stir constantly and add another couple of tablespoons of the lemon sauce. Add the egg yolk mixture back into the saucepan with the rest of the lemon mixture and cook over medium heat, stirring constantly. This will thicken and release large bubbles, demonstrating just how thick the mixture is. Remove from heat and stir in the butter, continuing to stir until the butter has melted.

Pour into partially baked pie crust. Set aside while you whip the meringue.

Preheat oven to 350

MERINGUE

  • 5 large egg whites
  • 1/2 tsp cream of tartar
  • 1/2 cup granulated sugar
  • 1/8 tsp salt

Using a hand mixer or stand mixer, beat the egg whites and cream of tartar together on medium speed just until blended. Turn beaters to high and slowly add in the sugar and salt. Beat on high until stiff peaks form.

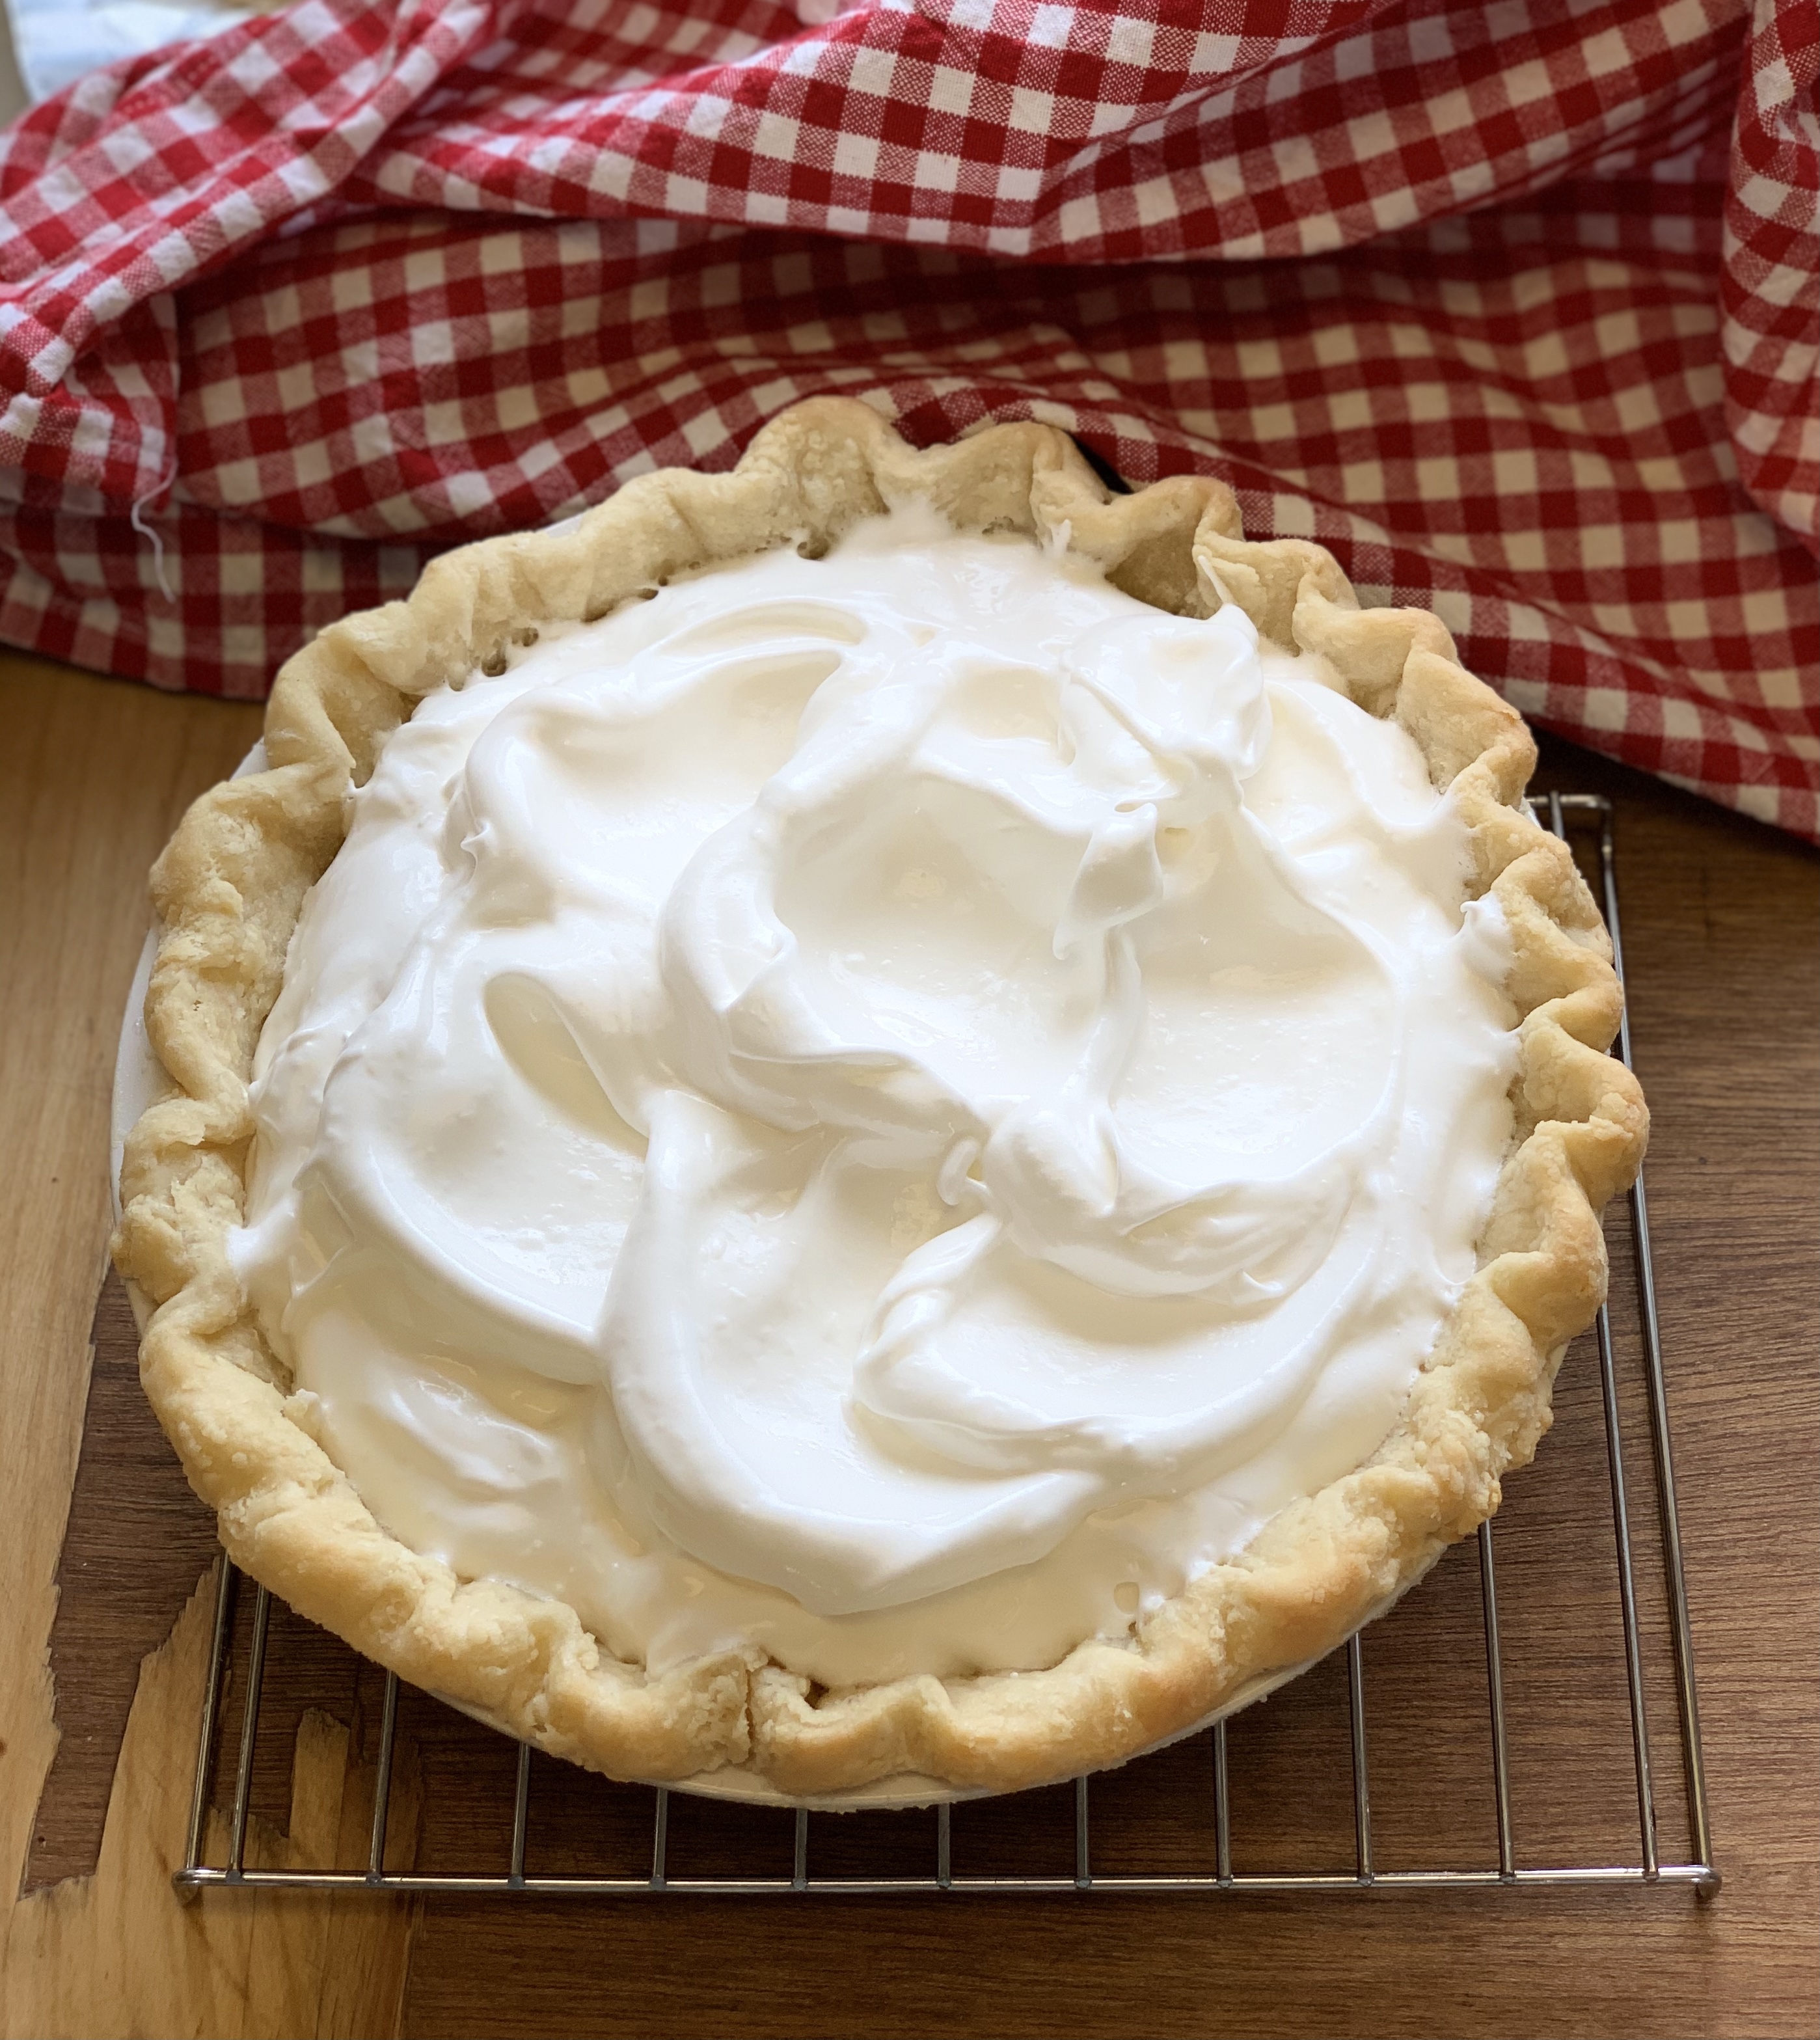
Using a large spoon dollop meringue all over the pie, being very careful to have it reach right to the edges, and touching the pie crust. (This will help to keep the meringue from separating away from the crust, and theoretically from weeping too much but mine always weeps??). Use the back of your large spoon to create swirls in the meringue.

Bake for 25-30 minutes, watching so it is just nicely browned.

Set on the counter for 1 hour and then put in the fridge for at least 4 hours to allow the lemon curd to set.

Check out my flaky pastry recipe for the best start to any pie!
Please!! Freshly squeezed lemon juice!!
Partially baked crust, warm lemon curd and just waiting for the meringue
Ready for the oven
The only tricky part of this whole recipe is waiting for the pie to completely cool down. This pie is best the day it is made, but without any family dinners, you just know Grant and I managed to make it last a few days and it was amazing right to the last bite.

One of my favourite sources for baking recipes is Sally’s Baking Addiction, and this lemon meringue pie recipe came straight from her blog. Make sure to check it out, she has so many great tips and videos to create amazing treats.

Empanadas

Most cultures have a pastry/hand pie like this one ….. empanadas are famous in many countries, but I’ve only had the pleasure of eating them in Mexico so that is what I have fashioned these after.  They can be deep fried, but I prefer baking them for fluffy, flaky pastry and creamy filling.  Extra bonus points for the way your house smells while they are baking!

Empanada 1

In today’s version I used chicken, onion & red pepper, topped with a chunk of jalapeño havarti.  The tomatillo salsa was delicious for dipping!

Empanadas are such a treat.  These will give you flaky pastry, and a creamy tasty filling.

Make sure when you roll out your dough that you do it a little thinner than you would for a pie – you want to make sure you have a good ratio of filling to crust.

Empanada 2

Saute onions and garlic until softened, then add red pepper and cook for only a couple more minutes.  Stir in cooked shredded chicken and season to taste.  In this version, I added a couple of tablespoons of tomatillo salsa, and then topped with jalapeño havarti cheese for an extra bit of kick and creaminess.

Other suggestions for empanada filling:

  • ground meat seasoned with taco spices, topped with Oaxaca string cheese
  • leftover pulled pork and pickled red onions
  • wilted spinach, sautéed mushrooms and feta cheese
  • go sweet with fruit, cinnamon and a bit of vanilla

I’ve included my pastry recipe here, but if you aren’t into making your own pastry go ahead and use a prepared frozen pie shell.  Just take it out and roll it a bit thinner.

Cut your pastry into rounds, brush beaten egg around the outside and then put about a tablespoon or two of filling in the middle, add some cheese on top.  You will want enough filling so that your ratio of stuffing to pastry is tasty.  Fold edges up together and press to seal.  Set them on a baking sheet and pinch/crimp the top to make sure it is well sealed.

Brush beaten egg over the top of the sealed empanada, and then poke a hole so steam can escape and the pastry doesn’t leak too much of your goods outside the shell.

Bake at 375 for 25-30 minutes until golden brown.  You can also freeze them on a cookie sheet at this point and bake later, from frozen.  Just bake a little longer.

Empanada 3

Oh, these were G O O D.  Before baking season the tops with salt and pepper.

Everybody loves flaky pie crust – but people are divided on whether to use shortening, lard or butter.  Through trial and error, I think I have found the best of them all – by combining lard and butter.  Try it ….. so light and flaky – you will love it.

  • 1 egg
  • 1 tbsp vinegar
  • 3/4 tsp salt
  • 3 cups white flour
  • 3/4 cup cold vegetable lard or (if you prefer) shortening
  • 3/4 cup cold butter
  • 5 tbsp very cold water
  • Lightly beat egg and vinegar

Whisk flour and salt

Using a pastry blender or 2 knives, cut in lard/butter until pea sized.  Add very cold water to egg and vinegar mixture.  Make a hole in the center of the flour blend and stir in the egg/vinegar/water combination.  Work just until pastry comes together – adding slightly more liquid if it doesn’t, and if it is too wet, add a wee bit more flour.  Work together just until it all comes into a solid mass.  Knead very lightly on floured surface.  Wrap tightly and put in the fridge for at least 40 minutes.

Roll on lightly floured board until just thin enough to use for pie dough.

This recipe makes enough for 1 smaller pie (top and bottom) or a large deep dish pie crust bottom.

Strawberry Rhubarb Galette

The perfect way to celebrate the arrival of summer weather is when the rhubarb is ripe at the same time as strawberries!  Take the tartness of rhubarb with the sweetness of the strawberry and you have a winning combination.

Galette 1

I used my flaky pastry recipe (with egg and vinegar) to create this one … and in case you are wondering what the threads of lighter colour are …. I had a soft apple in the fridge so it got added to the pie.  Delicious!

Have you ever made a galette?  It’s really just a fancy name for a very easy, lazy way of making a pie.  If you aren’t a fan of making your own pastry dough, then just buy a frozen pre made pie crust, tip it out of the tin pie plate and carry on …. if you roll over the edges to take away that little crimped evidence of a premade shell you don’t even have to admit this to anyone!

Preheat oven to 400.

Line a large baking sheet with parchment paper.  On a lightly floured surface roll out your pastry to about 1/8″ thickness.  Place on baking sheet (it will hang over the edge).  Put this in the fridge for about 10 minutes while you prep the fruit.

  • 1 pint strawberries, thickly sliced
  • 1 pound very refresh rhubarb stalks, cut into 1/2″ thickness (or frozen sliced rhubarb)
  • 1/2 – 3/4 cup sugar, to taste
  • 2 tbsp flour
  • 2 tsp fresh lemon juice
  • 1 tsp pure vanilla bean paste

To finish you will need:

  • butter
  • milk
  • raw sugar

In a large bowl toss the strawberries and rhubarb with the sugar, flour, lemon juice and vanilla.  Spread on the prepared pastry to within 2″ of the edge.  Fold the edges, pleating at about 2″ intervals.  BE REALLY CAREFUL HERE ….. warning is from experience.  If you don’t carefully create these pleats, (sealing as you go) enough to hold the fruit there will be a breakout, and that mess is not pretty!  

Galette 2

Brush the edges of the pastry with milk and sprinkle with raw sugar.

Dot the filling with butter.  Bake the galette in the centre of the oven for 1 hot, or until the fruit is bubbling and the pastry is golden brown.  Allow to cool before cutting.

Galette

THIS is what happened when I didn’t seal the edges of my pleats together …. really, you should have seen me trying to get the half baked effort off the sheet pan and into something that would hold the juices better, BEFORE it all ran away.  Still tasted delicious, just somewhat messier, but a galette is meant to be free form anyway, right???


NOTE – If you are using fresh rhubarb, remember that the leaves are toxic!  Be sure to trim them to remove any leaf.

Flaky Pie Crust with egg and vinegar

P1100930

Everybody loves flaky pie crust – but people are divided on whether to use shortening, lard or butter.  Through trial and error, I think I have found the best of them all – by combining lard and butter.  Try it ….. so light and flaky – you will love it.

  • 1 egg
  • 1 tbsp vinegar
  • 3/4 tsp salt
  • 3 cups white flour
  • 3/4 cup cold vegetable lard or (if you prefer) shortening
  • 3/4 cup cold butter
  • 5 tbsp very cold water
  • Lightly beat egg and vinegar

Whisk flour and salt

Using a pastry blender or 2 knives, cut in lard/butter until pea sized.  Add very cold water to egg and vinegar mixture.  Make a hole in the center of the flour blend and stir in the egg/vinegar/water combination.  Work just until pastry comes together – adding slightly more liquid if it doesn’t, and if it is too wet, add a wee bit more flour.  Work together just until it all comes into a solid mass.  Knead very lightly on floured surface.  Wrap tightly and put in the fridge for at least 40 minutes.

Roll on lightly floured board until just thin enough to use for pie dough.

This recipe makes enough for 1 smaller pie (top and bottom) or a large deep dish pie crust bottom.