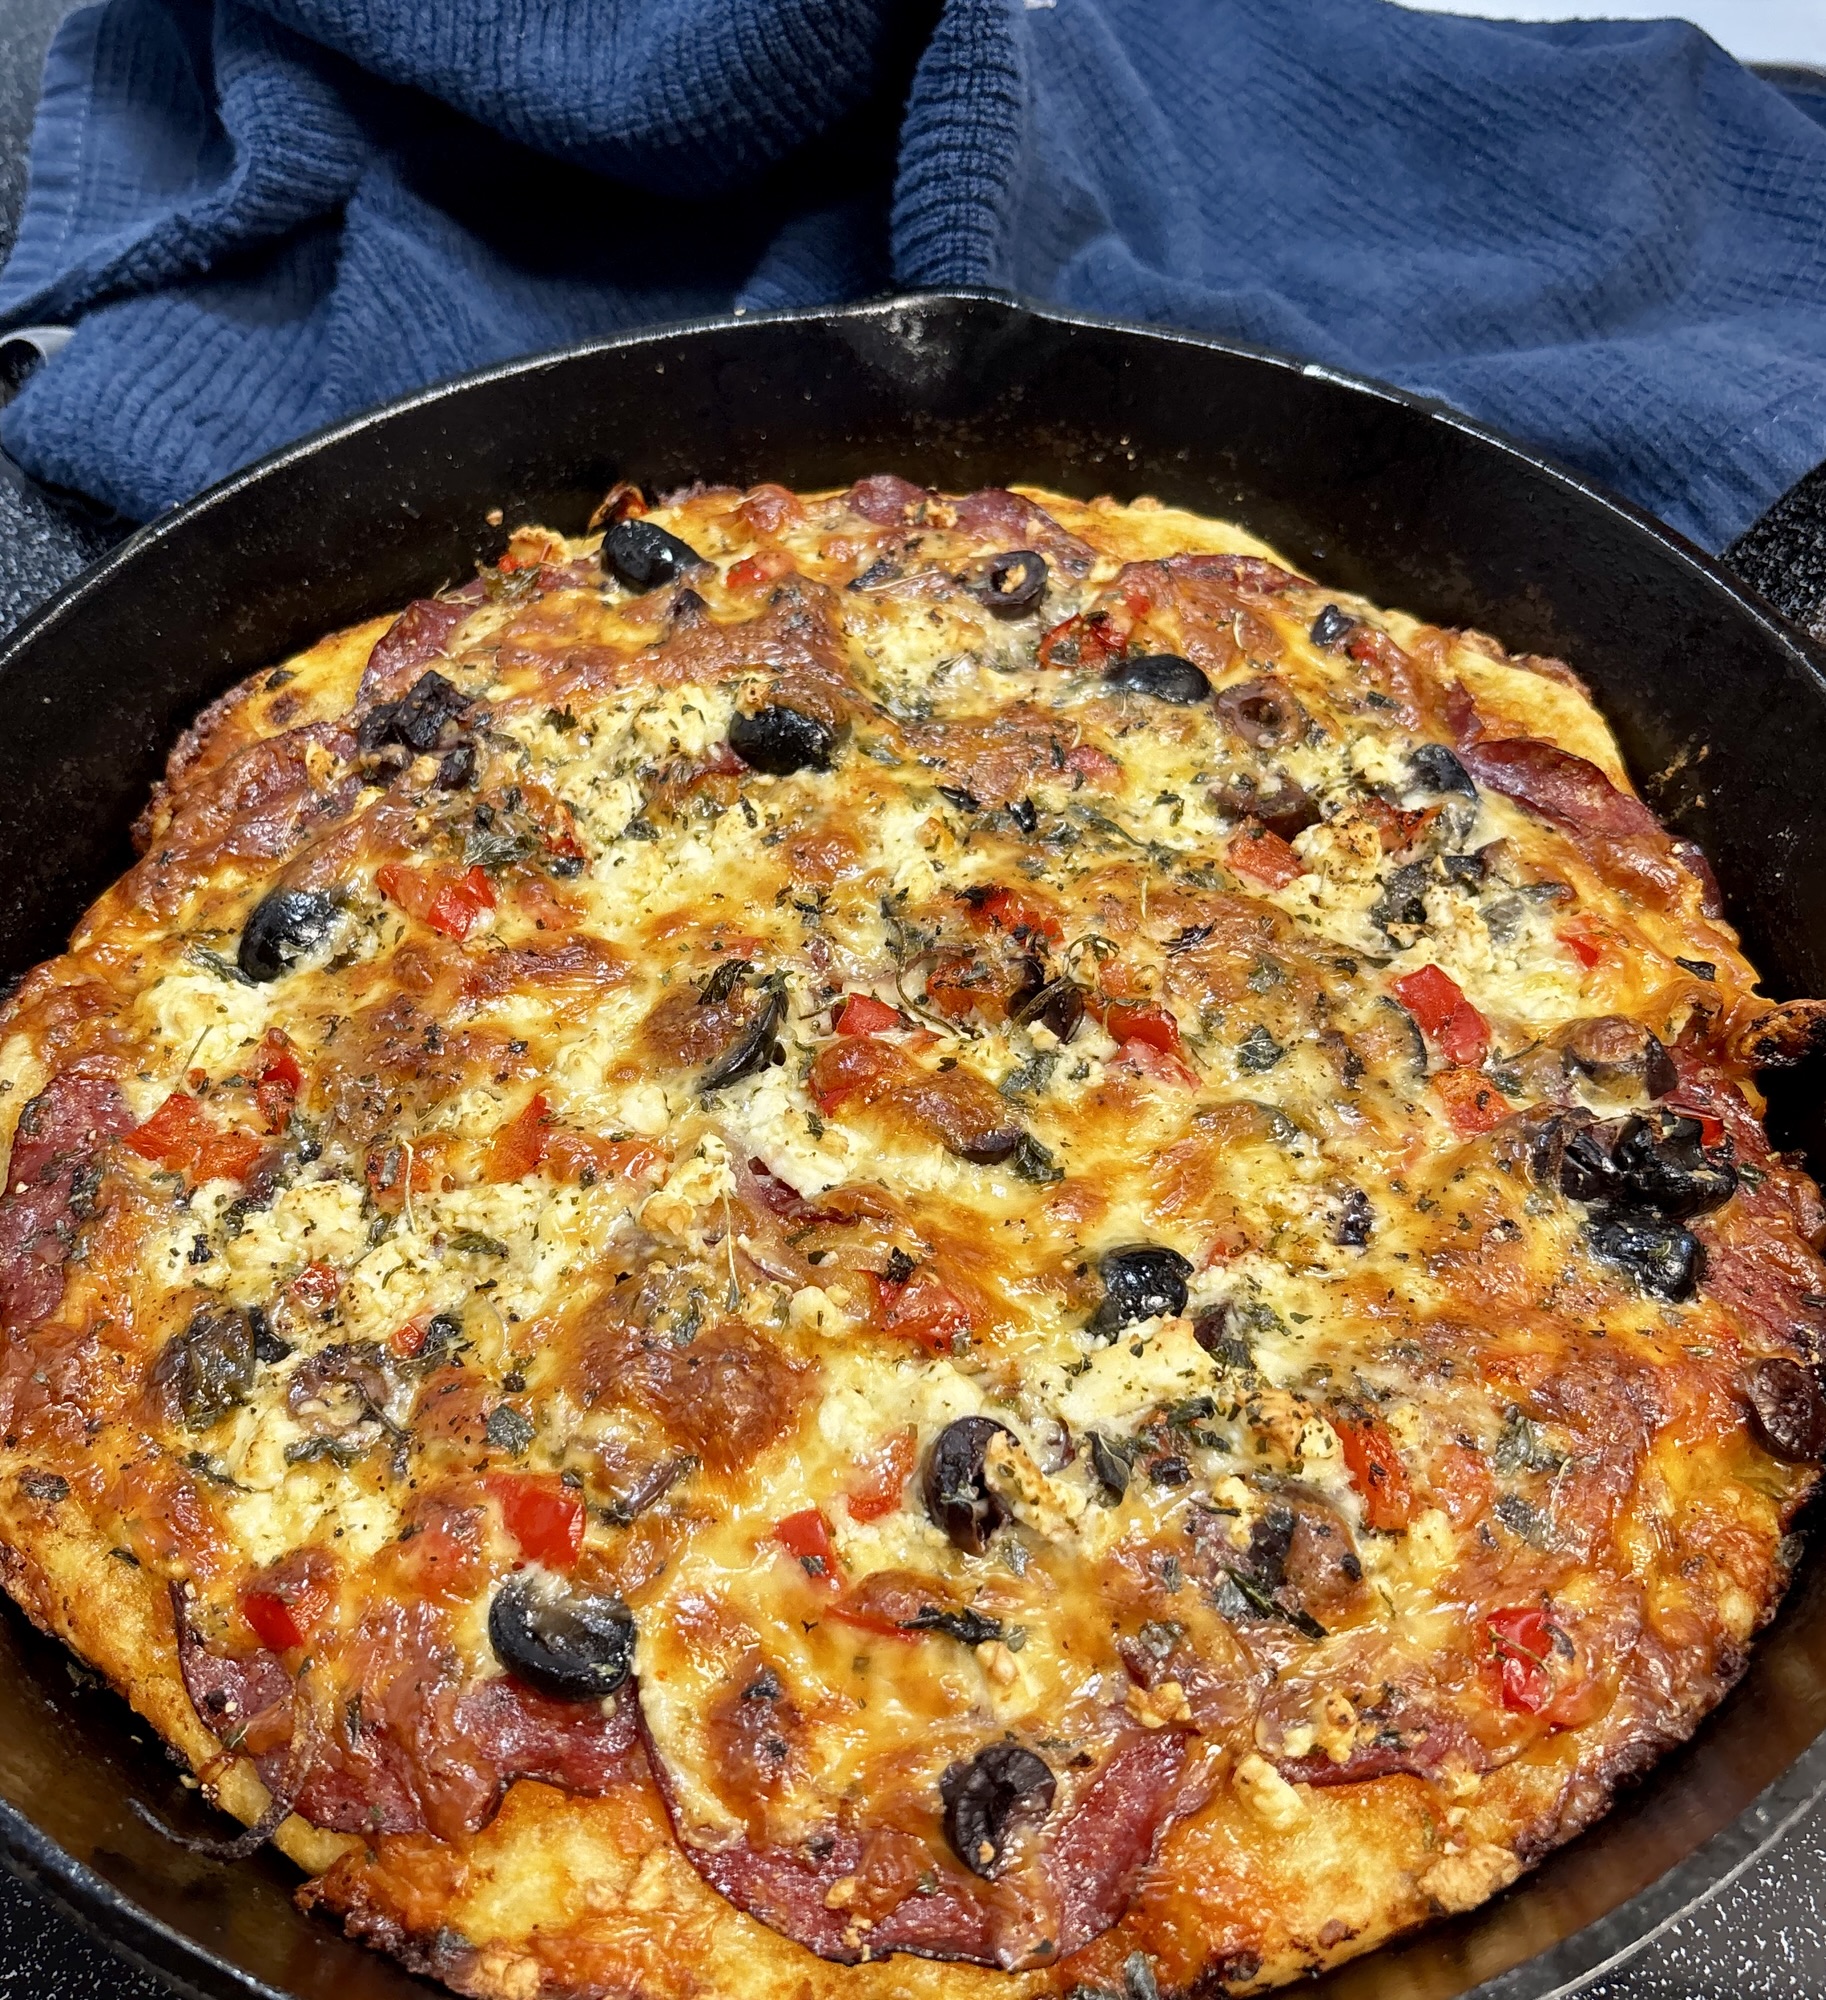
We’ve certainly made pizza a pile of different ways – I’ve even bought a Ooni pizza oven which we only used a handful of times before deciding deep dish pizza was our favorite way to eat a pizza. I found this recipe from Smitten Kitchen – it’s a winner and on repeat around here.
CRUST 1 10 inch pizza – I use my cast iron skillet
- 2 cups (280 grams) all purpose flour
- 1 tsp instant yeast
- 1 tsp kosher salt
- 1 cup lukewarm water (100-115 degrees is perfect)
- olive oil
In a large bowl, whisk together flour, yeast and salt. Add the warm water and 1 tbsp olive oil. Stir together to make sure all the flour is mixed well, be certain there are no dry bits of flour. Cover and set aside to let it rest for about 2 hours, or until doubled in size. (I have a “proof” setting on my oven and that is what I use.
If I”m thinking ahead of time, this can go in the fridge once it has risen a bit, and carry on the next day when I’m ready to eat pizza.
Preheat oven to 450
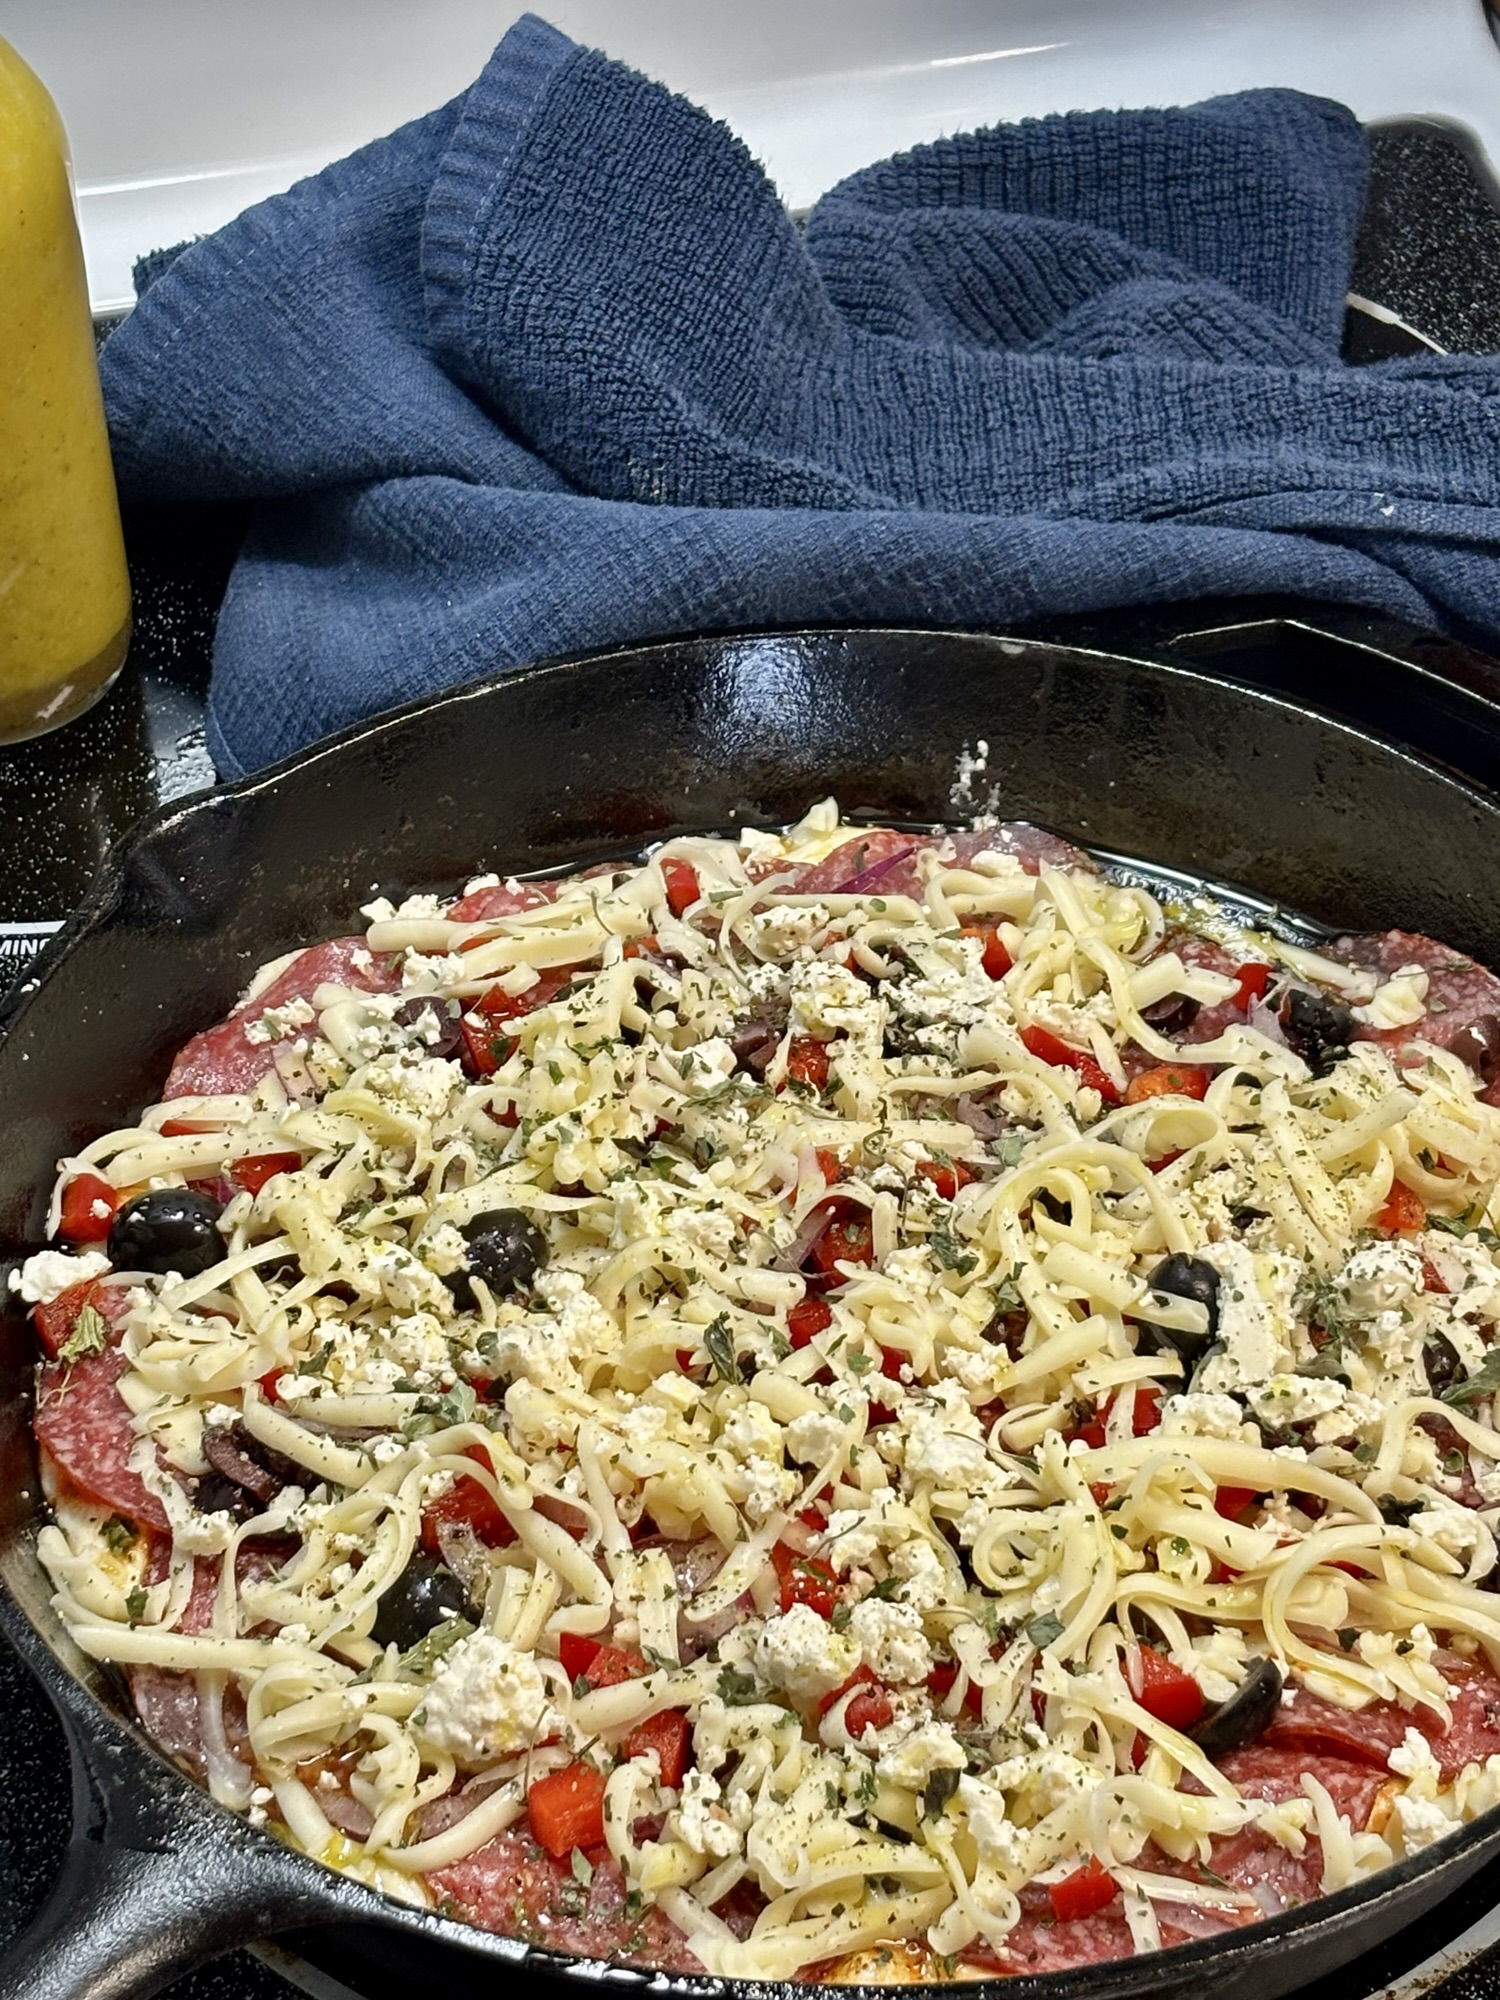
When the dough has risen to double, gently turn it into a very well oiled baking utensil. My cast iron skillet is perfect. (Make sure the baking vessel is good at 450 degrees) Gently stretch it to fill the skillet, and allow to proof once again until it is light, puffy and filling the skillet.
Cover with pizza sauce right to the edges, and cover with your favorite toppings.
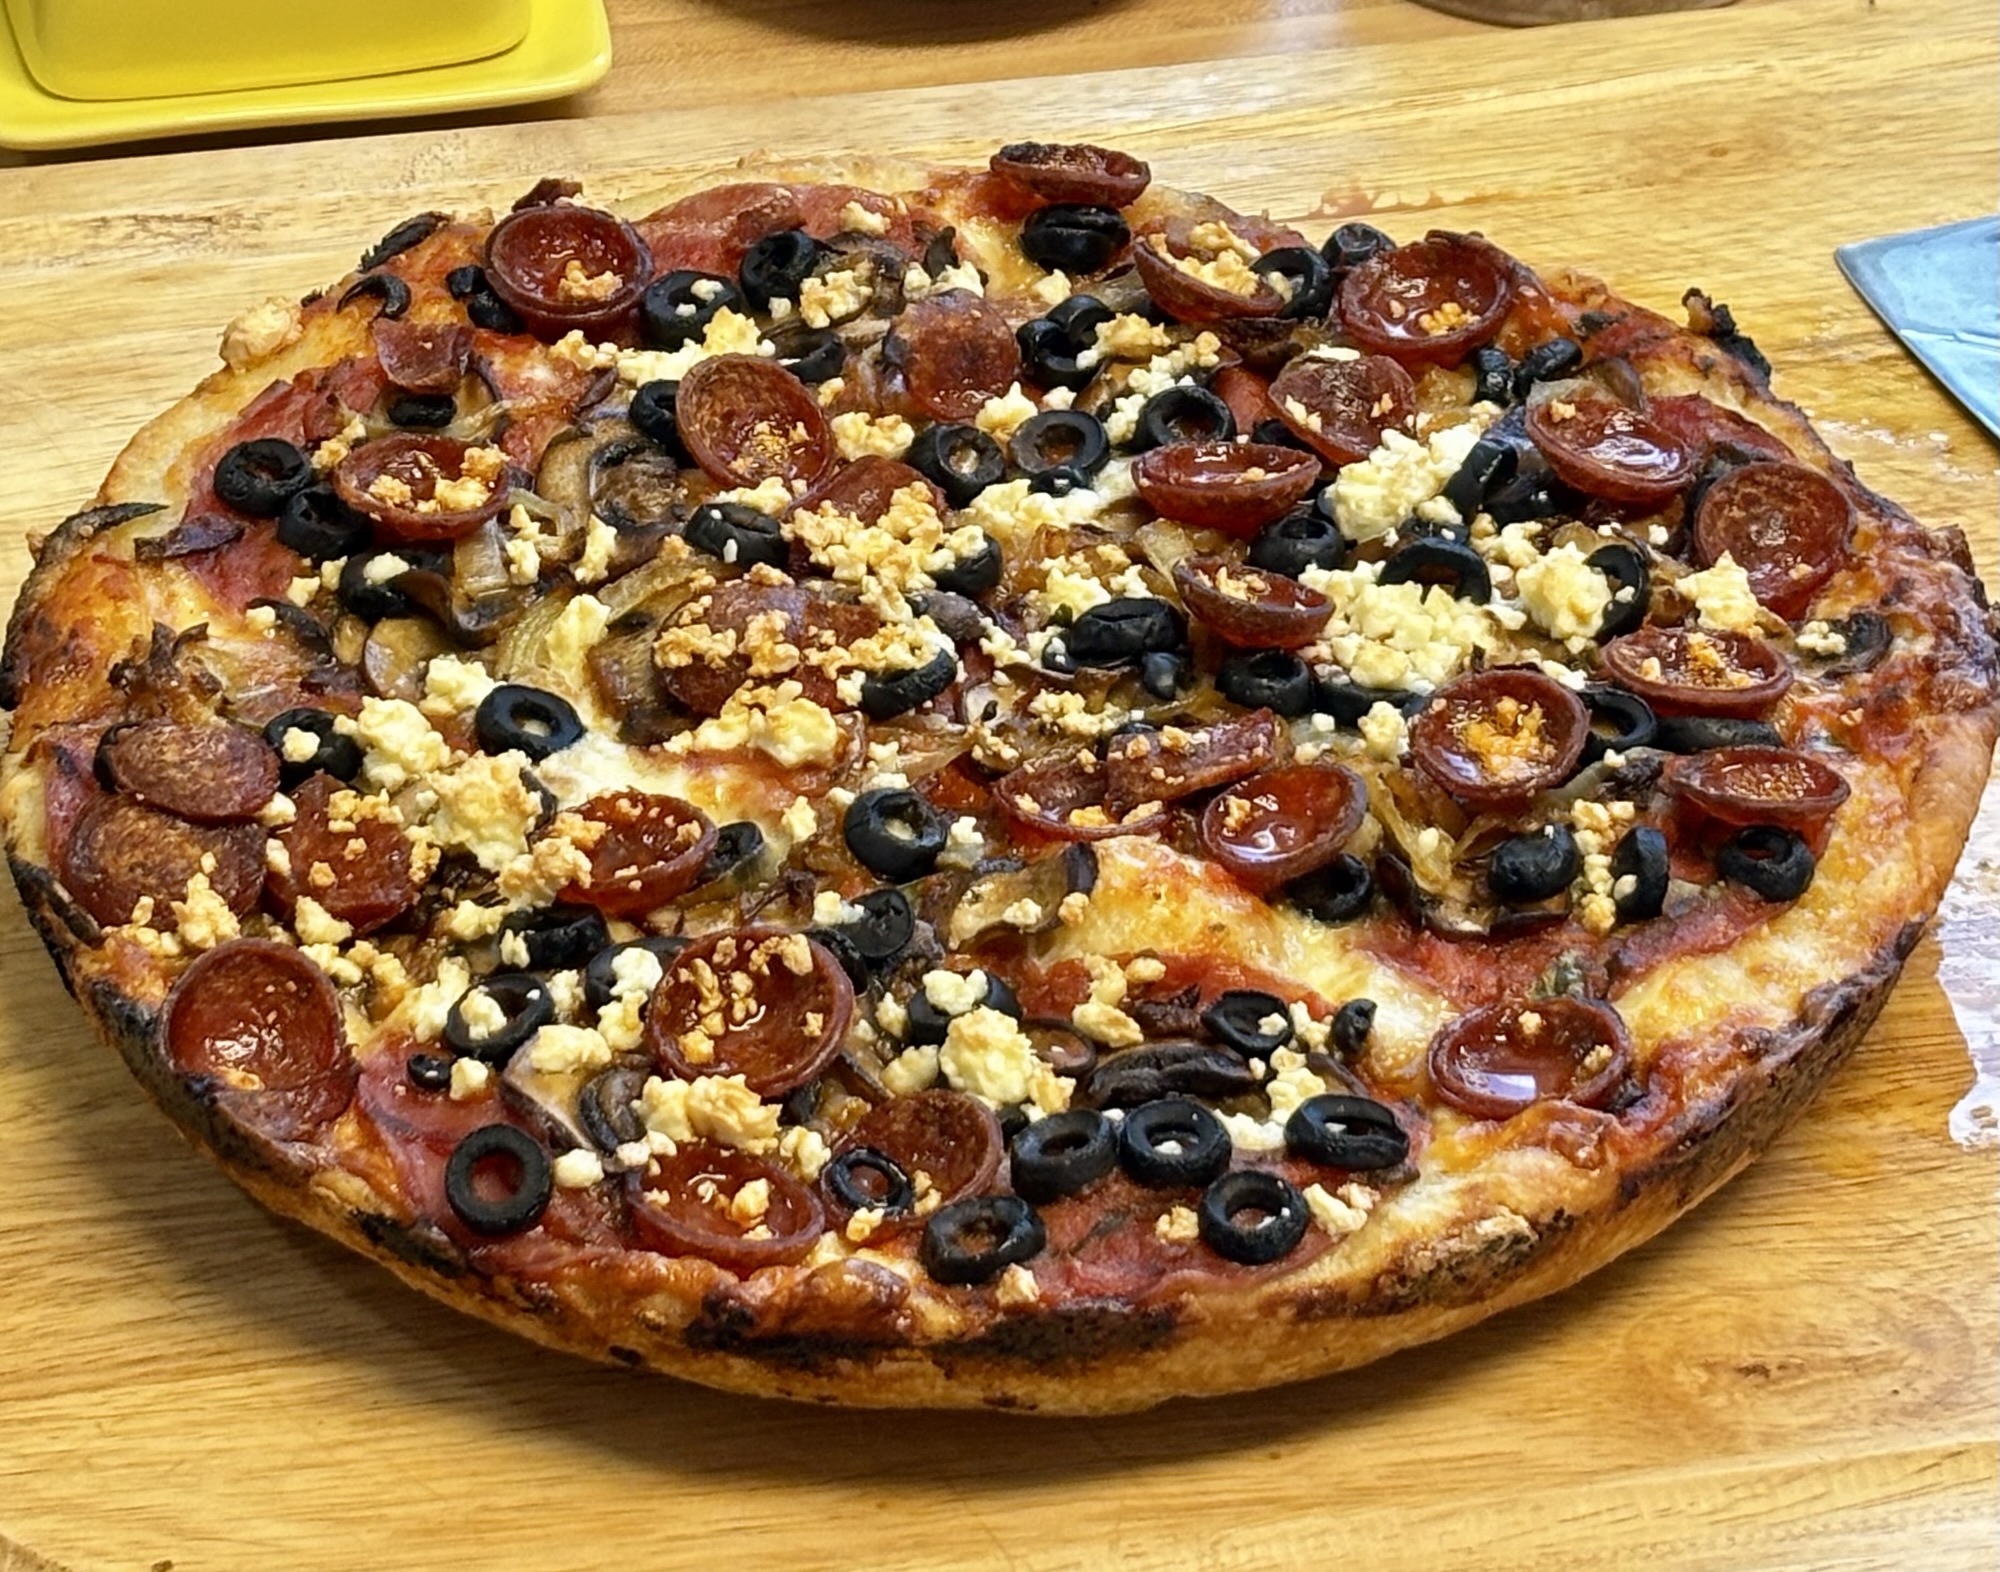
Bake at 450 for 30 minutes. Yes, really. The crust will be crispy and delicious!
Allow to sit for 10-15 minutes, if you can, before slicing.