The BEST meatballs!

img_3439

When you request spaghetti and meatballs at Nana’s house you better be prepared to make the meatballs!  Stella loves to, and we all agreed that they were the absolute best meatballs ever.  In fact, I had a hard time keeping enough left in the sauce to have dinner.  Tasters kept appearing in my kitchen …..

img_3436

This shows a double recipe, all measured exactly to what Stella feels is the perfect meatball size …. 38 grams.  If you aren’t in a hurry your kids are great at this!

  • 1 pound ground meat (I like a combo of beef and pork)
  • 1/2 cup panko-style breadcrumbs
  • 1/3 cup milk, any kind
  • 2 tablespoon finely chopped parsley, plus more to serve
  • 2 tablespoons finely grated parmesan or pecorino romano cheese, plus more to serve
  • 2 teaspoons coarse or kosher salt, divided
  • Red pepper flakes and/or freshly ground black pepper
  • 1/2 teaspoon onion powder
  • 2 large eggs
  • 2 garlic cloves, minced

Place meat, crumbs, milk, parsley, cheese, 1 teaspoon salt, pepper, onion powder, eggs, and one-third of your minced garlic in a large bowl, and mash everything together with a fork or potato masher until evenly mixed. Using wet hands if needed, form mixture into 2-inch meatballs and arrange on prepared tray. Roast for 12 minutes, until cooked through (you can cut one in half).

img_3431

Ground beef and pork well mixed and ready for forming.

img_3432

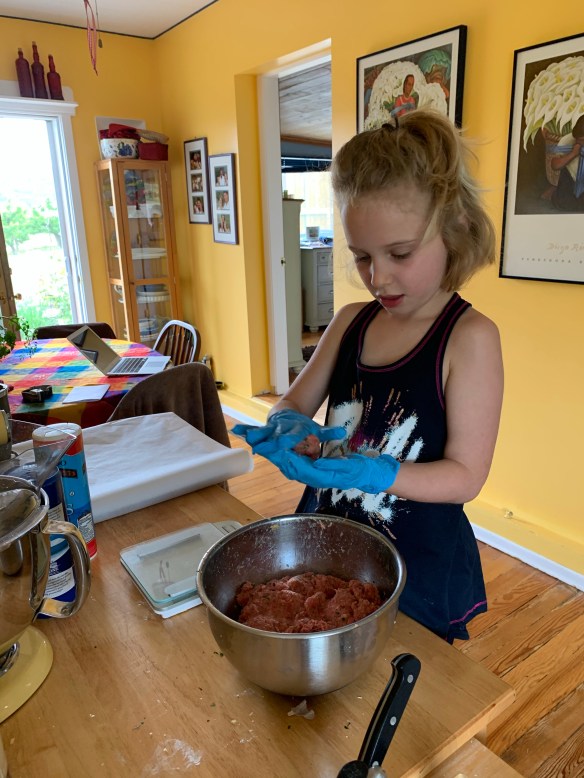
Making sure each meatball is 38 grams takes time …..

Stella's meatballs

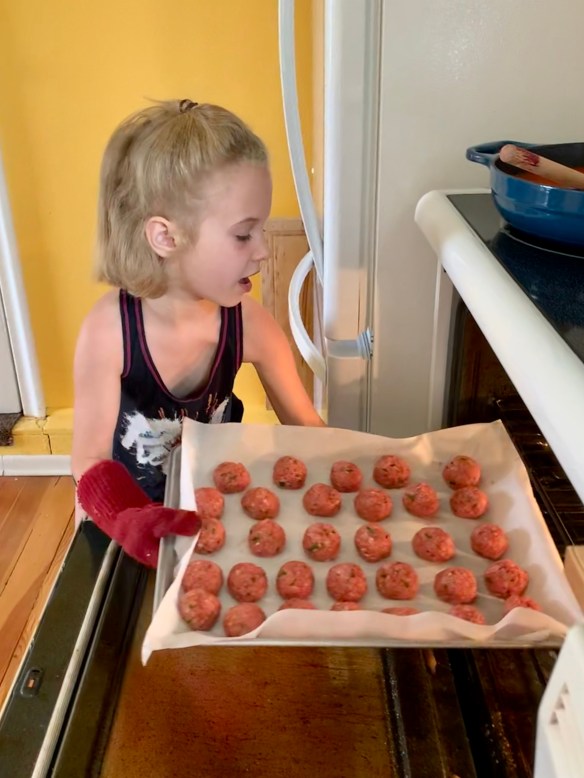
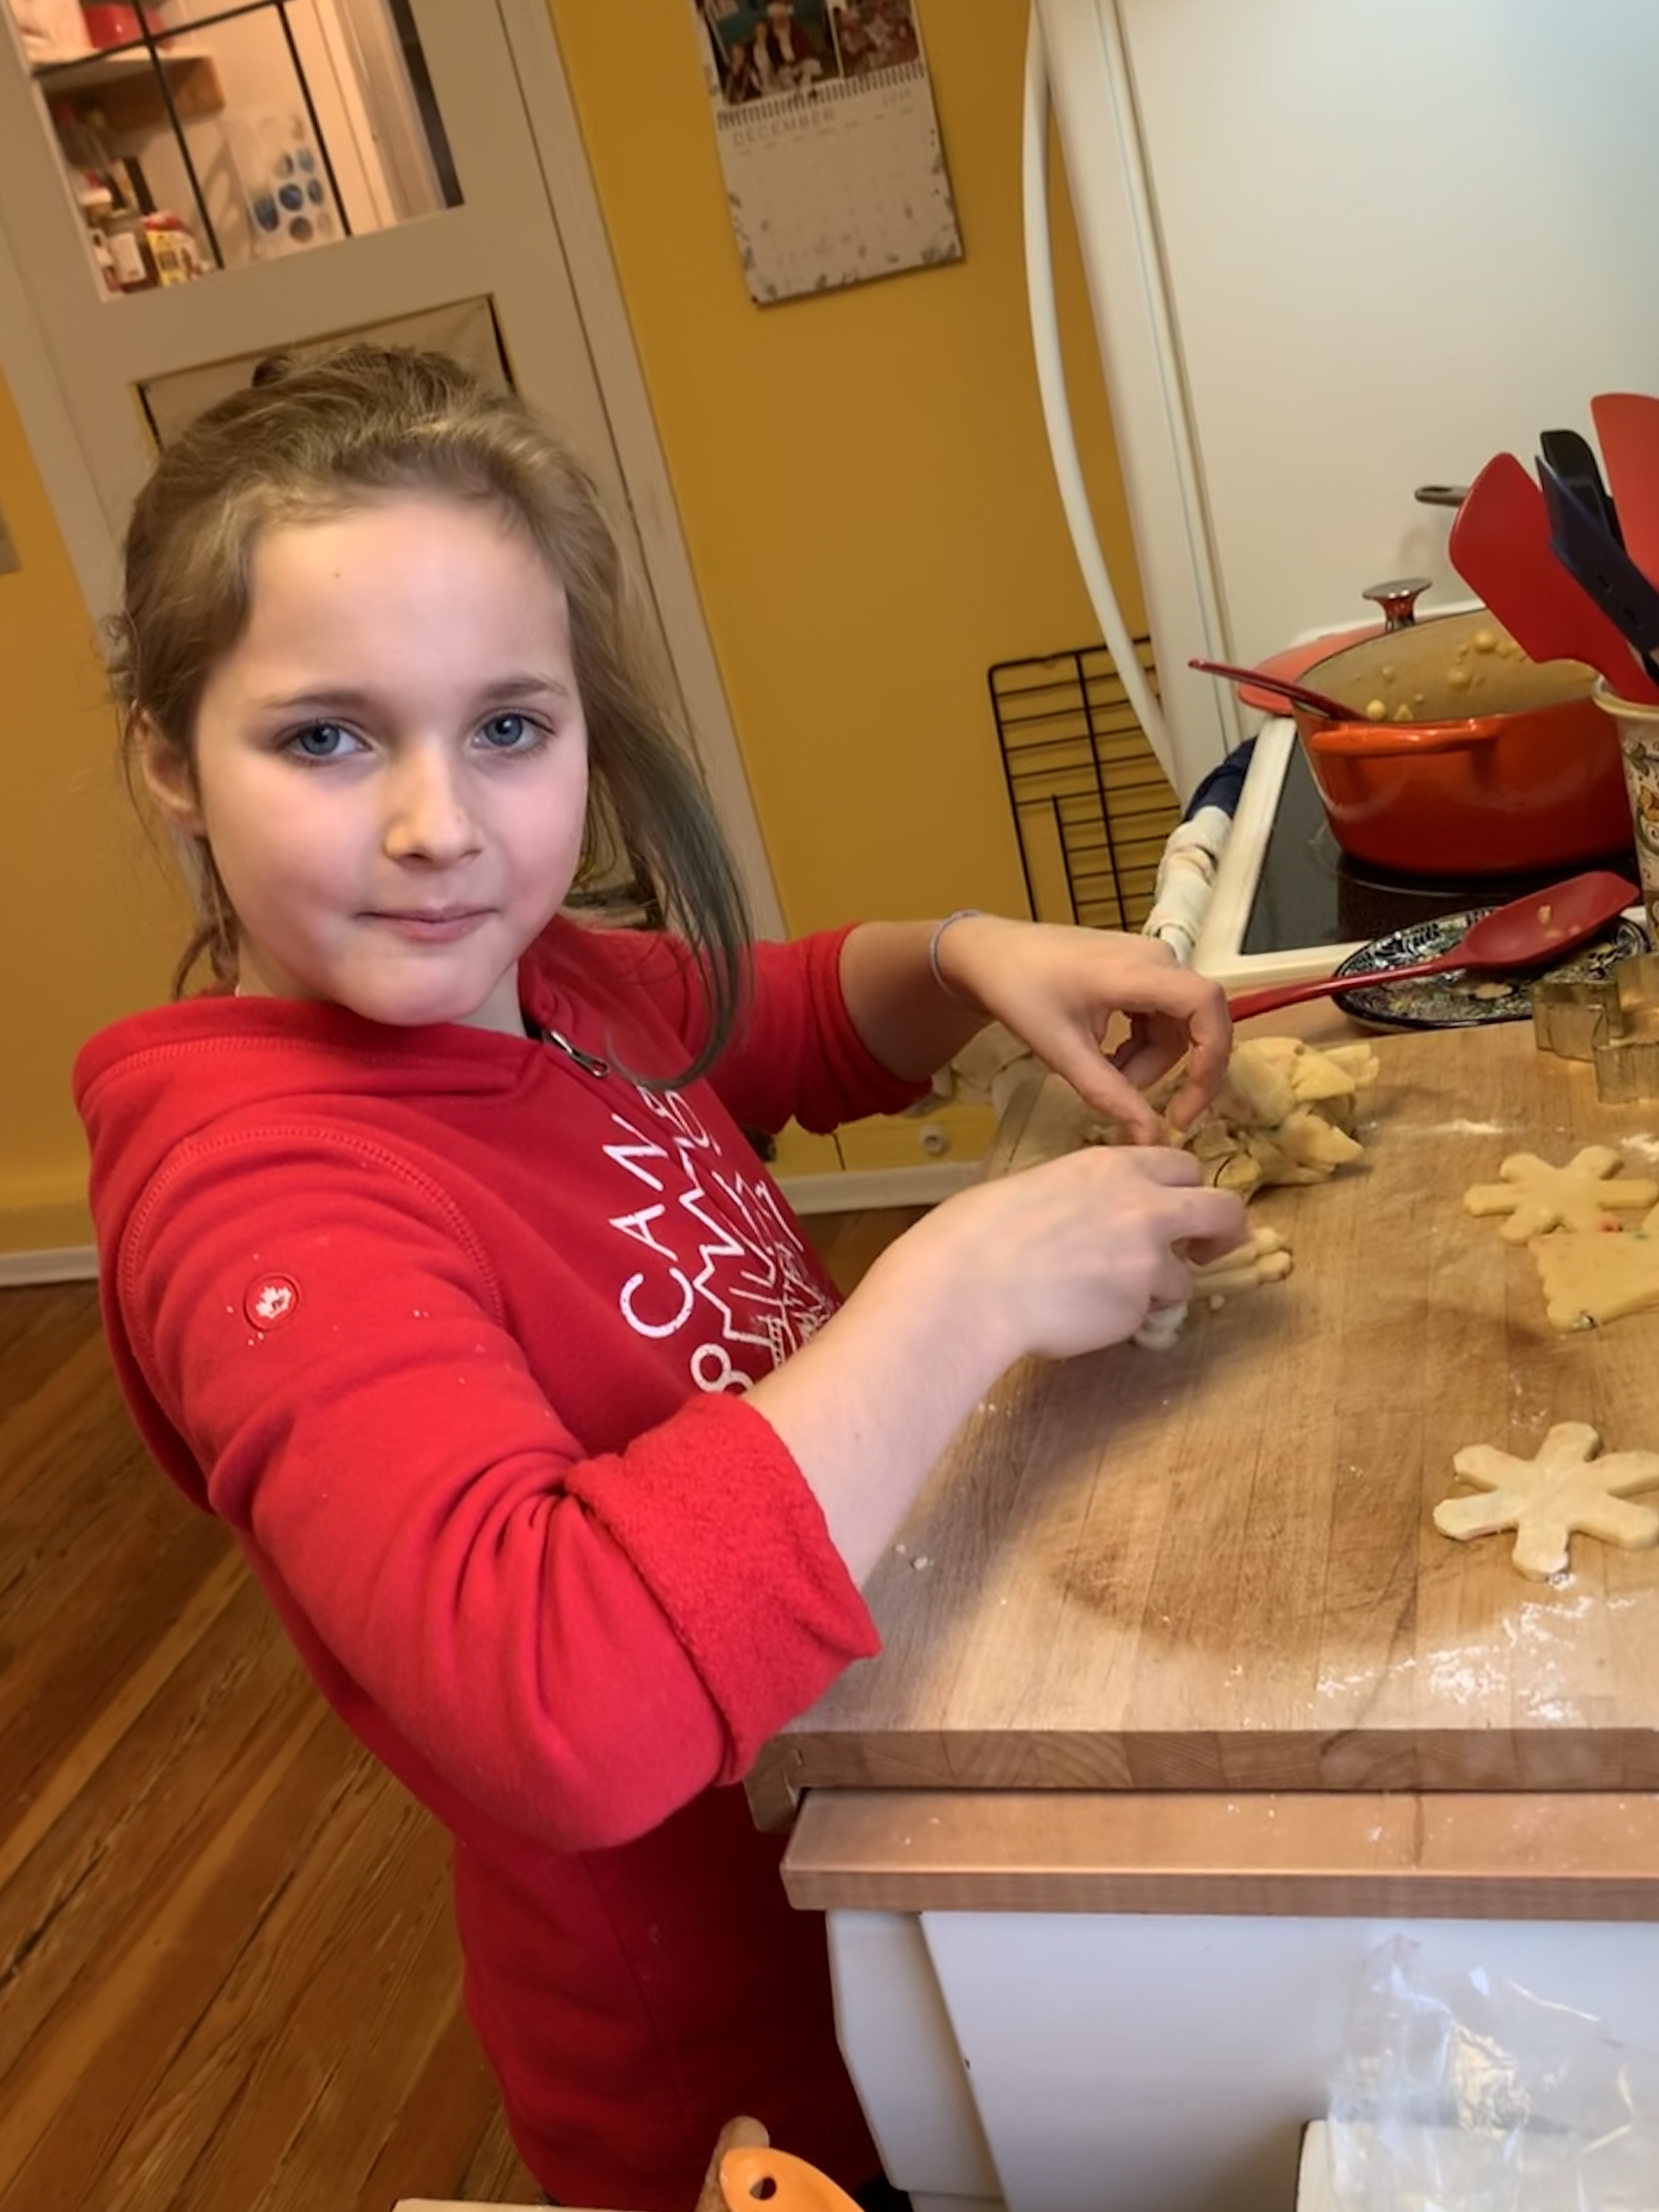
Almost 7 now, Stella likes to do it all, even if Nana’s freaking (quietly!) while she puts stuff in or takes it out of the oven.

From this point you can serve them however you like – we like them simmered in a tomato sauce just until heated through.  They are so soft and tender with just the right amount of seasoning.  I always make enough to freeze half for another dinner, for us that means doubling this recipe.

This recipe came from the amazing Deb at smitten kitchen.com, and she also lists her easy tomato sauce for simmering  … if you haven’t been to her website, or read any of her cookbooks, make sure you do!  Always delicious, and manageable for doing with kid helpers.

Stella’s Quick Icing

Stella woke up with a desire to make a small layer cake. Takes after her Nana?? 🤣 She quickly put together my yellow cake with some leftover chocolate buttercream icing. The cake batter however was more than we needed for her layers so out came the donut pans.

We also had some blood oranges so she whipped up this quick icing glaze – and instructed me to get it on the blog!

1/2 cup icing sugar

Juice of one blood orange

1/2 tsp lemon juice

Stir together until you have a somewhat thick glaze. Dip your donuts in and allow to set. If you want a thicker coating allow the first one to dry a bit, and then dip again.

Yum, says Stella.


Candy Cane Sugar Cookies

Just in time for Christmas!  I bought a small bag of crushed candy canes at Bulk Barn, probably about $2.00 worth …. thinking it would be great for decorating the sugar cookies we make every year.  Well, Sloan had a different idea and decided they should go in the cookies, so that’s what we did.  What a hit!

Peppermint cookies 1

  • 3/4 cup soft butter
  • 1 cup white sugar
  • 2 beaten eggs
  • 1/2 tsp vanilla
  • 2 1/2 cups all purpose flour
  • 2 tsp cream of tartar
  • 1 tsp baking soda
  • 1/4 tsp salt
  • 1/4 cup crushed candy canes

Preheat oven to 375 degrees.

Cream together butter and sugar.  When light and fluffy add in eggs and vanilla and beat until creamy and smooth.

Sift dry ingredients together and stir into butter mixture.  It will be a stiff mixture, so you may end up using your hands, we usually do.

Last, stir in the crushed candy cane.

Knead lightly until you have a workable dough, then cover tightly and put in the fridge for at least an hour.  (you can do this days ahead or even freeze it at this stage)

Roll out dough on lightly floured board and cut into desired shapes.

We always decorate our cookies before baking them, in place of the added sugar you get with decorating with icing.

I used to use raw egg, but find I get better results using evaporated milk and gel food colouring.  Just put a little milk in a cup and stir in enough food colouring to get the colour you want.

Bake at 375 for 8-10 minutes, watching carefully – every oven is different.


peppermint cookies 4

Get your kids involved!  Sloan is 9 and has been rolling and cutting dough for years now.

peppermint cookies 2

So many fun sugars and sprinkles available now for decorating the tops.

Peppermint Cookies 3

We do a  cooking class on Fridays – these four work so well together, and we have a great time with Pearl and Leo joining Sloan and Stella.

peppermin cookies 3

Each of the kids made their own dough & we baked up two batches – each family got to take one batch home for baking another day.

Peppermint cookies 5

Pearl has this tray ready to go in the oven, love all the vibrant colors.

Peppermint cookies 7

The most important part is taste testing ….


Stay tuned – more cooking classes to come!