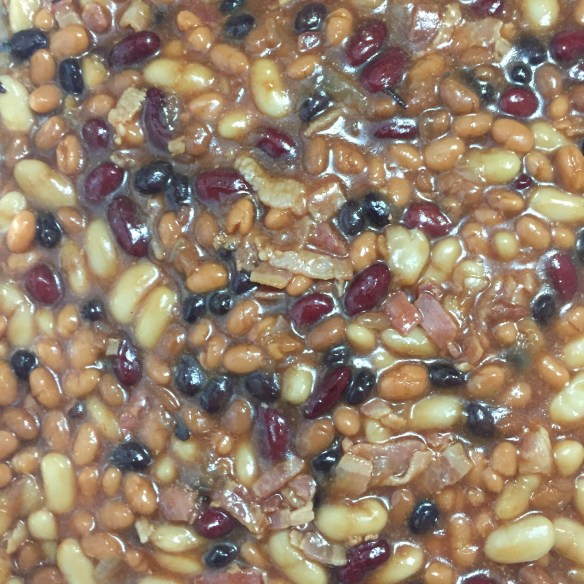
Smoked beans in electric smoker

Hey, your smoker is going with either your pork or chicken anyway, why not put that extra rack to use?  This recipe came from one of the ladies at my office, Karen Benn, and she adapted it to her smoker.  It is such a hit that the beans were gone before either the pork or chicken …. I know that seems weird, but it’s true!  For vegetarians, leave out the bacon and you have an amazing bean dish even without that bacon ….

beans

Pull out a large fry pan and saute until carmelized:

2 cups chopped white onions

1 pack bacon (partially frozen so you can easily slice it thinly)

Take your time with this step,the richer the color you get on your onions the more flavour your beans will take on.

In a large disposable foil tin, stir in 4 cans of beans.  This is really your own preference, feel free to use any combination of kidney, canelli, black or baked beans.

In a separate bowl stir together:

1/2 cup ketchup

1/2 cup white vinegar

1 1/2 cups brown sugar

1 tsp garlic powder

1 tsp dry mustard

Combine beans, carmelized onion and bacon mixture and the seasoning blend.  Stir well, tightly cover with foil (using a sharp knife poke holes in the lid) and smoke in your electric smoker at 275 for about 3 hours.  Yes, they will be runny when they come out, but allow to sit for a few minutes and you won’t believe how quickly they disappear.


smoked beans

Smoked Chicken in electric smoker

Pulled pork is incredible, and all the rage everywhere …. I understand that, and love it.  However, a few of my faithful friends and family that love me cooking for them, and I love cooking for them …. aren’t into pork.  So, my response is always to do a smoked chicken at the same time.  Usually all the pork eaters gobble down the pulled pork as their main meal, and then they just can’t keep their fingers from snacking and grabbing at bits of the smoked chicken.  Not only is it incredibly moist and delicous, that remaining carcass makes delicious soup stock!  I think the secret is in the brine.  Always an extra step, but if you are cooking for the love of it, you won’t mind this step at all.

This recipe works well for a 4-6 lb chicken.  I always recommend cutting the chicken in half, it allows for better brining and smoking.  Get your butcher to do it if you like!

Chicken brine

Brine:

2 cups chicken broth (homemade if possible)

1/2 cup kosher salt

1/4 cup local honey

2 tbsp raw sugar

2 tsp black peppercorns

4 long sprigs fresh rosemary

4 cloves garlic, smashed lightly to open up the aroma

2 dried chipotle chiles

2-3 bay leaves

Start by bringing 4 cups water to a boil in a pot, stir in the salt first, and dissolve that.  Remove from heat and stir in the rest of the ingredients.  If that doesn’t cool it down enough, add enough ice cubes to completely cool the liquid.  You do not want to put a cold chicken in warm liquid.  Make sure your chicken is completely covered with liquid (adding more cold water if necessary) and put in the fridge for 12 hours.

Remove from brine, rinse well and pat dry.

Mix together:

  • 1½ tbsp of garlic powder
  • 1½ tbsp oregano
  • 2 tsp thyme
  • 1 tbsp basil
  • 1 tbsp chile powder
  • 1 tbsp paprika
  • 1 tsp ground black pepper
  • 2 tsp salt


Feel free to play around with these spices and herbs, come up with your own blend!

Give the chicken a generous massage with this rub – treat it well ….. I usually like to wear disposable gloves for this – I find it helps the rub to adhere to the meat better than my hands …
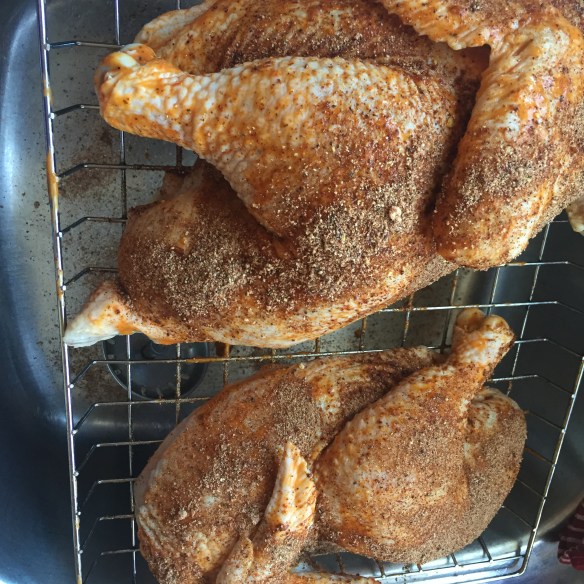
Chicken ready for trhe smoker

At this point, put the chicken on your smoker rack, in the fridge (I put it on a cookie sheet so any remaining drips don’t end up in my fridge)  Allowing the chicken to completely dry out in the fridge, while soaking up these spices makes for a crispier skin.  Honestly, if you are doing this in an electric smoker you may find that the skin still doesn’t get crispy but you can always finish it up on the bbq or the broiler if you desire.

Place in electric smoker, which has been preheated to 250, and smoke for 3 hours.  *Usually I’ve had my pork in there for 4 hours already …*  Check the temperature – you ultimately want to end at 165 degrees, and do not go beyond that.  Usually this takes about 4 hours at 250.  When you reach that temperature, remove from smoker and tightly wrap in foil, allowing to rest for an hour.  At that point it will usually shread easily from the bones.  Make sure to reserve those bones for soup stock!

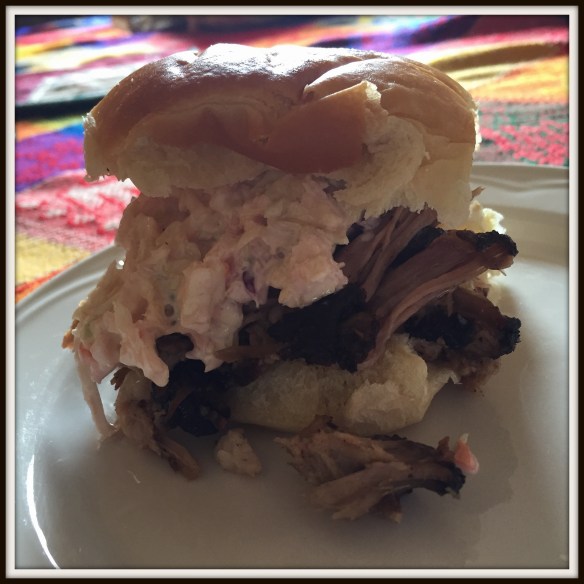
Serve with the usual pulled meat accompaniements …. creamy coleslaw, extra barbecue sauce and really fresh buns.

Pulled Chicken


Jean’s Cole Slaw

This simple coleslaw is great as a side for a variety of summer meals, but as a topping on either pulled pork or pulled chicken it really shines.

Pulled Pork


2/3  cup mayonnaise

1/4 cup dijon mustard

1 tsp celery seed

1 tsp sugar

juice of 1/2 lemon

salt & pepper to taste


Blend well, and keep tasting – should have a nice balance of sweet and tangy.

Pulled Pork in the Smoker

During the winter months I resort to using either my oven or my slow cooker for pulled pork …. mainly because we don’t have an outdoor space where we can use our electric smoker and still have it be under cover.  Whenever the opportunity is available though, this is the way to go.  When I am operating the smoker I like to make good use of that smoke and utilize the space, so I often do a pork roast as well as a chicken.  After trial and error, this pulled pork is the best!  Pile soft buns with the meat, some creamy cole slaw and a few pickled onions – serve with potato salad and green salad and this meal is a winner.

Pulled Pork


BRINE:

  • 8 ounces (3/4 cup) molasses
  • 12 ounces pickling salt
  • 2 dried chipotle chiles
  • 2 quarts bottled water

6-8 pound pork shoulder (or Boston Butt as it is known in some areas)

It is best to weigh the salt.  Pickling salt, by ounce, is not as “salty” as a table salt by either weight or measuring cup.

RUB:

  • 1 tsp whole cumin seed
  • 1 tsp whole fennel seed
  • 1 tsp whole coriander
  • 1 tbsp Mexican chile powder
  • 1 tsp black pepper
  • 1 tbsp onion powder
  • 1 tbsp garlic powder
  • 1 tbsp paprika

Using a spice grinder (or mortar & pestle) finely grind the cumin, fennel and coriander seeds.  Add the rest of the spice powders and blend well.

Heat ½ of the water, add molasses and salt.  Simmer just until the salt has dissolved and stir in the rest of the water along with the chipotle chiles.  When mixture has cooled, put in a container suitable to go into your fridge,  add in the pork and make sure it is submerged in the liquid, adding more water if necessary in order to cover.

Brine at least 12 hours.  Remove from liquid, rinse well and pat dry.

Using kitchen gloves (rub adheres best if you do) vigorously rub the pork with the spices.

Smoker ready pork and chicken

Heat your smoker to 250, and place pork on a rack.  Start testing the pork for temperature after 7 hours.  Once it has reached 190 (yes, I know that seems high) it is done.  Here is the key part – tightly bundle the whole thing in a tin foil pack, not allowing any steam to escape and let it sit for at least an hour.  This will allow the moisture within the pork to redistribute and make for the most tender, flavourful pork ever!

A simple coleslaw recipe works best for piling on top of the pork – try Jean’s coleslaw on this site, and add a few pickled onions (also on this site).


Asian Marinade for Chicken or Pork

Asian Marinade for Chicken or Pork


I love the balance of flavours in this marinade, it just has the right amount of sweet, heat, sour and salt …. and caramelizes perfectly on the grill.  I find it works really well on pork chops or chicken thighs but I’m sure it would be great on just about anything.

1/4 cup vegetable oil

2 tbsp brown sugar

2 tbsp rice vinegar

1 tbsp minced ginger

1 tbsp Sriracha sauce

1 tbsp chile garlic paste

2 tsp sesame oil

3 cloves garlic, minced

zest & juice of 1 orange

juice of 1/2 lime

Make enough marinade for 8 pork chops or 12 chicken thighs.

Garnish:  lime, roughly chopped cilantro and green onions.

Place all marinade ingredients in food processor and give it a good whiz.  Pour half of it in a ziplock bag with meat and reserve the rest.  Give the meat a massage and allow to marinade for 30 minutes at the least and up to 8 hours.

Put reserved marinade in a small sauce pan and cook over moderate heat until reduced and thickened.

Heat grill, and grill meat, brushing with the reduced marinade.


Lamb Meatballs with Tomato Olive Sauce and Mint

lamb meatballs


These meatballs are tender and delicious – the sauce is rich and that mint sauce is a perfect taste to brighten it all up. If you aren’t a big fan of lamb, then use minced pork.

You could buy lamb merguez sausage to make these meatballs, but if that isn’t available to you, this is an easy fix and tastes amazing.

1 pound lean ground lamb

1 tsp salt

1/4 tsp fennel seeds

1 tsp ground cumin

1/2 tsp cinnamon

1/2 tsp ground coriander

1/4 tsp turmeric

3 cloves minced garlic

2 tbsp harissa

1 tbsp tomato sauce

Grind salt and fennel together until smooth, then add the rest of the spices and stir together.  Add in garlic, harissa and tomato sauce to make a paste.  Lightly toss paste with ground lamb, until well blended.

For the best flavour, allow to sit over night but they are great if made into meatballs right away too.

Form balls about 1″ in diameter.  Heat oil until shimmering, then cook meatballs until just crispy on the outside and


Meanwhile ….. on roasting pan in moderate oven (375) toss in olive oil:

3 tomatoes, chopped

1 onion, chopped

3 garlic cloves

1/2 cup black olives


Roast until vegetables are tender, and blend with enough olive oil to make a smooth sauce.  Season to taste with salt and pepper.

Toss meatballs with tomato sauce and serve with mint sauce.

Mint Sauce

Blend fresh mint leaves with a drizzle of honey, freshly squeezed lemon and olive oil just until smooth – season to taste with salt.

BBQ Beef Brisket Slow Cooker Style

If you have the time then a beef brisket should be cooked in a smoker, low and ever so slow ….. 10 hours minimum. If, however, that doesn’t work for you, and for lots of us at times it just doesn’t. Try this … perhaps not as authentic, but absolutely delicious.

Combine in slow cooker:
1 1/2 cups ketchup
1/2 cup dark brown sugar
1/4 cup finely chopped onion
3 tbsp cider vinegar
3 tbsp Worcestershire sauce
2 chipotles in adobo sauce – finely chopped
1 tsp garlic powder
3/4 tsp freshly ground black pepper

Rub the brisket with:
1/4 cup paprika
1 tbsp chile powder
1 tbsp ground cumin
1 tbsp dark brown sugar
1 tbsp kosher salt
1 tsp cayenne pepper
1 tsp garlic powder
1 tsp freshly ground black pepper

1 5 lb beef brisket – cut in half width wise.

Place rubbed brisket onto sauce in slow cooker and allow to cook on low for 10 hours.

If you have the time, and ability – allow beef to rest out of the liquid, then grill quickly on each side to get a bit of crunchy texture. Slice and return to sauce in slow cooker.

Serve on fresh buns with some nice crunchy cole slaw on top.

Tacos al Pastor

When in Mexico, one of our favorite street foods is Tacos al Pastor. We can’t equal the flavour at home without an upright spit to grill it, but this is a close second!

A plate of pork, seasoned with Tacos al Pastor flavours and just waiting for fresh corn tortillas!

A plate of pork, seasoned with Tacos al Pastor flavours and just waiting for fresh corn tortillas!

1-4 lbs pork “butt” or blade roast (just make sure it is a cheaper cut, well marbled)
1 cup fresh pineapple, chopped
2 ancho chiles
2 guajillo chiles
1 chipotle chile in adobo sauce
1 Tbsp adobo sauce
5 clove garlic, peeled
A few sprigs of oregano (or 1 tbsp dried oregano)
2 Tbsp honey
1 Tbsp vinegar
1 Tbsp smoked paprika
1 tsp salt
1 large onion, sliced
Slices of pineapple
4 – 6 carrots, peeled and kept whole

1. Put the ancho and guajillo chiles in a pot of water and bring to a boil. Turn off the heat and allow the chiles to steep until they are rehydrated, about 30 minutes. Discard the seeds and stems and toss the chiles in a food processor along with the remaining ingredients, except onion.

2. Slice the roast into 3/4inch thick slices, but not all the way through.

3. I usually put on plastic gloves for this part – the marinade REALLY stains …Slather the marinade between each layer until all the meat is covered. Stack the onion and pineapple slices in between the slices of meat. Tie the roast back together. Cover it and allow it to marinade for at least 3 hours or overnight.

4. Preheat oven to 245 °C (475 °F). Put the roast on a row of carrots in the bottom of a roasting pan and add water to the bottom of the pan (this is to keep the drippings from smoking). You can use a meat rack if you want, but those carrots will be incredibly delicious if you use them for a roasting rack! Roast for 30 minutes at this temperature then turn down the heat to 160 °C (300 °F). Roast until the meat is very tender (about 3 hours).

5. After removing the meat from the oven, cover it with foil and let it rest for at least 20 minutes.

6. Pull or shred meat apart

Out of the oven, and ready to rest for 30 minutes or so before shredding.

Out of the oven, and ready to rest for 30 minutes or so before shredding.

Serve with:

fresh corn tortillas
minced white onion
roughly chopped cilantro

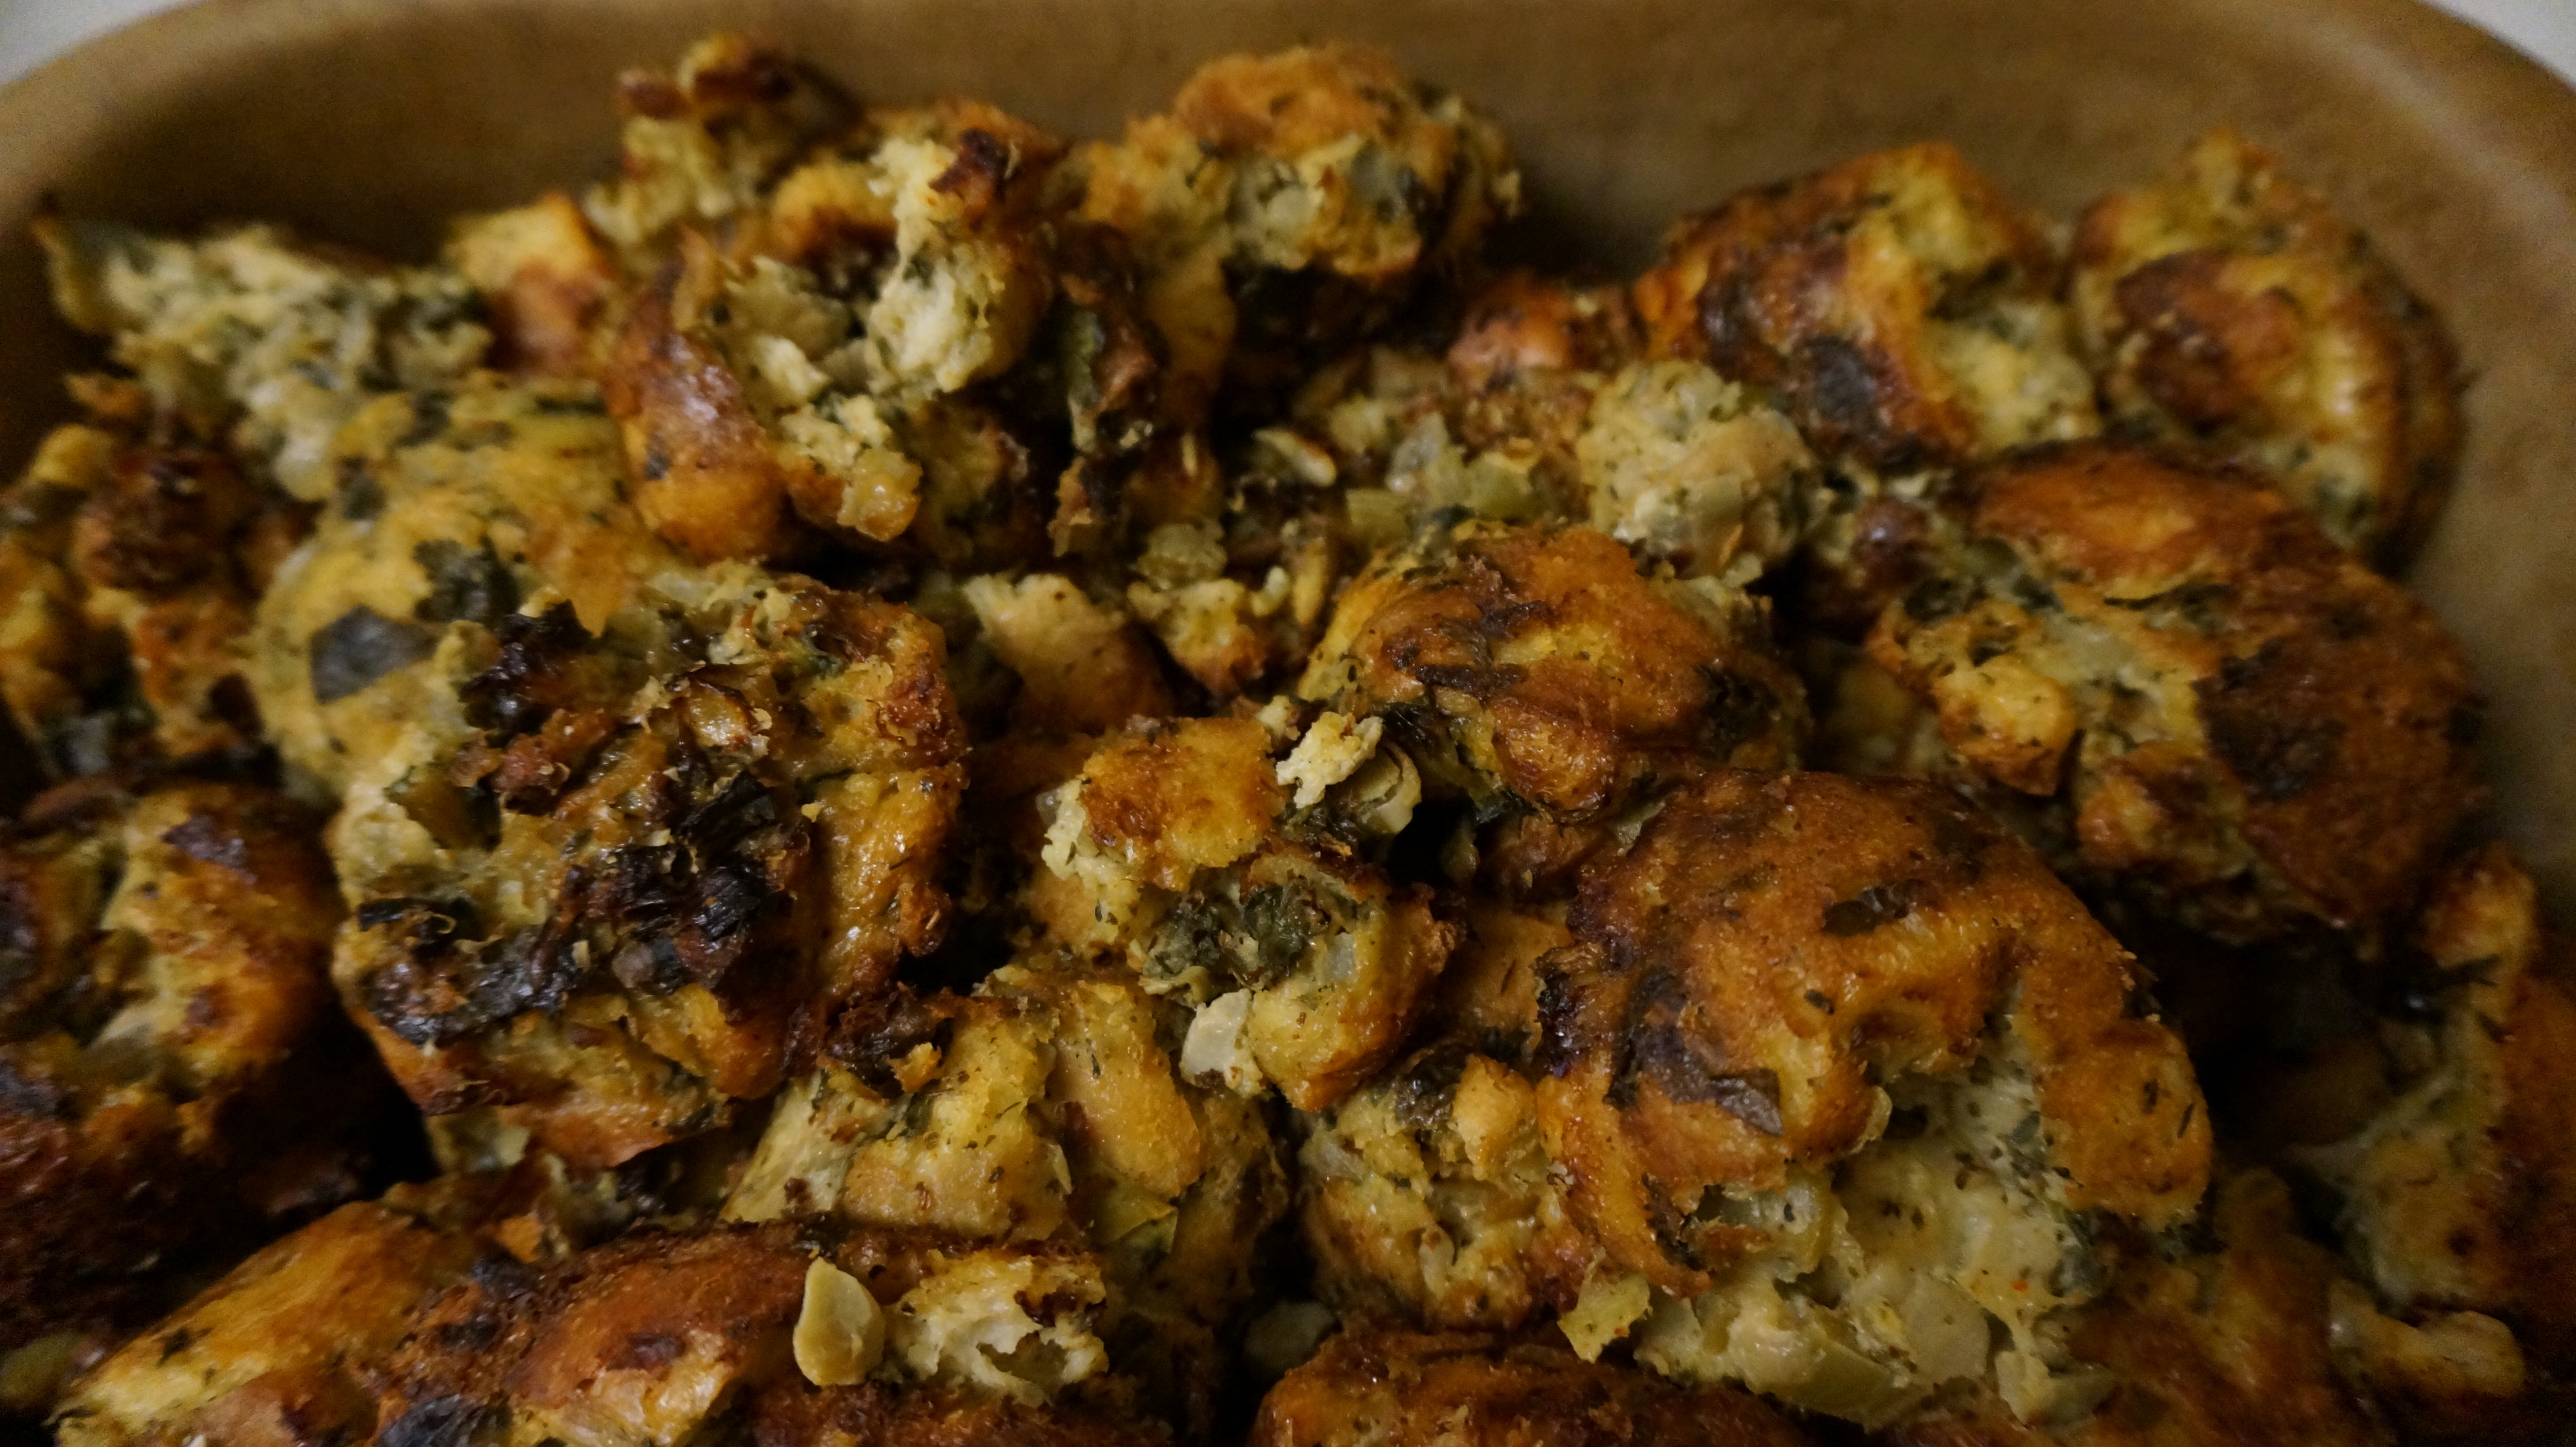
Spinach and Artichoke Bread Pudding (Stuffing Muffins)

This is a great change from the usual stuffing – goes really well with any roast – beef, turkey, chicken or lamb. We’ve had it with all! Now a family favourite. Even better is that leftovers make a fantastic snack or breakfast.

Spinach Artichoke Bread Pudding

Trust me - this will be your new favourite savory stuffing or bread pudding! Trust me – this will be your new favourite savory stuffing or bread pudding!

Preheat oven to 350

1/4 cup olive oil
2 cups chopped onion
1/2 cup sliced celery
1 tbsp roughly chopped garlic

Saute until onions, celery and garlic are soft and translucent. Set aside to cool.

In large bowl combine:
12-14 cups cubed stale bread (I like calabrese or french)
1/2 cup freshly grated Parmesan cheese
2 tbsp Italian seasonings
2 tsp salt
1 1/2 tsp freshly ground pepper
3 cups chopped fresh spinach
1 tin artichoke hearts, roughly chopped (tough outer leaves removed)
1/4 cup minced parsley

Toss gently to combine

Mix together:
4 large eggs
3 cups cream
2 cups milk

Add the onion mixture and the egg/milk/cream mixture to the large bowl with bread and vegetables.

If the bread does not absorb all the liquid right away – set aside until it does.

Put all the mixture into a greased 9 x 13 baking dish and sprinkle the top with more freshly grated parmesan and a dusting of salt and pepper. Bake at 350 for approximately 1 hour.

Our family really likes the crunchy bits of stuffing or bread pudding, so I baked this earlier in the day in muffin tins so there were lots of edges, then turned it into a clay baker and warmed it all up for dinner.

If you really want to take this over the top …. crumble a bit of brie cheese into the dry mixture before adding the onion and milk mixtures.

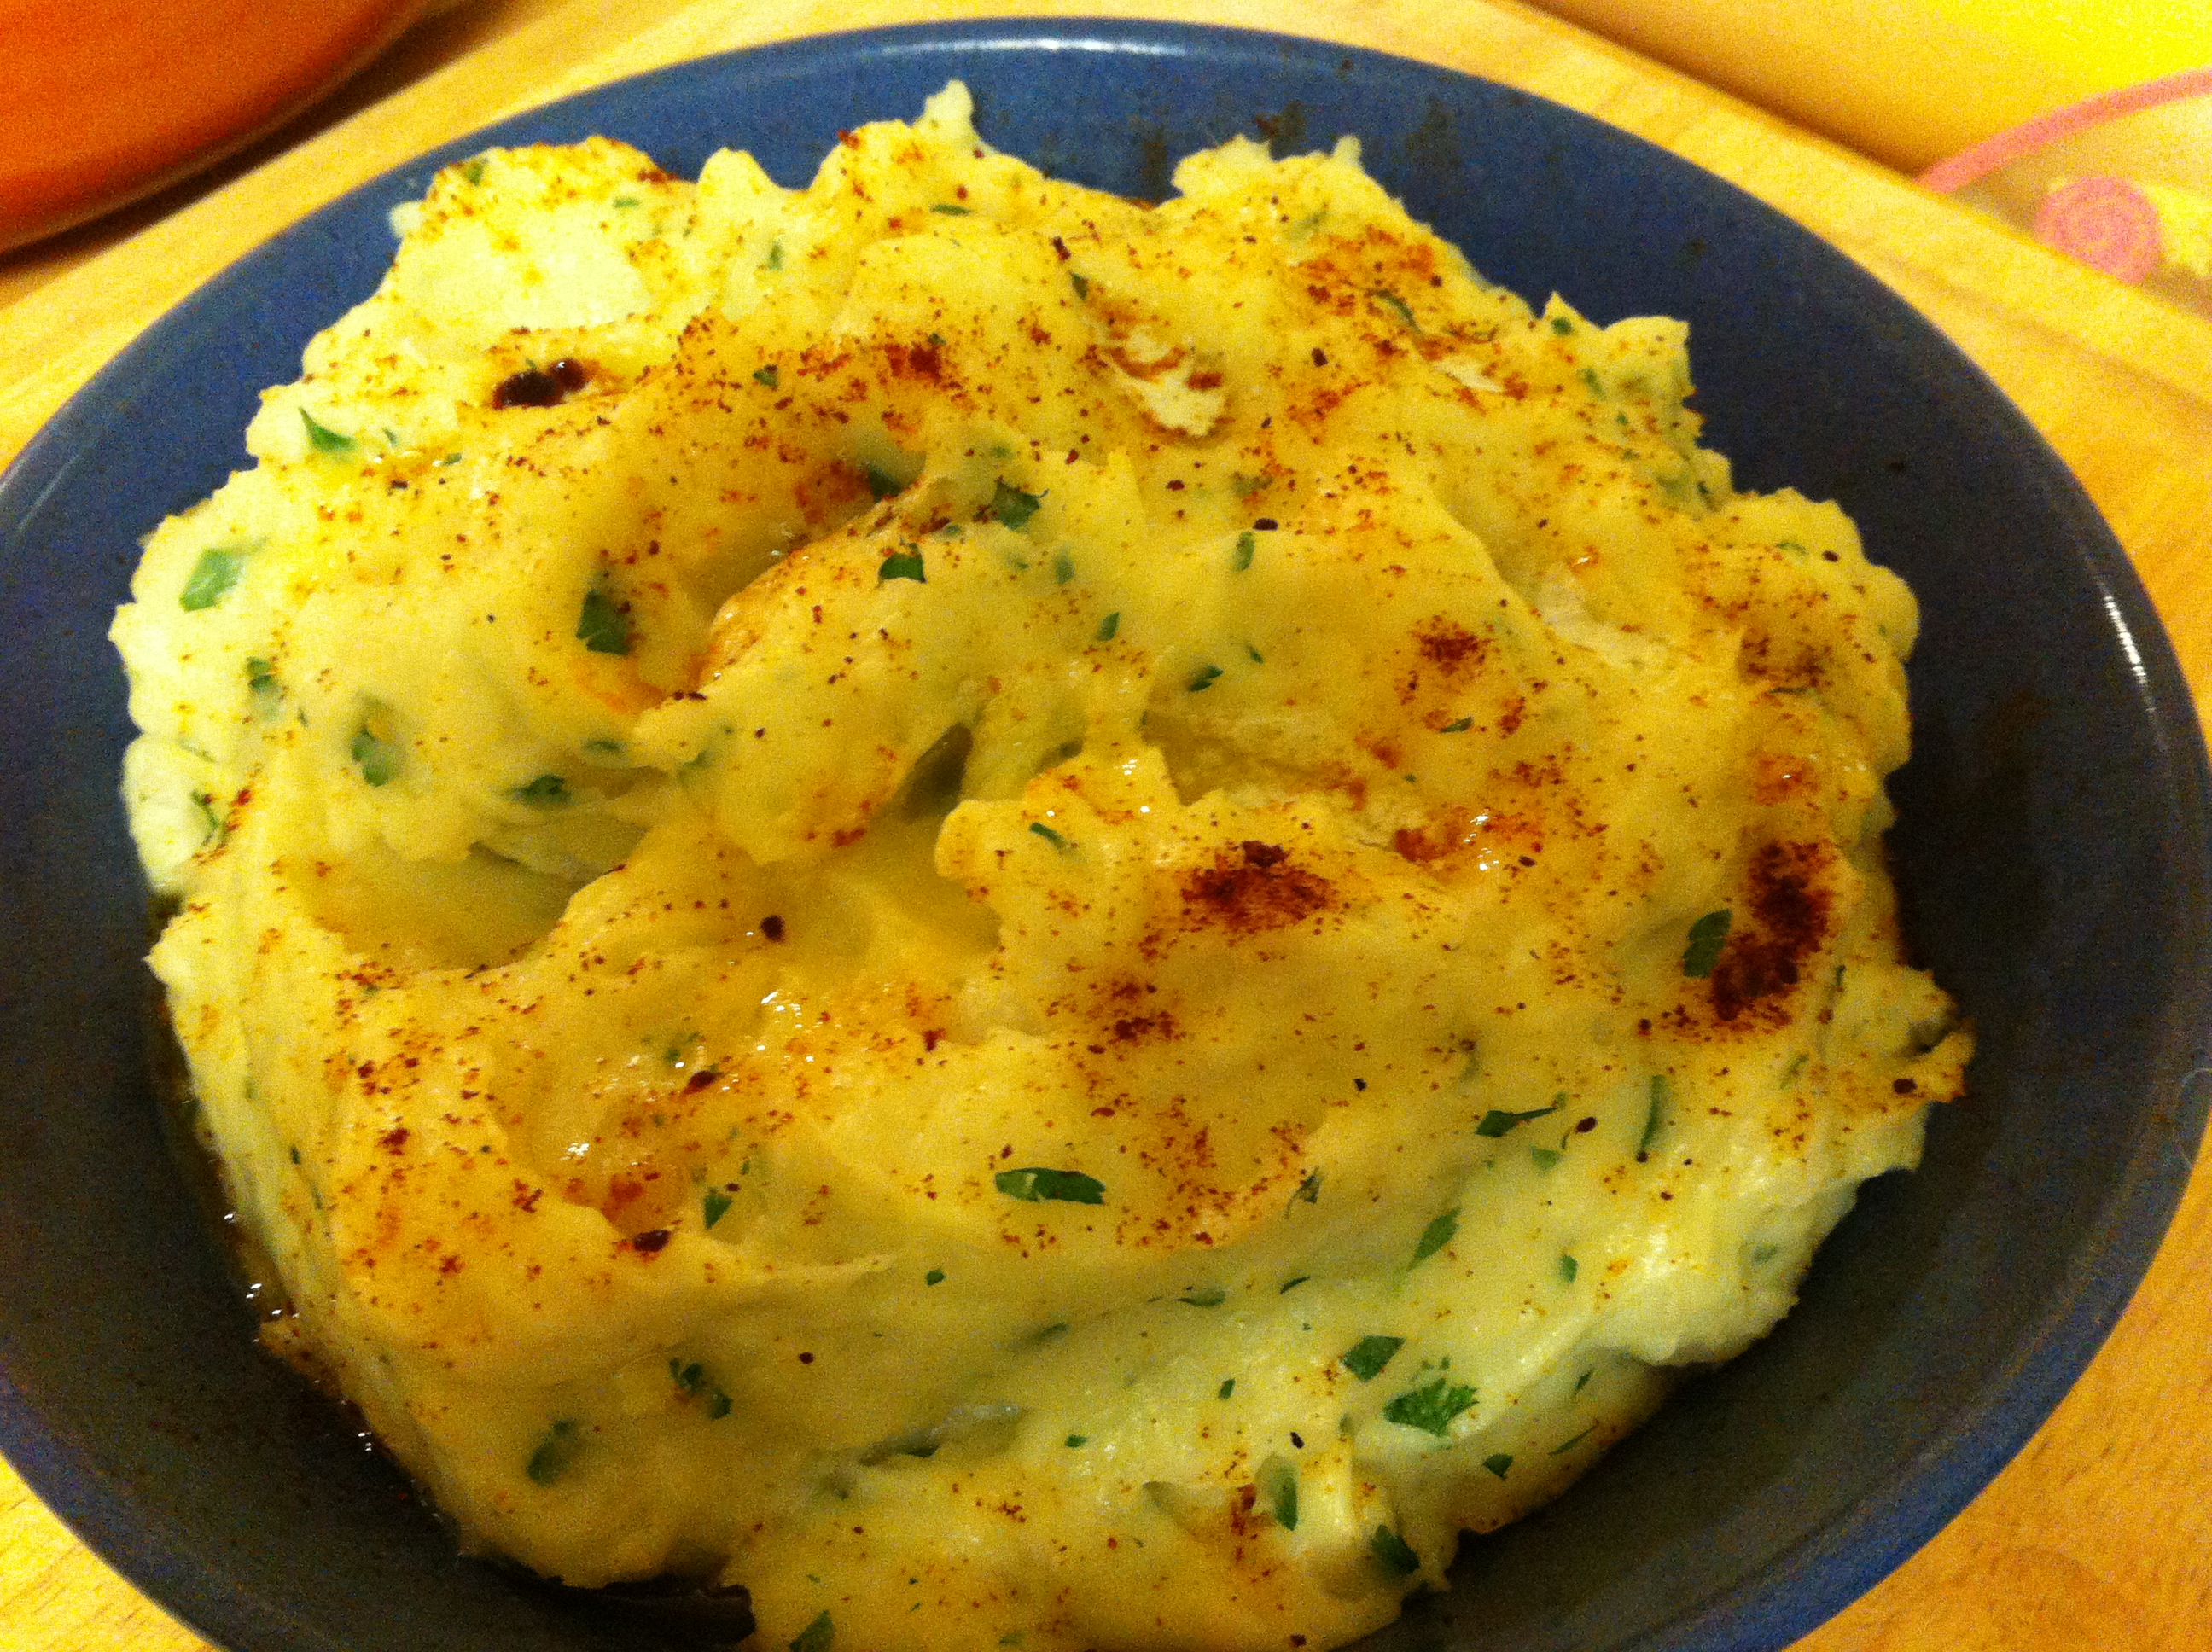
Mashed Garlic Herb Potatoes

Often I like to do what I call “smashed potatoes” which includes the skin and all … a more rustic look. Tonight I felt like a more refined approach (and had rustic russet potatoes with not very pretty skins..) Try this with a Sunday roasted chicken or beef – or tonight we had it with lamb shanks!

Creamy Smooth, Luscious  Whipped Potatoes

Creamy Smooth, Luscious Whipped Potatoes

Wash, peel and quarter potatoes – cover with water – once water comes to a boil generously season with salt, and add a few garlic cloves. (as much garlic as you are interested in)

Turn heat down to a moderately high heat and cook until potatoes are just tender to a fork.

Remove from heat, drain well.

Add milk (whole milk or cream works best), butter, salt and pepper. Use a potato masher to blend well, and then sprinkle in your herbs – stir in.

NEVER use a food processor. This will turn your potatoes into glue.

A hand potato masher works, as does a hand held blender, or a potato ricer.

Spoon into serving dish, dot with butter and sprinkle paprika over top. Put into a heated oven for a few minutes and the edges will crisp up and everything will just look so luscious … yum yum