Cheddar Carmelized Onion Pepperoni Waffles GLUTEN FREE!

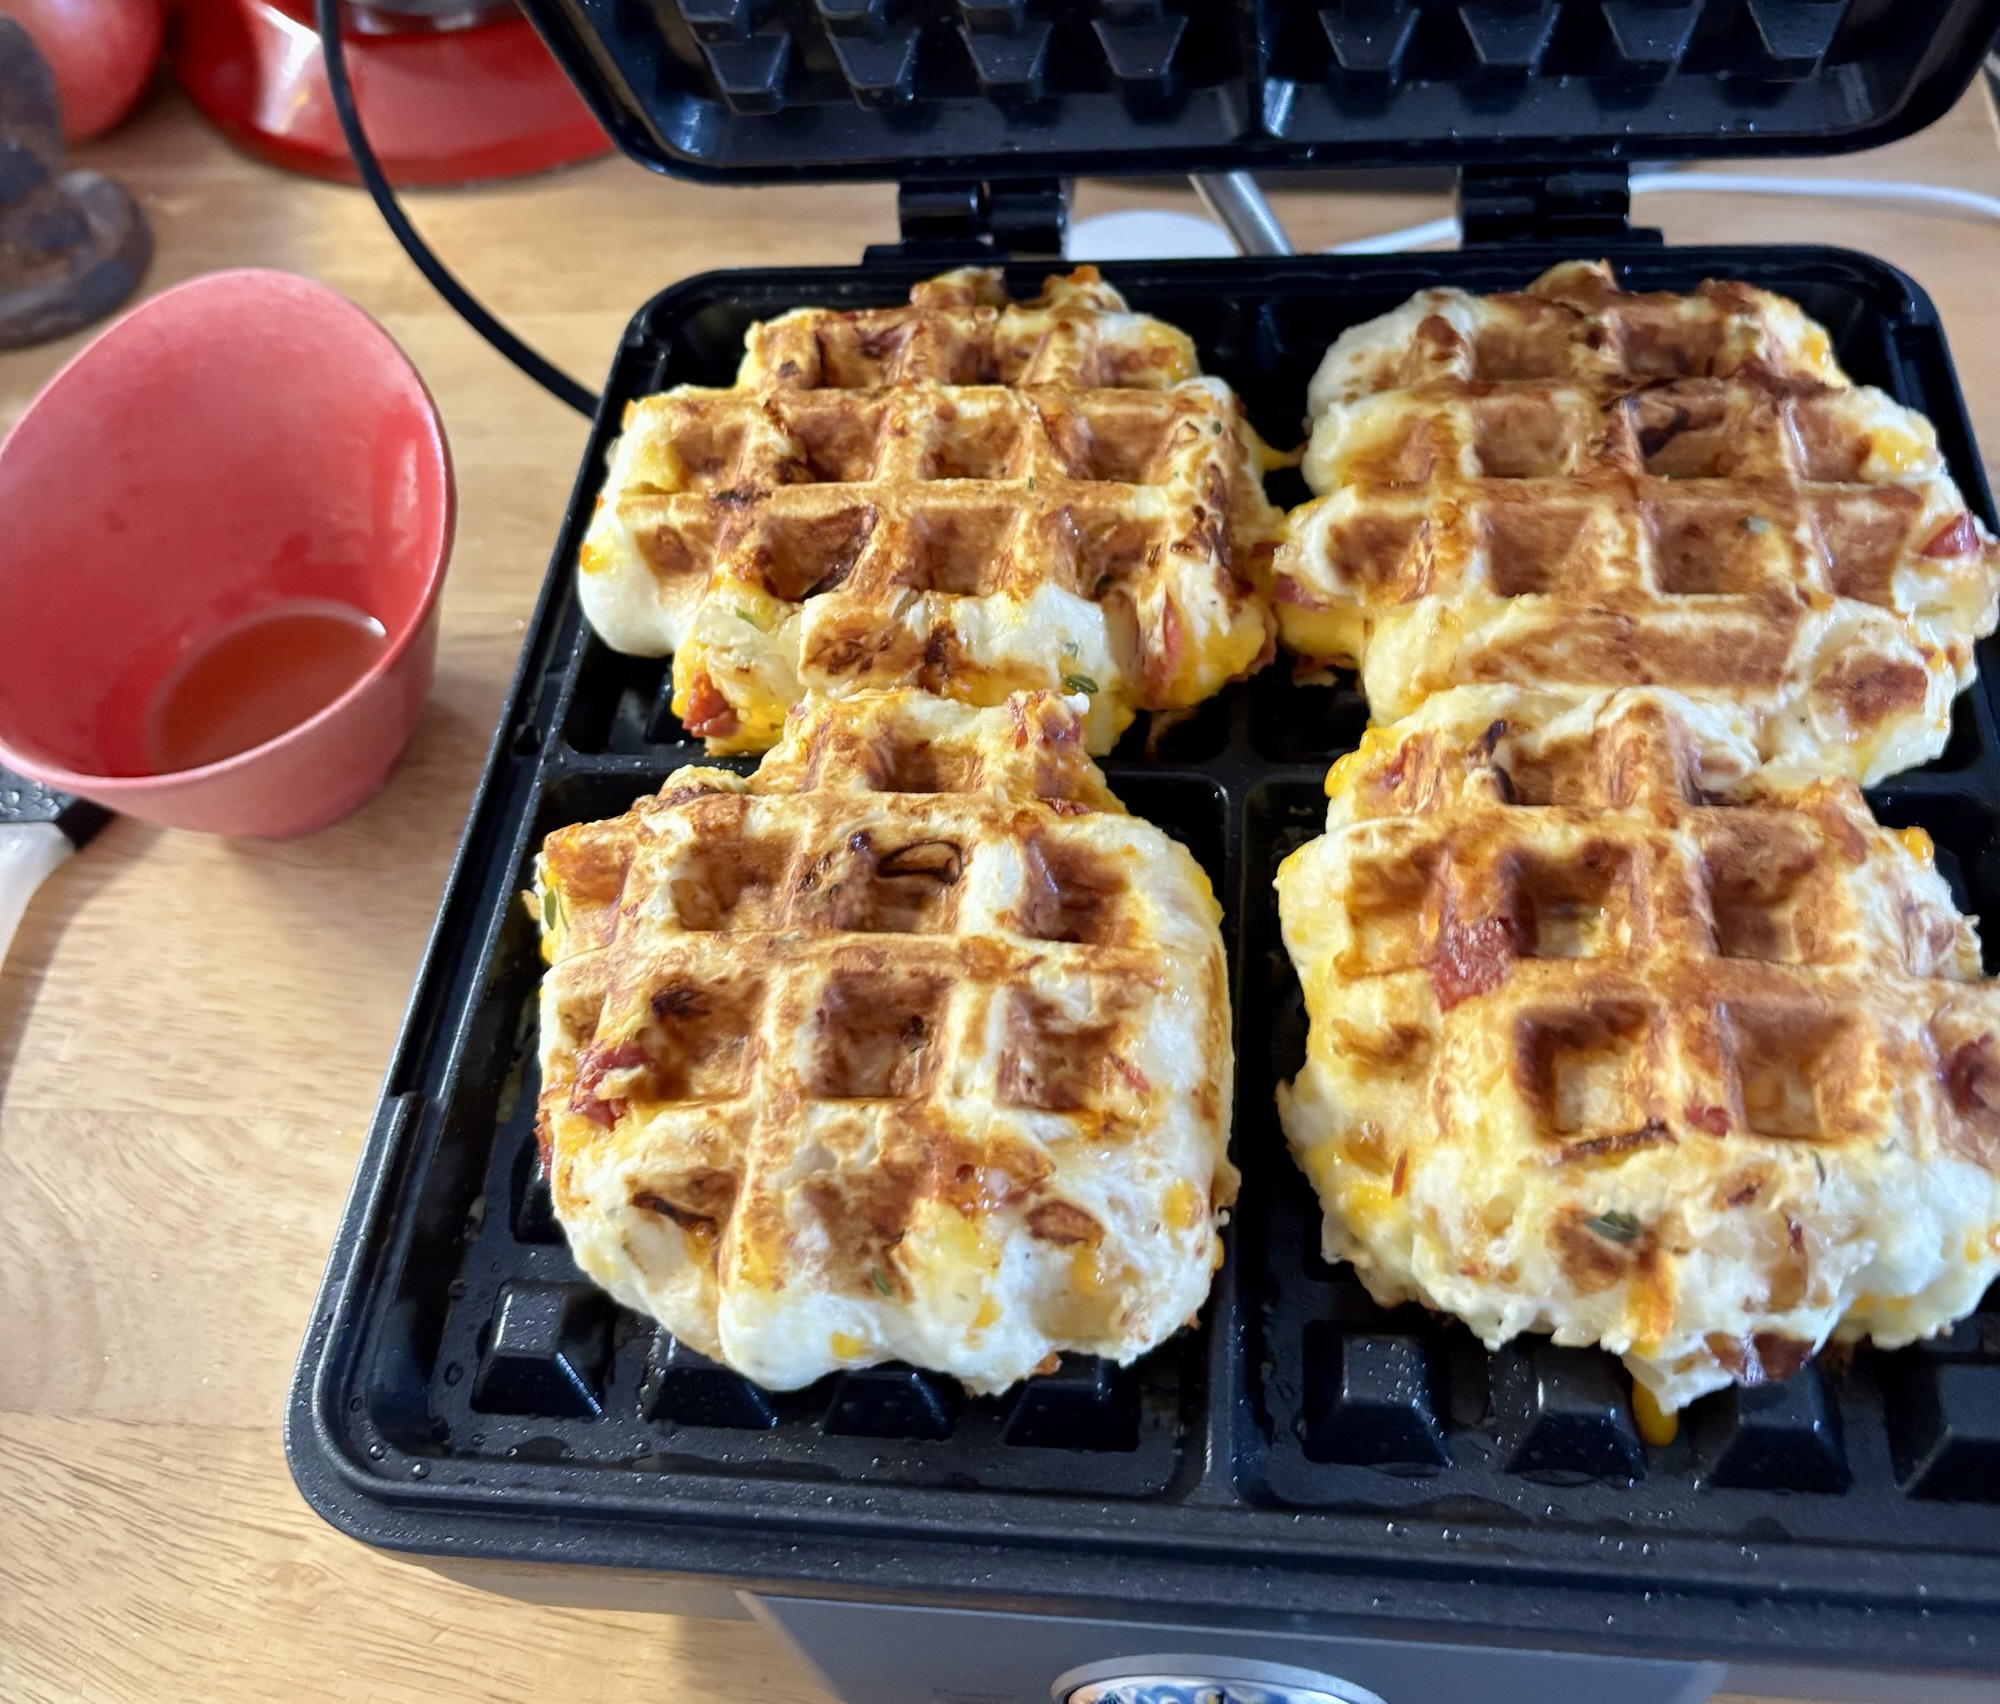
Will it waffle????  These certainly did, and created the most amazing aroma in the kitchen!  I took some of my favorite flavors from my recent gluten free scones, and turned them into waffles as a quick handy snack.  Stella has a 3 day market  (WildflowerWoods2024) this weekend, and I wanted to make sure she had something tasty to pick up and eat whenever she had a moment.

Crispy, tasty and packed with protein!
  • 2 small onions, thin slivers or sub sliced scallions (green onion)
  • 1/3 cup minced pepperoni (or use cooked, crumbled bacon)
  • 1 1/2 cups grated cheddar cheese (use your favorite!)
  • 1 3/4 cups flour – all purpose, or a gluten free substitute (I used Cup4Cup)
  • 1 tbsp & 1 tsp baking powder
  • 1 tsp white sugar
  • 1 tsp salt
  • freshly cracked black pepper to taste (a few grinds should be good)
  • 3 large eggs
  • 1 cup milk (I used full fat)

** olive oil to brush your waffle maker**

  • The first thing to do is carmelize your onions – take your time with this step and do it early enough to allow them to cool before using. When cooled, chop them up. If you want to skip this step – use thinly sliced green onions.
  • Mince pepperoni and set aside.
  • Shred cheese and set aside. I don’t like to use preshredded, but if you do, go ahead!
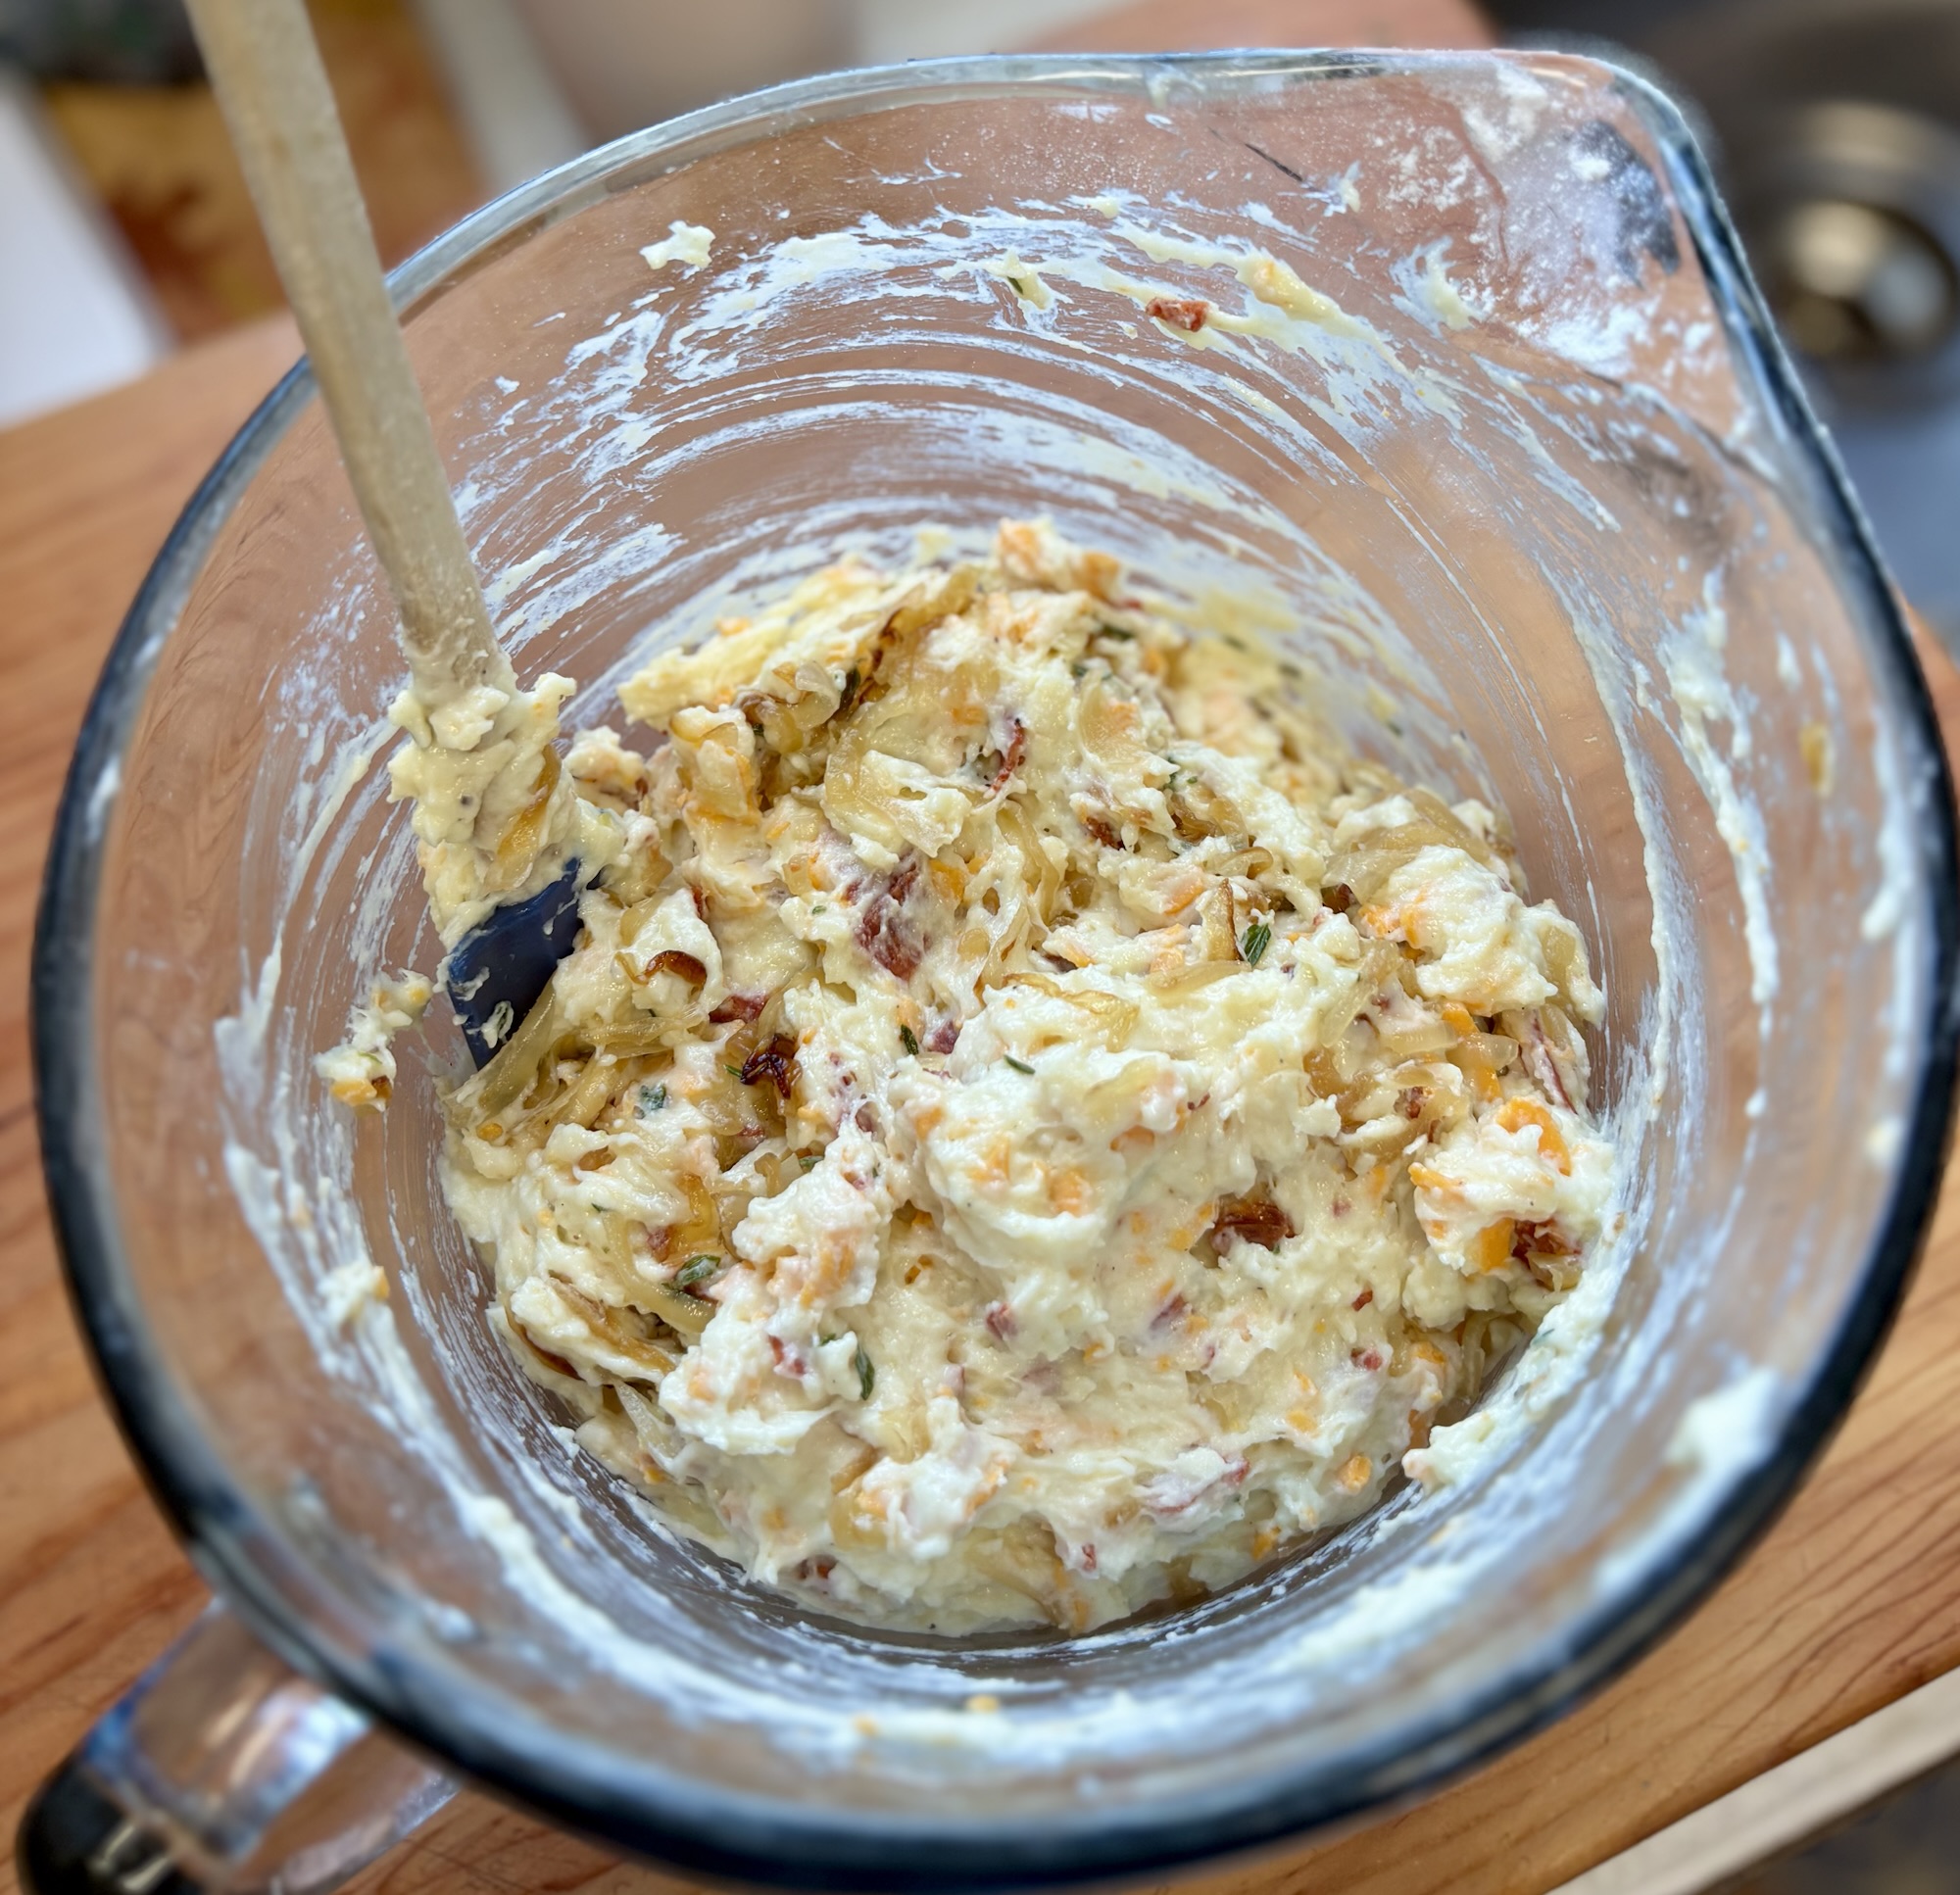
  • In a large bowl whisk egg and milk together until well combined.
  • In a smaller bowl combine all the dry ingredients, flour, baking powder, sugar, salt and pepper.
  • Slowly incorporate the dry ingredients into the egg mixture. If you are using a gluten free blend, allow it to sit for 5 minutes. I find GF flours have a tendency to be gritty, and this seems to alleviate that. Add in the onions, pepperoni, and cheese. Stir well to make sure you get goodness in every bite.

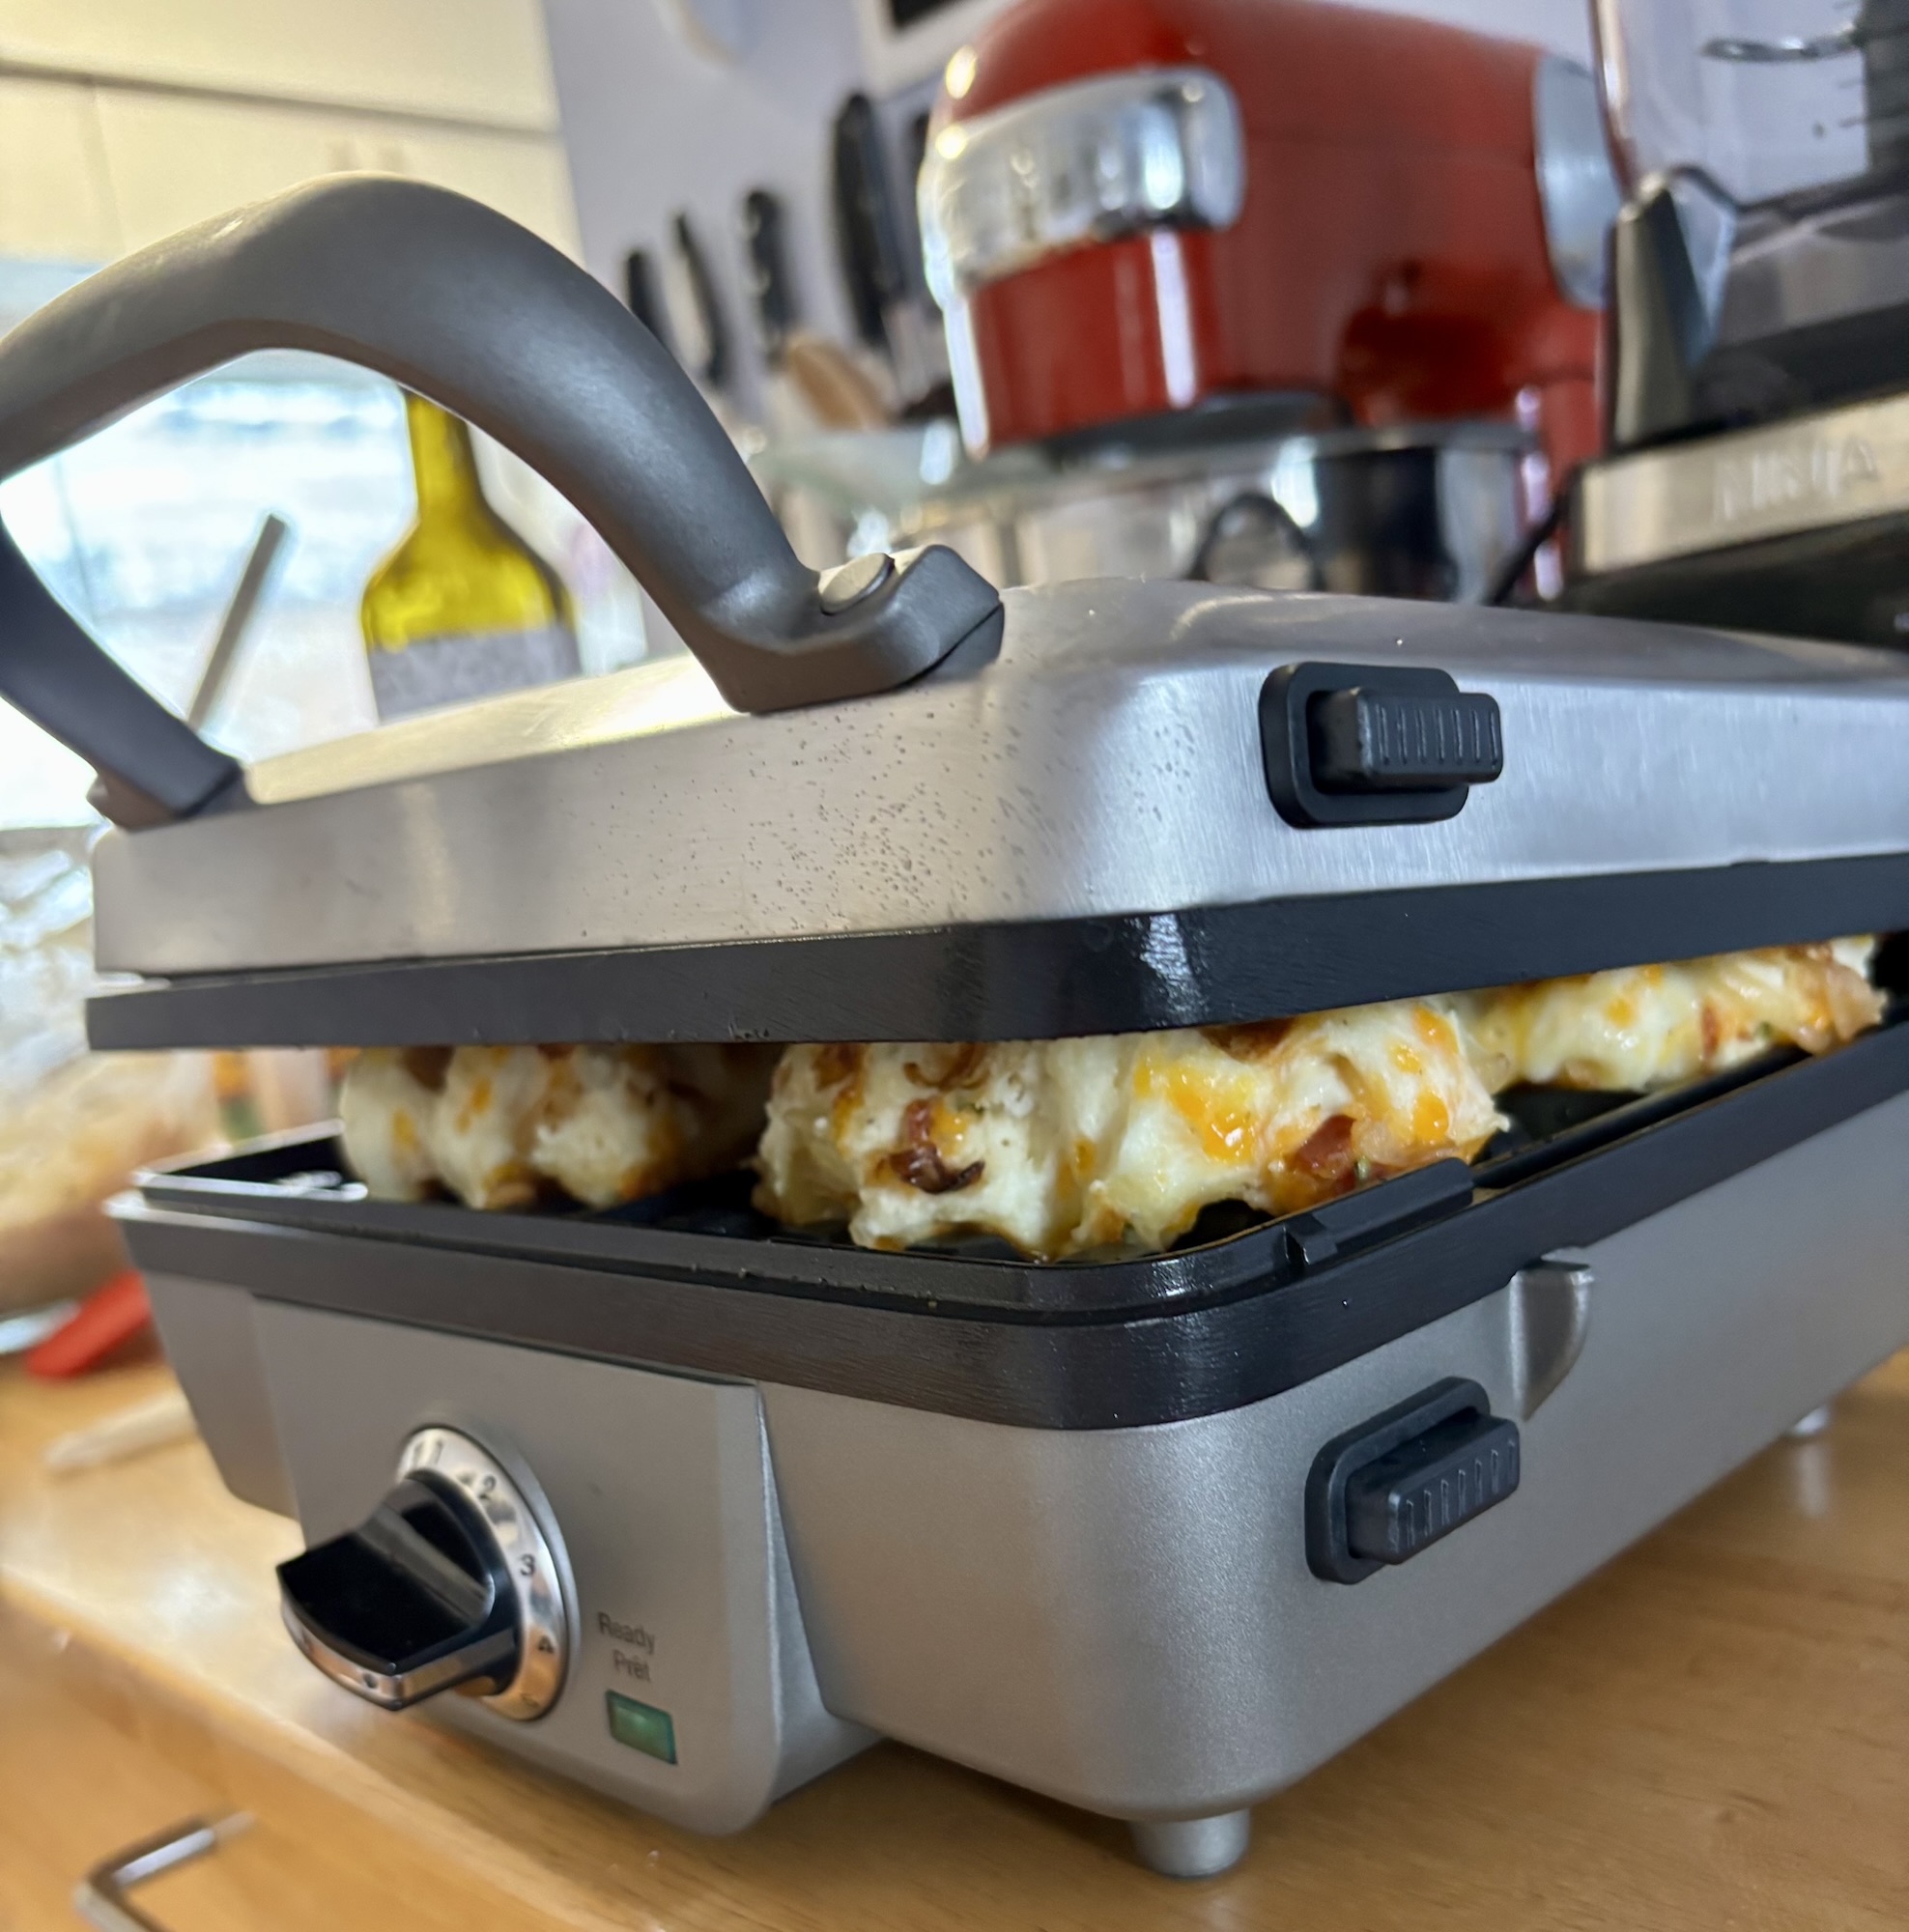
Preheat your waffle iron, and for every batch use a silicone brush to coat the surface with olive oil once you are ready. My waffle iron has 4 smaller waffles on the lower pan, I first tried 1/3 of a cup and found that a bit too much, so settled on 1/4 cup per individual waffle.

If you don’t have a waffle iron, I would imagine these come out fine as a pancake also.

They were inhaled so I can’t say with certainty, but I imagine they would freeze well, and reheat in toaster oven just fine.

You know something good is coming when this already smells great.
Make sure to distribute your goodies throughout.
I wasn’t even sure they would cook through they puffed up so much, but they did!
Perfect little hand held bites of deliciousness!

Carmelized Onion Cheddar Gluten Free Scones

I have to start with saying these are the best gluten free scones Stella and I have ever made. They come together quickly, even with the step of carmelizing onions. We forgot the carmelized onions in this batch (came across them later in the fridge!), and they were still fantastic.

We forgot the carmelized onions and they were still delicious

Carmelized Onions

  • 1 tbsp olive oil
  • 1 medium red or yellow onion, thinly sliced
  • ½ tsp salt
  • ¼-½ tsp pepper

Cheese scones:

  • 240 g (2 cups) plain gluten free flour blend, plus extra for flouring the surface 
  • 2 tsp baking powder
  • ½ tsp xanthan gum (Omit if your gluten free flour blend already contains xanthan gum.)
  • ¼ tsp salt
  • 85 g (½ stick + 2 tbsp) cold unsalted butter, cubed
  • 100 g (about 1 cup) coarsely grated/shredded cheddar cheese (I recommend using mature/sharp cheddar for best flavour and texture.)
  • 2 tbsp chopped fresh chives
  • 1/4 cup diced fine pepperoni or salami (completely optional)
  • 150 g (⅔ cup) cold buttermilk

Scone Topping

  • -2 tbsp buttermilk, for brushing the scones
  • 25 g (about ¼ cup) coarsely grated/shredded cheddar cheese, for sprinkling the scones

Carmelizng the onions:

  • Caramelise the onions first, so they have time to cool down. They need to be cooled completely to room temperature before you add them to the scone dough.
  • Heat the olive oil in a pan over medium heat, then add the finely sliced onions, salt and pepper, and mix well.
  • Reduce the heat to medium-low and cook slowly, with occasional stirring, until the onions are soft and caramelised – they should be of a deep golden brown colour. That usually takes about 15-20 minutes.Tip: If the onions look dry or like they’re starting to burn at any point, add a tablespoon or two of water and scrape up any browned bits stuck to the bottom and sides of the pan
  • Transfer the caramelised onions to a bowl or plate and allow to cool completely to room temperature.

Method

  • Adjust the oven rack to the lower-middle position, pre-heat the oven to 400ºF (200ºC) and line a large baking sheet with parchment/baking paper.
  • In a large bowl, whisk together the gluten free flour blend, baking powder, xanthan gum and salt.
  • Add the cold cubed butter and work it into the dry ingredients until you get a mixture resembling breadcrumbs, with a few pea-sized pieces here and there.
  • Add the grated cheddar cheese, chives and (cooled!) caramelized onions, and toss them in the dry ingredients until they’re evenly distributed. If needed, you can rub the mixture between your fingertips to break apart any large pieces where the cheese or caramelized onions have stuck together.
  • Add the cold buttermilk and stir everything together until the dough starts clumping together. The dough will still be fairly shaggy at this point, but most of the flour should be hydrated (there shouldn’t be any large patches of dry flour).If your dough seems too dry and doesn’t want to stick together, you can add a tablespoon or two of extra buttermilk.Tip: The exact amount of buttermilk you’ll need can vary, depending on how thick/runny your buttermilk is and how much moisture your gluten free flour blend tends to absorb. The aim is to get a shaggy dough that holds together when you shape it into a disc (but it shouldn’t be too soft or sticky to the touch).

Shaping the scones:

  • Turn out the dough onto a lightly floured surface and use your hands to press it together into a rough ball. Be careful not to overwork it, it needs to stay as cold as possible, otherwise the butter could start to melt. You don’t need to knead it – the aim is to press it together so it won’t fall apart when you cut it into the individual scones, but it doesn’t have to be perfectly smooth.
  • Press the dough into a roughly 7-inch (18cm) disc, about 1 inch (2.5 cm) thick.
  • Cut it into 8 wedges, either with a sharp knife or with a straight-edged metal pastry cutter (bench scraper).
  • Place the scones onto the lined baking sheet, spaced as far apart as possible, as they will puff up during baking.
  • Brush them with a bit of extra buttermilk and sprinkle with grated cheddar cheese.
  • Bake them at 400ºF (200ºC) for about 20 minutes or until they’re puffed up, golden brown and the melted cheese on top is nicely browned.
  • Cool the scones on the baking sheet for 10-15 minutes, then serve them warm.
We forgot the carmelized onions in the fridge, and didn’t top them with more cheese – still delicious!

This recipe came from The Loopy Whisk, and we have had tremendous success wth her gluten free recipes. Our only changes were to omit the cheese topping, add a bit of pepperoni, and this time we even forgot to add in our carmelized onions and they were incredible.

Mustard Crusted Prime Rib with Roasted Onions

I love a good prime rib roast – such a treat.  Mustard and beef are perfect together, add a little horseradish in there and the house will smell amazing.

Sunday dinner treat - the house smells amazing!

Sunday dinner treat – the house smells amazing!


For about a 5 pound prime rib roast:

2 generous heaped tablespoons Dijon mustard

1 generous heaped tablespoon horseradish

2 cloves minced garlic

1 tsp kosher salt

1 tsp freshly cracked black pepper

1 tbsp. mustard seeds (lightly toasted first – and cracked)

finely minced parsley

blend all this together with 1 tbsp. good quality olive oil

Season prime rib with salt and pepper, then rub the mustard all over the surfaces of the rib.  Allow to rest on the counter to bring the roast to room temperature before roasting.


Quarter 4 medium size onions, and scatter around the roast – drizzle with olive oil and any of the remaining mustard mixture.

Gently massaged with mustard horseradish rub and ready for the oven.

Gently massaged with mustard horseradish rub and ready for the oven.

Preheat oven to 450 degrees.  Place roast in oven and roast for 20 minutes – then turn oven down to 350 and continue roasting – anywhere from 1-2 1/2 more hours depending on the size of your prime rib (you can also use this method with any other good quality cut of beef that does not require low slow roasting). Right about the same time the onions should be tender, sweet and so delicious.

Please make sure to use your meat thermometer – there is no point in overcooking a beautiful cut of beef!  (for medium rare it should take about 20-25 min per pound)