Pulled Pork in the Smoker

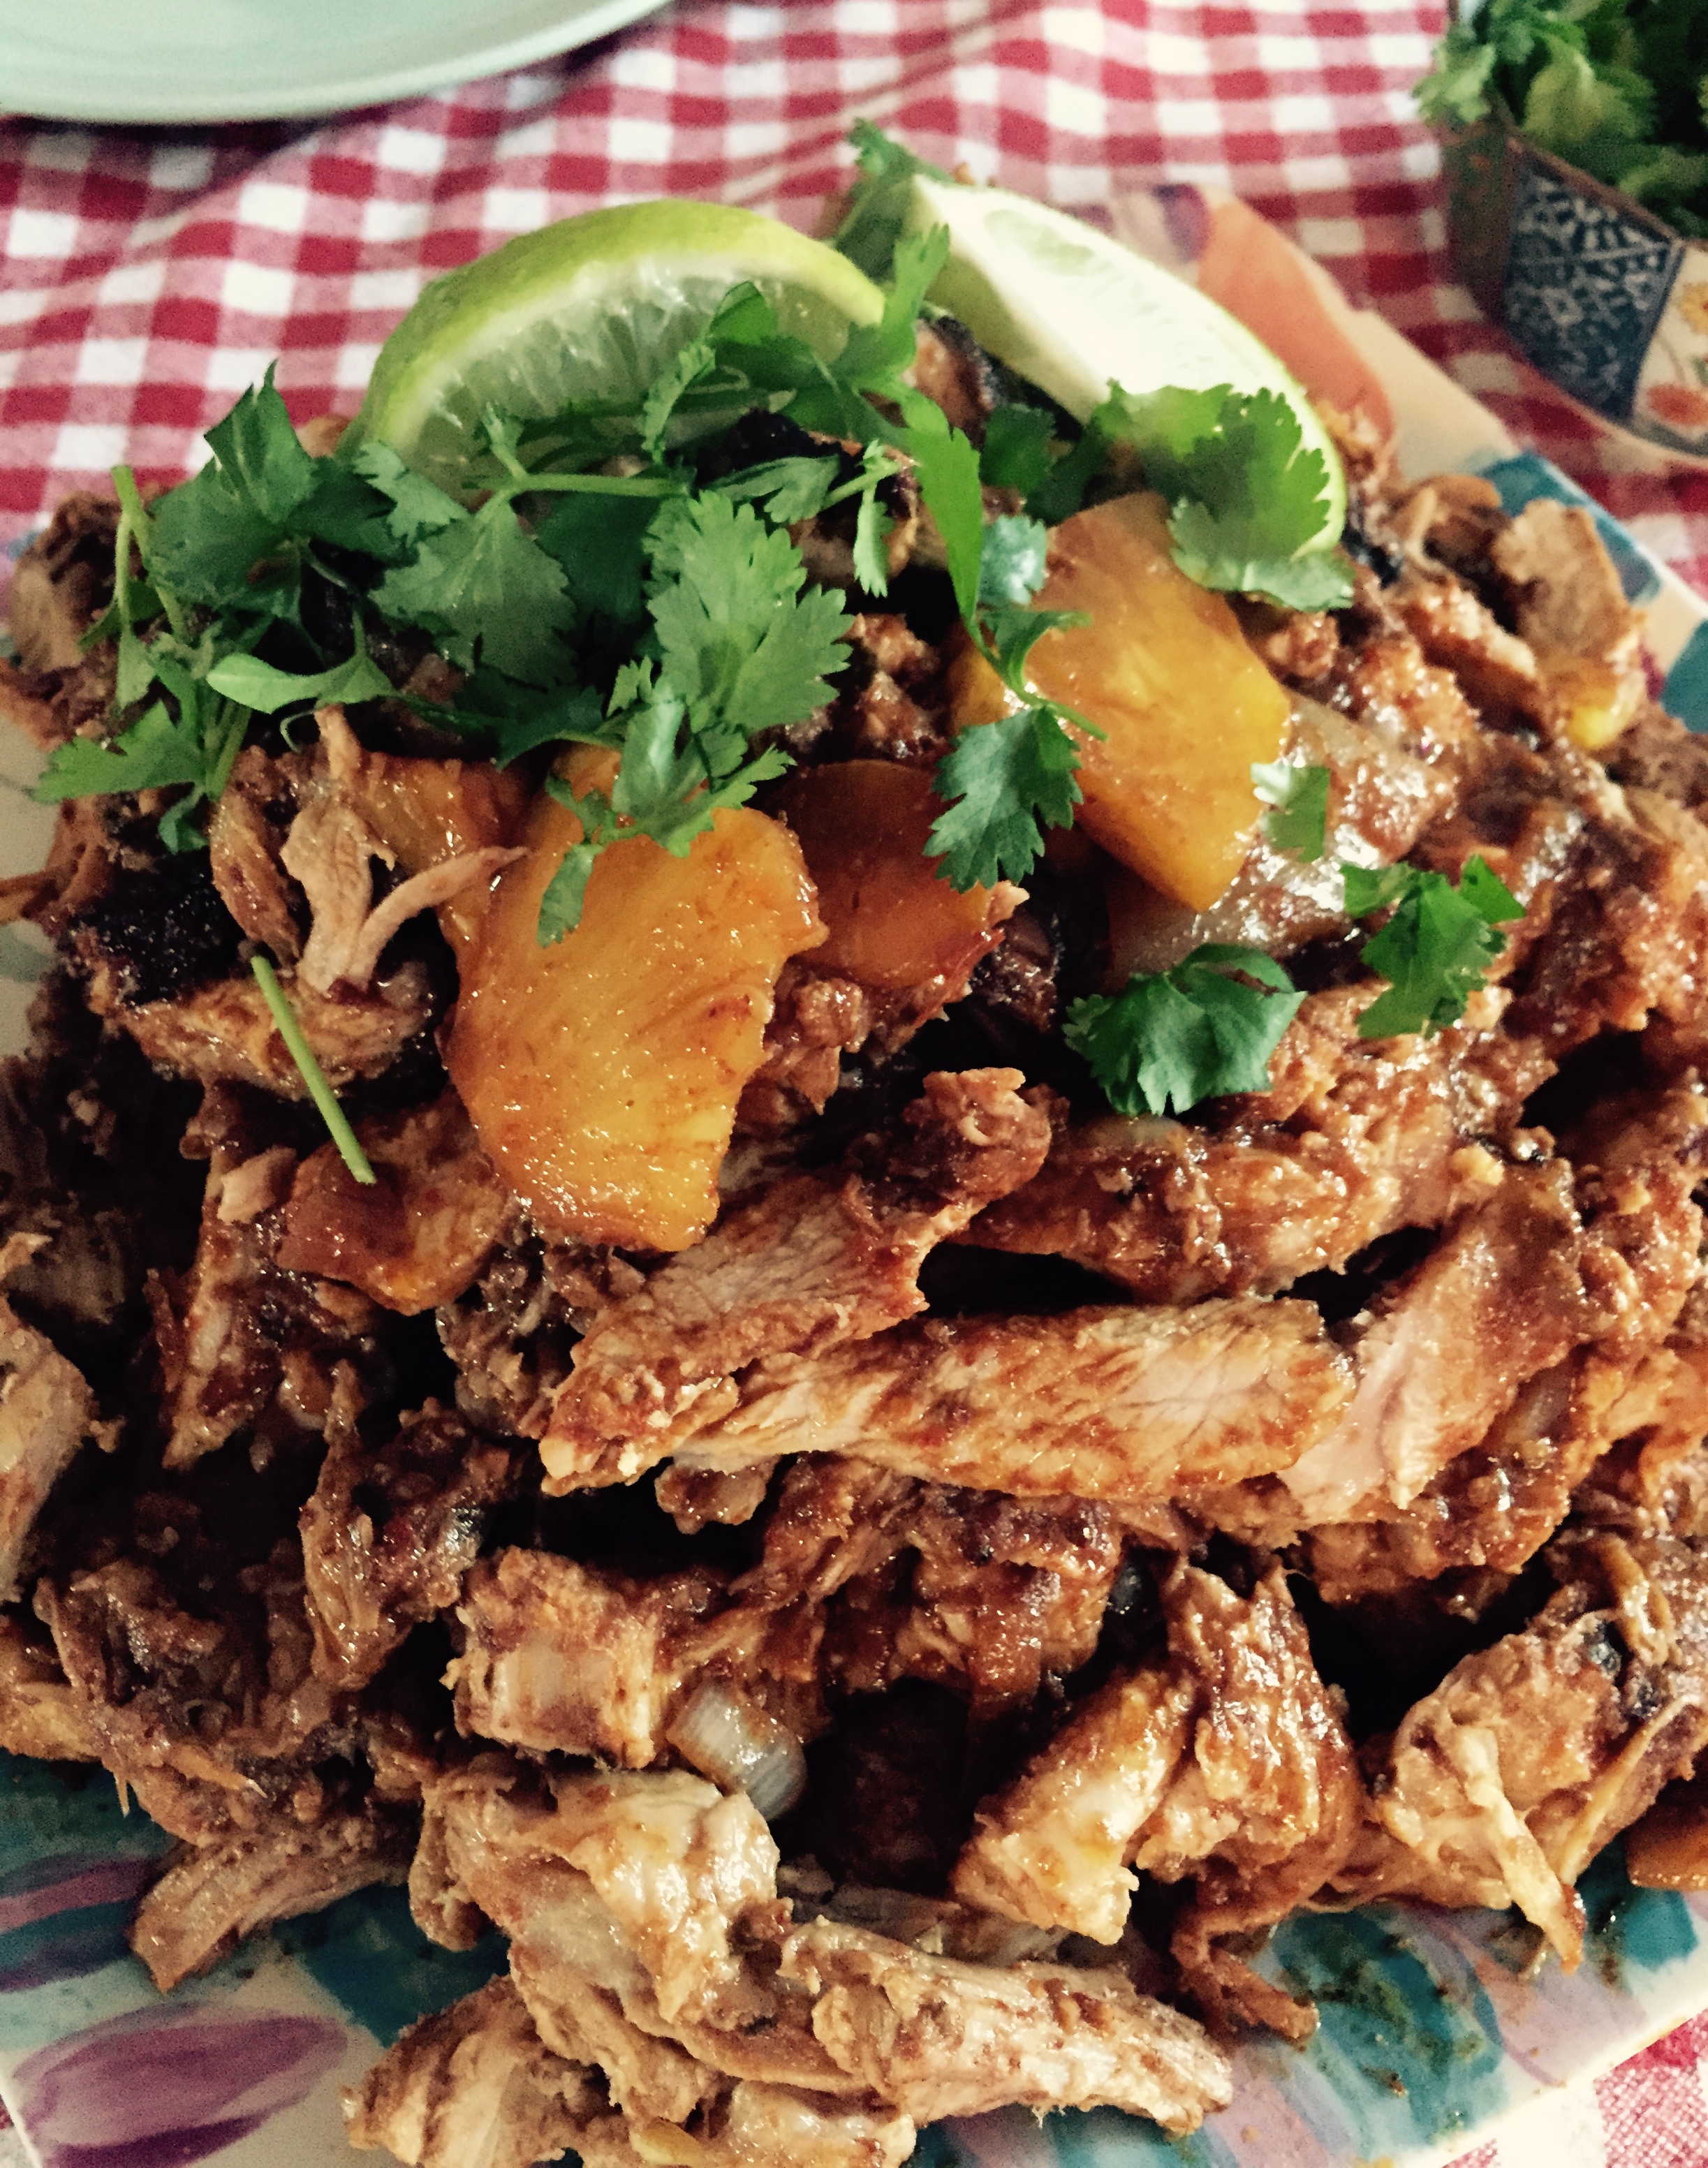
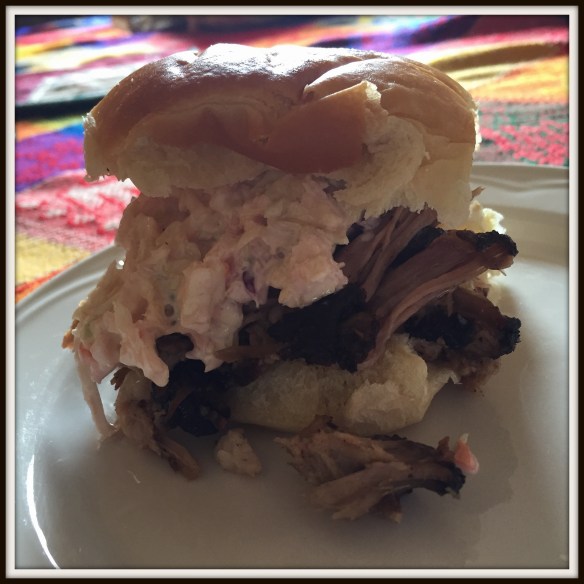
During the winter months I resort to using either my oven or my slow cooker for pulled pork …. mainly because we don’t have an outdoor space where we can use our electric smoker and still have it be under cover.  Whenever the opportunity is available though, this is the way to go.  When I am operating the smoker I like to make good use of that smoke and utilize the space, so I often do a pork roast as well as a chicken.  After trial and error, this pulled pork is the best!  Pile soft buns with the meat, some creamy cole slaw and a few pickled onions – serve with potato salad and green salad and this meal is a winner.

Pulled Pork


BRINE:

  • 8 ounces (3/4 cup) molasses
  • 12 ounces pickling salt
  • 2 dried chipotle chiles
  • 2 quarts bottled water

6-8 pound pork shoulder (or Boston Butt as it is known in some areas)

It is best to weigh the salt.  Pickling salt, by ounce, is not as “salty” as a table salt by either weight or measuring cup.

RUB:

  • 1 tsp whole cumin seed
  • 1 tsp whole fennel seed
  • 1 tsp whole coriander
  • 1 tbsp Mexican chile powder
  • 1 tsp black pepper
  • 1 tbsp onion powder
  • 1 tbsp garlic powder
  • 1 tbsp paprika

Using a spice grinder (or mortar & pestle) finely grind the cumin, fennel and coriander seeds.  Add the rest of the spice powders and blend well.

Heat ½ of the water, add molasses and salt.  Simmer just until the salt has dissolved and stir in the rest of the water along with the chipotle chiles.  When mixture has cooled, put in a container suitable to go into your fridge,  add in the pork and make sure it is submerged in the liquid, adding more water if necessary in order to cover.

Brine at least 12 hours.  Remove from liquid, rinse well and pat dry.

Using kitchen gloves (rub adheres best if you do) vigorously rub the pork with the spices.

Smoker ready pork and chicken

Heat your smoker to 250, and place pork on a rack.  Start testing the pork for temperature after 7 hours.  Once it has reached 190 (yes, I know that seems high) it is done.  Here is the key part – tightly bundle the whole thing in a tin foil pack, not allowing any steam to escape and let it sit for at least an hour.  This will allow the moisture within the pork to redistribute and make for the most tender, flavourful pork ever!

A simple coleslaw recipe works best for piling on top of the pork – try Jean’s coleslaw on this site, and add a few pickled onions (also on this site).


Lamb Meatballs with Tomato Olive Sauce and Mint

lamb meatballs


These meatballs are tender and delicious – the sauce is rich and that mint sauce is a perfect taste to brighten it all up. If you aren’t a big fan of lamb, then use minced pork.

You could buy lamb merguez sausage to make these meatballs, but if that isn’t available to you, this is an easy fix and tastes amazing.

1 pound lean ground lamb

1 tsp salt

1/4 tsp fennel seeds

1 tsp ground cumin

1/2 tsp cinnamon

1/2 tsp ground coriander

1/4 tsp turmeric

3 cloves minced garlic

2 tbsp harissa

1 tbsp tomato sauce

Grind salt and fennel together until smooth, then add the rest of the spices and stir together.  Add in garlic, harissa and tomato sauce to make a paste.  Lightly toss paste with ground lamb, until well blended.

For the best flavour, allow to sit over night but they are great if made into meatballs right away too.

Form balls about 1″ in diameter.  Heat oil until shimmering, then cook meatballs until just crispy on the outside and


Meanwhile ….. on roasting pan in moderate oven (375) toss in olive oil:

3 tomatoes, chopped

1 onion, chopped

3 garlic cloves

1/2 cup black olives


Roast until vegetables are tender, and blend with enough olive oil to make a smooth sauce.  Season to taste with salt and pepper.

Toss meatballs with tomato sauce and serve with mint sauce.

Mint Sauce

Blend fresh mint leaves with a drizzle of honey, freshly squeezed lemon and olive oil just until smooth – season to taste with salt.

Slow Cooker Pulled Pork

We have a smoker, so when time and weather permits, we love to do a pork butt roast in the smoker – but let’s be honest, that doesn’t always work. The whole point of a slow cooker is simplicity, and being able to walk away ….. This recipe allows you to do just that, and still enjoy amazing pulled pork flavour.

  • 2 medium onions, thinly sliced
  • 4-6 garlic cloves, thinly sliced
  • 4-5 pound pork butt roast
  • 1 tbsp dark brown sugar or molasses
  • 1 tbsp chili powder
  • 1 tbsp dry mustard
  • 1 tbsp kosher salt
  • 1/2 tsp ground cumin
  • 1 3″ piece cinnamon stick
  • 1 tbsp soy sauce
  • 1/4 cup cider vinegar
  • 1 1/2 cups barbecue sauce
  • In slow cooker, place sliced onions and garlic.

If the mixture needs to be thinned out a bit, add 1/2 cup of chicken stock.

Combine the dry ingredients, and give the pork a massage with the seasonings .. after all, it isn’t called a rub for nothing!
(If you want to make things really easy in the morning, rub the pork up the night before and allow those seasonings to penetrate the pork)

Place seasoned pork on top of the onion garlic mixture. Stir soy sauce, vinegar, barbecue together (add chicken stock if it needs it) and pour over pork.

Allow pork to cook on high (6-8 hours) or low (8-10 hours). Remove from cooker, and allow to rest.

Use immersion blender and create sauce out of mixture in cooker – reduce to about half.

Shred pork with 2 forks, and return both pork and sauce to cooker.

Serve on fresh buns with a bit of crunchy cole slaw.

I will update with a photo next time I make this …. with our crowd, before I knew it, the serving was happening and there was no opportunity to take that shot!

Tacos al Pastor

When in Mexico, one of our favorite street foods is Tacos al Pastor. We can’t equal the flavour at home without an upright spit to grill it, but this is a close second!

A plate of pork, seasoned with Tacos al Pastor flavours and just waiting for fresh corn tortillas!

A plate of pork, seasoned with Tacos al Pastor flavours and just waiting for fresh corn tortillas!

1-4 lbs pork “butt” or blade roast (just make sure it is a cheaper cut, well marbled)
1 cup fresh pineapple, chopped
2 ancho chiles
2 guajillo chiles
1 chipotle chile in adobo sauce
1 Tbsp adobo sauce
5 clove garlic, peeled
A few sprigs of oregano (or 1 tbsp dried oregano)
2 Tbsp honey
1 Tbsp vinegar
1 Tbsp smoked paprika
1 tsp salt
1 large onion, sliced
Slices of pineapple
4 – 6 carrots, peeled and kept whole

1. Put the ancho and guajillo chiles in a pot of water and bring to a boil. Turn off the heat and allow the chiles to steep until they are rehydrated, about 30 minutes. Discard the seeds and stems and toss the chiles in a food processor along with the remaining ingredients, except onion.

2. Slice the roast into 3/4inch thick slices, but not all the way through.

3. I usually put on plastic gloves for this part – the marinade REALLY stains …Slather the marinade between each layer until all the meat is covered. Stack the onion and pineapple slices in between the slices of meat. Tie the roast back together. Cover it and allow it to marinade for at least 3 hours or overnight.

4. Preheat oven to 245 °C (475 °F). Put the roast on a row of carrots in the bottom of a roasting pan and add water to the bottom of the pan (this is to keep the drippings from smoking). You can use a meat rack if you want, but those carrots will be incredibly delicious if you use them for a roasting rack! Roast for 30 minutes at this temperature then turn down the heat to 160 °C (300 °F). Roast until the meat is very tender (about 3 hours).

5. After removing the meat from the oven, cover it with foil and let it rest for at least 20 minutes.

6. Pull or shred meat apart

Out of the oven, and ready to rest for 30 minutes or so before shredding.

Out of the oven, and ready to rest for 30 minutes or so before shredding.

Serve with:

fresh corn tortillas
minced white onion
roughly chopped cilantro

Quiroga & Tzintzuntzan 27 Jan 2015

We are in an area famous for their carnitas …. which totally explains why we would hop in a collectivo taxi, then another taxi for a 23 k trip to eat them, right? Right? I’m sure anybody would do the same. What are carnitas you ask??? Pork! And, plenty of it. Basically, seasoned pork simmered in lard until tender. That simple explanation hardly does the dish justice though – you have to try it to believe it.

Following great advice from a couple of bloggers – Cristina at MexicoCooks! and Don Cuevas at My Mexican Kitchen, we indeed made the trek to find a specific carnita stand …. the one under the street light in Quiroga …..

The one stop light in Quiroga, Michoacan.  Carnita heaven.

The one stop light in Quiroga, Michoacan. Carnita heaven.

We wandered the length of the vendors, with each one offering a bite of their pork. Eventually we decided that our instructions must mean the one directly under the light, Carnitas Polo.

Every single one of the vendors had this much pork under cover - absolutely delicious and mouth waveringly tender.

Every single one of the vendors had this much pork under cover – absolutely delicious and mouth waveringly tender.

Here it is - your "go to" carnita cart in Quiroga, Michoacan - Carnitas Polo.

Here it is – your “go to” carnita cart in Quiroga, Michoacan – Carnitas Polo.

Yes, this is 1 taco.  30 pesos of the best carnita in Mexico.  Go to Michoacan and see for yourself!  Buy some guacamole from another vendor, a soft drink from the stand with tables and get set to be amazed.

Yes, this is 1 taco. 30 pesos of the best carnita in Mexico. Go to Michoacan and see for yourself! Buy some guacamole from another vendor, a soft drink from the stand with tables and get set to be amazed.

Obviously we needed to walk a bit after that, so we walked to the other end of town and hopped a collectivo taxi to Tzintzuntzan (pronounced roughly “seen soon san”), and it means Home of the Hummingbirds. Such a beautiful little village – all the buildings painted in the style of Patzcuaro in white and red.

Typical casa, most of the homes and buildings look just like this.

Typical casa, most of the homes and buildings look just like this.

Tzintzuntzan is so beautiful – Lake Patzcuaro is beautiful to look at, but unfortunately I don’t think you would want to swim in it now! There is something about these villages that have been classed as “Pueblo Magico”.

Lake Patzcuaro from Tzintzuntzan

We first toured the Convent of Santa Anna. The community itself is responsible for the maintenance and upkeep of this site, and it is probably the most beautifully restored convent we have encountered, and we have seen more than a few! I’m not given to flights of fancy, being more of a linear thinker, and one that wants things to make sense but there is something about these convents or cathedrals that speaks to me and I either feel greatly peaceful or tremendous unrest, anxious and can’t wait to get out. Not predictable in any way.

This convent, built in the 1600's, obviously gave me a great sense of peace. I could have sat in reflection for some time, just looking at the ancient olive trees in the garden.

This convent, built in the 1600’s, obviously gave me a great sense of peace. I could have sat in reflection for some time, just looking at the ancient olive trees in the garden.

Interior courtyard of the former convent, it is easy to imagine the murmurs of voices past in here.

Interior courtyard of the former convent, it is easy to imagine the murmurs of voices past in here.

Typical comida (or kitchen) from days past - love all the pottery and cooking implements.

Typical comida (or kitchen) from days past – love all the pottery and cooking implements.

From the convent, we wandered through the St. Francis of Assisi Church, surrounded by the ancient olive trees (more than 500 years old).

The grounds are beautifully kept, so well maintained and filled with olive trees.

The grounds are beautifully kept, so well maintained and filled with olive trees.

I'm not sure whether it is because worshippers raise their eyes to the heavens when in the building or not, but all cathedrals have such beautiful hand painted ceilings.

I’m not sure whether it is because worshippers raise their eyes to the heavens when in the building or not, but all cathedrals have such beautiful hand painted ceilings.

To this day they still ring this church bell in call to service.

To this day they still ring this church bell in call to service.

In the courtyard we were instructed to look to the corner of the structure and we would find a master of ceramica (or pottery) in the traditional methods of Michoacan. We did indeed find his rickety studio, part of the original structure built in the 1600’s, and he is still creating the most beautiful pieces of art.

Ceramica Tzintzuntzan

the master himself, at work in the same manner they have been doing for years

the master himself, at work in the same manner they have been doing for years

From lumps of raw clay brought in from the surrounding areas, he creates this workable clay.

From lumps of raw clay brought in from the surrounding areas, he creates this workable clay.

His oven - built over 30 years ago.

His oven – built over 30 years ago.

Tzintzuntzan has an archeological site also (honestly, I often think that every mound in Mexico is probably hiding a ruin of some sort!!) This one wasn’t very large but since we needed a walk, we hiked up the hill to view it. First time we have seen one like this – kind of a long straight stretch with rounded fingers coming out from it. Set on the hillside overlooking Lake Patzcuaro it would have been quite a beautiful spot.

Photo of an aerial view of the structure at Tzintzuntzan.

Photo of an aerial view of the structure at Tzintzuntzan.

Typical indigenous fishing family in dugout canoe.

Typical indigenous fishing family in dugout canoe.

It is easy to see why they chose this site.

It is easy to see why they chose this site.

Every region is specific for their handicrafts, and often when you see something in one spot, that is the ONLY place you will see it!

Every region is specific for their handicrafts, and often when you see something in one spot, that is the ONLY place you will see it!

Stay tuned for Morelia!

Pork and Prawn Burgers

These delicious burgers have an Asian twist to them, and are absolutely oozing yumminess!  Tonight they were served on a slim style bun, but can be enjoyed on a regular bun as well.  For an appetizer, make the patties small and serve on individual lettuce leaves.

Pork & Prawn burger

The dipping sauce makes these burgers particularly delicious, make sure to have napkins handy, and lean over your plate.

1 pound (450 grams ish) lean ground pork

1 bag of frozen RAW prawns (around the same weight as the pork), chopped in small but identifiable pieces

2 eggs

2 cloves garlic, minced

1 heaping tbsp fresh ginger, minced

2 tbsp. soya sauce

2 tbsp. sesame oil

1/4 cup finely sliced chives

In a large bowl mix up the eggs, garlic, ginger, soy sauce and sesame oil.  Gently toss in the pork, prawns and chives.

Form patties, and allow to rest in the fridge to set up.

Either grill or cook on hot griddle.  These are delicate, so make sure not to try and turn or rotate until they are well cooked on the first side.

Pork & Prawn burgers

Serve on a toasted bun with aioli on the bottom, and pickled cucumbers on top.  To take this on to the most delicious burger, be sure to serve with the dipping sauce.

Sweet Chili Sriracha Aoili

4 tbsp. mayonnaise

1 tbsp. sriracha (or other Asian style hot sauce)

1 tbsp. sweet chili paste

Blend well and allow to sit in fridge for flavours to come together.

Quick Pickled Cucumbers

1 cup very thinly sliced cucumber – tossed with rice vinegar, and seasoned lightly with salt, pepper, and a few chili flakes

Dipping Sauce

For each person, use a little individual dipping bowl and in each:

2 tbsp soy sauce

1 tbsp. rice vinegar

drizzle of chile oil or chile flakes (to taste)

a couple slices of fresh garlic, and fresh ginger

sprinkle of chives or spring onion

Chinese Chow Mein

This is great served as a side dish for Kung Pao chicken or on it’s own as a full meal by adding stir fried chicken, pork, beef or shrimp.

Chow Mein

8 oz steamed chow mein noodles

1 tbsp finely minced ginger

3 garlic cloves, finely minced

1/2 cup finely shredded cabbage

1/2 cup finely sliced celery

1/2 cup snow peas

Steam chow mein noodles until tender, or soak in cool water until tender.  Be careful not to leave them in water too long or they will get soggy.  :o(

SAUCE

1 tsp corn starch

2 tbsp low sodium soy sauce

2 tbsp oyster sauce

1 tsp sugar

2 tbsp water


cooking oil

scallions

toasted sesame seeds

In a small mixing bowl mix sauce ingredients and set aside.

Heat wok, add cooking oil and lightly saute cabbage and celery – add ginger and garlic.

Remove from wok to a bowl – add sauce to bowl and bring to a boil, allowing it to thicken and become glossy.  Add noodles and stir fry quickly just allowing them to soften and absorb the flavor of the sauce.  Return sauted vegetables to wok and quickly stir through.

Garnish with scallions and sesame seeds.

If you want to make a meal in one – stir fry any type of protein you choose in the wok and add it to the chow mein – so versatile with any number of vegetables.  Go ahead and experiment – let me know what you try and how you like it!

Salsa Verde

Salsa Verde

This is great served as an appetizer with taco chips, drizzled over eggs and served as a topping for any meat.

1 pound tomatillos – husked and washed

1 large white onion, sliced thickly

4 cloves garlic

2 jalapenos

1/3 bunch cilantro

We like our salsa grill roasted, so everything but the cilantro gets a little time on the grill before hitting the blender.  Give it a zap or two until purified.  Taste for seasoning and adjust a bit if you need to – adding salt and pepper to your preference.

If you don’t have a grill handy you could either use a comal, as they do in Mexico, which is just a simple flat fry pan, or your own favorite fry pan.  Nothing wrong with just blending it all fresh either – try it both ways and see which you like best.

This can be processed in a hot water bath to preserve it for the winter, or put it in the freezer.  Either way works really well. Bring it to a boil on the stovetop prior to processing and use hot jars.  If you do a hot water bath, make sure your jars and seals are all sterilized and the seals are new – place carefully in hot water bath with 2 inches water over top of the jar and process pint jars for 20 minutes.

Greek Style Pork Baby Back Ribs

Greek style ribs in Phoenix

Every so often I crave a simple rib without barbecue sauce ….. yes it is true, ribs can be fabulous minus the barbecue sauce (even one as great as mine!)  Try these, very easy to do and fall off the bone tender.  Serve with a greek salad, some grilled vegetables and garlic toast – pretty darn yummy.

2 racks baby back ribs (membrane removed from back)

olive oil

juice and zest of 1 lemon

kosher salt

freshly cracked black pepper

basil

rosemary

oregano

dry mustard powder

dry garlic powder

Combine all the dry ingredients, mixing well.  In season I like to use fresh herbs, but in the winter when we just can’t get them I use either dried or frozen herbs.

Give the ribs a nice little massage with the olive oil – drizzle lemon over top.  Now generously sprinkle herbs with seasoning and the lemon zest, and give it another little rub to make sure all these seasonings are covering every surface.

Cover tightly and allow to marinate.  A couple of hours will do the trick, but I really prefer to do this the night before so the flavours go right through and the lemon has a bit of time to make those ribs even more tender. 

I find it easiest to do this right on a foil covered baking sheet, with the ribs covered in another sheet of foil – that way you can just put the whole thing in the oven without any further fuss.

Bake in a slow oven – about 300 degrees for 2 1/2 – 3 hours – until they are tender but not off the bone.  Finish on the grill just to crisp up the edges – drizzle lemon over top and serve!

Pork Tenderloin with Cumin Chile Marinade

P1110015

This is MOST excellent served with Sesame Peanut Noodles and Spicy Cilantro Salad.  That trio will make a meal complete.  Maybe a few steps, but WELL worth it! Our house is filled with tree planters right now, and I had to fight to get a few leftovers for lunch!

2 tbsp cumin seeds

4 scallions – 3 roughly chopped, 1 thinly sliced

1 jalapeno pepper, roughly chopped  (remove seeds if you prefer mild flavor…)

1 2 in piece ginger, peeled and roughly chopped

2 cloves garlic, minced

3 tbsp oil, plus more for grilling

1 tbsp light brown sugar

2 tsp soy salt (plus 1/4 cup soy sauce for dip)

1 tsp chinese 5 spice powder

 kosher salt and fresh ground pepper

2 pork tenderloins

1/4 cup rice vinegar

1 tsp toasted sesame oil

If you want to do these on skewers, make sure to soak them in water for at least 30 minutes before grilling.

To serve family style, simply slice pork tenderloin lengthwise, then in half – ending up with 4 pieces per tenderloin.

Toast cumin seeds untily lightly browned – set aside.

Combine scallions, jalapeno, ginger, garlic, 1 tbsp oil, brown sugar, 2 tsp soy sauce, 5 spice powder, 3/4 tsp salt and 1/2 tsp pepper in food processor or blender.  Pulse until a smooth paste forms.  Add cumin seeds and pulse lightly until seeds are cracked.

Lightly season pork with salt and pepper.  Rub well with about 3/4 of the paste.

Cover with plastic wrap, or do this in a ziplock bag and seal in fridge for at least an hour.

Sauce:  Combine 1 tsp of cumin paste with 1/4 cup soy sauce, vinegar, sesame oil and 1 tbsp water. Set aside to drizzle after meat is cooked and to serve at table. Stir in sliced scallion and set aside.

Preheat grill to medium high heat.  Add 1 tbsp cumin paste to 2 tbsp oil and set aside to brush on while grilling.

Grill pork and brush with oil/cumin paste. 

Serve with sauce on the side, drizzling some of it lightly over the meat just before serving.