During the cold of winter these vegetables are always available, and make the most comforting winter dinner. When summer vegetables arrive however, with fresh new potatoes, leeks and fennel from your own garden or farmers market, this soup is the perfect meal on a cool, rainy spring – early summer night.

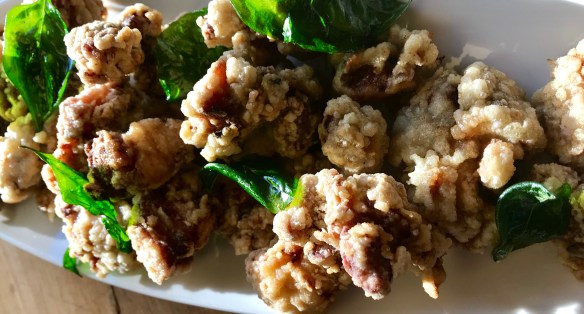
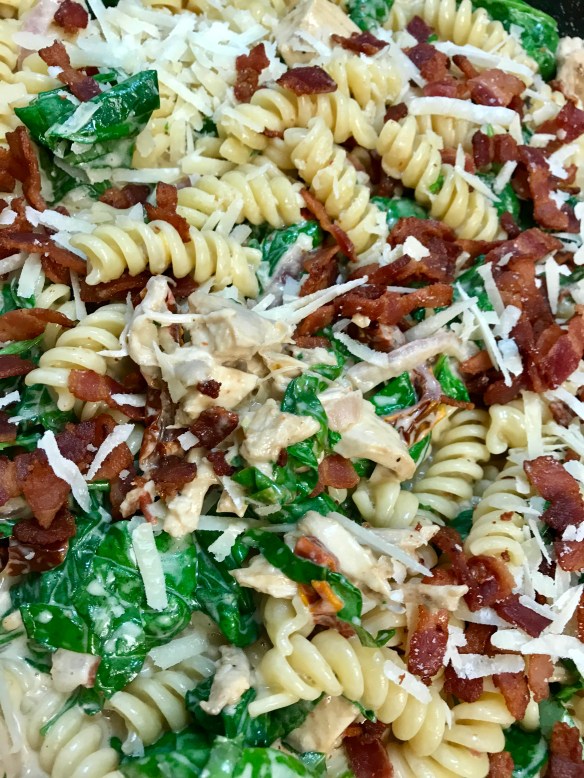
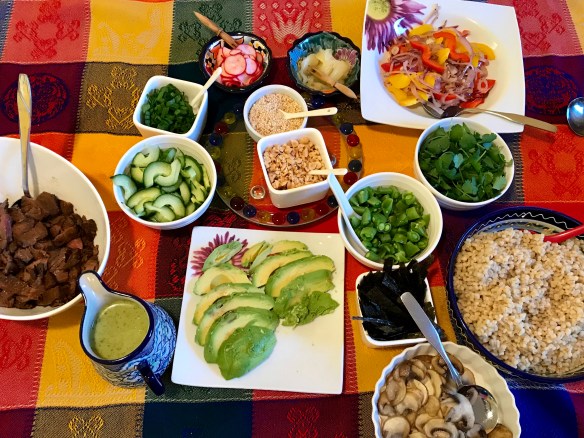
I love rich, creamy soups, but what I really love …. is the toppings. Every pureed soup needs something to create texture and bacon with fresh herbs does the job.
- 4 pounds red potatoes, quartered
- 1/4 cup good olive oil
- 1 tbsp minced garlic
- 1 tbsp kosher salt
- 2 tsp freshly ground pepper
- 3 cups chopped yellow onion
- 1 cup sliced leek
- 3 cups sliced fennel bulb
- 3 quarts chicken broth (or vegetable broth for a vegetarian option)
- 1 cup cream (omit if you want it to be vegan)
GARNISH
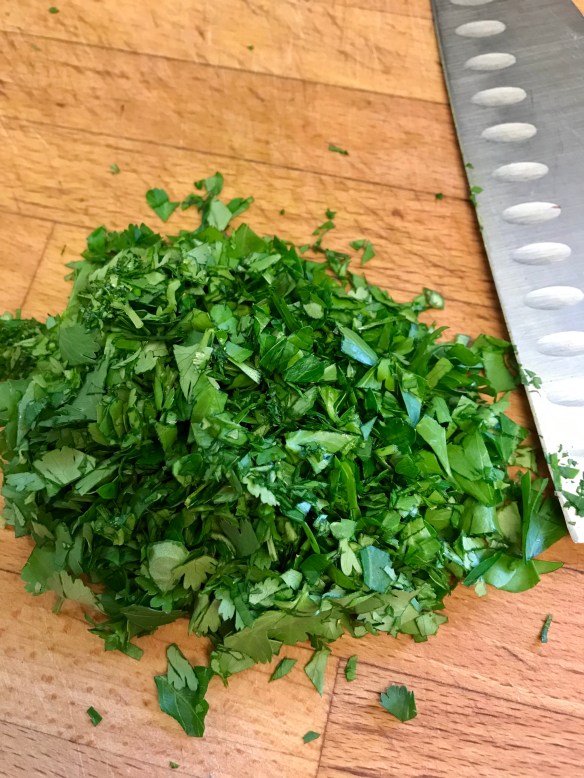
- fresh chopped chives, parsley, basil and fennel fronds
- crispy bacon bits
Preheat oven to 400
In large bowl toss the potatoes with olive, garlic, salt and pepper.
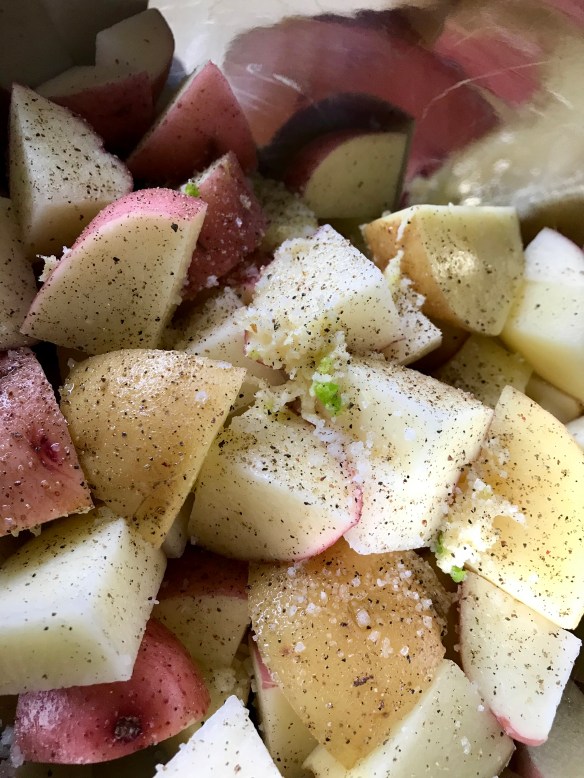
New potatoes, tossed with olive oil, garlic, salt and pepper. Yum whatever you do wth them!
Spread on baking sheet and roast for 30 minutes, until cooked through. (use 2 sheets if necessary, you don’t want them crowded)
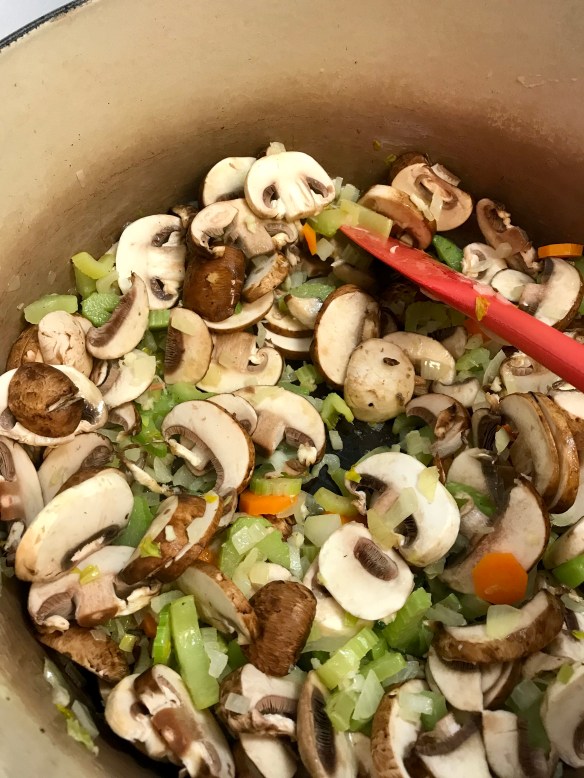
Saute onions, fennel and leek with 2 tbsp olive oil in a large stockpot over medium heat until translucent. (I like to cook my bacon in the pot first in order to use the fat …. but for vegan or vegetarian options just omit the bacon and it’s fat).

Season every step of the way!
Add chicken or vegetable stock to onion mixture and bring it to a boil. Add roasted potatoes, turn to a gentle simmer and cook until all vegetables are soft.

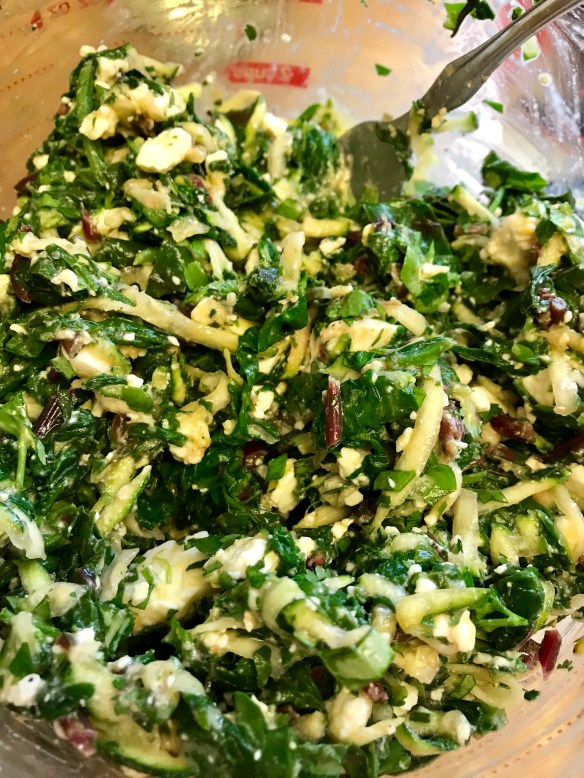
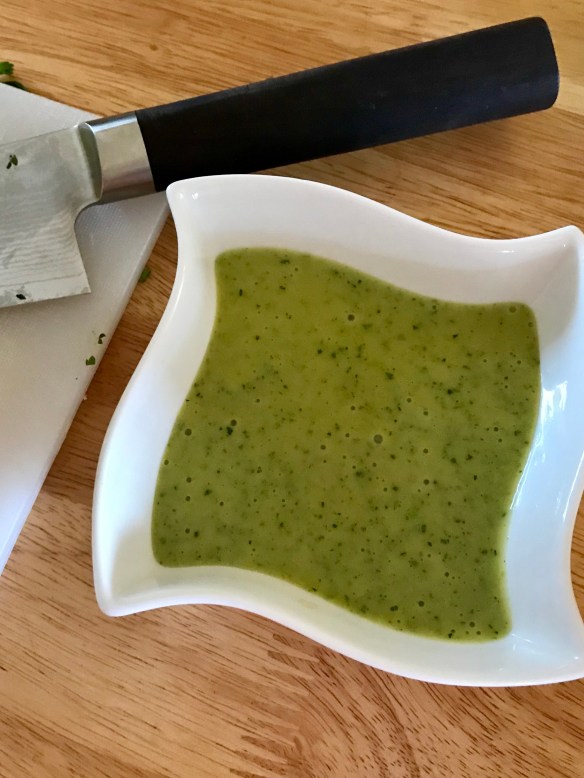
Puree until all vegetables are creamy … this is the point to add fresh minced herbs and the cream, if using.

Taste, and adjust for seasoning with salt and pepper.

Mince up a handful of fresh herbs ….

Toss the herbs in and stir well with the blended soup.
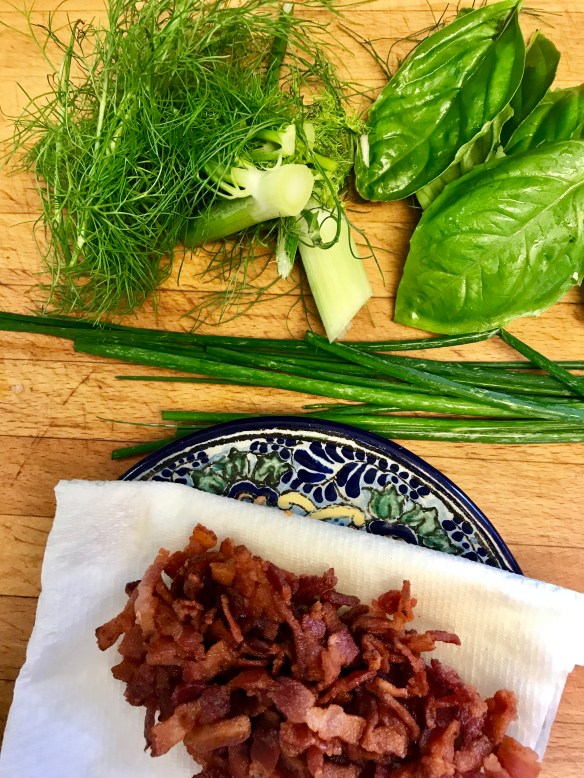
Prep your garnish … today I liked the idea of crunchy bacon (well honestly most soups love crunchy bacon) … as well as chives, basil and fennel fronds.