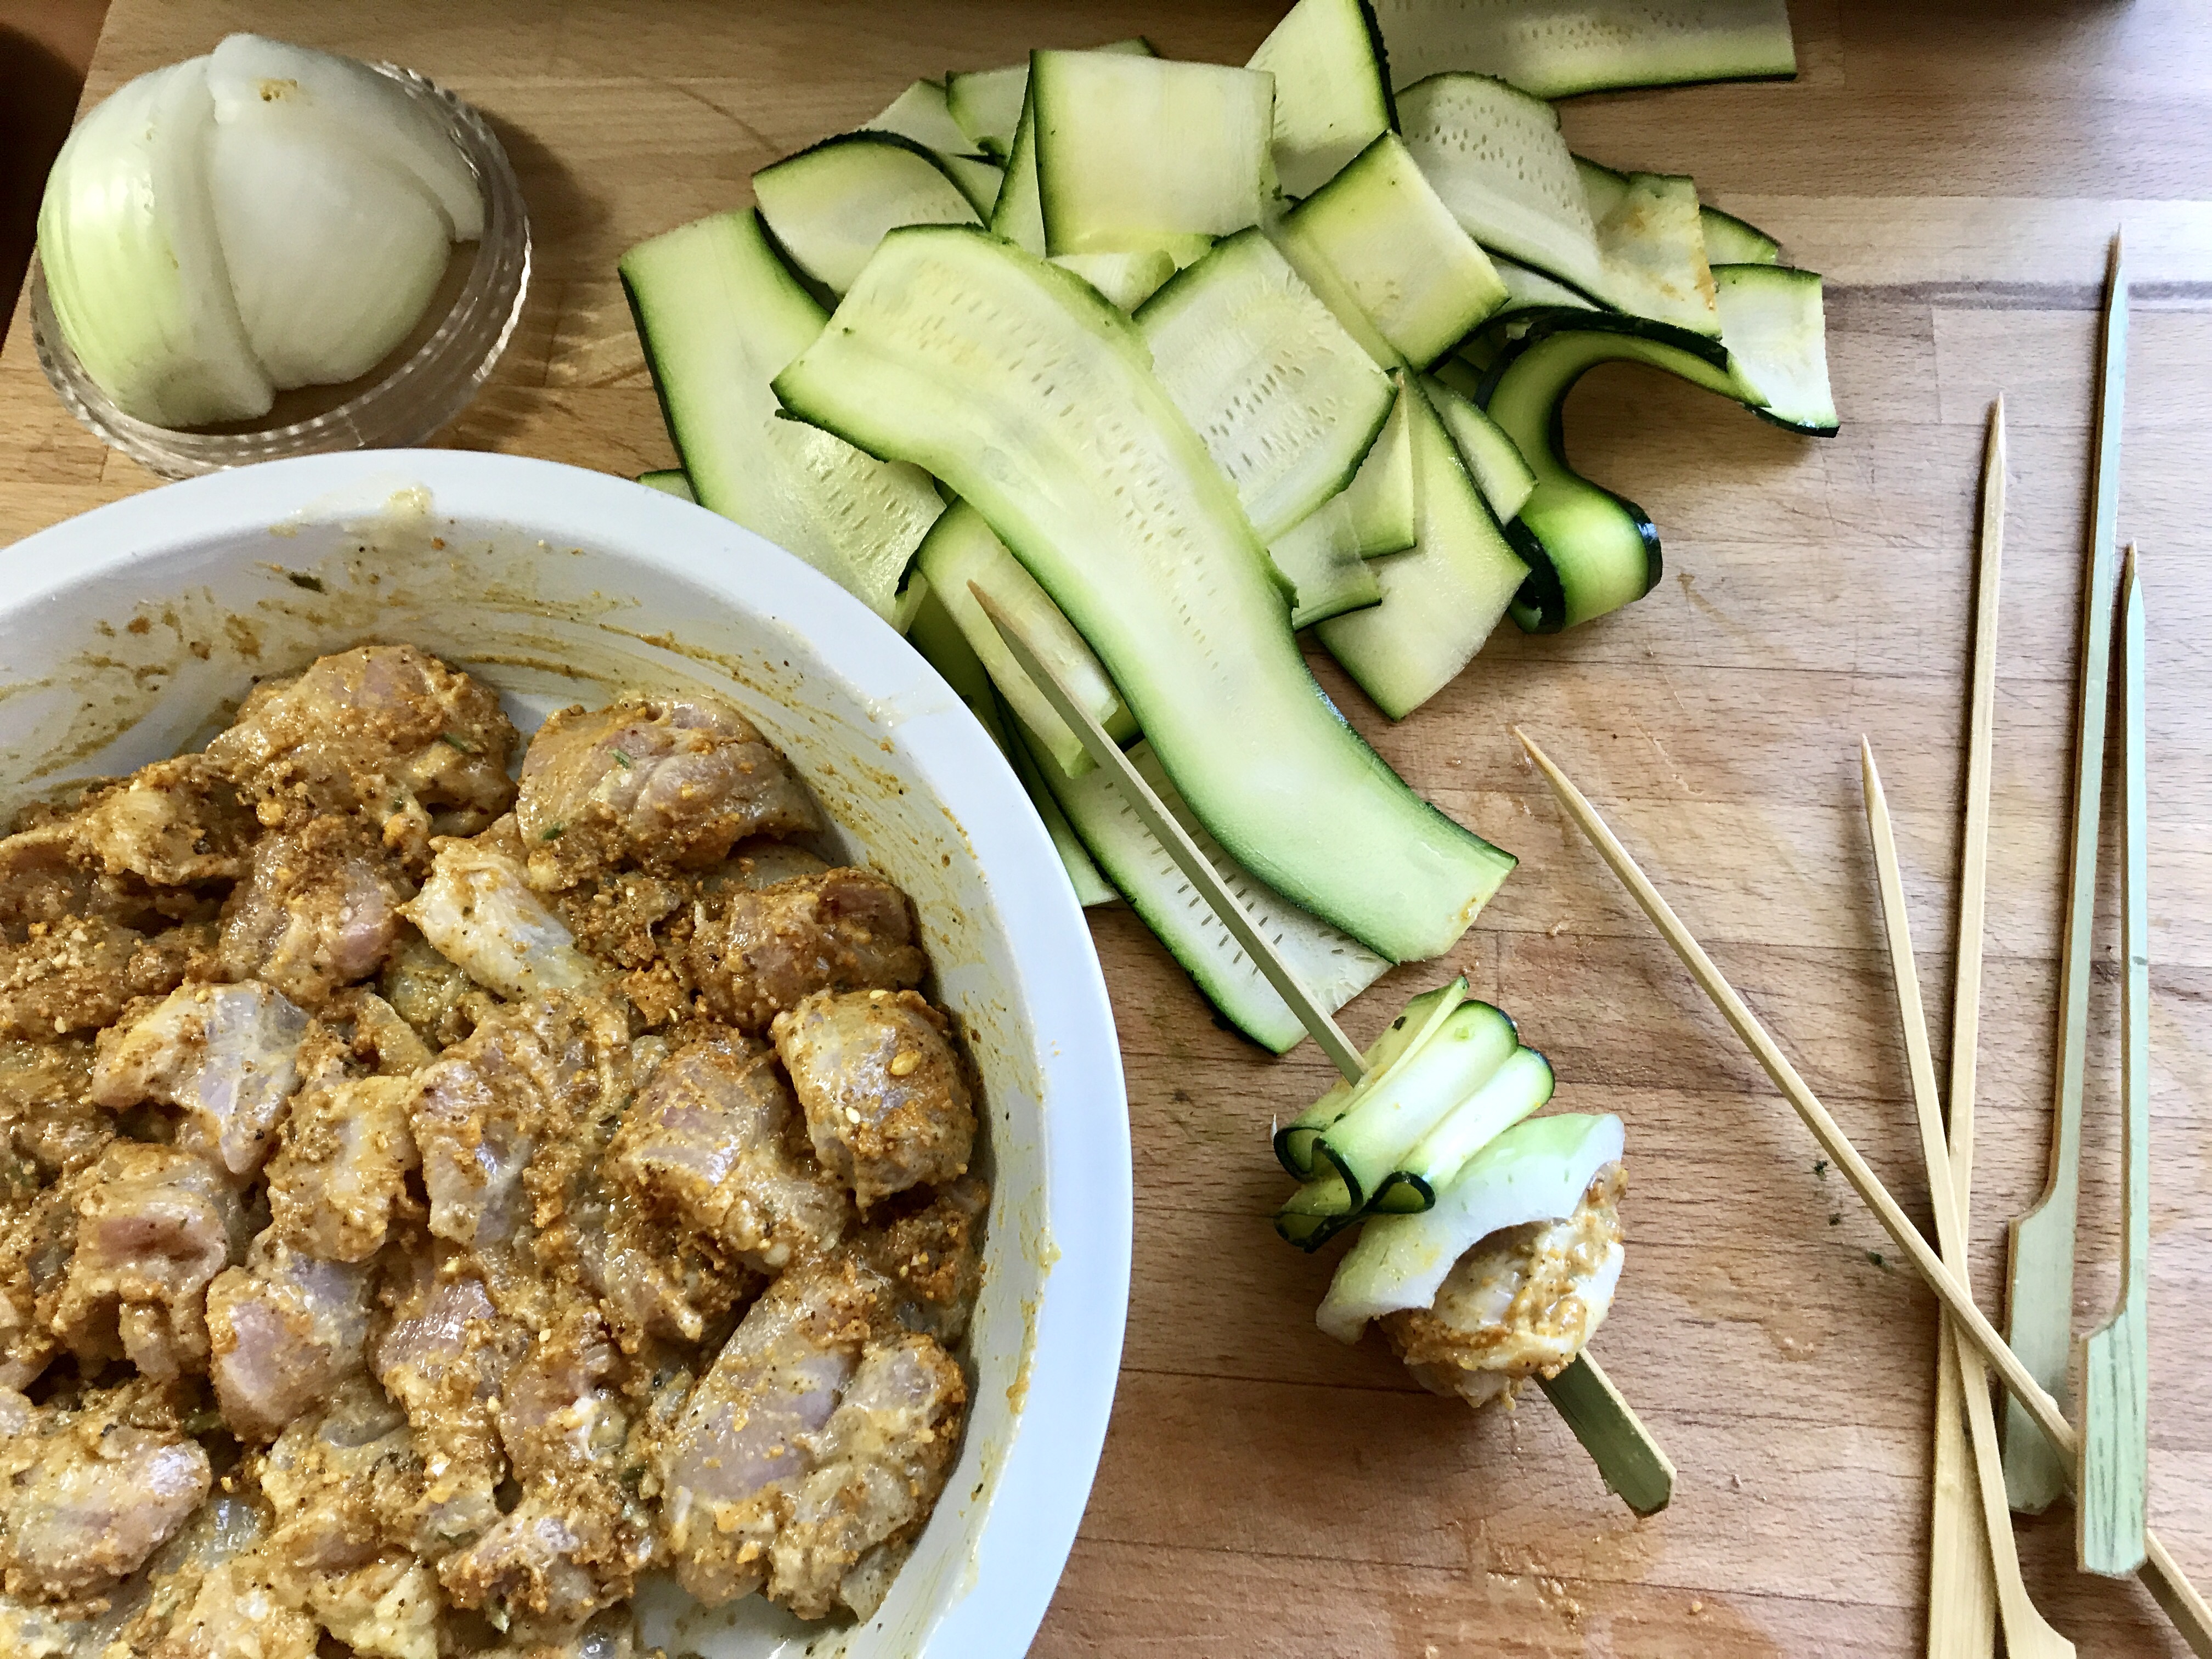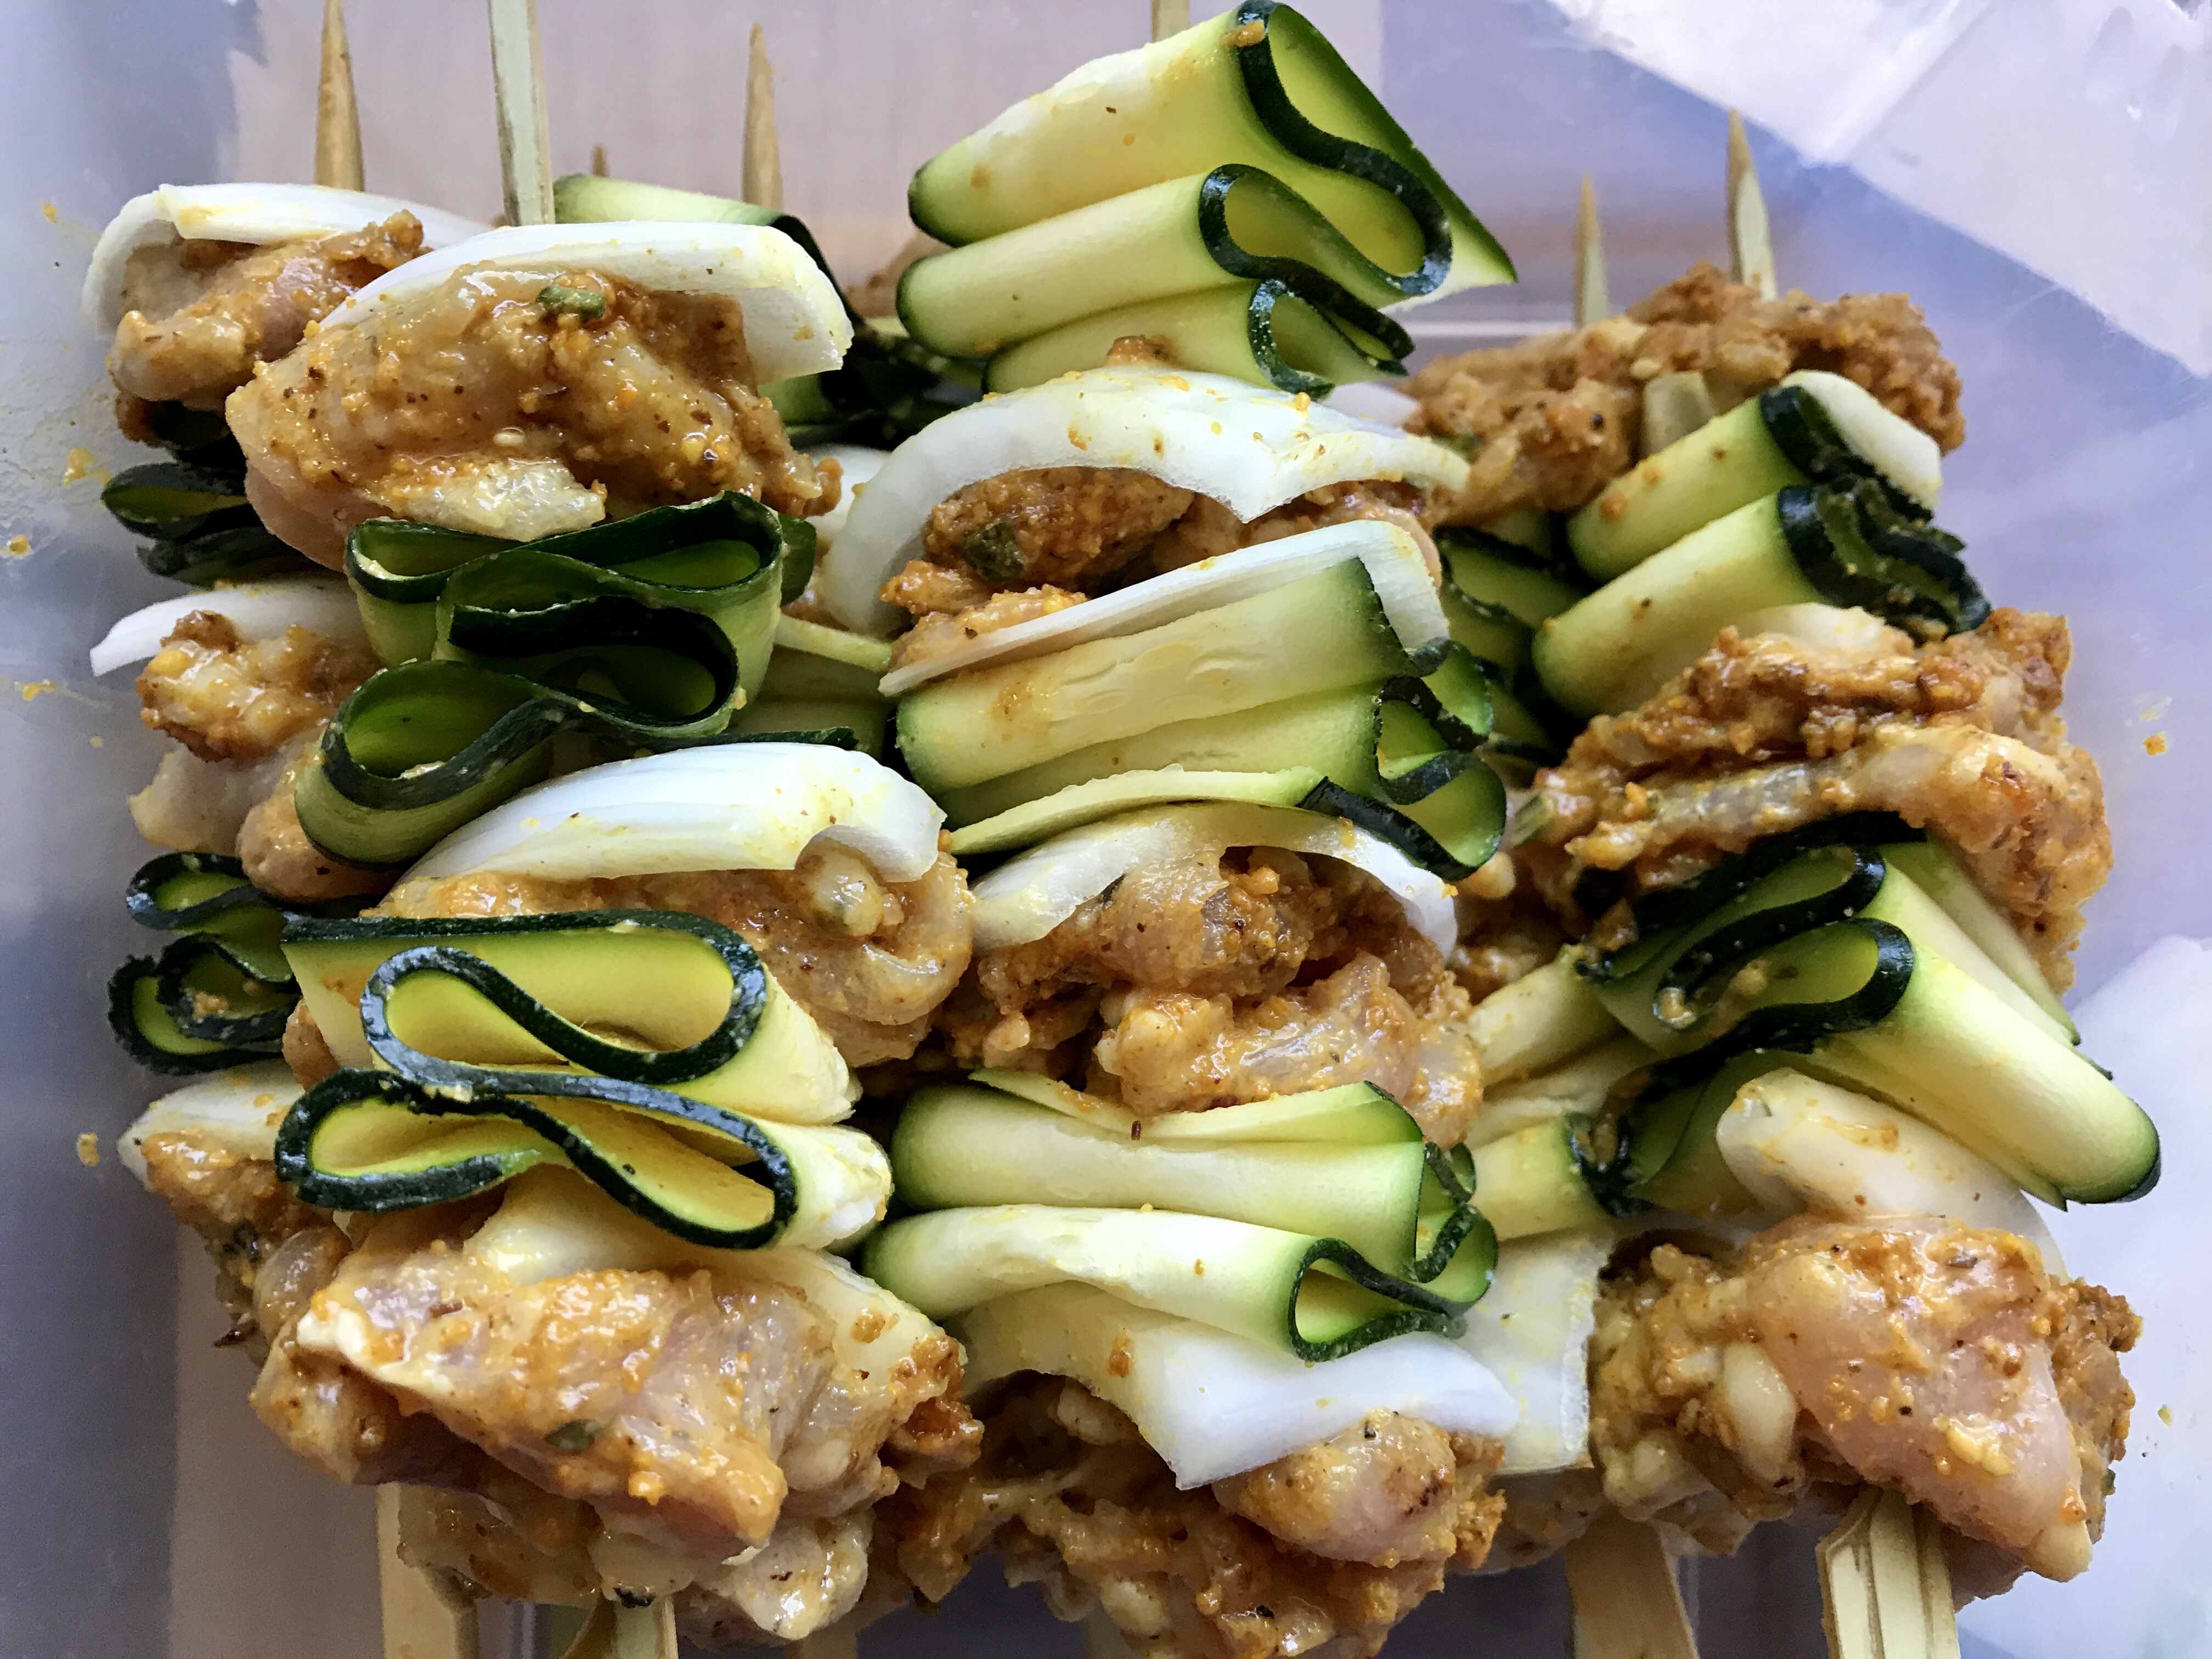
Hawaiian Pork Bowl

All the fresh vegetables in the garden inspired me to create this Hawaiian Pork bowl with a combination of raw and grilled vegetables.  The recipe originated from a Food and Wine magazine but I couldn’t resist tweaking it a bit, and definitely adding more vegetables.

Pork Bowl 4

  • 1 cup boiling water
  • 1/4 cup sugar
  • 2 English breakfast tea bags
  • One 1-pound pork tenderloin, butterflied and flattened
  • 4 slices cooked bacon
  • Three 1/2-inch-thick 
slices of fresh pineapple—peeled, quartered and cored
  • 1 red onion, cut through the core into 1/4-inch wedges
  • 1 red pepper, quartered
  • 1 small zucchini, quartered lengthwise
  • 1/3 cup extra-virgin olive oil, plus more for brushing
  • Kosher salt
  • Pepper
  • 1/4 cup fresh lime juice
  • 1 garlic clove, minced
  • 1/2 a jalapeno, seeds removed, minced
  • 2 tablespoons soya sauce
  • 1 tablespoon sesame oil
  • 1 teaspoon raw sugar
  • 2 tablespoons minced cilantro, plus sprigs for serving

(I can’t say this enough, TASTE your jalapeno for spiciness, and add as much as you enjoy.)


  • Steamed rice, crisp bacon, diced avocado 
and thinly sliced 
jalapeño, for serving

In a large bowl, combine the boiling water, sugar and tea bags and let stand for 5 minutes. Discard the tea bags and stir the tea to dissolve the sugar. Let cool completely, then add the pork and refrigerate for 1 hour.
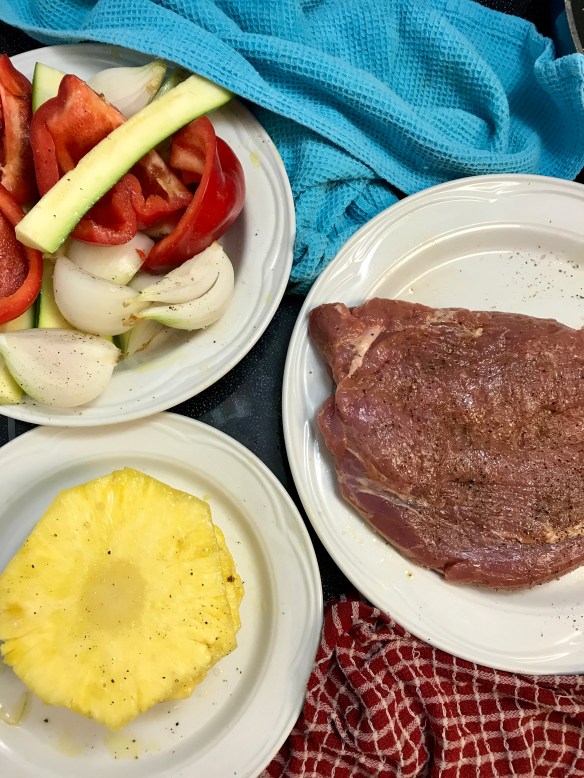
Pork bowl

Light a grill or preheat a grill pan. Drain the pork and pat 
dry with paper towels. Brush the pork, pineapple, zucchini and red onion with olive oil and season with salt and pepper. Grill 
the pork over high heat, turning once, until lightly charred and an instant-read thermometer inserted in the pork registers 135°, about 7 minutes. Transfer to a carving board and let 
rest for 5 minutes, then slice the pork against the grain. Meanwhile, grill the pineapple and vegetables, turning until charred, about 4 -8 minutes.
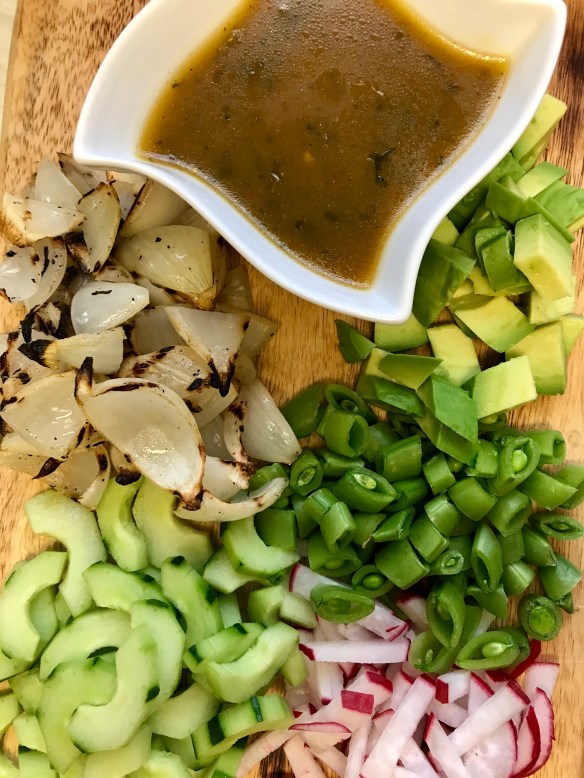
Pork bowl 2

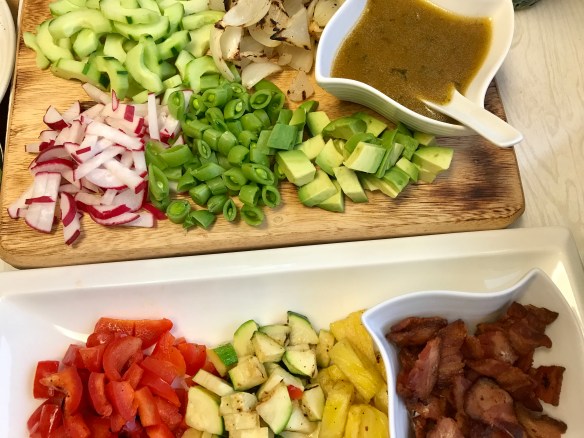
In a small bowl, whisk the lime juice with the minced cilantro, sugar, garlic, soya sauce, minced jalapeno, sesame oil and the 1/3 cup of olive oil. Season the dressing with salt and pepper.

Serve the pork, and vegetables over steamed 
rice with crisp bacon, diced avocado, thinly sliced jalapeño 
.Drizzle with dressing and enjoy!
Pork Bowl 3

Grilled Shrimp and Cauliflower with Romesco Dipping Sauce

Cauliflower & Shrimp with Romescu
The first thing you need to know is that this sauce is A M A Z I N G.  Put it on your sandwich, toss hot pasta with it, fresh veggie dip or meat skewer dip …. it wins every time.  Today’s appetizer included these grilled cauliflower florets, lightly marinated shrimp and green onions.

Ingredients for Romesco

1 1/2 CUPS SERVINGS

  • 1 large roasted red bell pepper from a jar
  • 1 garlic clove, smashed
  • 1/2 cup slivered almonds, toasted
  • 1/4 cup tomato purée
  • 2 tablespoons chopped flat-leaf parsley
  • 2 tablespoons Sherry vinegar
  • 1 teaspoon smoked paprika
  • 1/2 teaspoon cayenne pepper
  • 1/2 cup extra-virgin olive oil
  • Fine sea salt and freshly ground black pepper

Preparation

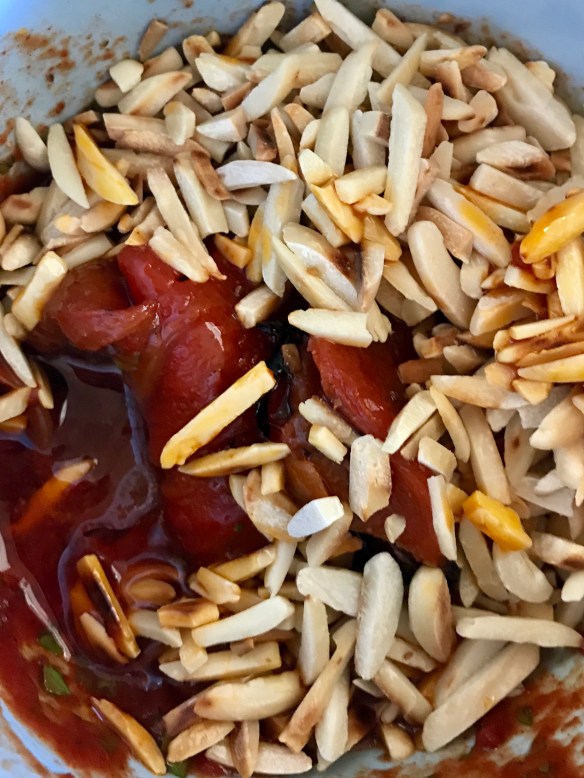
Pulse first 8 ingredients in a food processor until very finely chopped. With motor running, slowly add oil; process until smooth. Season with salt and pepper. DO AHEAD: Romesco can be made 1 week ahead. Cover and chill.

romescu

To use as a dipping sauce, heat through until easy to stir and warm.


Shrimp and Vegetables

  • 1 head of cauliflower – cut into florets
  • 1/4 tsp salt
  • 1 lb jumbo shrimp – tails and shells on
  • 1 tbsp vegetable oil
  • 1 tsp lime juice
  • 1 bunch green onions

Lightly steam cauliflower until just tender crisp – be careful not too overcook it.

Season with salt.

In a large bowl, toss shrimp with vegetable oil and lime juice.  Allow to sit for 20-30 minutes.

Grill cauliflower, shrimp and green onions just until heated through (and shrimp is fully cooked) – try to get some pretty grill marks on there!

Arrange on a serving platter with the Romesco and dip merrily away.


Peach Crumble Muffins

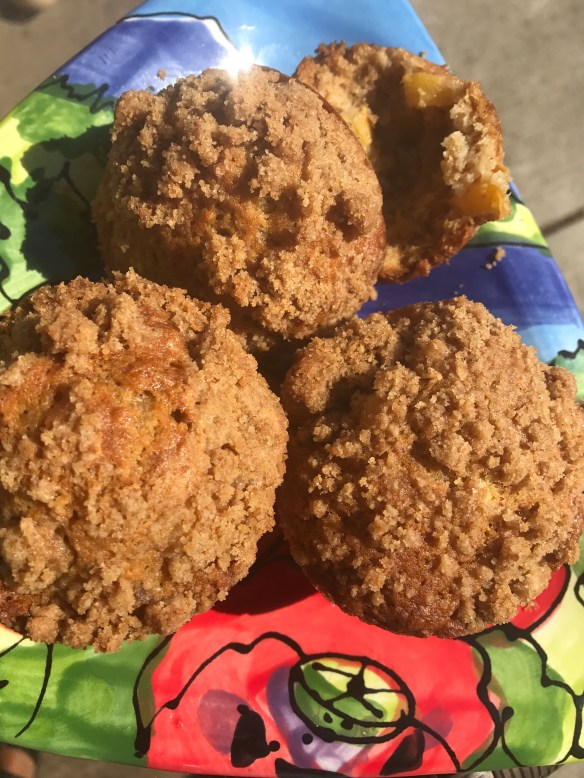
Peach muffins 1

Delicately delicious with peach in every bite, peach season is made for these muffins.

Ingredients:

CRUMB TOPPING

  • 1/3 cup (67g) packed light or dark brown sugar
  • 1 Tablespoon (15g) granulated sugar
  • 1 teaspoon ground cinnamon
  • 1/4 cup (60g) unsalted butter, melted
  • 2/3 cup (84g) all-purpose flour

MUFFINS

  • 1/2 cup (115g) unsalted butter, softened to room temperature
  • 1/2 cup (100g) packed light or dark brown sugar
  • 1/4 cup (50g) granulated sugar
  • 2 large eggs, room temperature preferred
  • 1/2 cup (120g) yogurt
  • 2 teaspoons vanilla extract
  • 1 and 3/4 cups (220g) all-purpose flour
  • 1 teaspoon baking soda
  • 1 teaspoon baking powder
  • 1/2 teaspoon ground cinnamon
  • 1/8 teaspoon allspice
  • 1/2 teaspoon salt
  • 3 Tablespoons (45ml) milk (any kind)
  • 1 and 1/2 cups chopped peaches

Directions:

  1. First, make the crumb topping: In a medium bowl, combine both sugars, the cinnamon, and melted butter. Using a rubber spatula, stir in the flour. The crumb topping will be thick and crumbly. Set aside.
  2. Preheat oven to 425F degrees. Spray a 12-count muffin pan with nonstick spray. Set aside.
  3. Make the muffins: In a medium bowl using a handheld or stand mixer fitted with a paddle attachment, beat the butter on high speed until smooth and creamy, about 1 minute. Add the brown sugar and granulated sugar and beat on high until creamed, about 2 full minutes. Scrape down the sides and bottom of the bowl as needed. Add the eggs, yogurt, and vanilla extract. Beat on medium speed for 1 minute, then turn up to high speed until the mixture is combined and uniform in texture. Scrape down the sides and bottom of the bowl as needed.
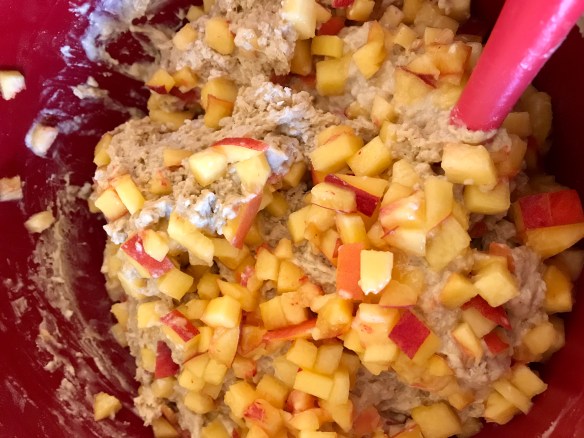
  4. In a large bowl, toss together the flour, baking soda, baking powder, cinnamon, all-spice, and salt. Pour the wet ingredients into the dry ingredients and slowly mix with a whisk. Add the milk, gently whisking until combined and little lumps remain. Fold in the peaches with a wooden spoon or rubber spatula.
Peach muffins 2

Gently wash the peaches before using, softly removing the fuzz.  No need to remove the peel if you do this, keep all that goodness and add a bit of colour.

Spoon the muffin batter evenly between all 12 muffin tins. There may be enough to make a 13th muffin in a 2nd batch, depending if there were a few extra peach chunks thrown in. Fill the muffin tins until they are full all the way up to the top. Press a handful of the crumb topping into the top of each; crumble it with your hands to make some big chunks.

Peach muffins 3

It’s peach season, and the workers are hard at it, so we made a double batch.  I love these deeper silicone muffin trays, keeps a generous amount of crumble where it belongs – on top!

Bake for 5 minutes at 425F degrees, then keeping the muffins in the oven, lower the oven temperature to 350F degrees and bake for 15-19 more minutes or until a toothpick inserted in the center comes out clean.

Tacos al Pastor (at home!)

Tacos Al Pastor have always been one of our favourite things to eat in Mexico. I was determined to recreate that unforgettable flavor at home, and after lots of trial and error, I finally got it right. Buying a trompo pan was the game changer—it gives the meat that authentic shape and caramelization, and now this has become one of our go-to homemade specialties.

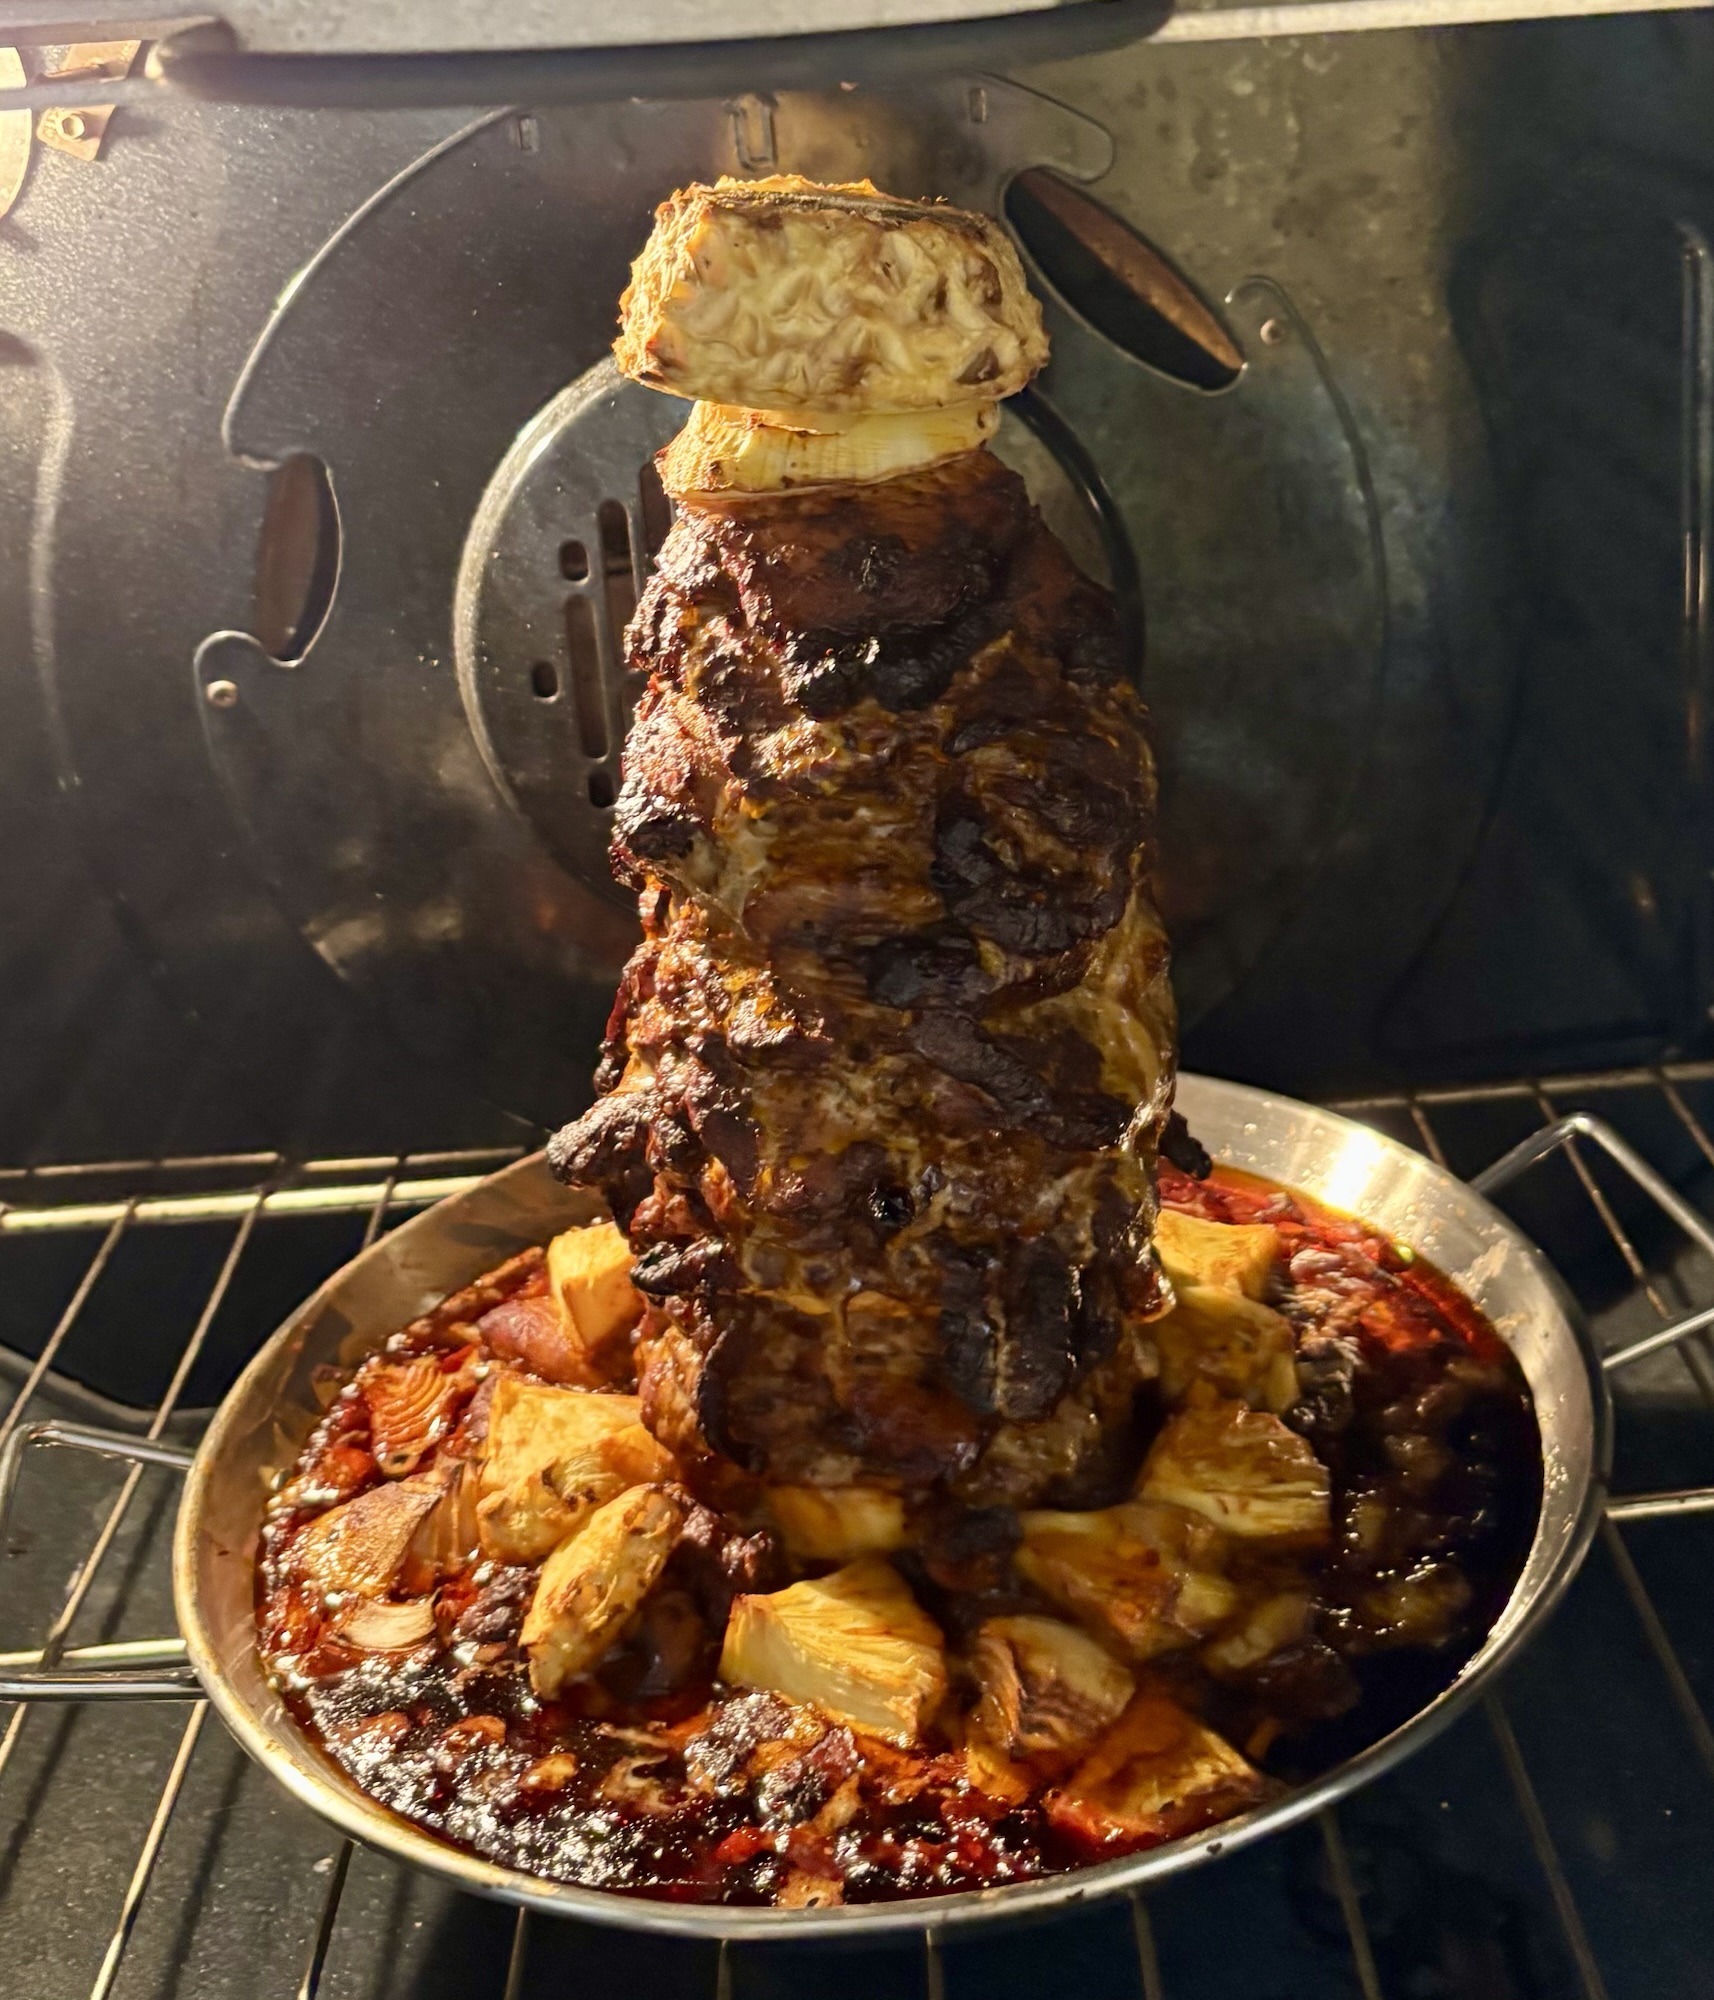
Ready for the oven, and already smells fantastic

Ingredients


1 3 1/2 ounce package achiote paste
3 canned chipotle chile en adobo, plus 4 tablespoons of the canning sauce
1/4 cup vegetable or olive oil, plus a little more for the onion and pineapple
1 1/2 pounds thin-sliced pork shoulder (1/4-inch-thick slices are ideal—the kind Mexican butchers sell for making tacos al pastor)
1 medium white onion, sliced 1/4 inch thick
1/4 of a medium pineapple, sliced 1/4-inch-thick rounds

For serving:
warm corn tortillas
tomatillo salsa
minced white onion
lime wedges

    tacos al pastor 1.JPG
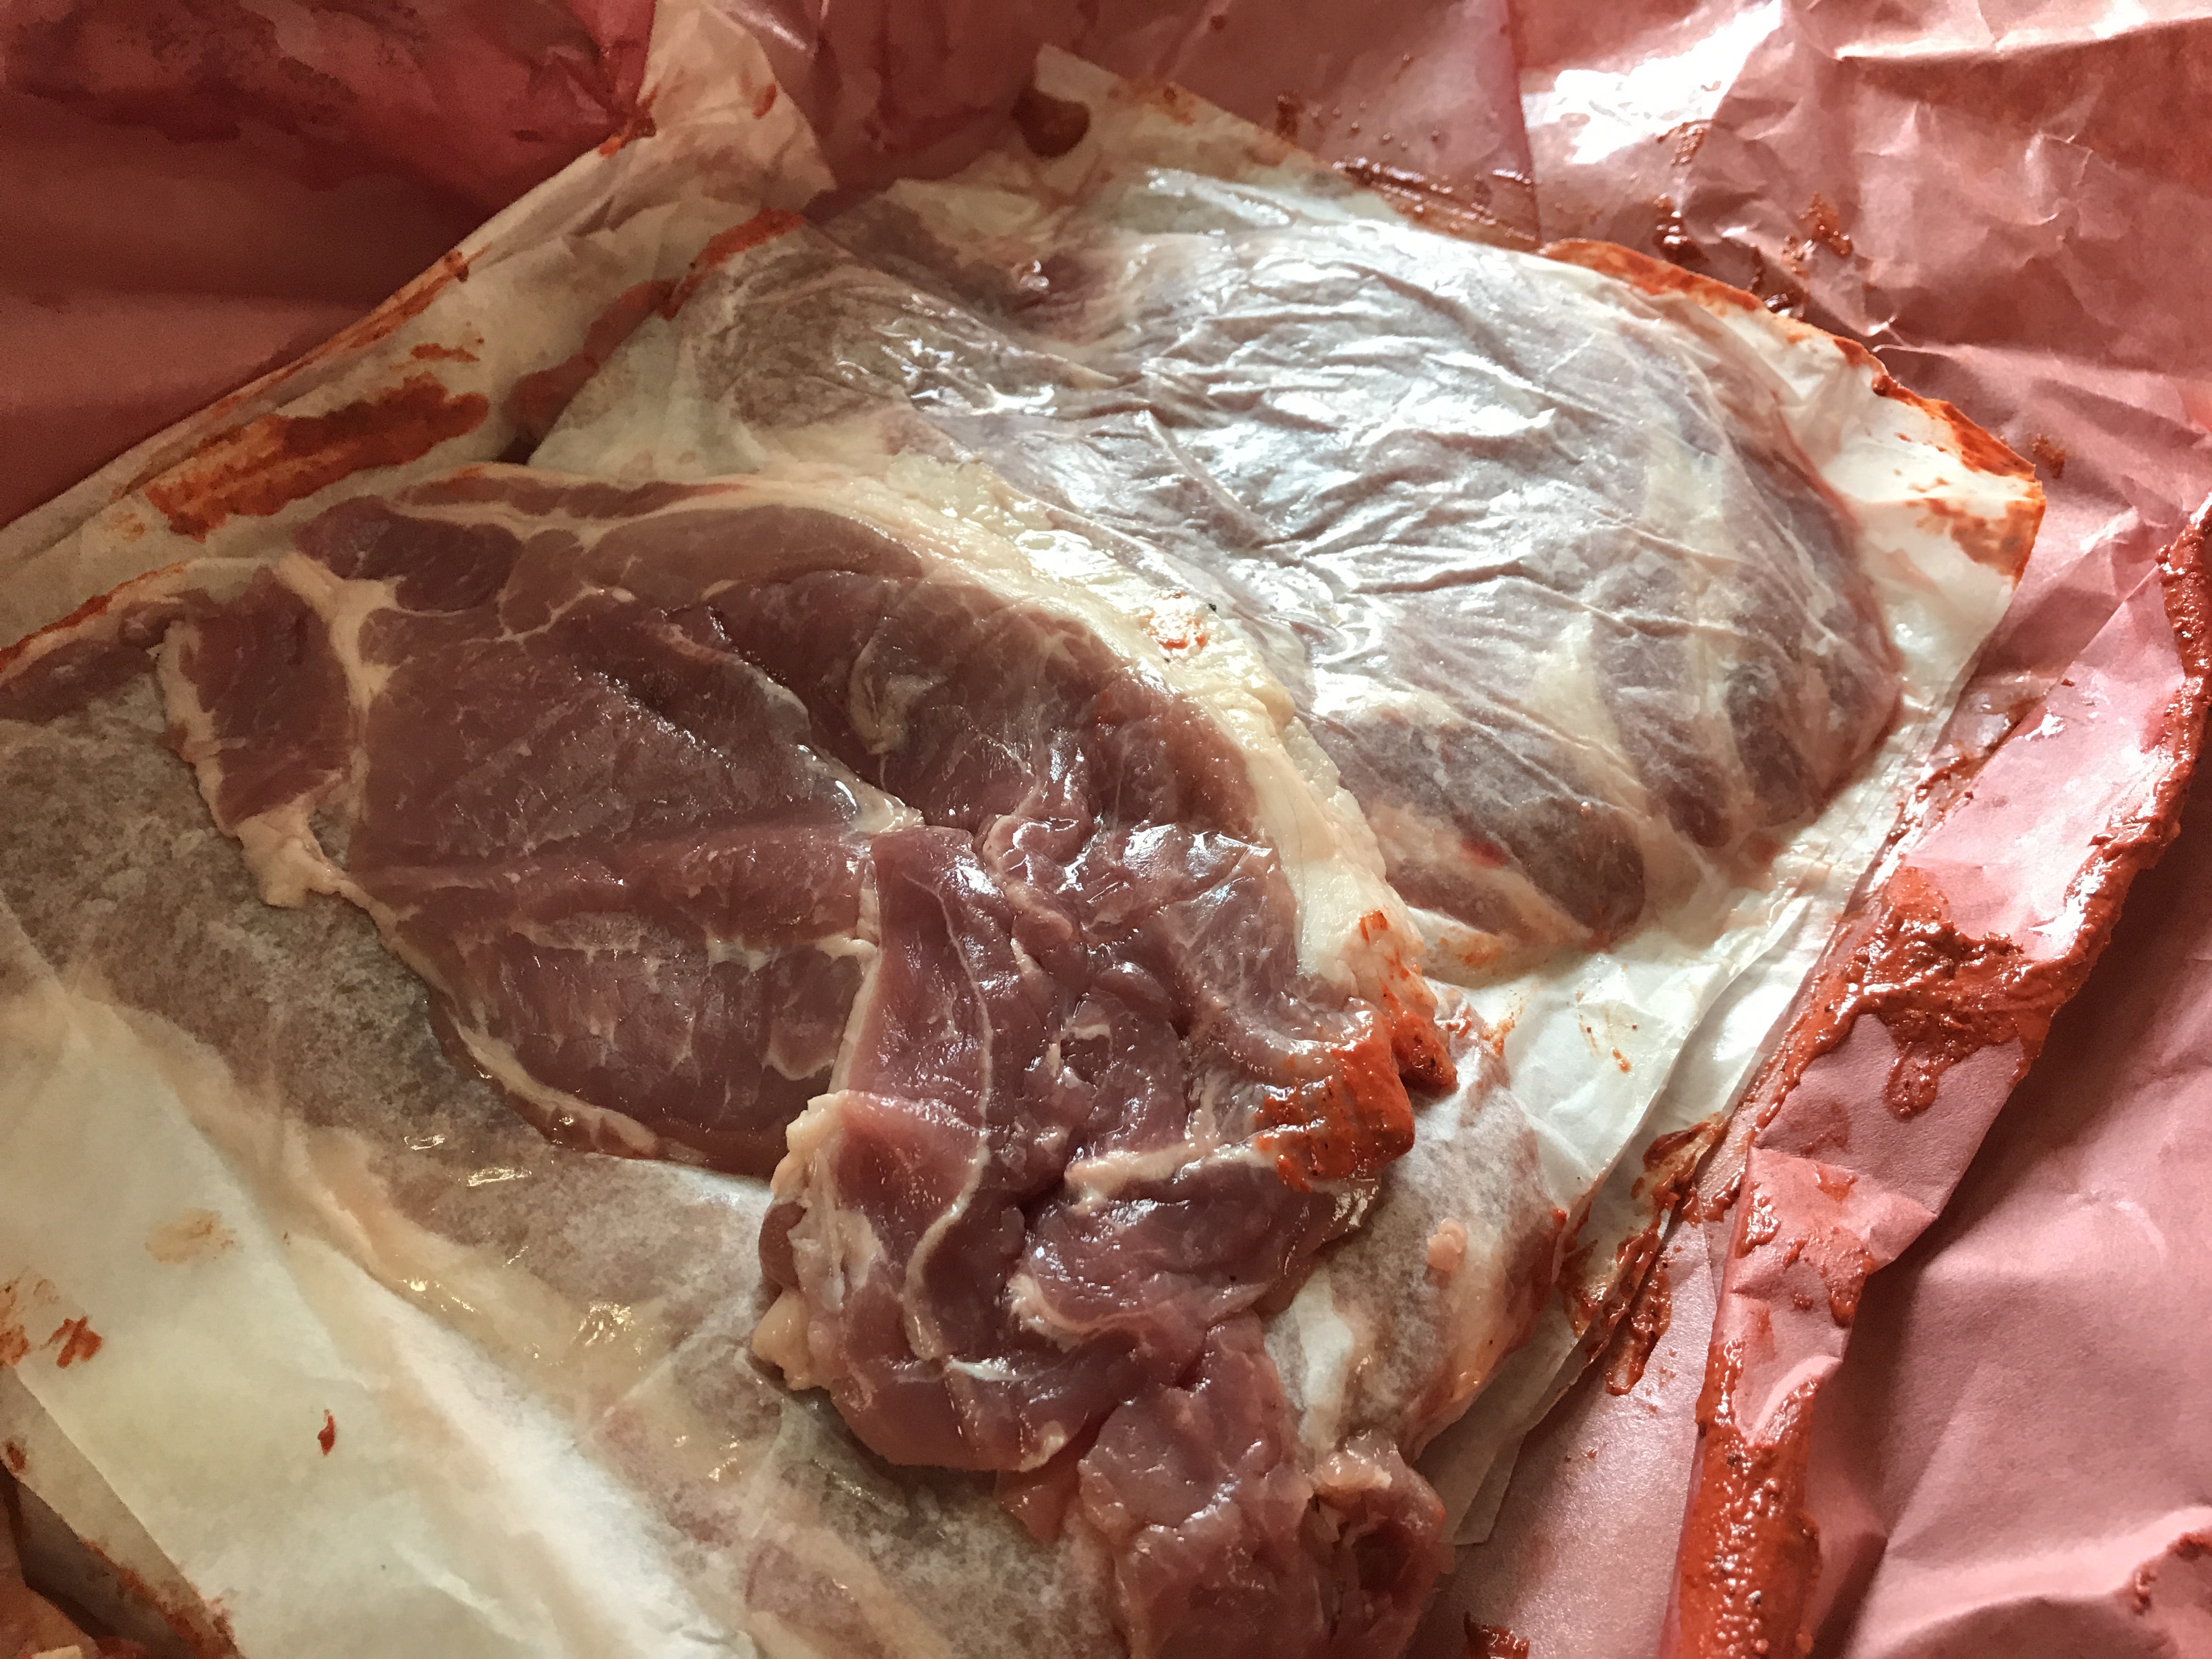
    If you have a great butcher, have him slice the meat super fine – you’ll be thankful!

    INSTRUCTIONS

    In a blender, combine the achiote paste, chiles, canning sauce, oil and 3/4 cup water. Blend until smooth. Use 1/3 of the marinade to smear over both sides of each piece of meat (refrigerate the rest of the marinade to use on other meat or fish). Cover and refrigerate for at least an hour.

    tacos al pastor 3
    Marinate for at least an hour, but I did this overnight.  The flavour gets right through the meat.
    I bought a pan from Amazon, and it worked so well, the edges got crispy and the interior stayed tender and moist.

    I did this in my oven low and slow – 325 for about 3 hours. I”ve found that is the best way to ensure it is cooked through – internal temperature should be 165,

    If you have a charcoal type grill:

    Light a charcoal fire and let the coals burn until covered with gray ash but still very hot; bank the coals to one side and set the grill grate in place.

    Or, heat one side of a gas grill to high. Brush both sides of the onions slices with oil and sprinkle with salt. Lay in a single layer on the hot side of the grill. When richly browned, usually just about a minute, flip and brown the other side; move to the cool side of the grill to finish softening to grilled-onion sweetness. Oil and grill the pineapple in the same way. Finally, in batches, grill the meat: it’ll take about a minute per side as well. As the meat is done, transfer it to a cutting board and chop it up (between 1/4- and 1/2-inch pieces). Scoop into a skillet and set over the grill to keep the meat warm. Chop the onion and pineapple into small pieces as well, add them to the skillet and toss everything together. Taste and season with salt, usually about 1/2 teaspoon. Serve with the tortillas and salsa for your guests to make soft tacos.

    Pickled Mexican Vegetables

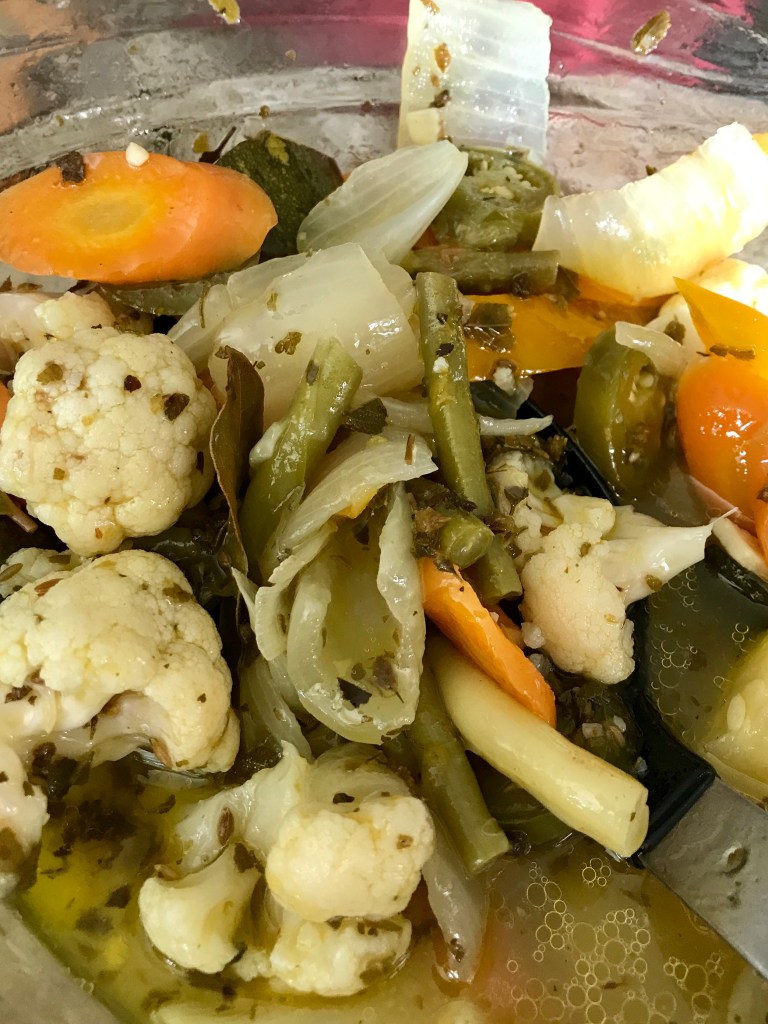
    Pickled Veg

    I don’t know if any dinner featuring the tastes of Mexico would be complete without this dish … in Mexico it is often found sitting on tables just waiting for you to nibble.

    This keeps for weeks in your fridge and is a great accompaniment to sandwiches or burgers and always perfect for tacos.

    Like many pickled recipes, this is just a guide.  Use whatever vegetables are fresh and ready at hand.  Today’s version included garden fresh cauliflower, zucchini, green & yellow beans, carrots and sweet Walla Walla onions.  Prepare vegetables in bite size portions, i.e., cauliflower florets, wedges of zucchini, carrots sliced on diagonal … you get the idea.  I like to prepare everything ahead of time, and have them ready on the cutting board so I can see the colours and shapes together to make sure it is a pretty picture.  (yep, I’m that weirdo)  If you like a bit of spicy kick, slice up a jalapeño or two as well.

    Start by heating up some good olive oil, (a generous portion – more than you would normally use to sauce) sauté onions until soft.  Add garlic, carrot, and any veg you think might take a while to soften.  You are only looking for crisp tender as your finished product, not soft and overcooked veg.

    Add:

    2 1/2 cups white vinegar

    1 tbsp salt

    1 tsp cumin seeds

    1 tsp peppercorns

    1 tbsp dried mexican oregano

    4 bay leaves

    Simmer just until heated through and remove from heat.  Store in glass jar (or non reactive container) in the fridge for weeks!


    Fruit Tart with Lemon Cookie Crust

    Summer fruit is here, and we have the best of it right out our door.  Fresh cherries, peaches and blueberries all ready at the same time inspired this dessert for Sunday dinner ……  Don’t you just love Sunday Family Dinners??  We sure do.

    Fresh Fruit Tart with Lemon Cookie Crust

    The best of the seasonal cherries, peaches and blueberries retain their fresh bright flavour in this dessert – no cooked fruit here!

    COOKIE CRUST

    • 1/4 cup butter, softened
    • 1/4 cup white sugar
    • teaspoon finely grated lemon peel
    • 1/2 teaspoon baking powder 
    • 1/2 teaspoon vanilla
    • 1/8 teaspoon salt
    • egg, lightly beaten
    • 1 1/4 cup all purpose flour

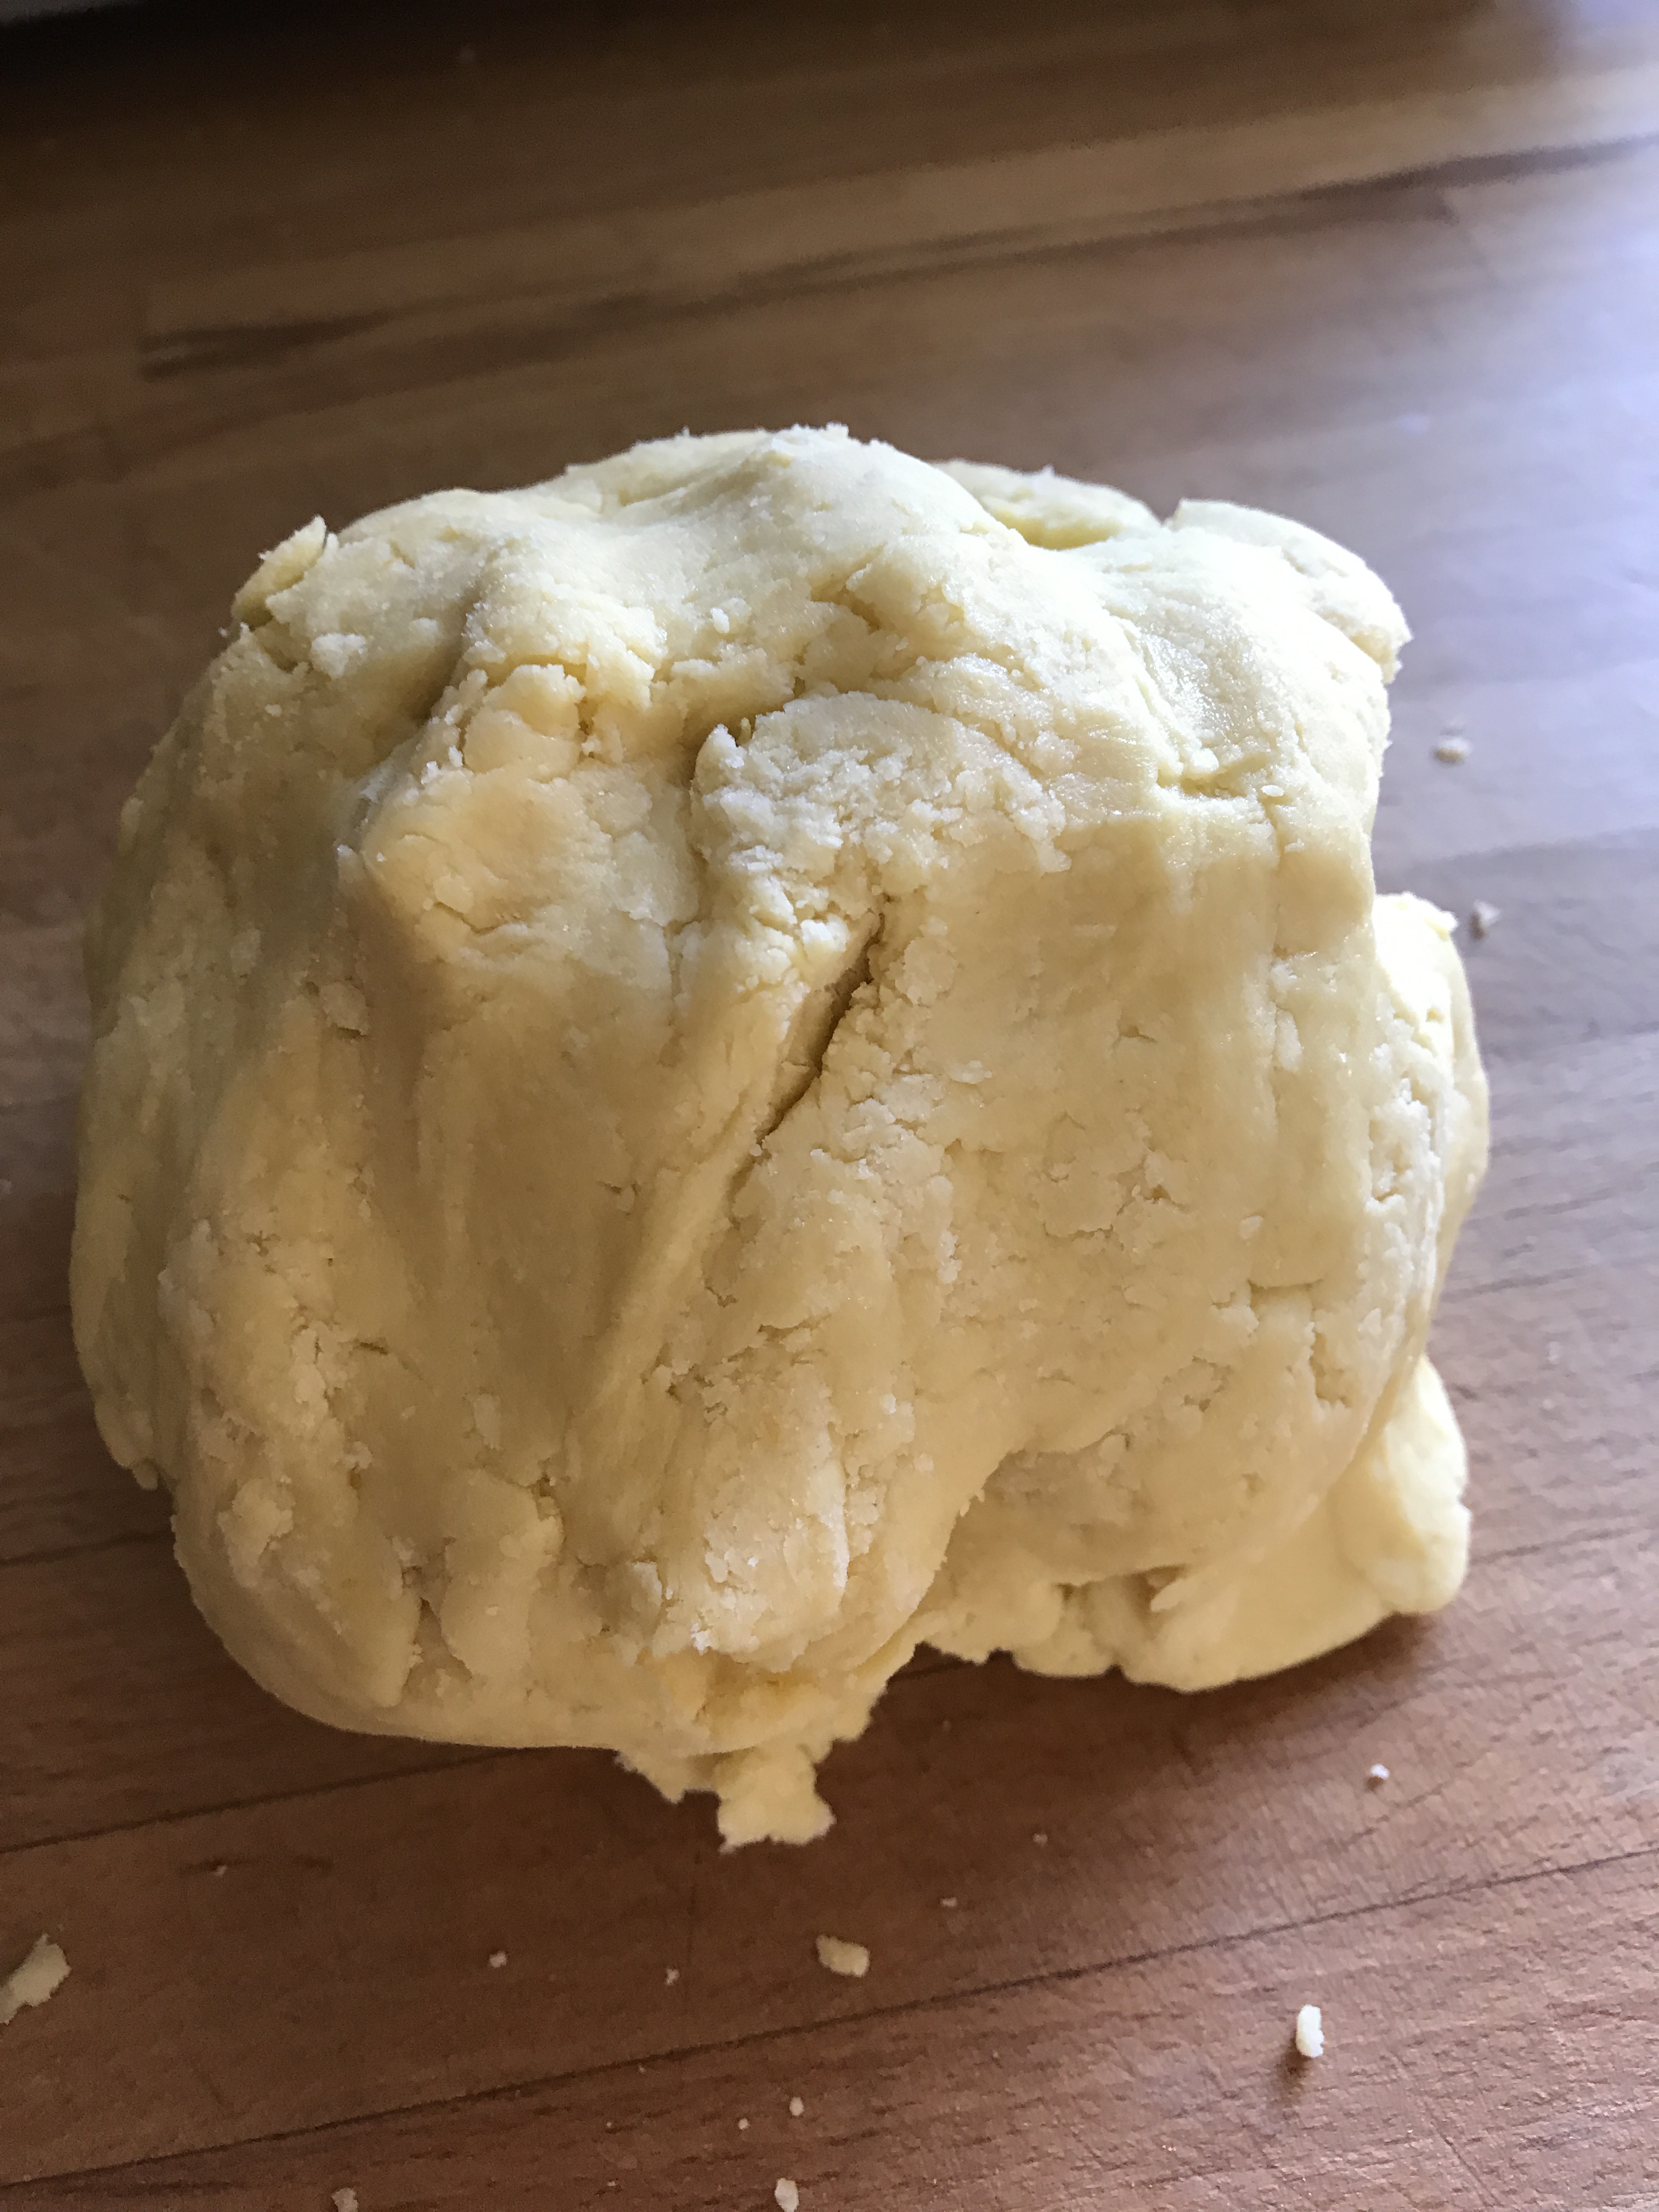
    Preheat oven to 375 degrees F. For crust, in a medium bowl beat butter with an electric mixer on medium speed for 30 seconds. Add granulated sugar, 1 teaspoon lemon peel, the baking powder, vanilla, and salt; beat until combined. Add egg; beat until combined. Beat in as much of the flour as you can with the mixer. Using a wooden spoon, stir in any remaining flour (or knead gently until combined).

    lemon cookie tart

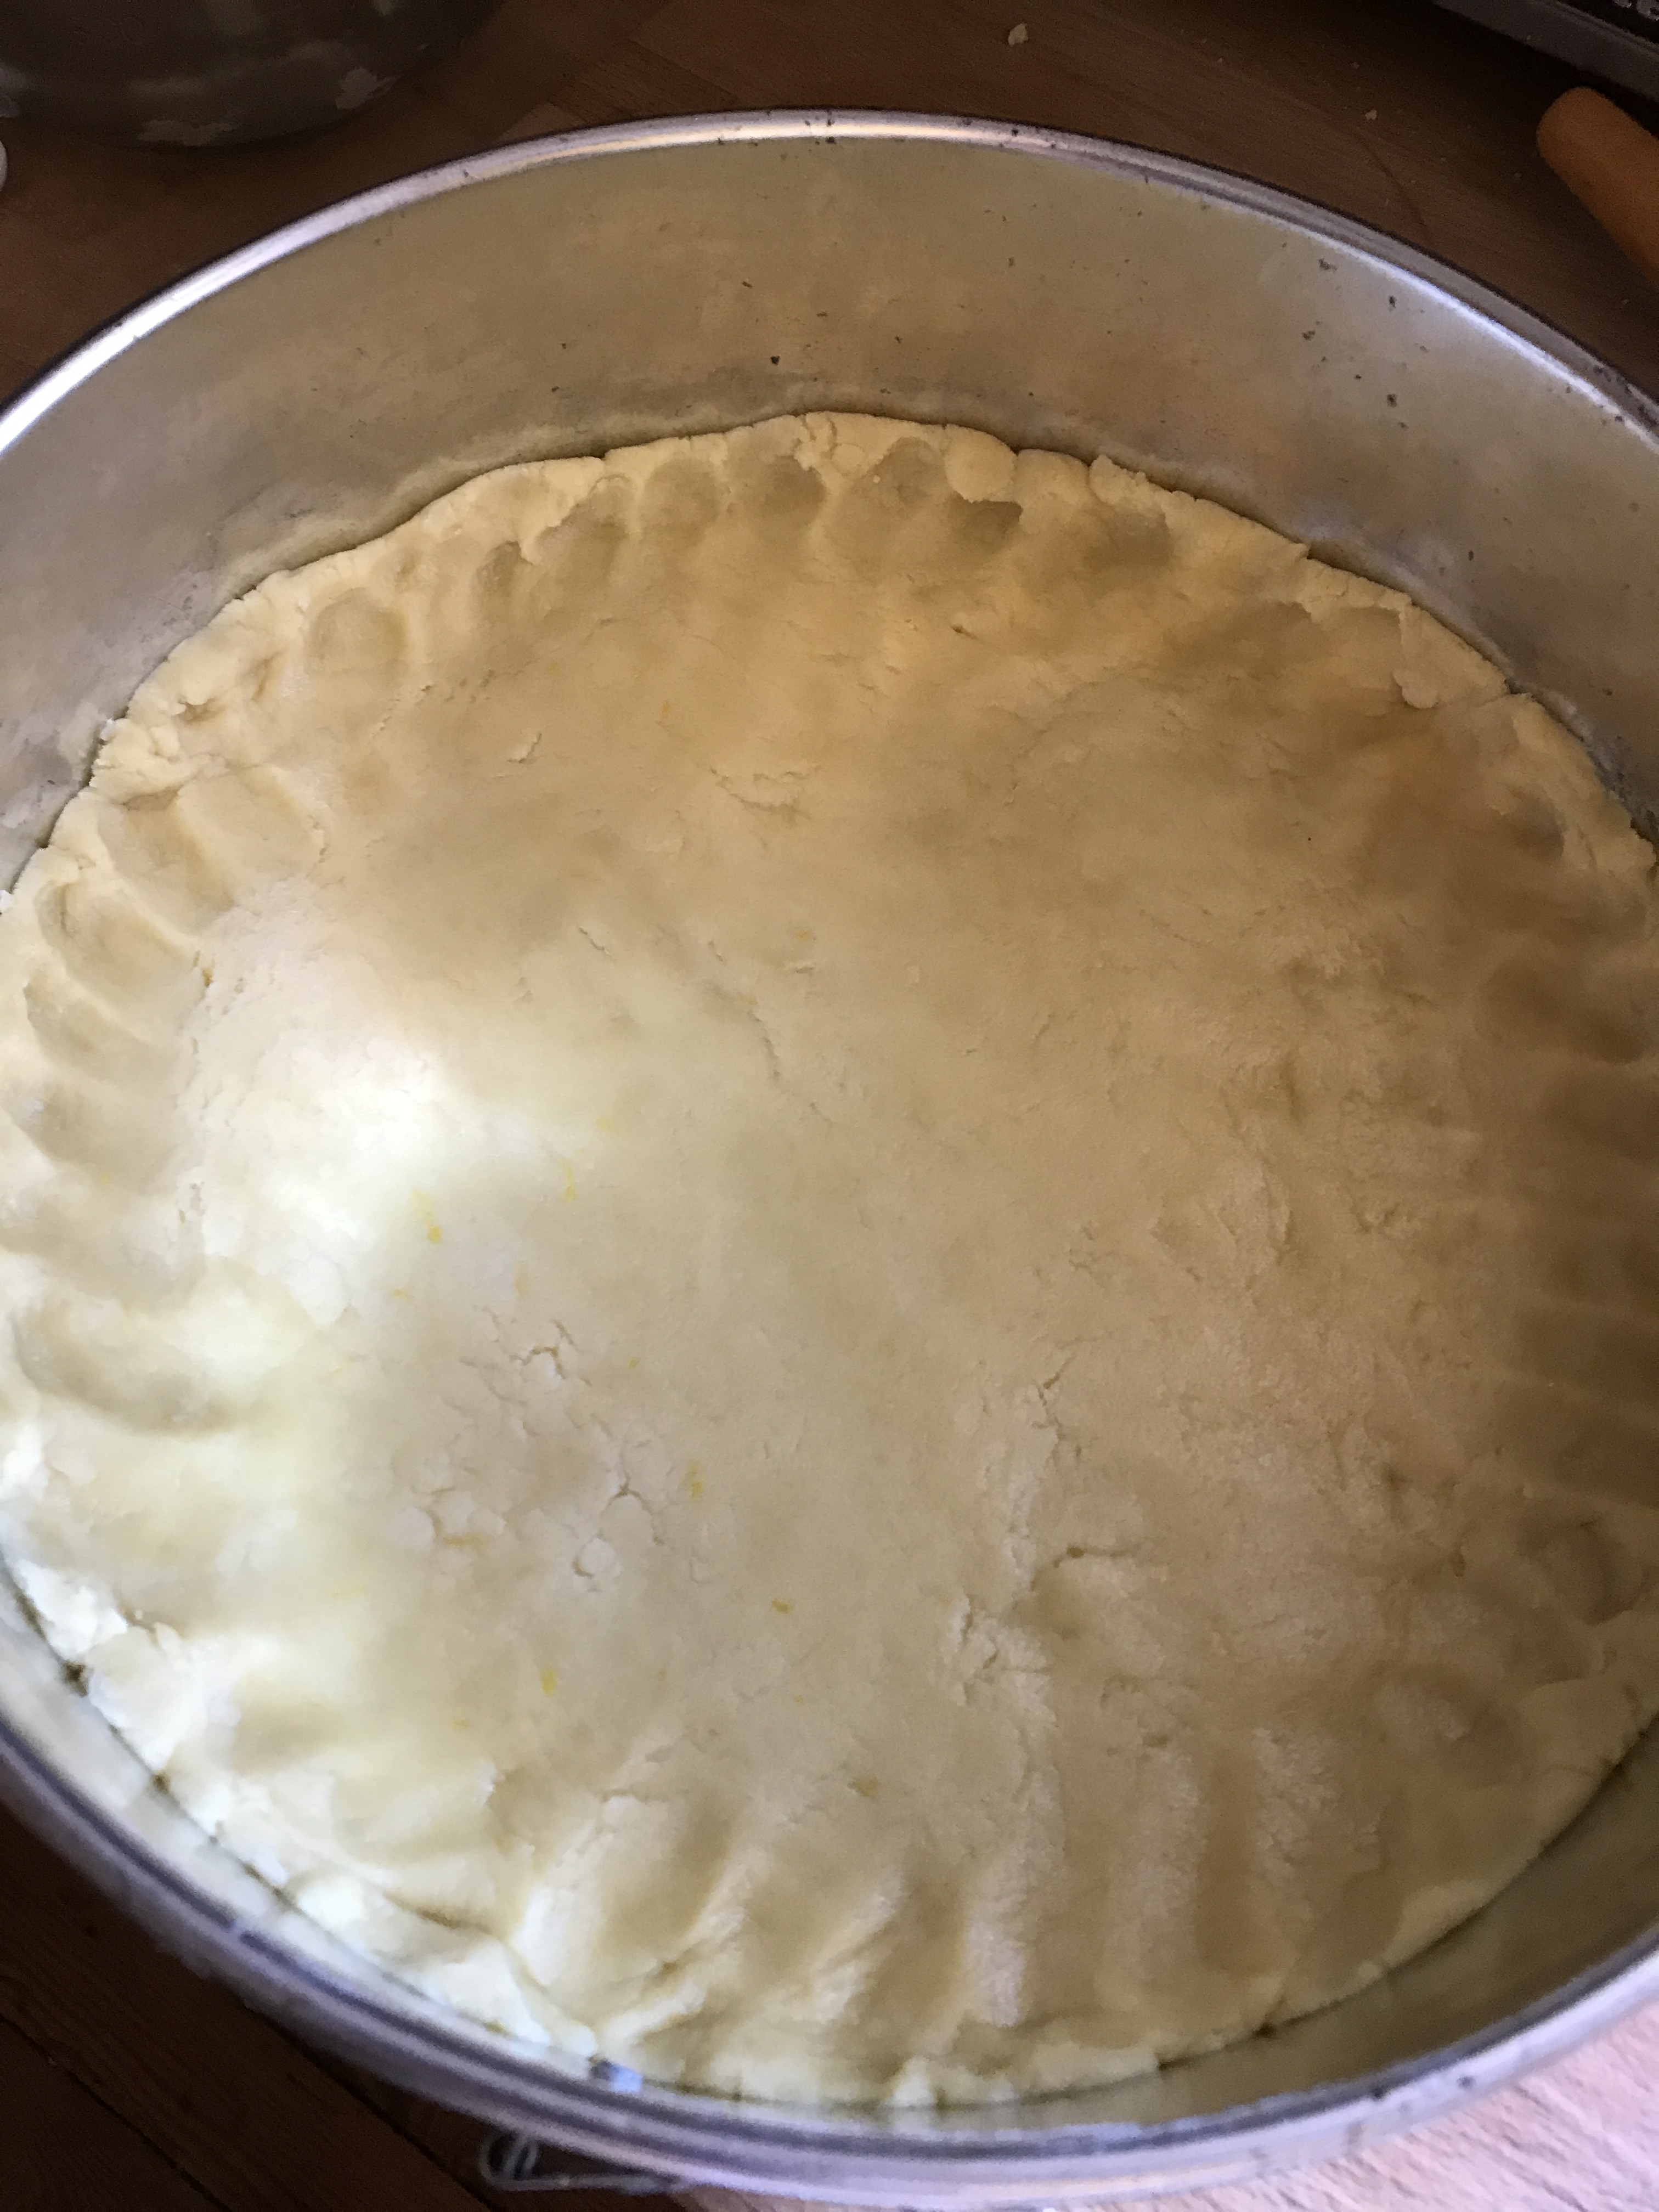
    Press dough onto the bottom and up the sides of a 9-inch round tart pan with removable bottom.

    tart shell

    If you don’t have a tart pan with removable base, use your springform pan.  It worked just fine …. at least until I get myself some tart pans with removable bottoms!

    Line crust with a double thickness of foil. Bake crust for 6 minutes. Remove the foil and bake for 6 to 7 minutes more or until crust is lightly browned. Cool crust on a wire rack.

    CREAMY VANILLA CUSTARD

    • 3 tablespoons cornstarch
    • 1/4 cup white sugar
    • 1/4 teaspoon salt
    • 2 egg yolks
    • 2 cups milk

    Whisk all ingredients together in sauce pan, and stir over medium heat until mixture bubbles and thickens.  Remove from heat and stir in:

    1 tsp vanilla

    Cover surface of the custard with a layer of plastic wrap and allow to cool completely.

    GLAZE

    • 1 1/2 tablespoon cornstarch
    • 1/4 cup white sugar
    • 1/2 cup water
    • 1/2 cup juice (something that works well with whatever fruit you are using)
    • 2 tablespoons lemon juice

    In a small saucepan, stir together cornstarch and sugar.  Add the rest of the ingredients and bring to a boil, stirring often to prevent clumps.  Allow to boil long enough for the liquid to lose the cloudy look of cornstarch.  Set aside to cool slightly.

    ASSEMBLY

    Leave cookie crust in tart pan, and spread the custard in an even layer.  Make sure the custard is cool at this point, you don’t want your fruit to get cooked!  The beauty of this dessert is that it really showcases the mouthwatering flavour of fruit that is in season, and you don’t want to lose that.

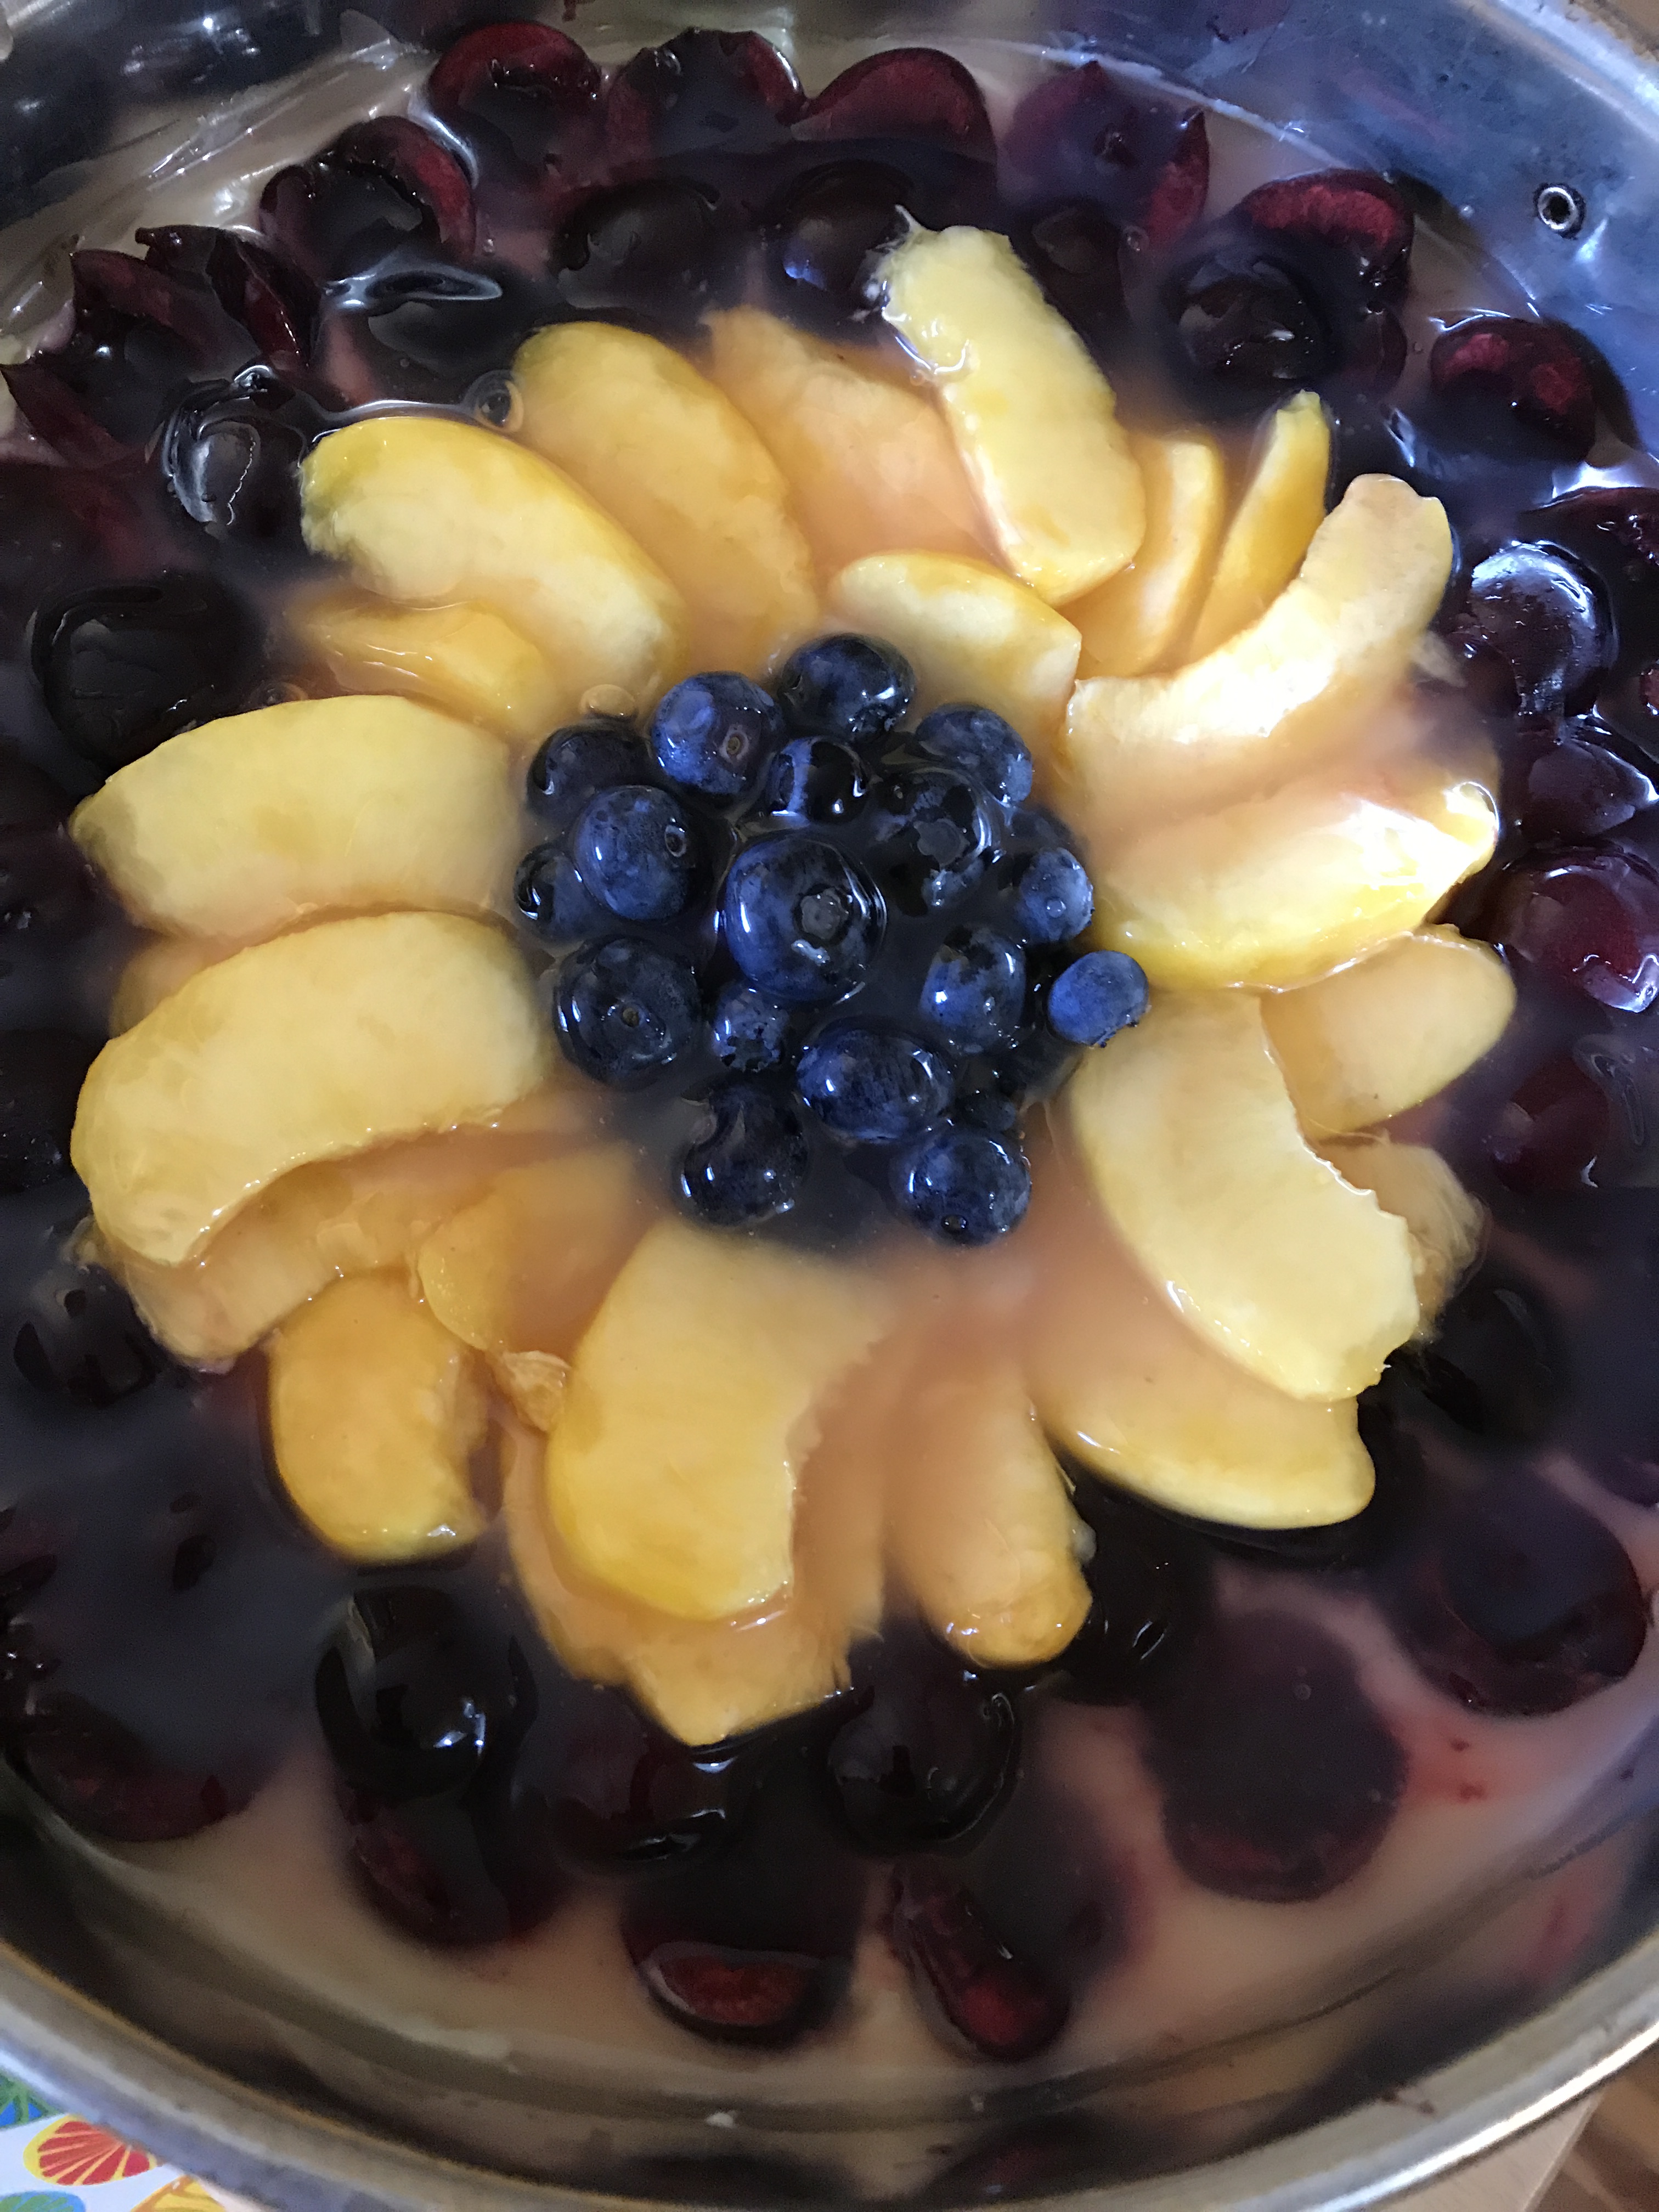
    Arrange fruit over custard layer.

    Brush glaze over fruit, just enough to set the fruit and keep the vibrant colours.

    Cool completely before serving.

    Basil Chive Vinaigrette

    Nothing smells like fresh basil – definitely my favourite herb.  Summer is the only time of year I make this vinaigrette, when the basil is plentiful and salads grace every meal.

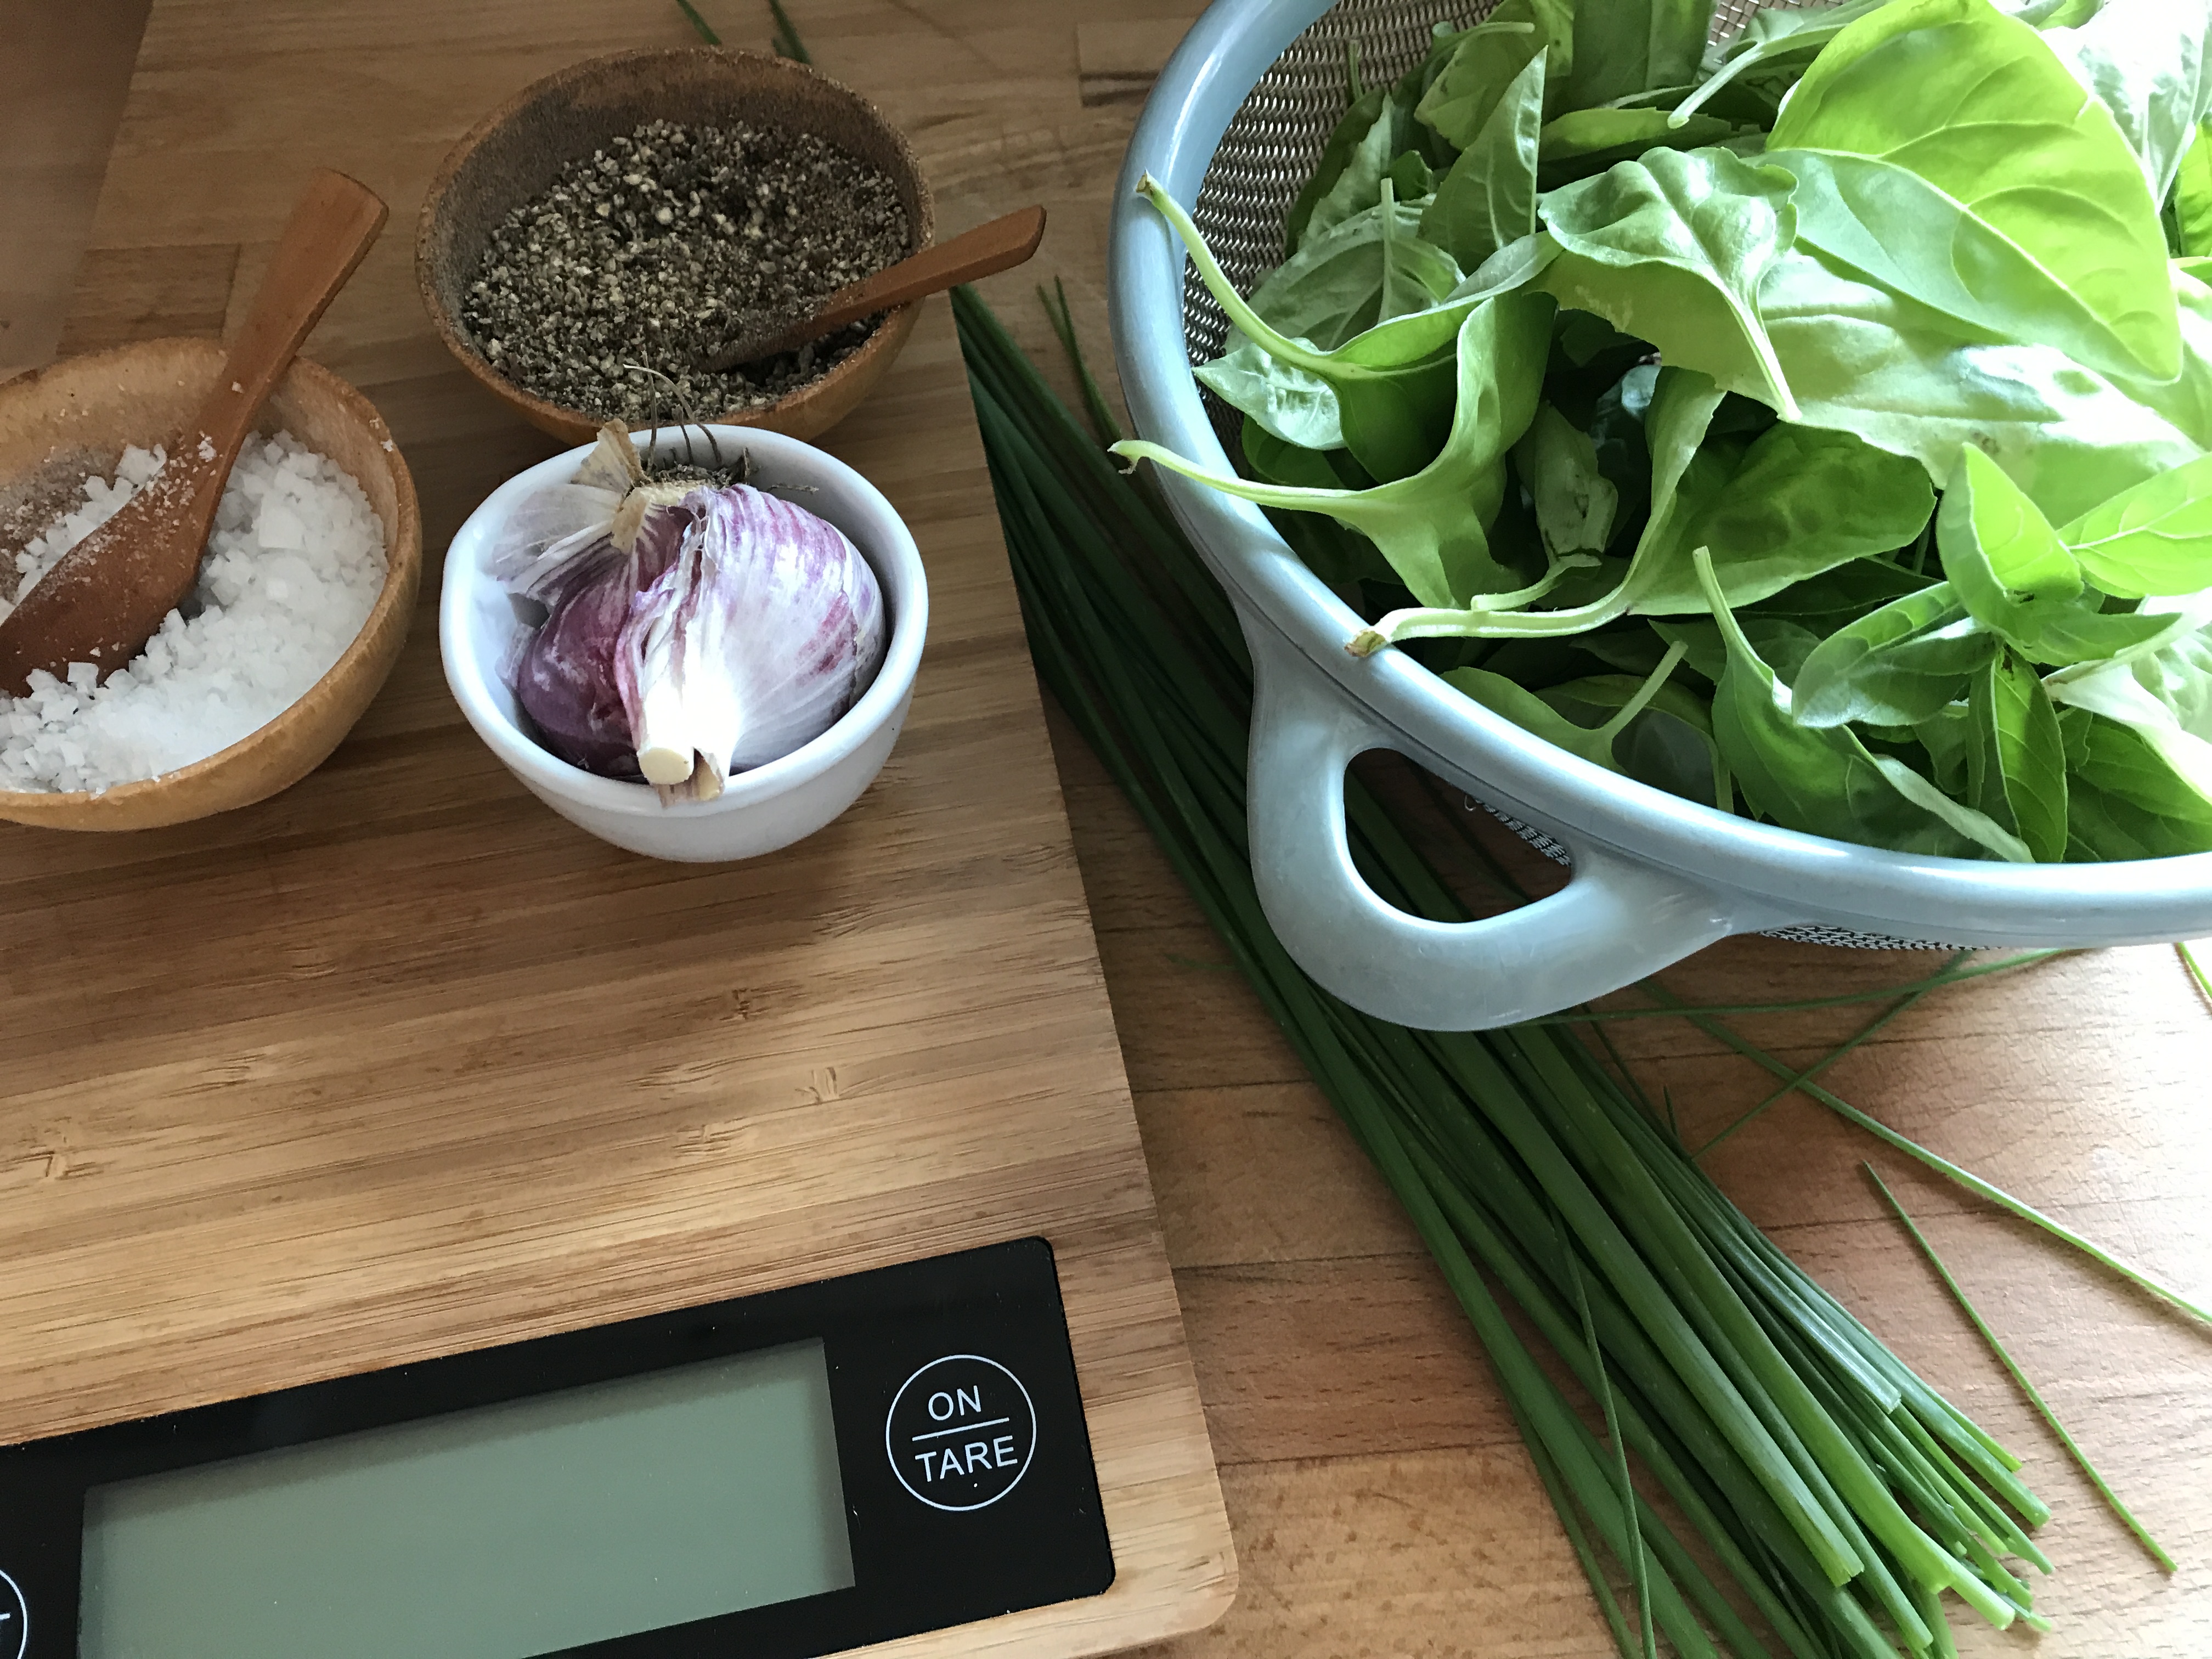
    Basil Vinaigrette 1

    • 2 garlic cloves, minced
    • 1 1/2 tbsp Dijon mustard
    • 2 tbsp honey
    • 1/4 cup red wine vinegar
    • 1 tbsp balsamic vinegar
    • 1 1/2 oz (45 g) fresh basil leaves (about 2 cups leaves)
    • 1/4 cup chopped fresh chives
    • 1 tsp salt
    • 1 tsp freshly cracked black pepper
    • 1 cup really good quality extra virgin olive oil

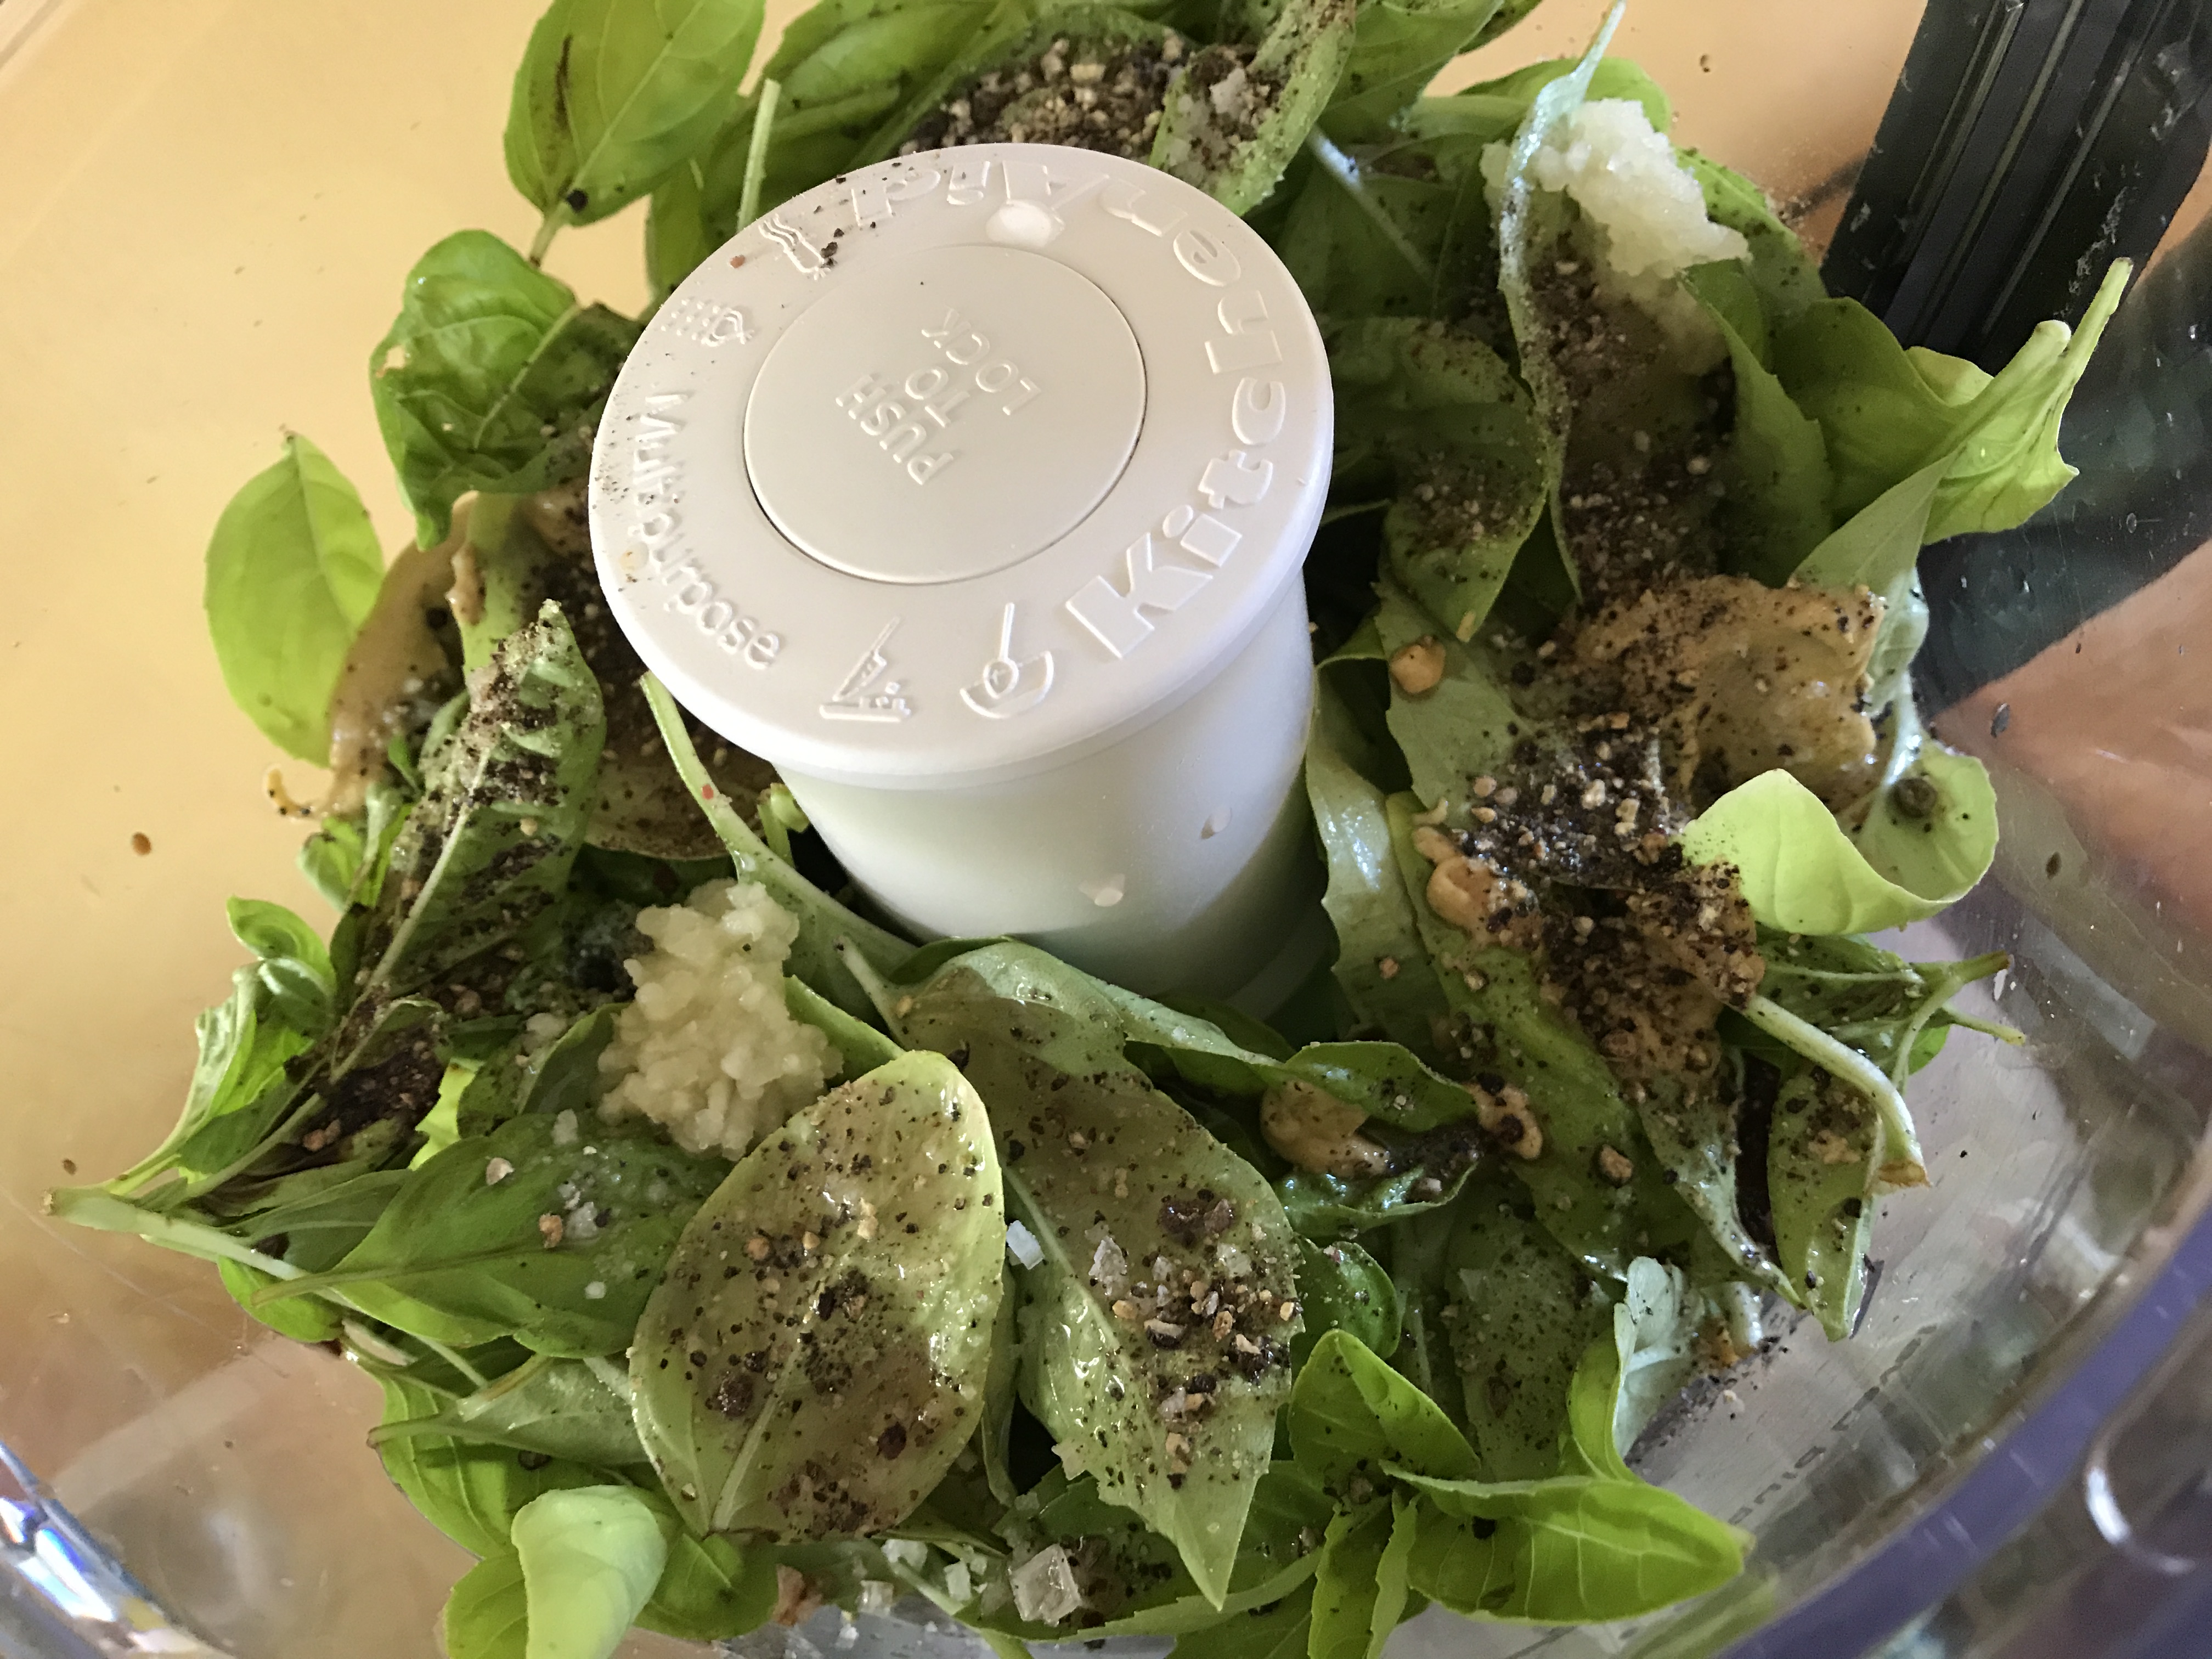
    Blend all ingredients, except for the olive oil.  Give it a good whiz, until all the herbs are bright flecks of green, then slowly drizzle in the olive oil until creamy and smooth.

    Basil Vinaigrette 2

    I really think this needs either an immersion blender or food processor to get the consistency.  If you don’t have either, chop herbs very fine and whisk it all up.

    This will yield about 1 pint jar, and I’d suggest trying it in a variety of ways …

    Basil Vinaigrette 3

    salad dressing   ~   vegetable dip   ~   blend with cream cheese for a spreadable bread topping   ~   toss with zucchini ribbons   ~   brush over grilled chicken or seafood


    Chicken Flautas with Tomatillo Sauce

    You never know where you will find a mouth watering bite in Mexico City.  These chicken flautas, crispy and crunchy on the outside with tender tasty chicken inside, were served out of a spotlessly clean corner of a car wash!!

    Flautas 4

    Keep it simple, just the way it should be.  Using cooked, shredded chicken put a small amount on a tortilla and roll it up.  Secure with a toothpick – don’t skip this step otherwise the moment you put it into the hot oil it will want to unravel.

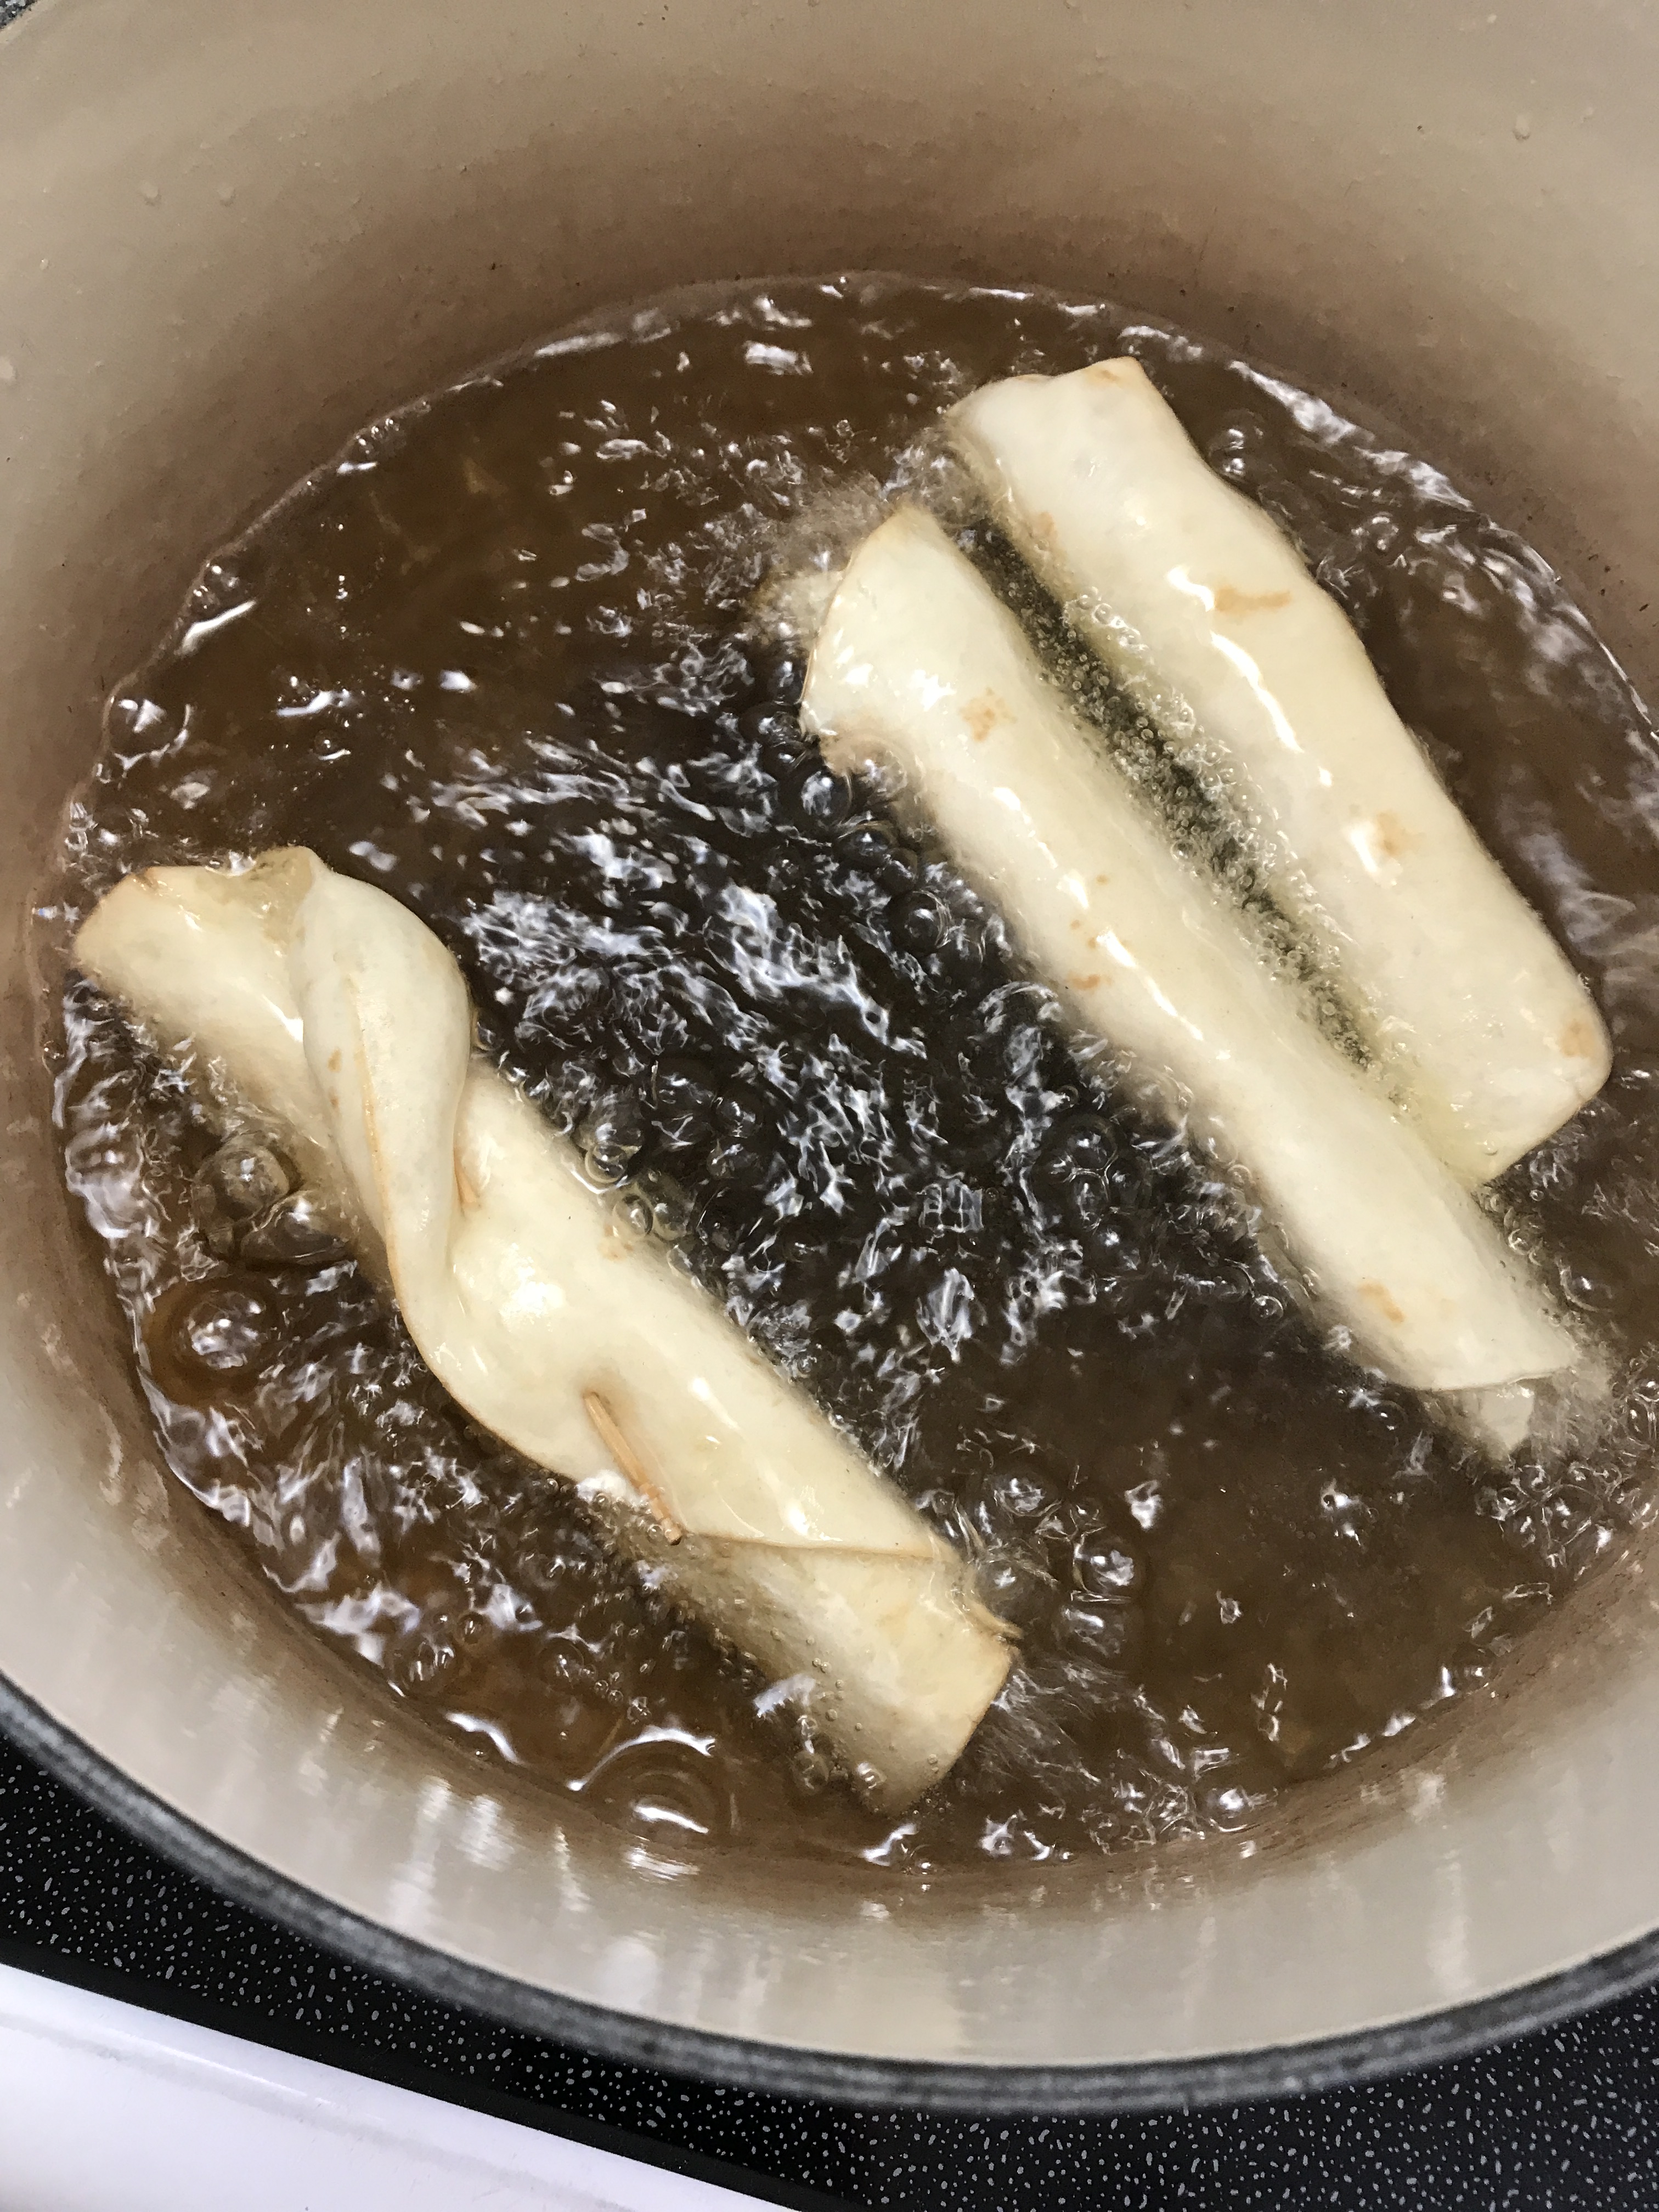
    Flautas 1

    Cook in heated oil (350 degrees) turning gently, just until the tortilla is browned & crispy.  Do not overcrowd the pan or the temperature will drop.   As they are finished, set aside in a warm oven until you are finished.

    Flautas 2

    Garnish with slivered lettuce, and serve with mexican crema, alongside a dish of tomatillo sauce.

    (I made my tomatillo sauce by heating the tomatillo sauce and adding enough chicken broth to make a light consistency)  Check for seasoning and add salt and pepper if needed.

    …….an easy cheat on the crema is to add a bit of lime juice to sour cream….

    Red Wine Vinaigrette


    Making your own salad dressings is so easy that it never makes sense to buy them!  Forget the packaged dressings and give it a try.  I made enough of this for our Family Reunion this year and it was a hit.  Remember to taste as you go ….. I ended up eating a lot of lettuce before I got the balance right – hard to do with such a large quantity.

    P1110070

    • 1/4 cup red-wine vinegar
    • 1 tablespoon Dijon mustard
    • 1 teaspoon sugar
    • 1 garlic clove, minced
    • Salt and black pepper, to taste

    Blend well, stirring until sugar has dissolved.

    • 1/2 cup extra-virgin olive oil

    Slowly whisk in the olive oil until it is emulsified.

    Variations:  This is my basic “house” vinaigrette …. and you can switch it up any way you like, during the summer I like to add in fresh herbs.


    Dukkha rubbed chicken satay with zucchini ribbons.

    Dukkha is an amazing blend of spices and nuts that is very useful to have on hand.  Moist  chicken with crispy bits and tender zucchini, try this chicken marinated in tahini and rubbed with dukkha seasoning.  I guarantee it won’t be the only time you try it!

    Dukkah chicken 4

    2 tbsp vegetable oil

    1 tbsp liquid honey

    1 tbsp tahini

    1 tbsp lemon juice

    1/2 tsp kosher salt

    1/2 tsp pepper

    1 lb of boneless skinless chicken thighs, cut in 1 inch pieces

    1 small zucchini, cut into long thin ribbons (use a vegetable peeler)

    1 small onion, cut into 1 inch pieces

    1/2 cup Dukkah

    In a large bowl, whisk together oil, honey, tahini, lemon juice, salt and pepper.  Blend well, and add the chicken pieces.

    Dukkah chicken 1

    (This can be done ahead of time, and marinated for up to 24 hours)

    When ready to assemble, remove chicken from marinade, (discard excess) and dredge in Dukkah.

    Create an assembly line of zucchini ribbons, onion and chicken …..

    Dukkah chicken 2

    Alternately thread chicken, zucchini and onion onto skewers.  This can be done ahead and kept in the fridge for up to 24 hours.

    dukkah chicken 3


    Place skewers on greased grill over medium heat, close lid and grill – turning until browned.

    Transfer to a serving platter, scatter more Dukkah over top and serve with lemon wedges.

    If you live in a larger city, I’m sure you can pick up Dukkah seasoning in any Middle Eastern grocery store.  If not, check out my recipe for Dukkah, I like to keep it in my pantry.