
These crumb bars are as great as the raspberry jam and raspberries you use! Gluten eaters won’t even miss the gluten, they are that good! If you want to do this recipe with regular flour, the only change is to use regular all purpose flour in place of the GF flour.
SHORTBREAD
- 125 g (1/2 cup + 2 tbsp) sugar
- zest of 2 lemons
- 140 g (1 1/4 sticks) room temperature butter
- 1 tsp vanilla bean paste
- 300 g (2 1/2 cups) gluten free flour blend (or use all purpose if not going GF)
- 1/2 tsp xanthun gum (omit if you are using all purpose flour or if your GF flour already has it)
- 1/2 tsp salt
RASPBERRY FILLING
- 230 g (3/4 cup) raspberry jam
- 160 g (about 1 very full cup) fresh or frozen raspberries
Have your oven rack in the middle position and preheat oven to 350. Line a 9×9 pan with parchment paper. Having a bit of overhang makes it easier to lift it out later.
METHOD
Using your fingers rub the zest into the sugar, this allows all the juices from the zest to become more fragrant.
Add the soft butter & vanilla, mix well with your fingers. Do not use a blender or beaters, you want it just well incorporated, not beaten.
In a separate bowl combine dry ingredients, then add this to butter mixture, using a spatula or wooden spoon.
This should end up looking and feeling like a cookie dough.
Press about 2/3 into the prepared 9 x9 baking pan and press it firmly into the pan.
Top with raspberry jam, then scatter raspberries over, ensuring they are spaced.
Top with the remaining crumble mixture. It won’t completely cover but will allow some berries to peek through.
Bake for about 40-45 minutes until the crumble is toasty brown and the jam berry mixture is bubbling.
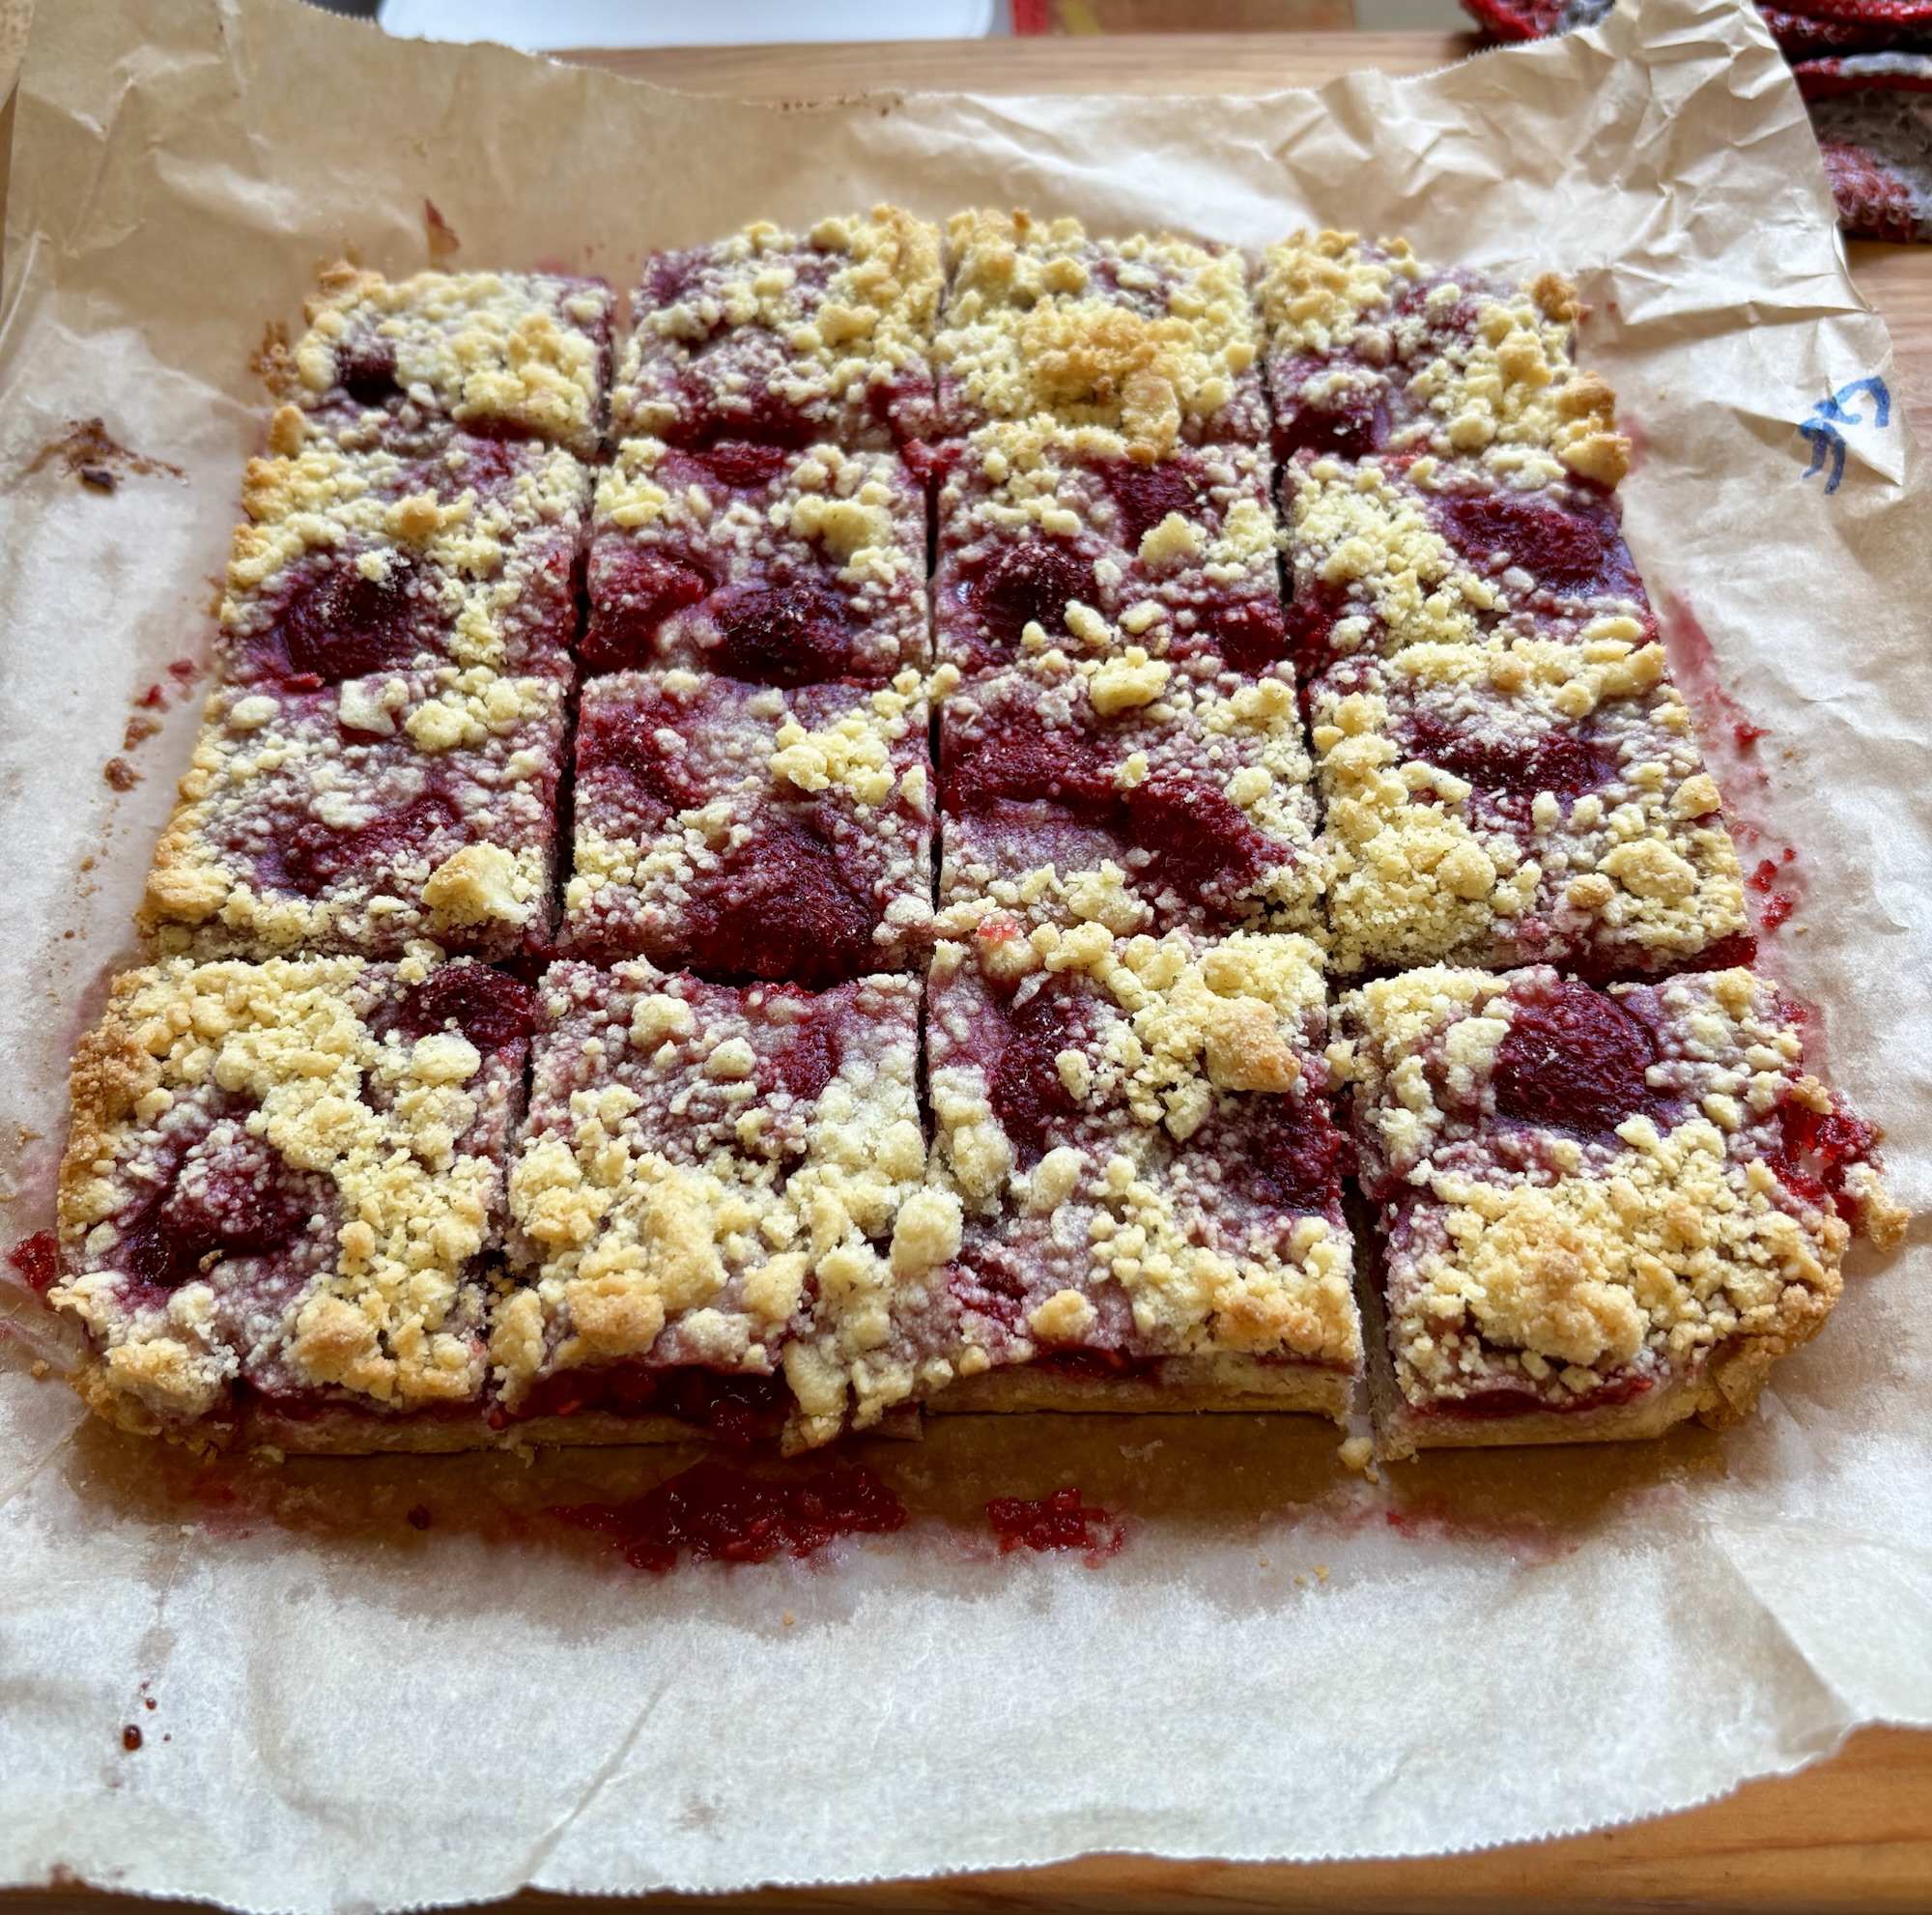
Serve warm with whipping cream or ice cream for dessert, or allow to cool completely before cutting into bars.