
A homemade corn tortilla, some pickled onions, avocado served with the tender pork and you have a perfect taco.
On our Mexican travels we have had some amazing carnitas, both in Michoacan, which is renowned for carnitas, but also at a Saturday mercado in Mexico City. Once you have had great carnitas, that is something you will dream of when you get home! Finally I’ve figured out how to do it at home, and it is the method as well as the recipe that is important.
Ingredients
- 2-2.5 lbs. pork shoulder
- 1 orange
- 1 lime
- 1/2 onion
- 1 jalapeno
- 4 cloves garlic
- 2 teaspoons Mexican oregano
- 1 teaspoon cumin
- 1/2 teaspoon chipotle powder (optional)
- 1 teaspoon salt
- freshly cracked black pepper (approx. 1/2 teaspoon)
- 2-3 tablespoon oil
For serving:
- 12-16 corn tortillas
- 1/2 cup finely chopped onion
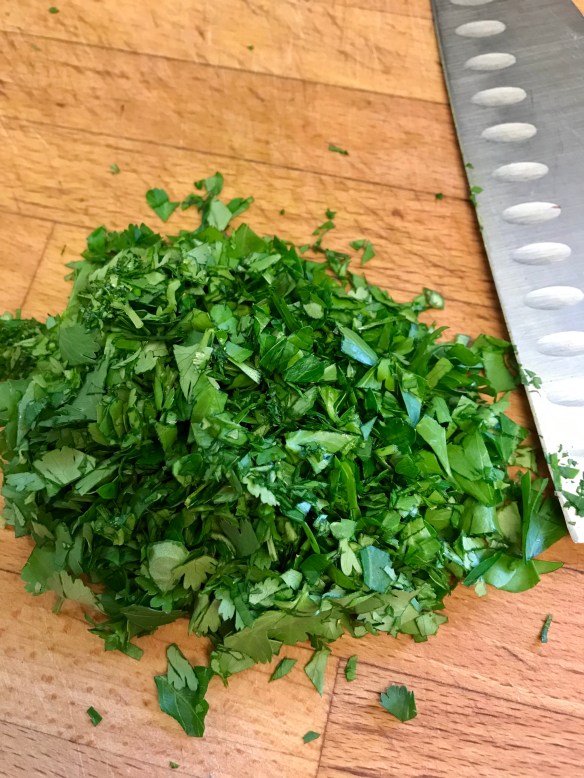
- freshly chopped cilantro
- 3-4 limes, quartered
For the brine:
- 1/2 cup sea or kosher salt
- 2-3 quarts water
Instructions
-
Add 2 quarts cold water to a mixing bowl along with 1/2 cup kosher or sea salt. Stir to dissolve. Cut the pork shoulder into 2″ chunks. Add the pork chunks to the brine, cover, and store in the fridge for an hour. If the pork isn’t completely submerged just add a bit more water.
-
Once brined, remove the pork chunks and pat them dry. Add them to a clean mixing bowl along with: 2 teaspoons Mexican oregano, 1 teaspoon cumin, 1/2 teaspoon chipotle powder (optional), 1 teaspoon salt, freshly cracked black pepper, and 2-3 tablespoons oil. Combine well.
-
Add pork pieces to a casserole dish along with the juice of 1 orange, the juice of 1 lime, 1/2 onion cut into chunks, 1 jalapeno sliced in half, and 4 peeled garlic cloves. I usually put the leftover orange pieces in the pan as well. Cover tightly with foil and bake at 300F for three hours.
-
After three hours give it the fork tender test. If you can insert a fork into the pork with no resistance then it’s done. If the chunks are still firm give it another half hour.
-
Remove the pork and set aside. Strain the resting liquid into a bowl and be sure to give it a taste! As it sits the fat will rise to the top — you can remove some of the fat if you want but I use most of it.
-
To crisp up the Carnitas we’ll put the shredded pork chunks under the broiler (approx. 525F). You can use the same baking dish, just be sure to remove the leftover fruit and veggie chunks. Add the pork back to the dish and shred with two forks. I usually give it a partial shred, leaving it chunky, but you can always shred finer if you want.
-
Drizzle some of the resting liquid over the pork and broil for 5 minutes. Take a look and broil for another 5 minutes if you want it crispier.
For serving you’ll need corn tortillas, 1/2 cup finely chopped onion, some freshly chopped cilantro, the Salsa Verde, 3-4 limes, and cheese (optional). You can warm up the tortillas in the oven but you’ll get happier faces if you crisp them up in hot dry skillet first. I usually put a large skillet over medium high heat and crisp up 3-4 at a time, storing them in a tortilla warmer or tea towel.
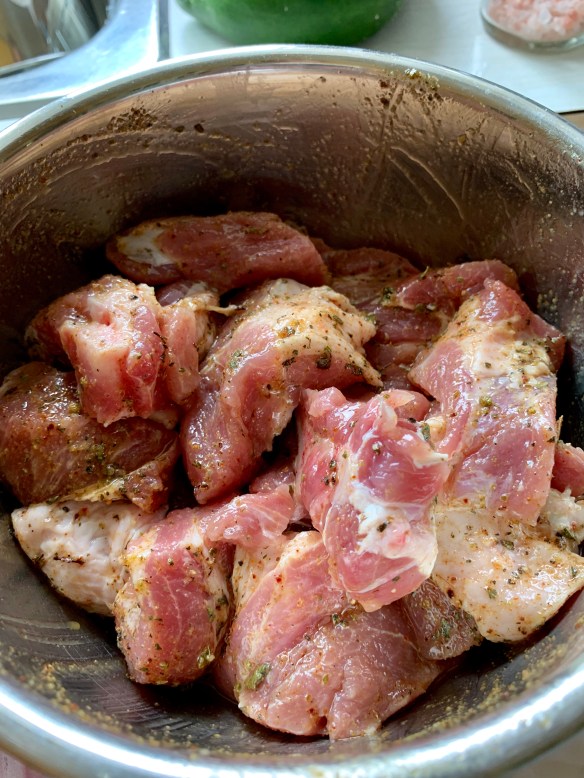
Chop the pork into 2 inch pieces and coat all over with the oil and seasonings.

Nestle all the pork in with the onion, jalapeño, garlic and squeeze the orange all over. Tuck the orange pieces in, then cover tightly before slow roasting.
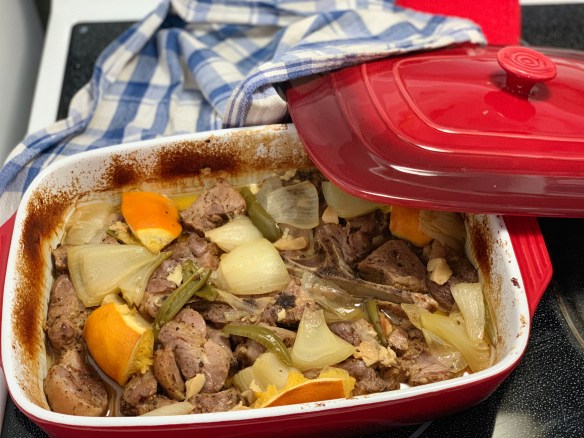
Three hours later this pork is tender and your house smells amazing.

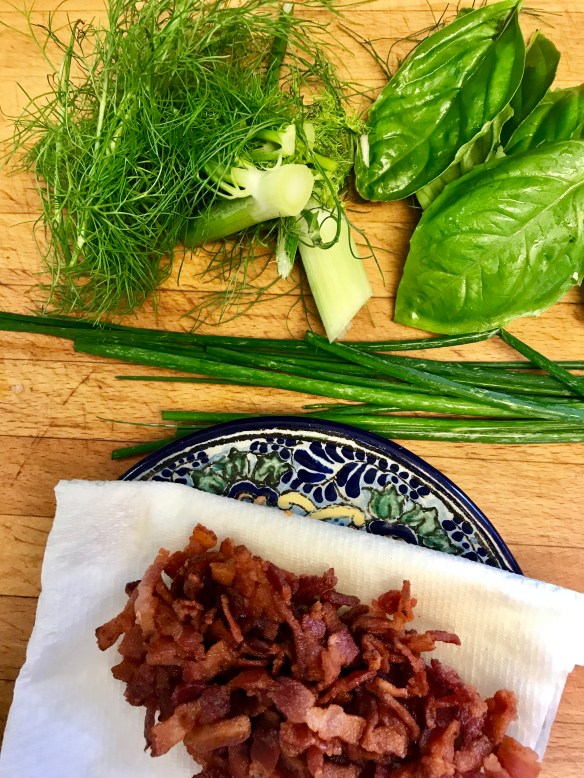
I drizzled the pork with a little bacon fat just to add to the porky goodness. Yum.
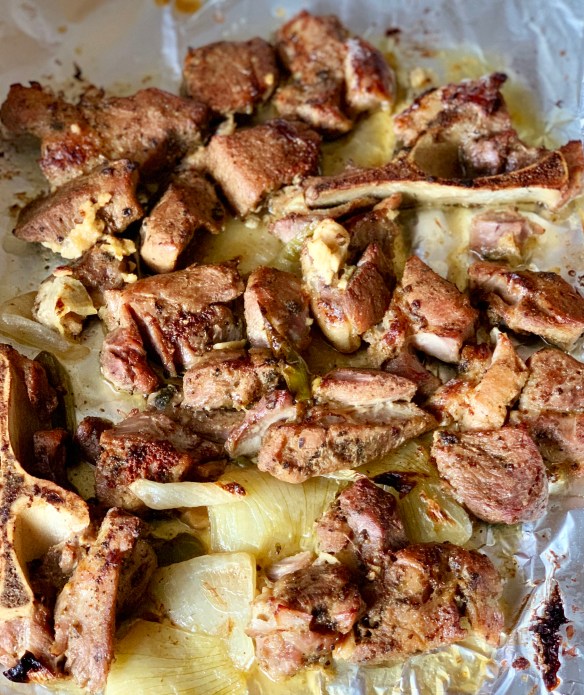
Put the pan under the broiler, and watch carefully – you only want a few crispy bits.
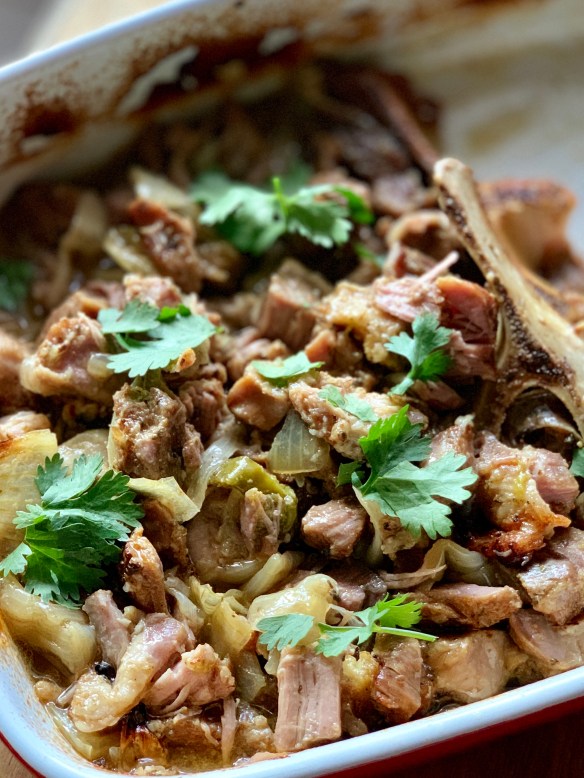
Stir the pork back into the cooking liquid and garnish with cilantro.
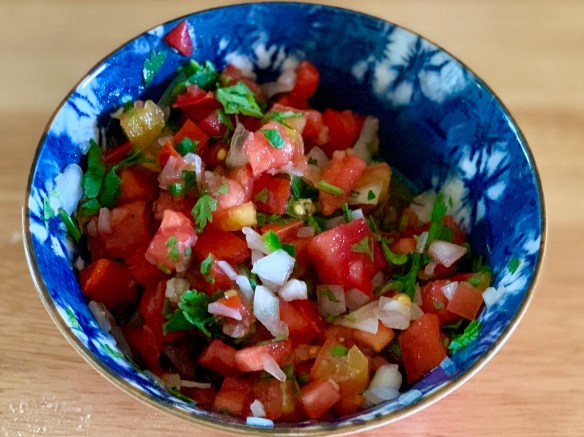
Fragrant and juicy tomatoes make a fantastic base for this refreshing Pico de Gallo.

What a fantastic bite! Reminiscent of eating carnitas on a street corner or mercado in Mexico, we loved every morsel.