Cinnamon Bun Dough

IMG_6592.JPG

Warm from the oven, these cinnamon knots are guaranteed to make your home smell amazing.


Warm, cinnamon buns, fresh from the oven oozing cinnamon and butter are a real wintery treat.  When the girls were growing up, their favourite way to use this dough was in cinnamon knots.  So much fun when my darling granddaughters Sloan and Stella are now in the kitchen helping!  I love it.

IMG_6589

These little sweeties love helping Nana in the kitchen, and it is even more fun for Nana – never too young to learn how to make a great sweet yeast dough.  They are already well versed in making pizza dough!

Scald 1 cup milk

Pour into a bowl, adding 1/3 cup sugar, 2 tsp salt, 1/2 cup butter

Stir until the  butter has totally melted and the sugar and salt have dissolved.

Meanwhile ….., dissolve: (I use my kitchen aide stand mixer for this part)

1 tsp sugar in 1/2 cup lukewarm water

Stir in 1 tbsp (or 1 envelope) yeast

Let sit for 10 minutes to allow the yeast to bloom.  Stir and add milk/butter mixture.

Add 1 beaten egg, followed by 2 cups unbleached flour.

Stir and knead until mixed well – slowly add another 2 cups flour.  You may need to do this by hand at this point.  Knead well until the dough is soft.  It may take up to another cup of flour to get to this point and not have the dough too sticky.

Turn into a greased bowl, cover and allow to rise in a warm spot until doubled.

Tip dough onto lightly floured surface.

At this point you have a few options:

a) Cut dough into 24 equal pieces:  Set up 2 bowls, one with melted butter and the other with mixed 1/2 cup white sugar and 1 tsp cinnamon.  Dip each piece into first the melted butter, then the sugar mixture before tying into a knot and placing in a greased muffin tin.

b) Roll dough out into rectangle, brush generously with melted butter, and sprinkle over first cinnamon, then brown sugar.  Starting on the long side, roll up, leaving cut side down.  Cut into 1″ pieces and set on greased baking dish.

c) Using same method as b, once you have the rolled cinnamon buns, do not cut – instead join the ends into a circle, pinching well together.  Set onto a greased baking sheet.  Then – take scissors and snip about 2/3 of the way through all the way around.  Once you have made it around the circle, gently twist each bun to lay flat while staying attached in the middle.

Whatever method you use – now allow the dough to rest and rise again – about 30-40 minutes.

Bake at 350 for 20-25 minutes, just until golden brown.



Guanajuato

Tuesday morning it was time to leave San Miguel de Allende and move on to Guanajuato.  That trip turned out to be pretty simple!  We walked out our door, dragging our suitcases and walked down to the main drag, literally 7 minutes (down, 15 back up Vivi says).  We flagged down a taxi to take us to the bus station, but then asked him how much to take us directly to Guanajuato … 600 pesos and the deal was made.  Off we went.  Things were super easy until we got into Guanajuato and it became apparent that our driver had never been into the big city of Guanajuato.  Thankfully he had no problem flagging down any and all pedestrians to ask for directions to “Teatro Principal”.  Eventually, many tunnels later, we found it, much to his relief but I think he was a bit worried about getting out of the maze.

DSC02205.jpg

Strangely enough, the last time Grant and I were in Guanajuato, we were also dropped off at Teatro Principal by the taxi driver.  That time we argued with him that it was not our address, and after much gesticulation, we understood that our driver could NOT drive to the destination, this was as far as a car could go.  Pretty funny this time when the same thing happened, and we were met by our hosts in order to walk up and up and up.

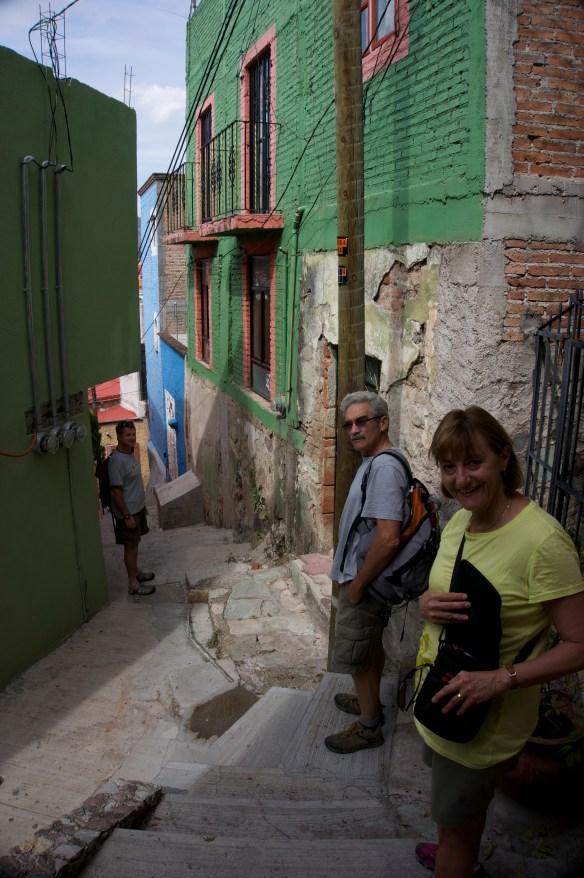
Guanajuato is built with most of its road system underground, in tunnels that were formerly underground rivers.  Above ground there are very narrow streets, single lane with SUPER skinny sidewalks, single file if you are thin.  I don’t know how anybody builds a house here, or even buys a new fridge.  Very few roads, with all the houses built up on the hillsides, and only narrow pathways or stairs to get to them.

DSC02109

We took a few photos of our path down to the centro, just so we could find our way back through the maze!

DSC02121_2

This is the University of Guanajuato – 25,000 students here really give the whole area that student buzz.

DSC02104

The view from our balcony at Guanajuato.

DSC02134.jpg

I think we have certainly had our fair share of odd things to check out in Mexico, but this was right up there in bizarre stuff …… We went to the mummy museum.  The first mummy dug up was in 1865, and there are more than 100 remains on display. Authorities were shocked to find not skeletons, but mummified bodies, complete with clothing and shoes intact. Somehow the lime in the soil kept these mummies preserved.

DSC02133_2.jpg

Just weird.

DSC02123_2.jpg

The buildings are colourful, and just beautiful – every street is so pretty.  A really clean city as well.

DSC02138.JPG

Pretty much the first order of business when we get to a new location is to purchase fresh tortillas – ready for breakfast.

DSC02126.JPG

The streets are lined with sculptures.

DSC02139.jpg

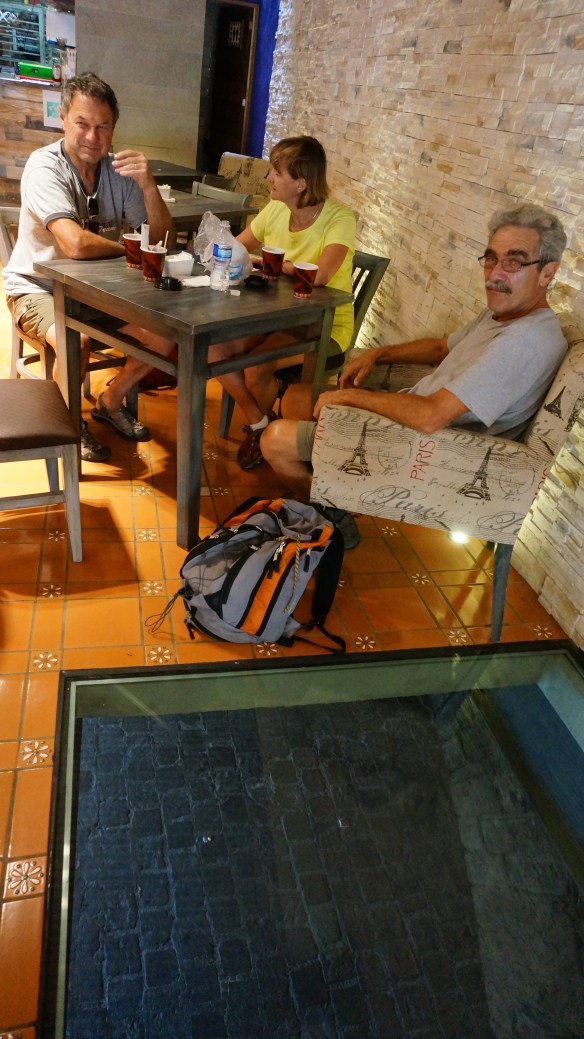
After our long hike UP UP UP to the mummy museum we stopped for a coffee, hot chocolate and pastry ….. Wilson was a little disconcerted to realize that glass in the floor beside him was a view of the tunnels and road system below the city.

DSC02151.jpg

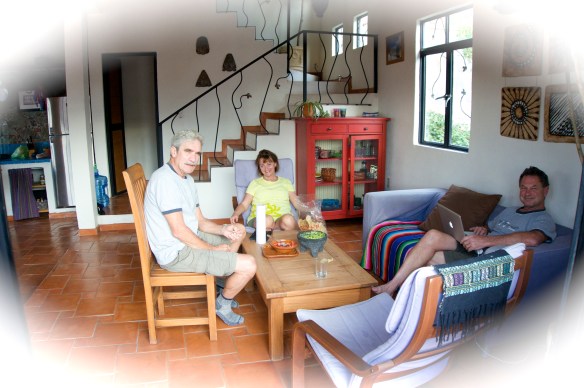
Our living room (salon) in Guanajuato, and yes, another night of salsa and guacamole before going out for dinner.

DSC02153.jpg

Basilica interior – the churches are often very ornate, but this was incredible. . . chandeliers everywhere and absolutely stunning.  A real sense of the wealth behind the Catholic church, yet incredibly peaceful.

DSC02159.jpg

I know, I can’t get enough of the house colours around here …. but I think it might be time to paint my kitchen this shade of blue!

DSC02206.jpg

DSC02202.JPG

I love the way each little neighbourhood has its own courtyard for socializing.  The further away from the centro that you get, the quieter it will be.

DSC02166_2.jpg

We went to Diego Rivera’s home, where he lived in his early years.  It has been restored beautifully and not only houses much of his own work, but two of the floors are used as art galleries.

DSC02168_2.jpg

DSC02163.jpg

Honestly, sorry, can’t remember the name of this artist, but impressionist art is a bit lost on me ….

DSC02162.JPG

However, this one of his we both loved.

DSC02170.JPG

One floor was devoted to photographs of life in Angola, and these photos were so captivating I just couldn’t believe it.

DSC02171_2.jpg

These would have made amazing prints to purchase and take away, but there weren’t any for sale.

DSC02173.JPG

There is simply no reason to be hungry in Mexico – without looking too hard it is easy to find a vendor selling cut up fruit and vegetables – sprinkle on a bit of chile, lime and salt and find yourself a park bench to sit on.  Those are plentiful too!

DSC02194.JPG

We made it to the top of the look out – a monument to El Pipila overlooking Guanajuato – quite a steep climb.  We had planned to take the funicular (tram) but it wasn’t working.

DSC02180.JPG

I’m really hoping that one of the many photos I have taken of this picturesque city will turn out well enough to be enlarged and hung on a wall – it is truly one of the most beautiful cities.

DSC02179.JPG

Waiting for our “comida” – the mid day meal is the most economical way to eat in Mexico.  This four course meal is usually around 70-90 pesos and is pretty much always a great idea.  Today turned out to have a bit of a surprise …. one of the words in the first choice was unfamiliar to me.  I did recognize tomato, peppers and onions so I thought it might be a vegetable dish, and since I knew the next course I was choosing was pork, we went with that.  Sure, there were a few of those vegetables in there ….. but it was mainly cut up weiners!!!

DSC02207.jpg

Really??  says Vivi …… these last few steep steps into our home almost do her in …..


On Thursday morning we say Hasta la vista to Guanajuato and fly from Leon to Puerta Vallarta, and from there to beach life at Chacala, where Casa Monarca awaits us …..


Oatmeal Pecan Chocolate Chunk Cookies

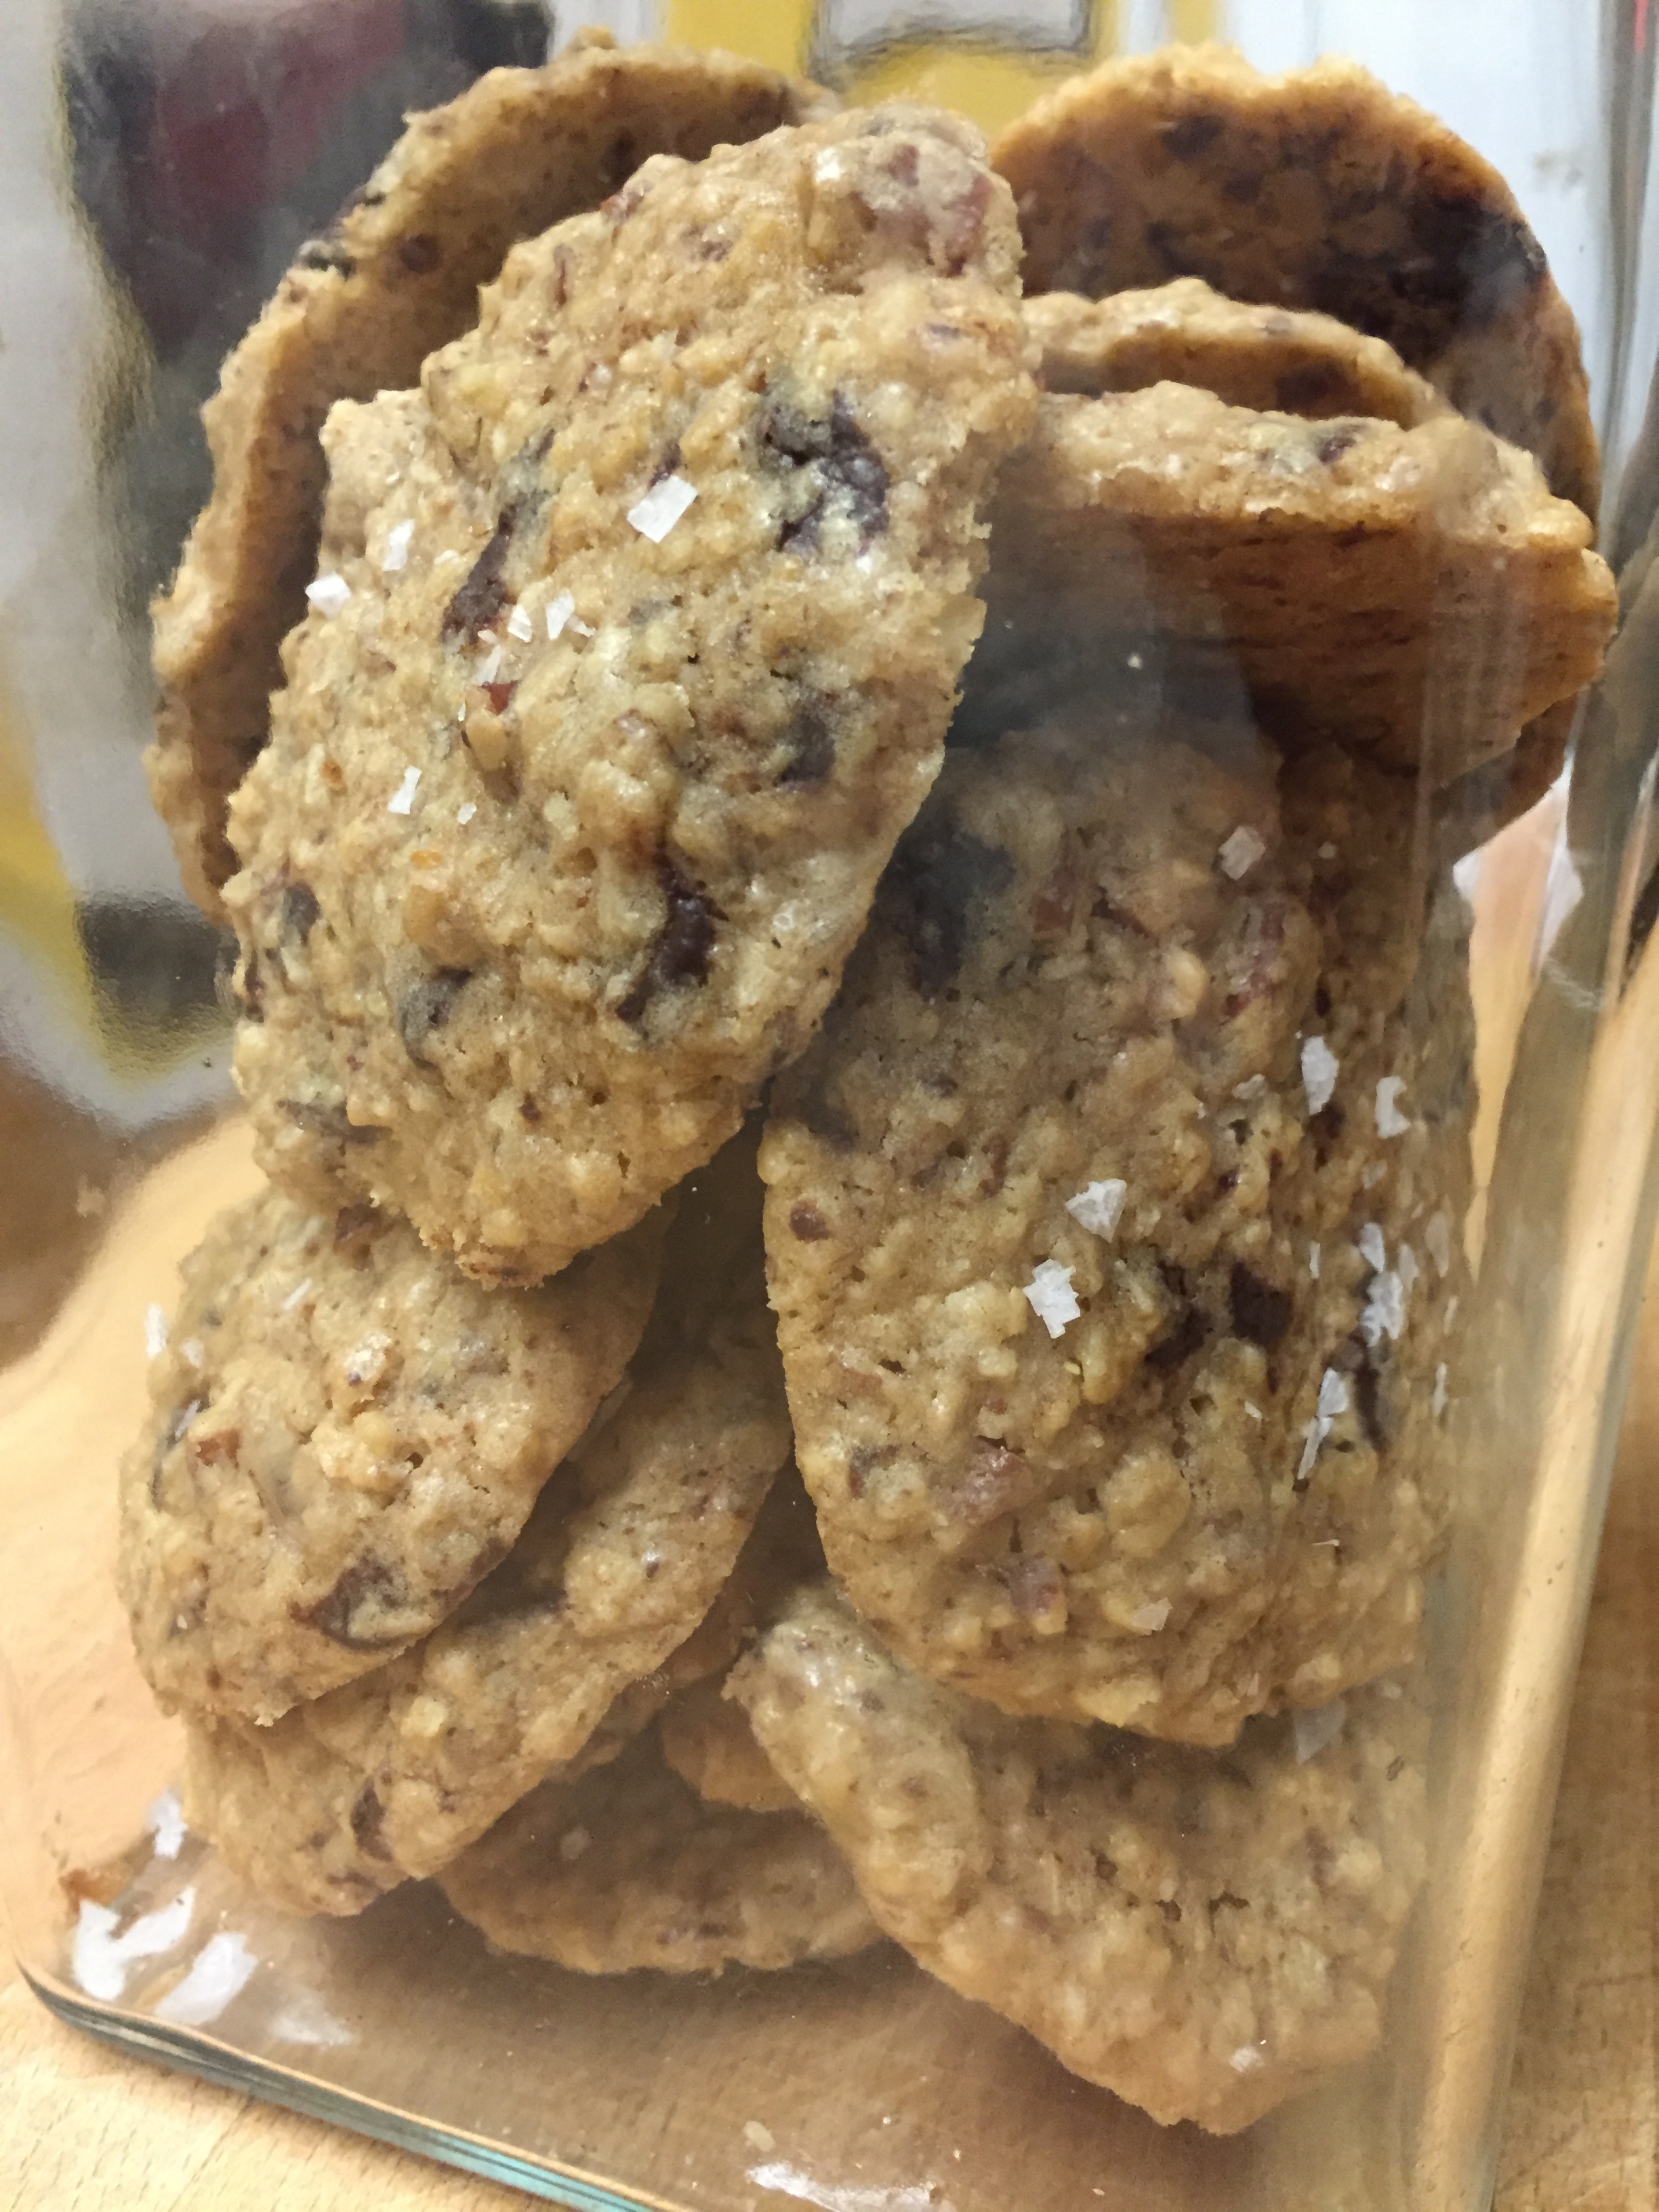
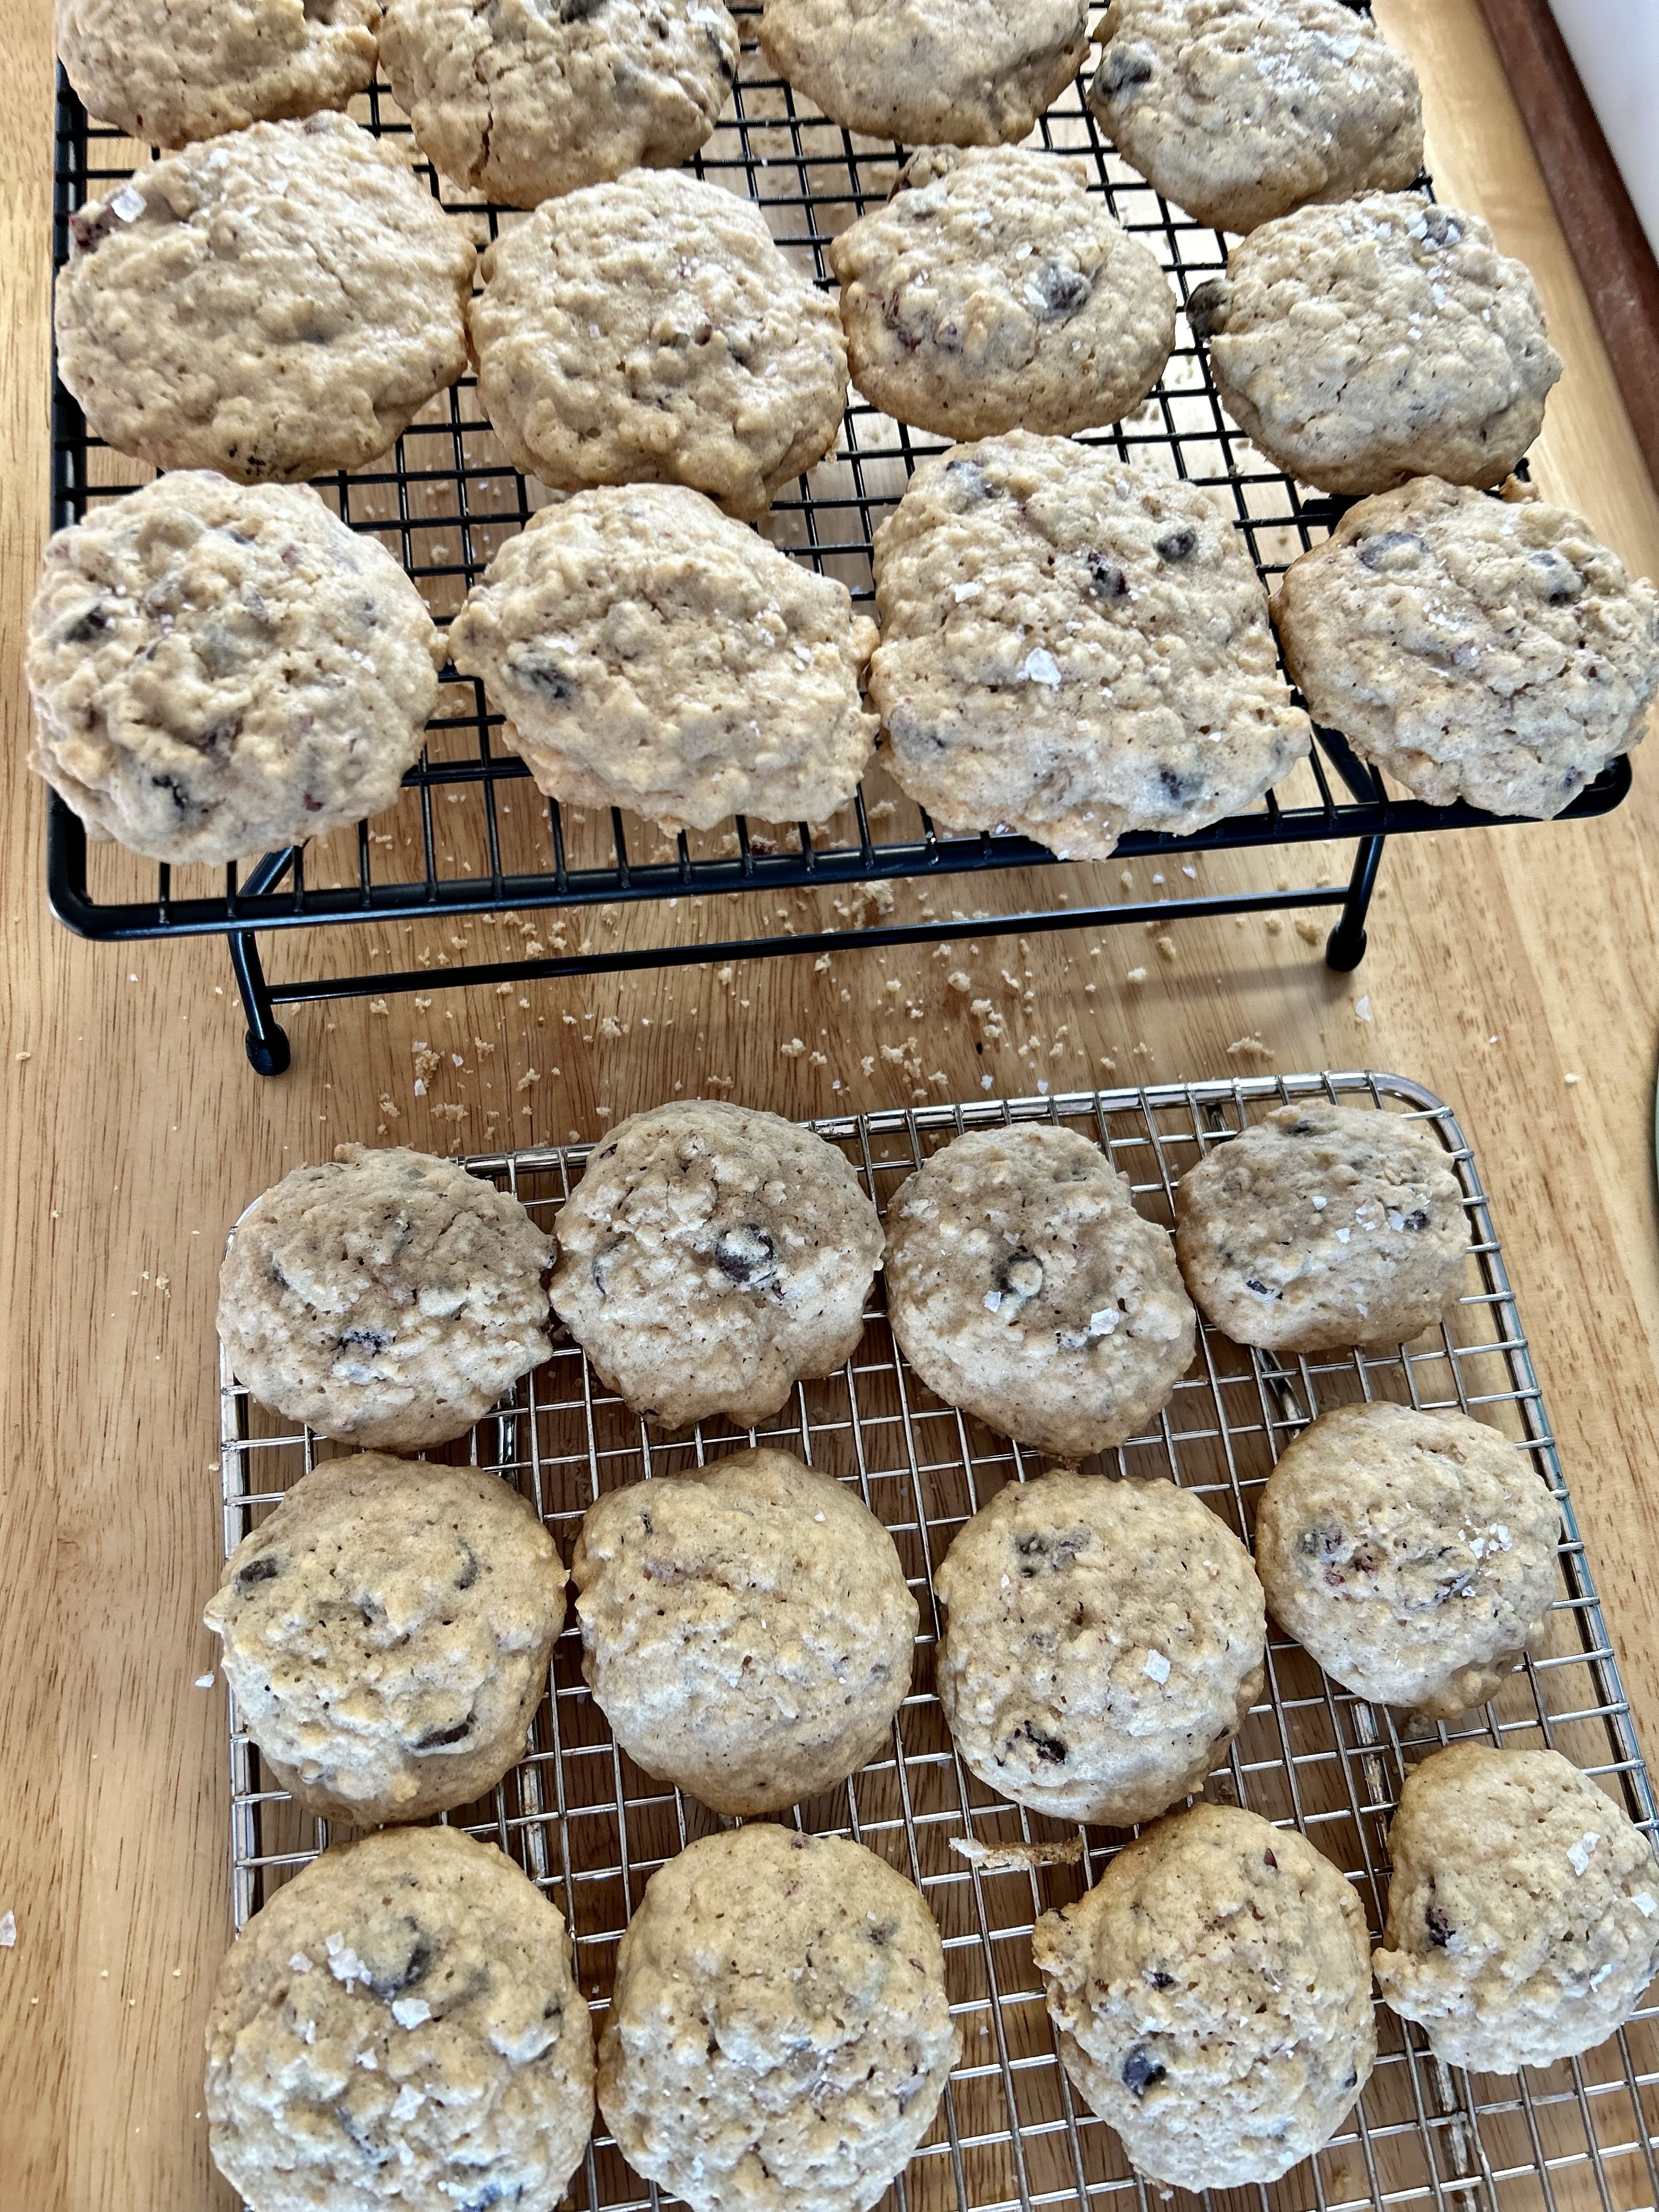
I think these might be my new favourite cookie. I usually go for a crisper cookie, but these are soft and chewy and absolutely delicious.  Now that Stella is celiac, I’ve made these with only one change. Using gluten free flour blend did the trick perfectly, and they are now ready for horse show weekend!

Deliciously soft and chewy

Deliciously soft and chewy

IMG_6211

2 cups all purpose flour
1 cup quick rolled oats
1/2 cup fine coconut flakes
1 tsp baking powder
1/2 tsp ground cinnamon
1/2 tsp kosher salt
1 cup brown sugar
1/2 cup white sugar
2 sticks unsalted butter, at room temperature
2 eggs
1 tsp vanilla extract
1/2 cup dark chocolate
(We really like a fine bit of chocolate throughout, so we grated it, but if you like it a bit chunkier, just roughly chop it)
1 cup pecans, chopped
large flake sea salt for garnish

Preheat the oven to 350

Combine dry ingredients in a small bowl … Flour, oats, coconut, baking powder, cinnamon and kosher salt. Stir well to combine.

In large mixing bowl cream butter with the 2 sugars. When this is light and fluffy add the eggs one at a time, beating well after each. Add vanilla.

Add the dry mixture to the egg mixture until well combined. Stir in pecans and chocolate.

Roll into 2″ balls and place on cookie sheet, about 2″ apart. Gently press down slightly.

Bake at 350 for 13-15 minutes.

The minute they come out of the oven, quickly toss on a bit of sea salt for garnish.

IMG_6209

Makes about 4 dozen cookies.

Going into the oven, these were a little softer than with traditional flour, so I didn’t flatten them at all.

As you can see by the crumbs under the cooling rack, they were a bit more crumbly but otherwise just perfect.

Beef Short Ribs in Cinnamon Red Wine Curry

Be prepared for the whole house to smell amazing for a couple of days after you prepare this specialty. I particularly love it in the fall or winter when it also seems to help warm the house….

Don’t be alarmed by what may look like a lengthy list of ingredients, most are items in the pantry anyway, and if not – try out something new and find more ways to use it.

Topped with fresh, fragrant cilantro this rich curry will make you feel like a super star.

Topped with fresh, fragrant cilantro this rich curry will make you feel like a super star.

2 tbsp ghee (or butter (ghee is clarified butter)
1/4 cup vegetable oil
1 tbsp cumin seeds
2 large onions, finely diced (you should get about 2 cups)
10 cloves garlic (yes, really)
1 cup pureed fresh tomatoes (in the winter feel free to use canned)
1 tsp ground fenugreek seeds
1 1/2 tbsp ground cumin
1 tsp turmeric
1/2 tsp cayenne pepper
1 1/2 tbsp mexican chili powder
1 whole piece cinnamon bark (about 3″ long)
5 cups chicken stock
1/2 cup red wine (make sure to use one you would be happy to drink!)
2 1/2 pounds beef short ribs

Use a large pot for this, with a heavy bottom.

Melt ghee or butter on medium heat. Once melted add oil and cumin seeds. Let seeds sizzle for about 30 seconds, then add onions. (Your house smells amazing already, doesn’t it?)

Take your time with the onions – part of the rich flavour in this dish is from allowing the onions to get nice and browned, slowly. Once they are a rich gold colour add the garlic and sauté until the garlic is a golden brown also. The longer the onions spend slowly getting dark the more rich flavour the curry will have.

Take your time and allow these onions to deepen in colour and caramelize enough to bring out their sweetness.

Take your time and allow these onions to deepen in colour and caramelize enough to bring out their sweetness.

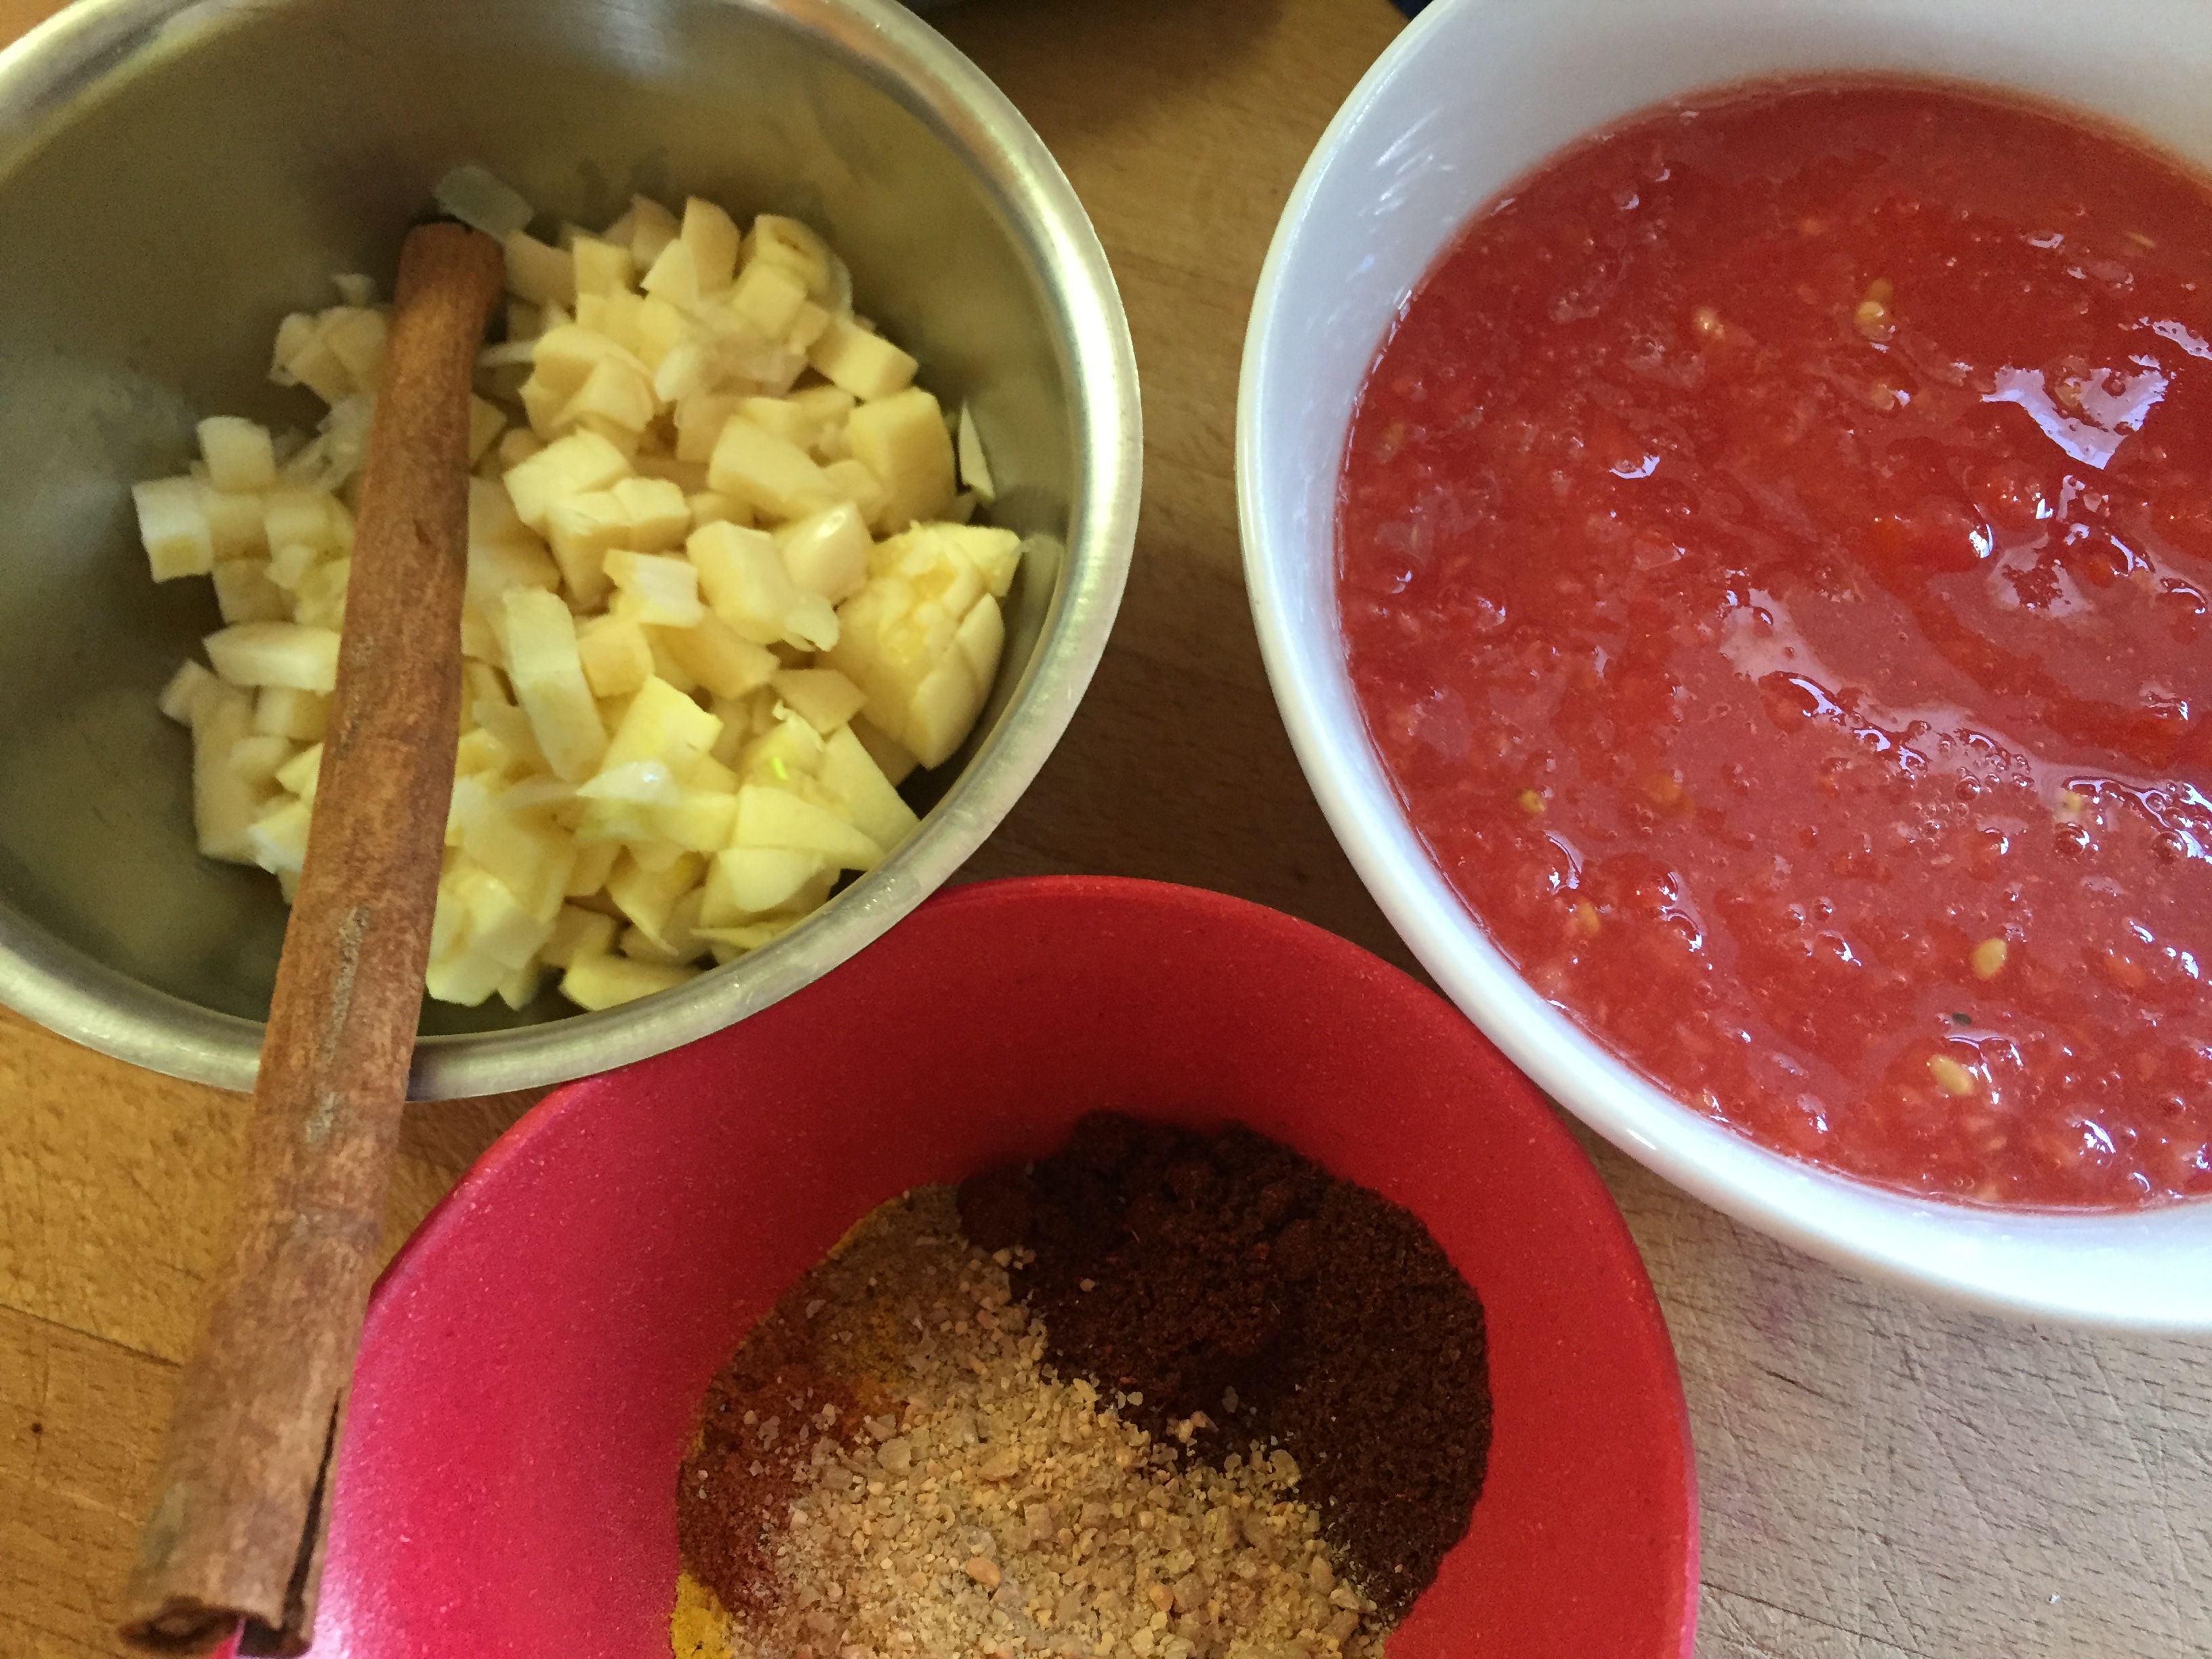
Reduce the heat to low and add tomatoes, fenugreek, cumin, turmeric, cayenne, chili and cinnamon bark. Stir well and slowly increase heat to medium. Allow to cook until the ghee starts to separate from the tomato mixture (you will notice pockets of clear liquid on top).

While your onions are happily cooking, organize the rest of the ingredients so that you are ready to add them all at once - makes everything so much easier.

While your onions are happily cooking, organize the rest of the ingredients so that you are ready to add them all at once – makes everything so much easier.

Stir in red wine and chicken stock – bring to a boil. Allow to cook, stirring enough so that it doesn’t stick, until once again the ghee separates from the mixture.

Add short ribs, stir, cover and allow to simmer for about 4 hours.

NOTE – the cinnamon is meant to be subtle in this recipe … just a hint of it. While it is cooking, if you notice a strong cinnamon scent, remove it from curry, it has done the job.

At this point, I have also put the curry into the oven and just forgot about it for that time, while the house simply became more inviting …

Professional chefs and equipment probably get this ready for the simmer in 20-30 minutes, but it always takes me an hour to develop that colour in the onions and complete the prep stage.

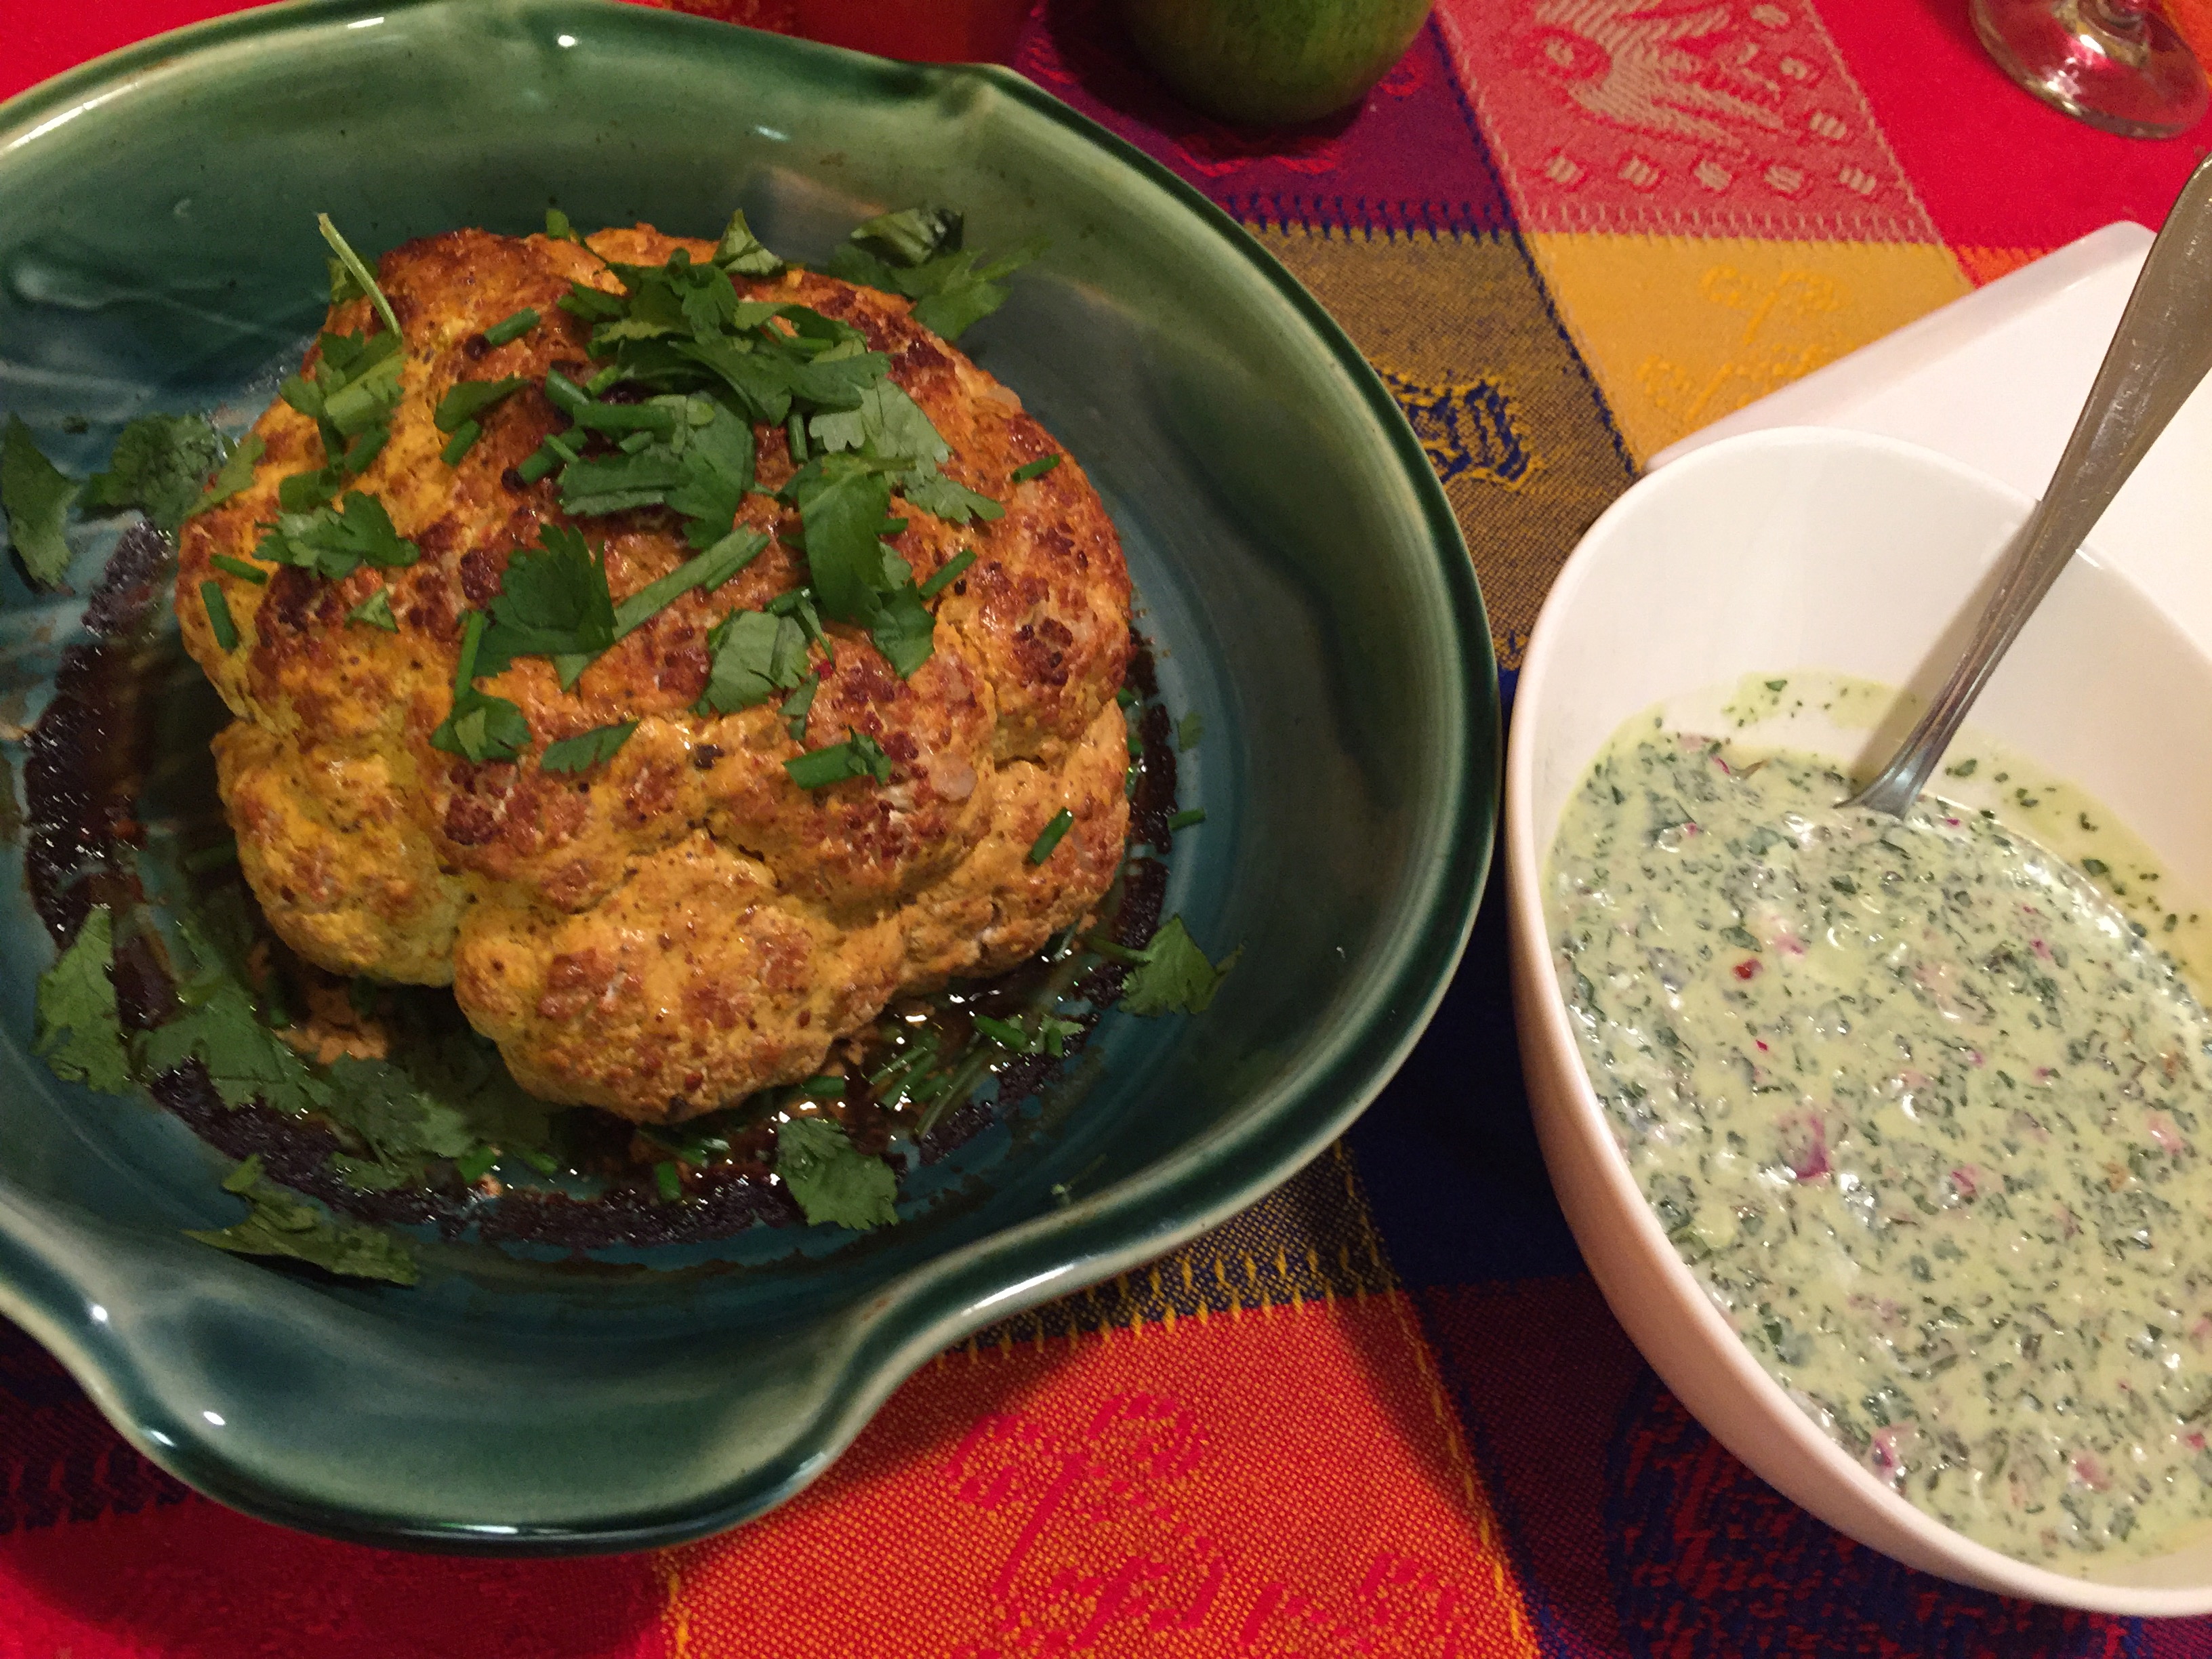
Sprinkle with fresh cilantro and serve with basmati rice. A perfect dish to accompany this? My roasted tandoori cauliflower with mint & cilantro sauce.

For an impressive presentation, roast the cauliflower whole with the cilantro & mint sauce to serve.  If you want the cauliflower to roast quicker, and really just want to get it on the table, simply cut cauliflower into florets and roast.  Florets may take about 20-30 minutes to roast depending on the size.  Only cook them long enough to be fork tender.

For an impressive presentation, roast the cauliflower whole with the cilantro & mint sauce to serve. If you want the cauliflower to roast quicker, and really just want to get it on the table, simply cut cauliflower into florets and roast. Florets may take about 20-30 minutes to roast depending on the size. Only cook them long enough to be fork tender.

This curry is beyond delicious. If you want to make it a vegetarian dish it is easy enough to do – use all vegetable oil to sauté the onions and replace chicken stock with vegetable stock. When it comes time to nestle the short ribs into the stock just substitute ribs with any of your favourite vegetables. If you are using root vegetables that take a long time to cook go ahead and put them into the curry early. If using vegetables that take less time, put them in the curry closer to the end of the cooking time.

French Bread

Making bread at home really isn’t that hard – it just takes a bit of time. An added bonus is just how amazing your home will smell.

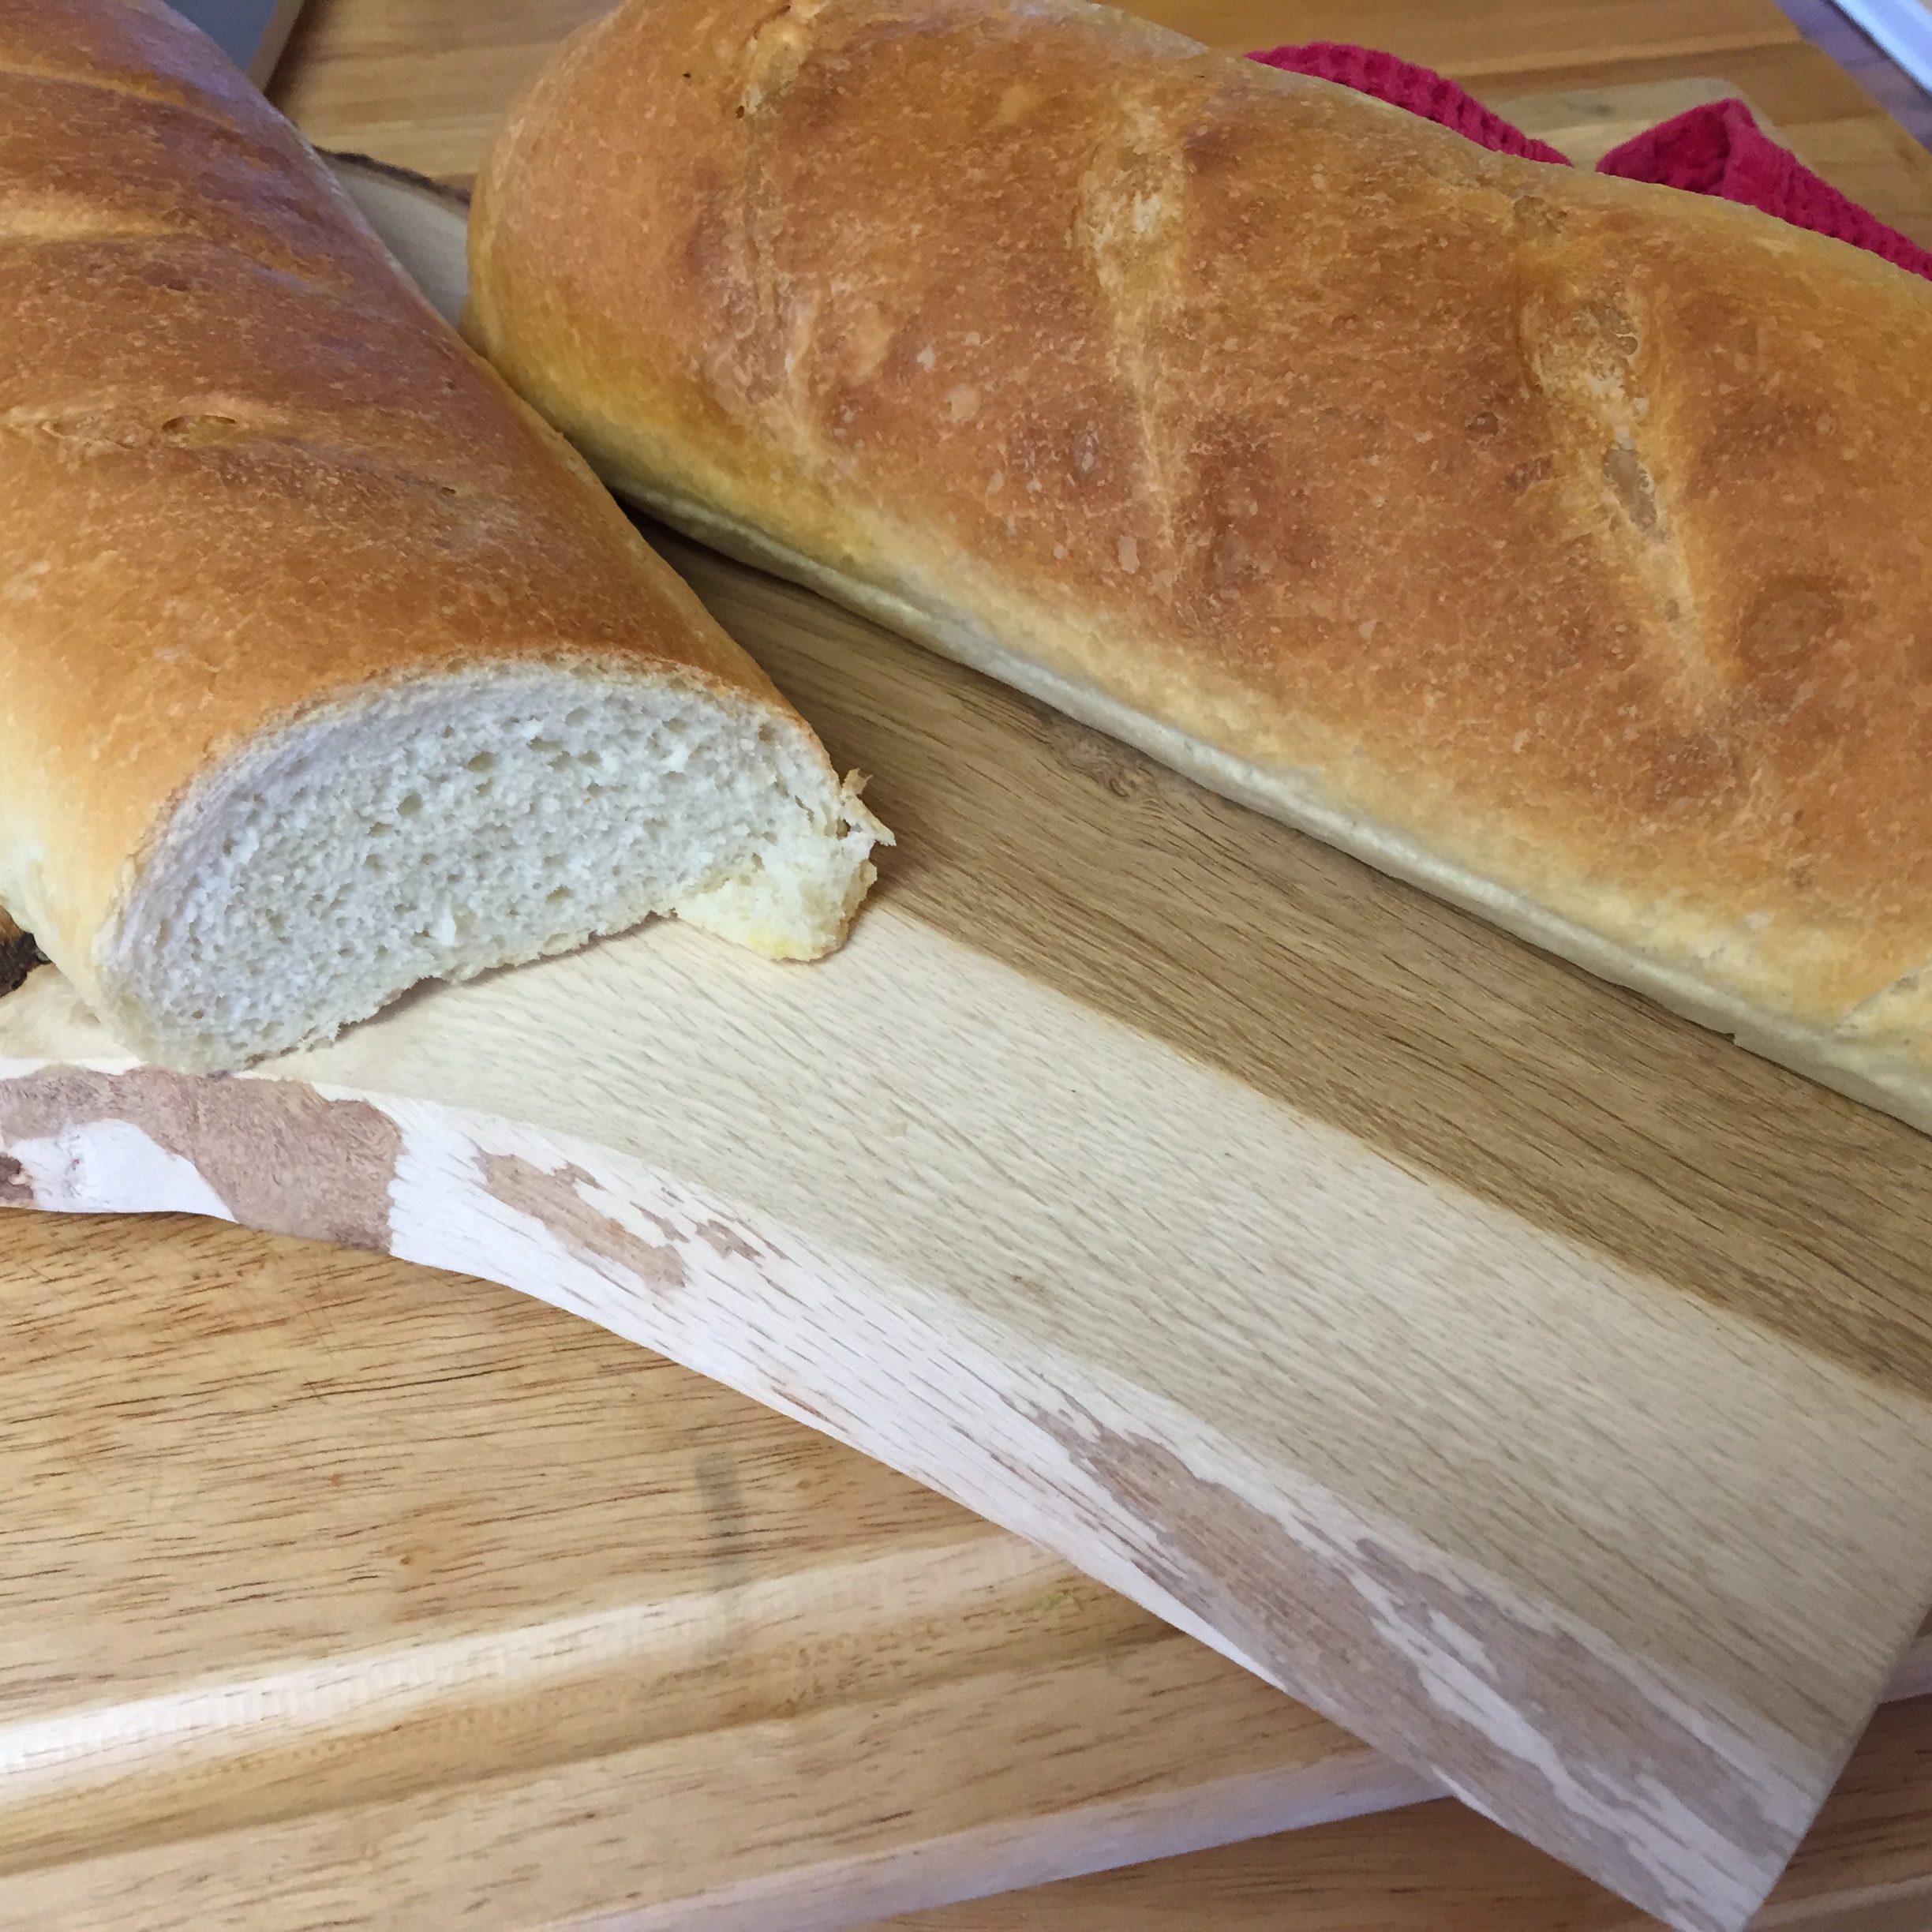
The house smells amazing and when you pull this french bread out of the oven you will have a hard time waiting for it to cool down enough to slice.

The house smells amazing and when you pull this french bread out of the oven you will have a hard time waiting for it to cool down enough to slice.

4 cups unbleached all-purpose flour
2 teaspoons salt
1 teaspoon distilled white vinegar
2 teaspoons active dry yeast (from a 1/4-oz package)
1 tbsp sugar
1 2/3 cups warm water (105-115°F)
3 tablespoon olive oil

Dissolve sugar in 2/3 cup of the warm water, stir in yeast. Allow yeast to bloom for 15 minutes. Set aside the other 1 cup of warm water, adding the olive oil and vinegar.

Meanwhile – stir flour and salt together. When yeast has bloomed, stir into flour mixture along with the remaining cup of warm water and olive oil/vinegar mix.

It is pretty easy to do this in either food processor or stand mixer, using the dough hook – allow the machine to do some of the kneading for you – but take the time to finish the kneading yourself to feel the texture. You want a relatively soft,but firm dough.

Place in greased bowl, turning to coat with oil – cover, and allow to rest in a warm, draft free place.

45 – 60 minutes later it should have doubled in size. punch it down, turn again and allow to rise one more time until doubled.

Separate dough in half. Roll out and form loaves. Repeat with the other half. If you happen to have french loaf pans, grease well and allow to rise again in those pans. Most of us however don’t have those pans. I used my roaster, with parchment paper separating the two loaves.

Ready for the oven - if you like, give each loaf a few diagonal slices.

Ready for the oven – if you like, give each loaf a few diagonal slices.

Preheat oven to 425 – on lowest rack place 9 x 13 baking pan full of boiling water (hint – put baking pan in oven first, THEN fill with boiling water). On upper rack place baking tray with bread.

Bake for 20-30 minutes until crunchy and nicely browned.

Allow to cool slightly before slicing.

Panzanella Salad

When tomatoes and basil are this fresh you can’t go wrong with a Panzanella salad, so simple, few ingredients and yet the flavours are just bursting with freshness.

Juicy tomatoes, bursting with flavour, basil out of the garden and naturally, a crisp glass of Pinot Grigio while preparing it all. Juicy tomatoes, bursting with flavour, basil out of the garden and naturally, a crisp glass of Pinot Grigio while preparing it all.

These amounts are rough, use whatever you have on hand that is fresh:

Grilled bread, cut into bite size pieces (or use home made croutons – well seasoned)
fresh tomatoes, cut into about the same size piece as the bread
1/3 cup kalamata olives, sliced in half
1/4 cup roasted red pepper slices, diced
fresh basil, torn

Dressing:
1 tbsp capers
1/4 cup red wine vinegar
1 small garlic clove, minced
1/3 cup really good quality extra virgin olive oil

Salt and pepper to taste

In serving bowl mix dressing ingredients together, taste and adjust seasonings ….

Stir in all the other ingredients, mix well and allow to sit for 30-45 minutes to allow flavours to blend.

The combination of olives, capers, and fresh tomatoes along with the texture of crispy crunchy bread is absolute summer perfection. The combination of olives, capers, and fresh tomatoes along with the texture of crispy crunchy bread is absolute summer perfection.

Warm Kale Salad

I wanted to credit Joni for this delicious salad – served warm or at room temperature, but she insisted I give the credit to her sister Brita, who originally came up with this – regardless of who gets credit, I will happily take it now as I post it and recreate it in my own kitchen! So delicious, and like lots of salads it is easy to adapt with whatever you have on hand or in your fridge.

This delicious salad is equally great served warm or at room temperature.

This delicious salad is equally great served warm or at room temperature.

Kale (chopped and massaged)
spinach
pears (bite size pieces)
dates (diced)
almonds (roasted and roughly chopped)
feta

onion, garlic, asparagus & cherry tomatoes

Saute onion until translucent, then add garlic and asparagus and cook only until asparagus is tender crisp, add cherry tomatoes, stir and remove from heat.

Dressing:

1/3 cup olive oil
juice and zest of 1 lemon
1/4 cup Bragg’s
salt and pepper to taste – be cautious with the salt tho as both feta and Bragg’s will be a bit salty

Combine all ingredients – tossing in a large bowl with warm onion/garlic mixture and dressing.

This salad is so delicious and packed with nutritious bites that it can easily be a full meal – if you like add shrimp or cooked chicken, maybe a little quinoa??

BBQ Beef Brisket Slow Cooker Style

If you have the time then a beef brisket should be cooked in a smoker, low and ever so slow ….. 10 hours minimum. If, however, that doesn’t work for you, and for lots of us at times it just doesn’t. Try this … perhaps not as authentic, but absolutely delicious.

Combine in slow cooker:
1 1/2 cups ketchup
1/2 cup dark brown sugar
1/4 cup finely chopped onion
3 tbsp cider vinegar
3 tbsp Worcestershire sauce
2 chipotles in adobo sauce – finely chopped
1 tsp garlic powder
3/4 tsp freshly ground black pepper

Rub the brisket with:
1/4 cup paprika
1 tbsp chile powder
1 tbsp ground cumin
1 tbsp dark brown sugar
1 tbsp kosher salt
1 tsp cayenne pepper
1 tsp garlic powder
1 tsp freshly ground black pepper

1 5 lb beef brisket – cut in half width wise.

Place rubbed brisket onto sauce in slow cooker and allow to cook on low for 10 hours.

If you have the time, and ability – allow beef to rest out of the liquid, then grill quickly on each side to get a bit of crunchy texture. Slice and return to sauce in slow cooker.

Serve on fresh buns with some nice crunchy cole slaw on top.

Slow Cooker Pulled Pork

We have a smoker, so when time and weather permits, we love to do a pork butt roast in the smoker – but let’s be honest, that doesn’t always work. The whole point of a slow cooker is simplicity, and being able to walk away ….. This recipe allows you to do just that, and still enjoy amazing pulled pork flavour.

  • 2 medium onions, thinly sliced
  • 4-6 garlic cloves, thinly sliced
  • 4-5 pound pork butt roast
  • 1 tbsp dark brown sugar or molasses
  • 1 tbsp chili powder
  • 1 tbsp dry mustard
  • 1 tbsp kosher salt
  • 1/2 tsp ground cumin
  • 1 3″ piece cinnamon stick
  • 1 tbsp soy sauce
  • 1/4 cup cider vinegar
  • 1 1/2 cups barbecue sauce
  • In slow cooker, place sliced onions and garlic.

If the mixture needs to be thinned out a bit, add 1/2 cup of chicken stock.

Combine the dry ingredients, and give the pork a massage with the seasonings .. after all, it isn’t called a rub for nothing!
(If you want to make things really easy in the morning, rub the pork up the night before and allow those seasonings to penetrate the pork)

Place seasoned pork on top of the onion garlic mixture. Stir soy sauce, vinegar, barbecue together (add chicken stock if it needs it) and pour over pork.

Allow pork to cook on high (6-8 hours) or low (8-10 hours). Remove from cooker, and allow to rest.

Use immersion blender and create sauce out of mixture in cooker – reduce to about half.

Shred pork with 2 forks, and return both pork and sauce to cooker.

Serve on fresh buns with a bit of crunchy cole slaw.

I will update with a photo next time I make this …. with our crowd, before I knew it, the serving was happening and there was no opportunity to take that shot!

Phyllo Wrapped Halibut with Lemon Scallion Sauce

A little bit fussy to prep, but once you try wrapping a few of the halibut fillets, the rest will be easy to complete. Well worth it and super impressive to serve. Our good friend Jean came up with this, and we helped her do it for her own 40th wedding anniversary celebrations.

Ready for a party, these little phyllo packages are sprinkled with chives, fresh dill and an extra little drizzle of the lemon sauce.

Ready for a party, these little phyllo packages are sprinkled with chives, fresh dill and an extra little drizzle of the lemon sauce.

To serve 4:

4 tbsp butter
8 sheets phyllo dough
4 (5 oz) halibut fillets
4 tsp chopped fresh dill
6 tbsp freshly squeezed lemon juice
1 cup whipping cream
4 green onions, finely chopped

Preheat oven to 425

Separate the phyllo – it will take 4 sheets total for every 2 halibut fillets. Lightly butter 1 sheet phyllo dough. Lay another sheet directly on top of the first sheet and lightly butter it. Repeat with remaining 2 sheets of phyllo. Cut sheets in half.

Season halibut with salt and pepper. Place each fillet near the bottom edge of one of the halved sheets – sprinkle with dill. Fold in the sides of the phyllo, then roll the fillet.

Place on baking sheet, lightly brushing with more butter.

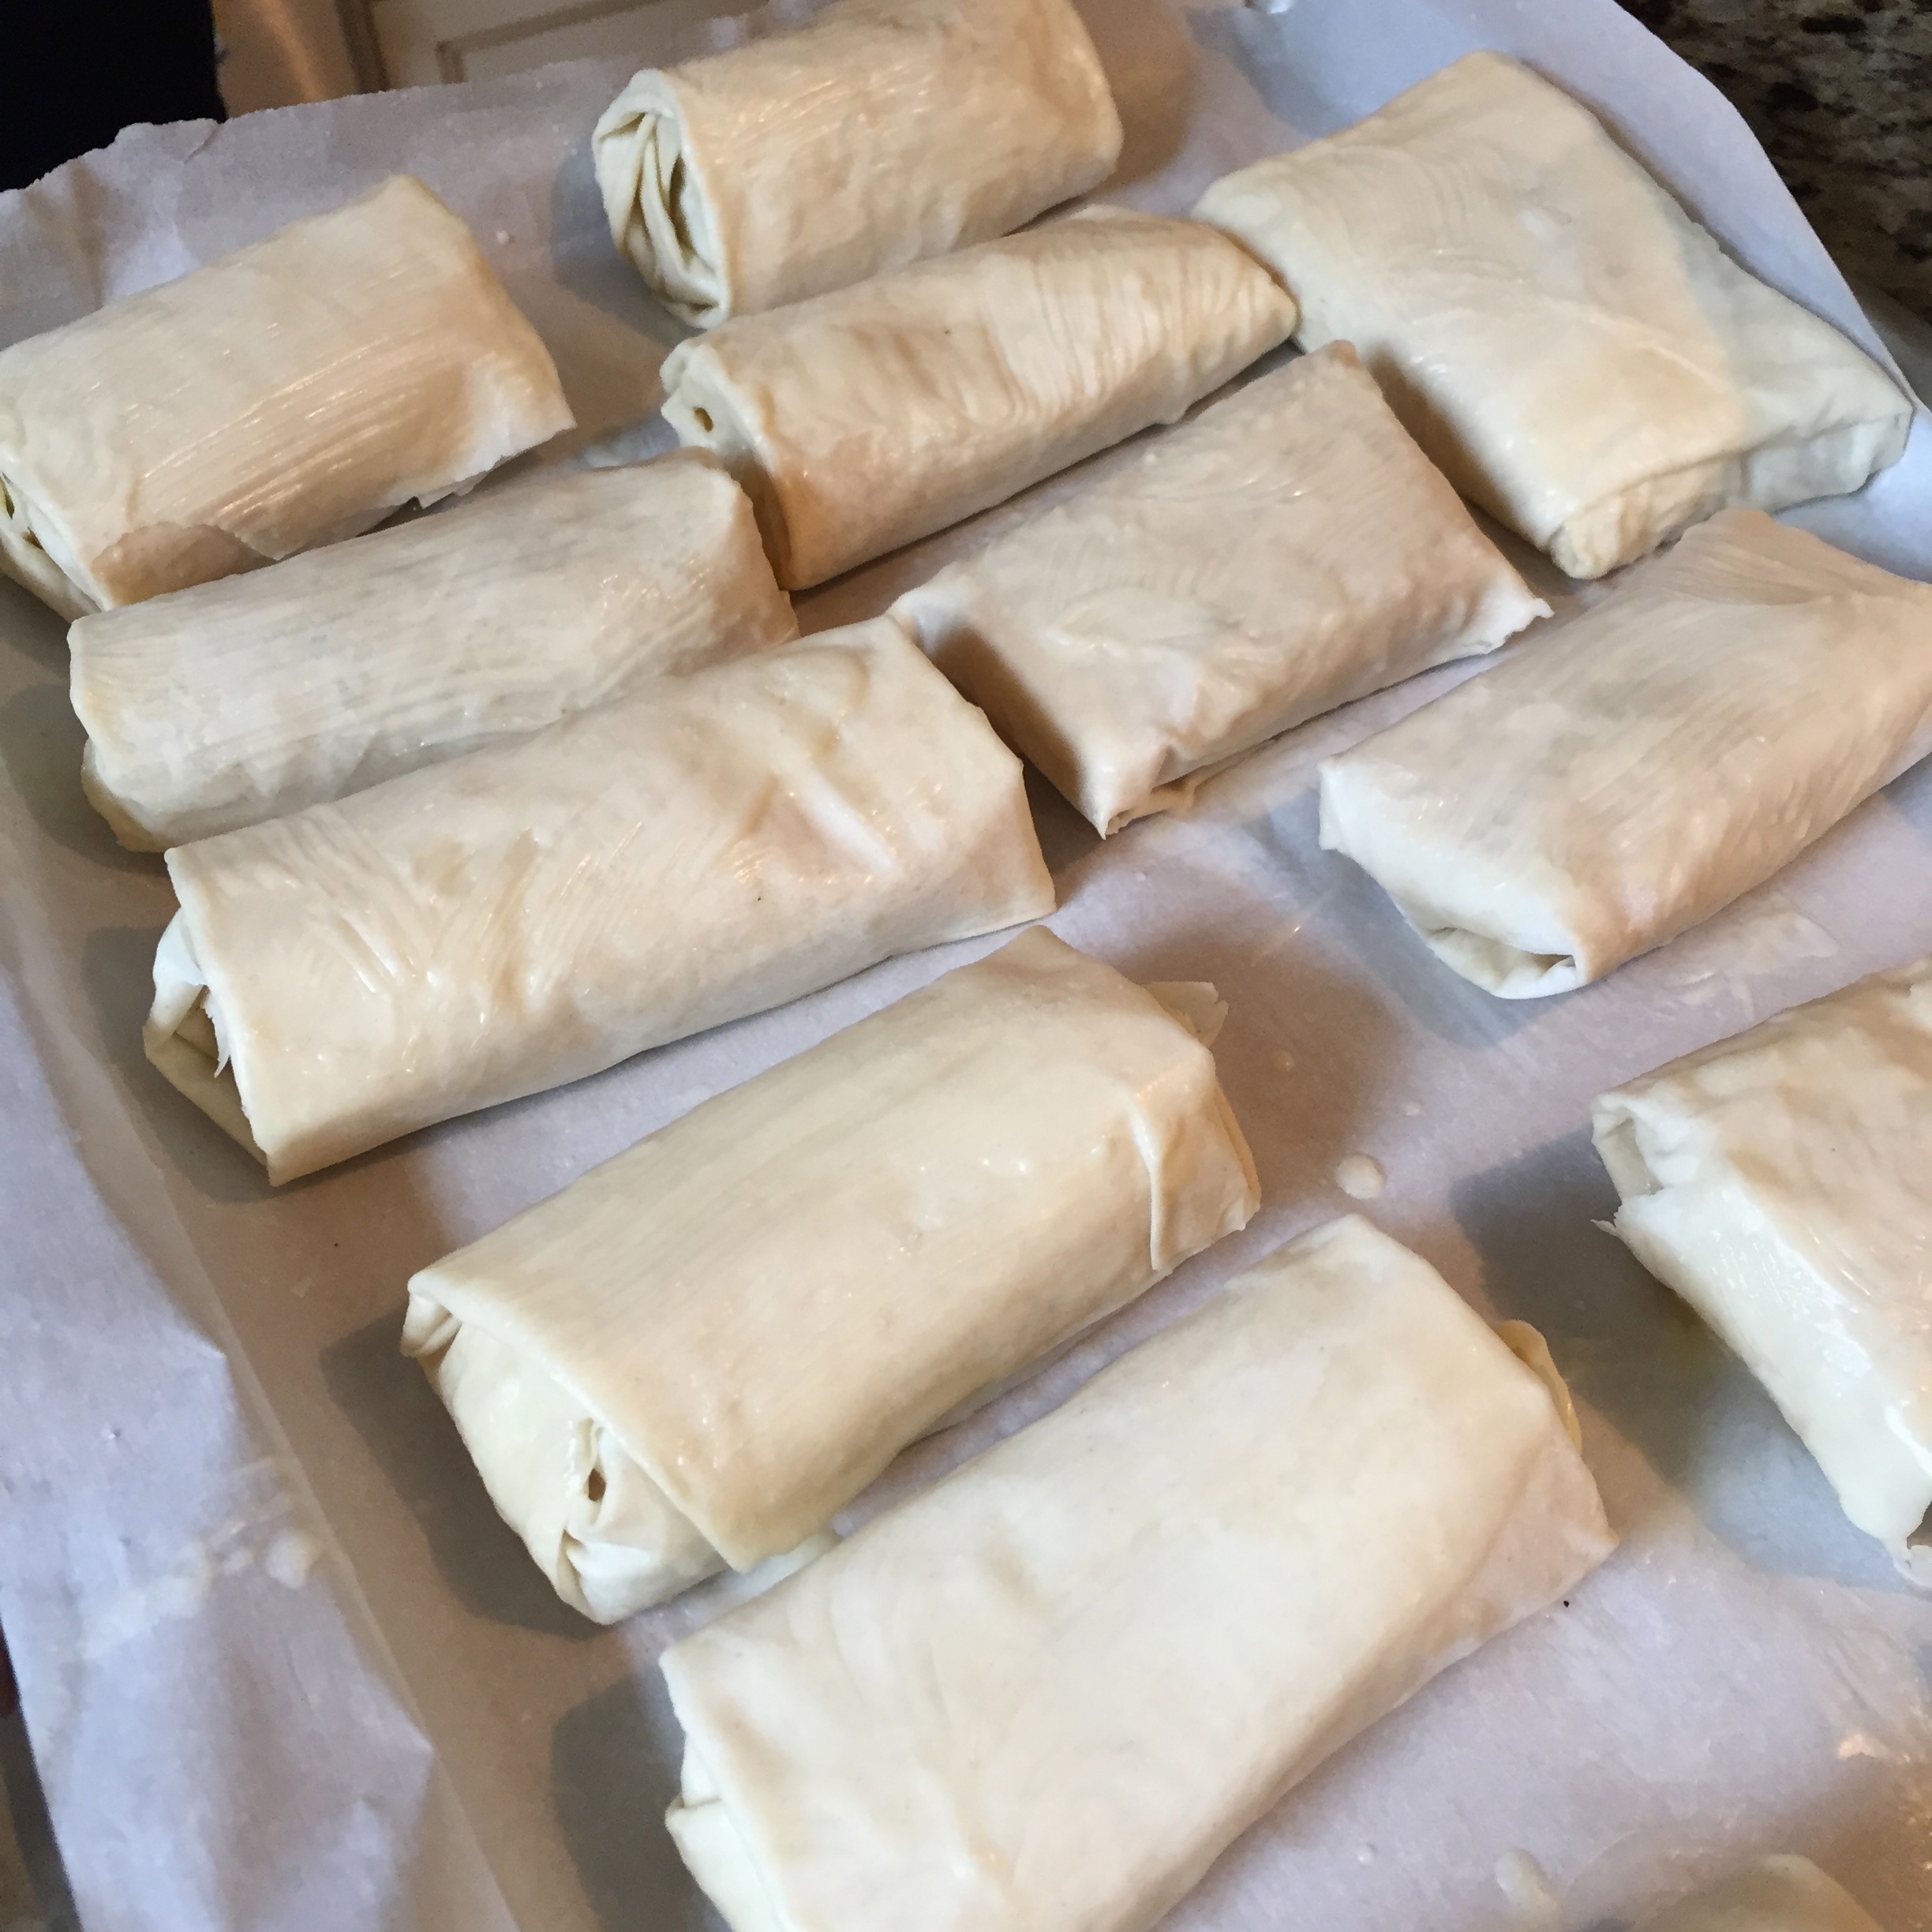
Ready for the oven, these little fillets are going to be so moist inside, crispy and crunchy outside.

Ready for the oven, these little fillets are going to be so moist inside, crispy and crunchy outside.


Bake in preheated oven until pastry is puffed and golden brown, about 12-15 minutes.

While the fillets are baking:

In a small saucepan, bring lemon juice to a boil over high heat. Boil until almost evaporated. Reduce heat to medium and stir in cream. simmer until the cream thickens somewhat. Stir in green onions and season to taste with salt and pepper.

Serve halibut on a pool of the sauce. Garnish with more fresh dill.