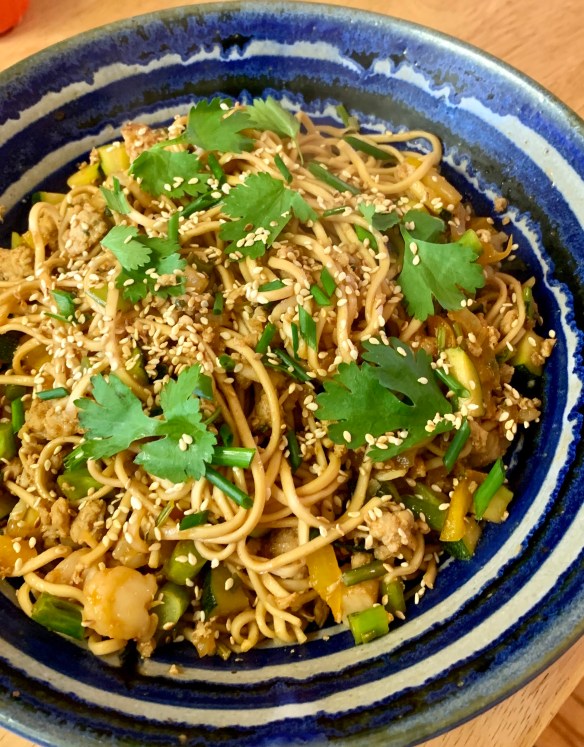
Don’t you just love a noodle dish that is as versatile as whatever you have in your fridge or garden?? This is just what you need.
NOODLES
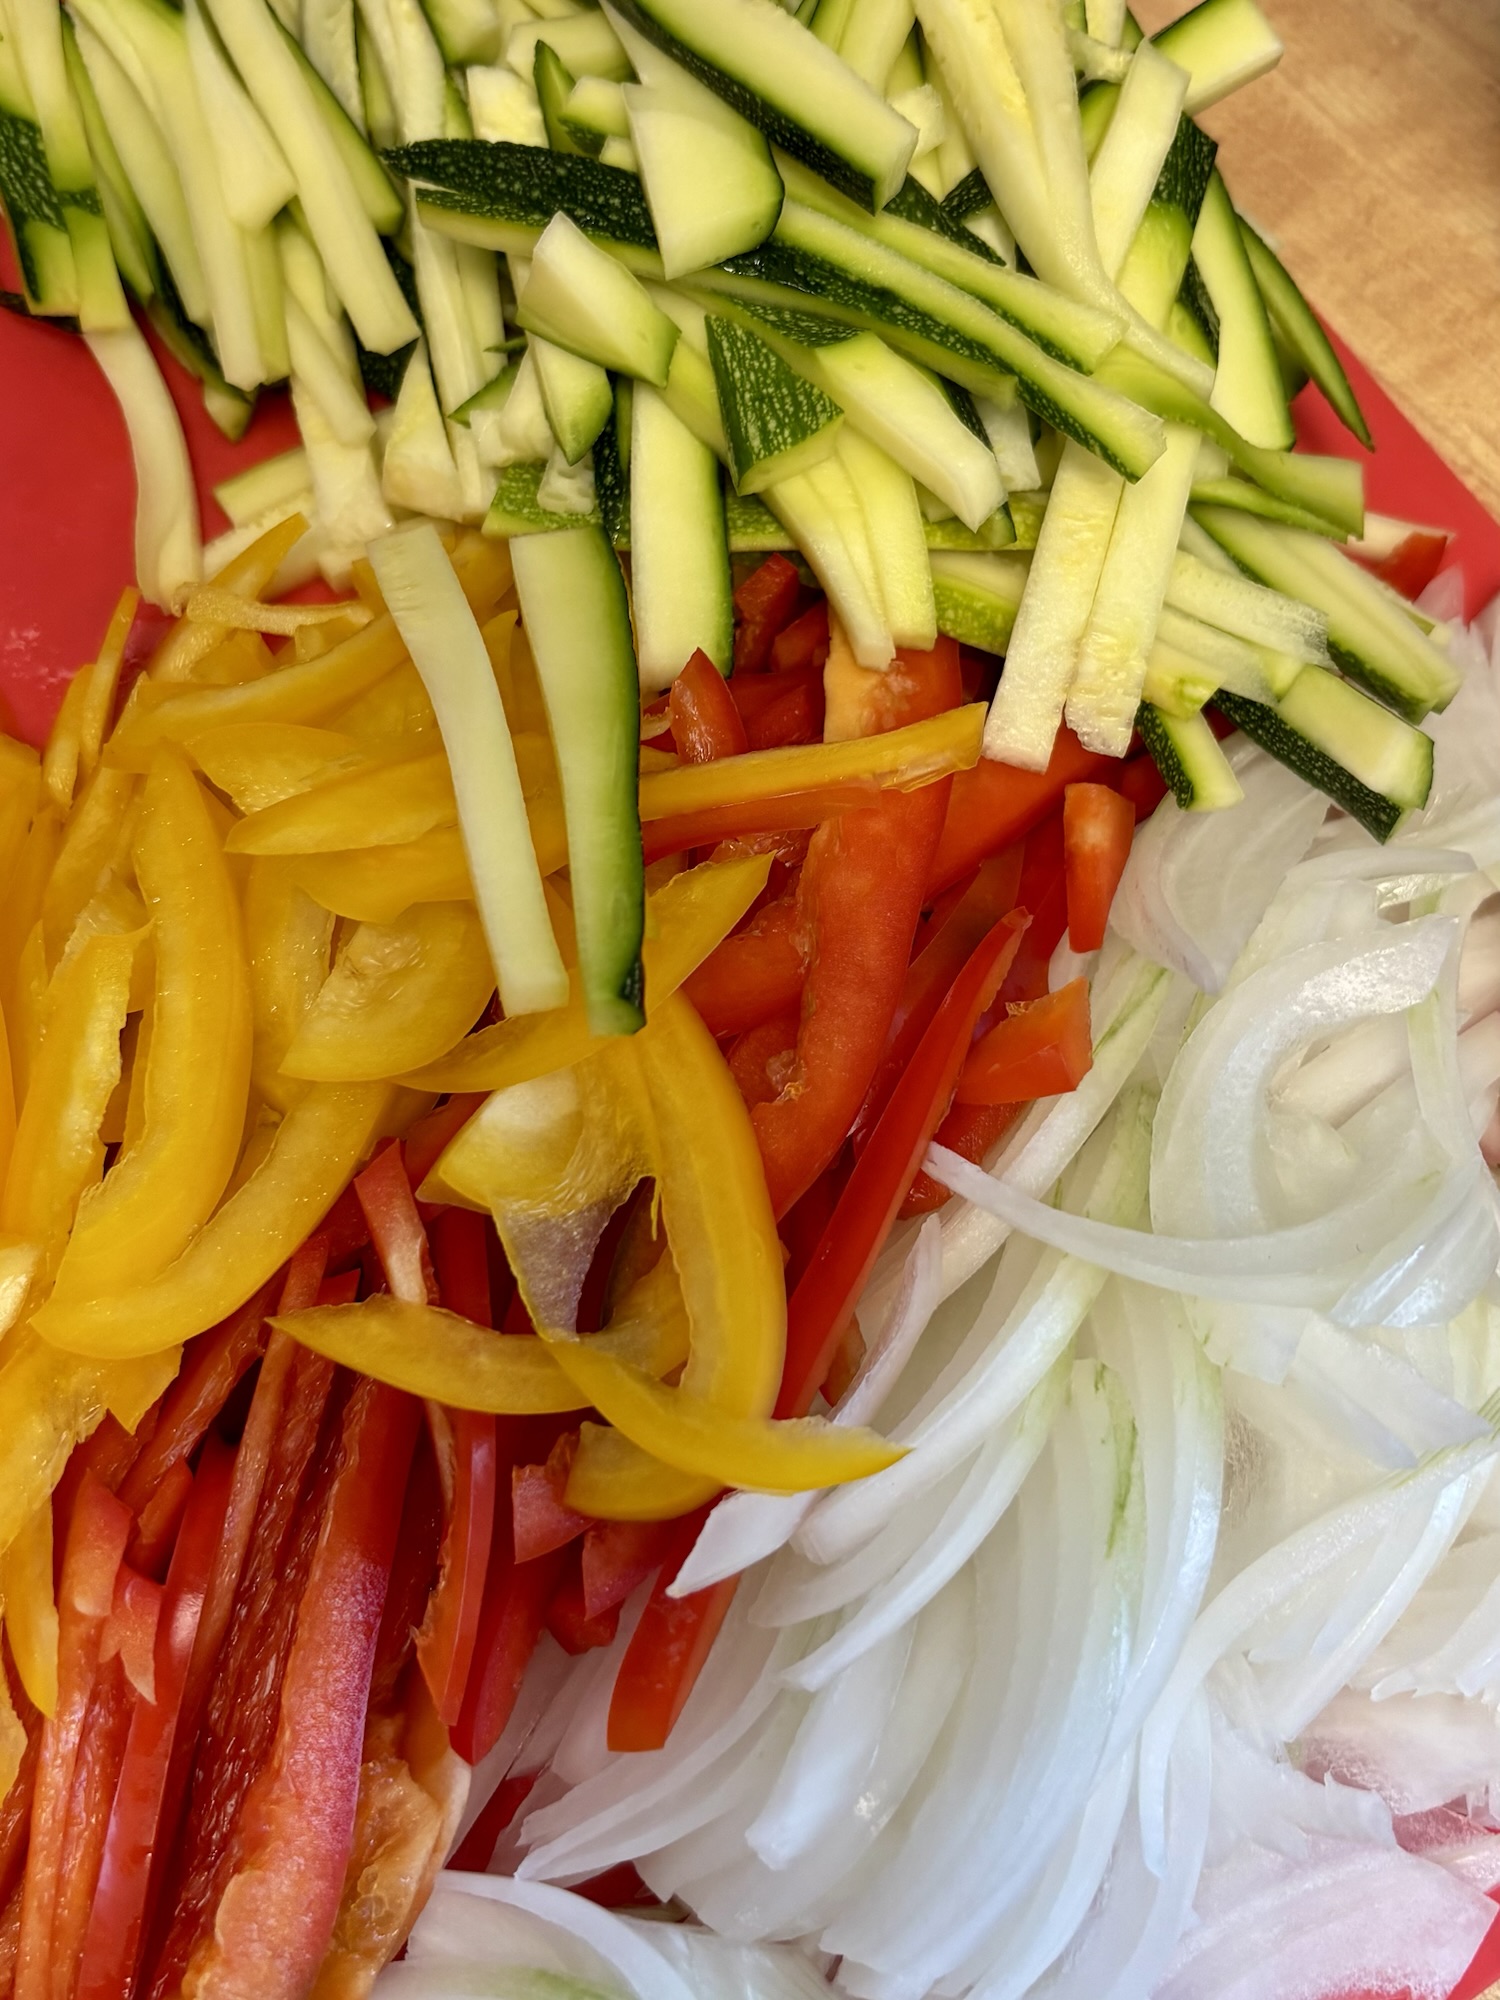
- 1 small zucchini, diced
- 1/2 cup diced onion
- 1/2 cup coloured bell peppers, diced
- 1/2 cup slivered cabbage
- 1/2 cup kimchi, diced fine (if you absolutely love kimchi go ahead and use more!)
- 1/2 cup snap peas, sliced thinly
- 1 cup bean sprouts
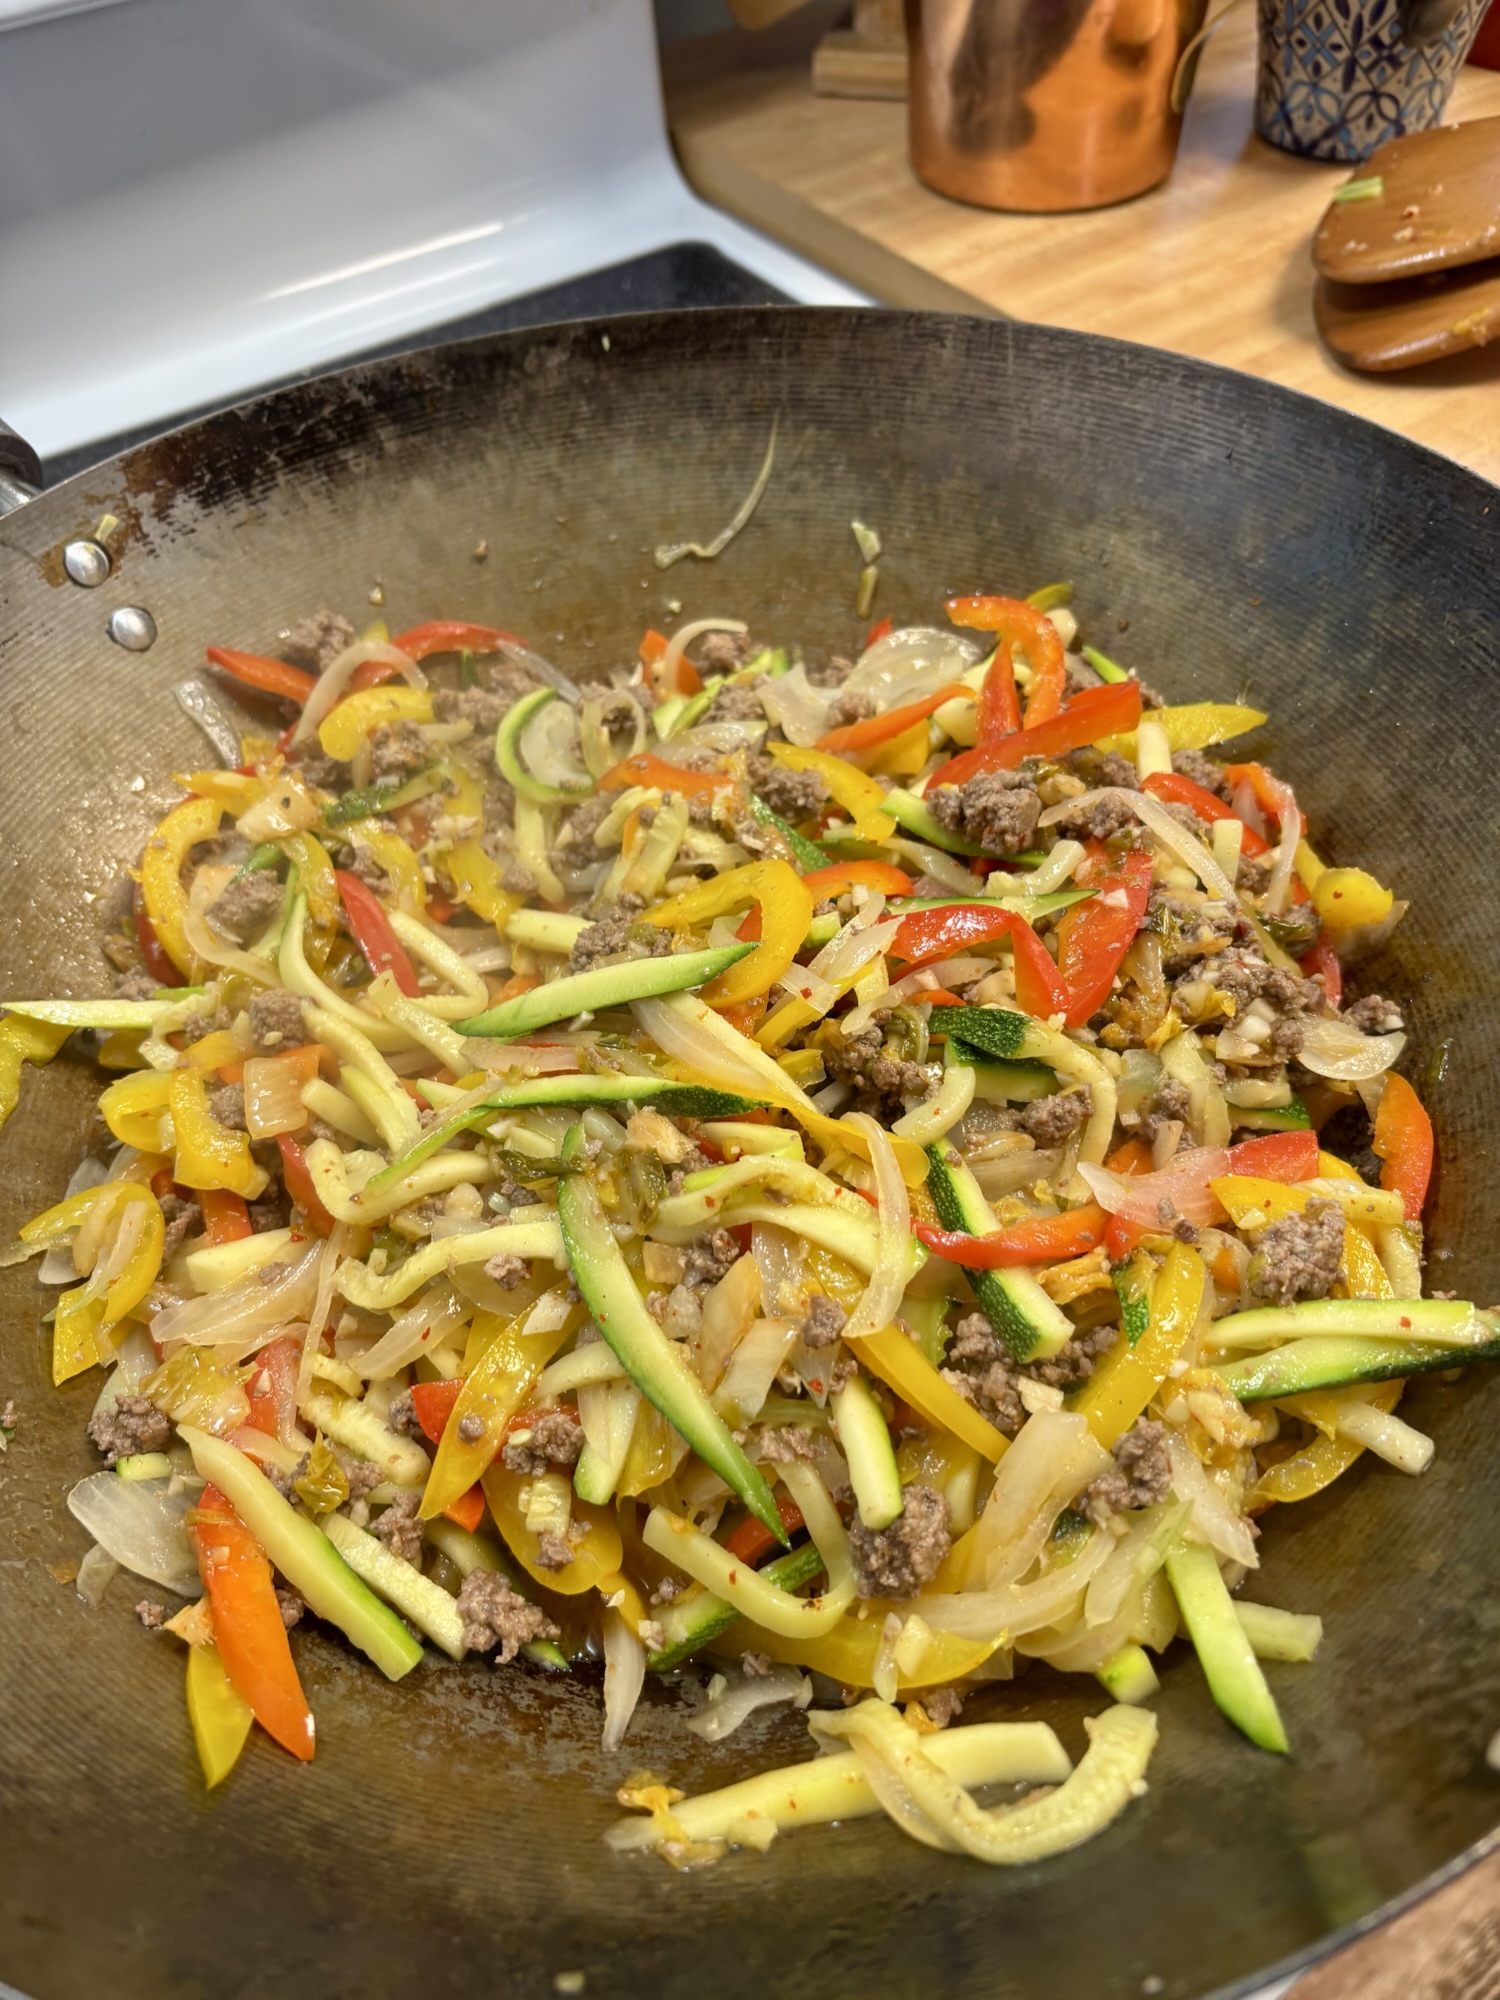
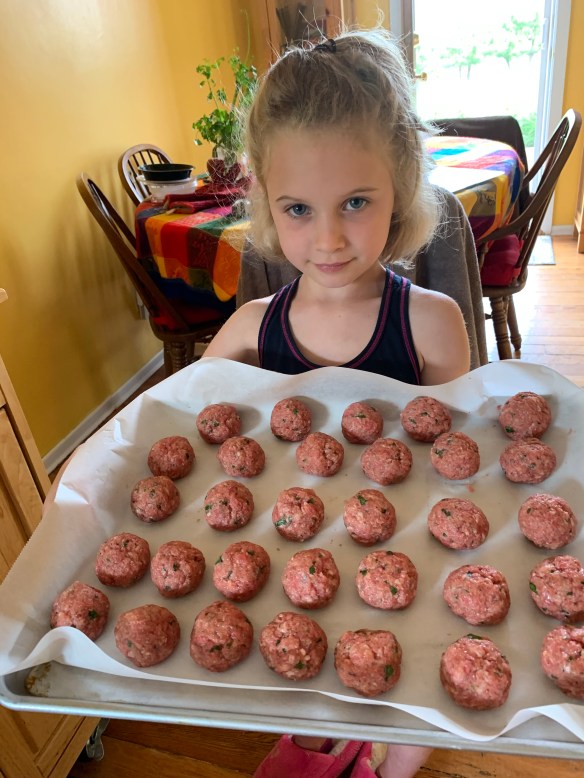
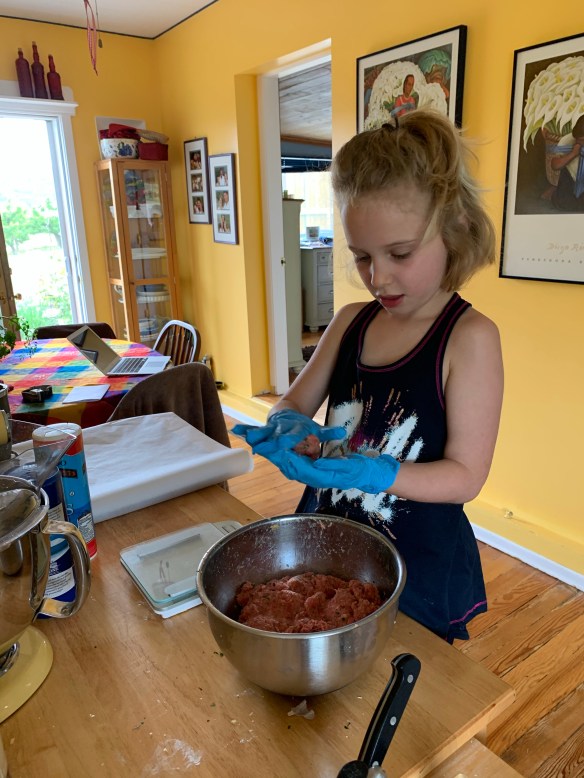
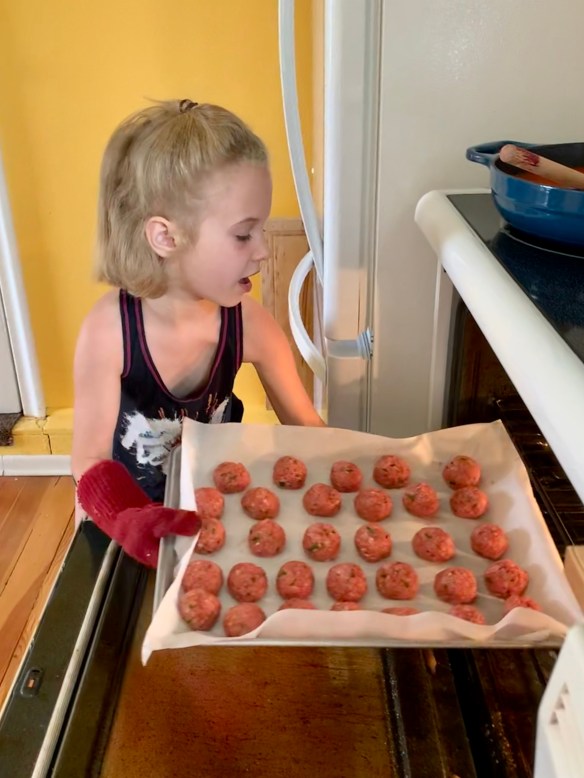
- 1 lb ground pork
- 1 Pound fresh noodles
GARNISH
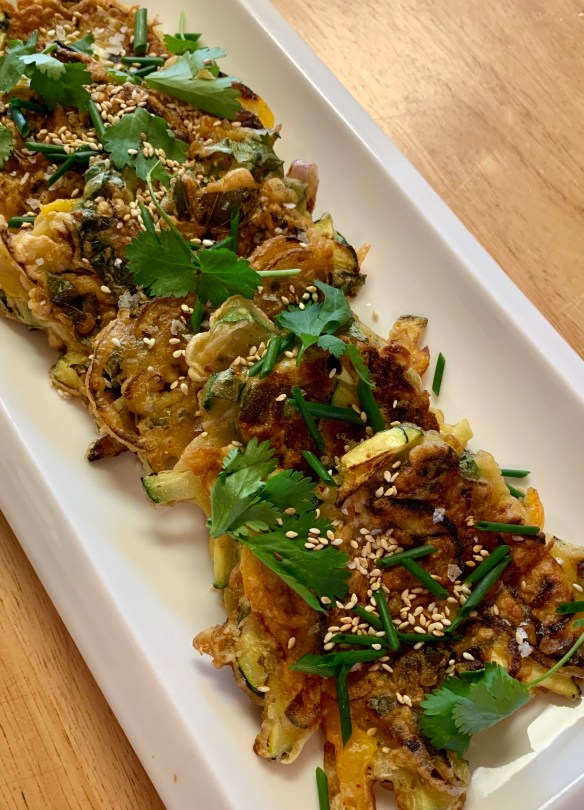
- Scallion, Toasted Sesame Seeds, Korean Chile Flake, Cilantro and Egg for Garnish
SAUCE
- 1/4 Cup Gochujang paste
- 2 TBSP soy sauce
- 2 TBSP sesame oil
- 2 TBSP rice vinegar
- 1 tsp natural sugar
- Mix the sauce ingredients together and set aside.
- Cook the noodles in boiling water according to the package instructions. Strain the noodles and rinse well. Drain and set aside.
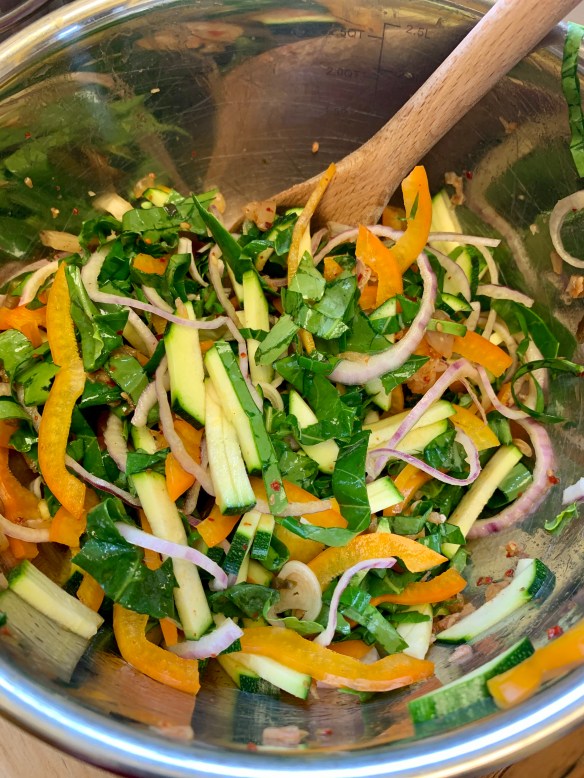
- Prepare the kimchi & vegetables and stir fry until almost cooked, then add in the bean sprouts – remove from pan and set aside. Add bit of oil to the pan, stir in the pork and cook 2 minutes. Add in the sauce, reserved vegetables and bring to a simmer. Remove from heat. Stir in the noodles. Stir well to mix and coat.
- Serve with garnishes to taste.
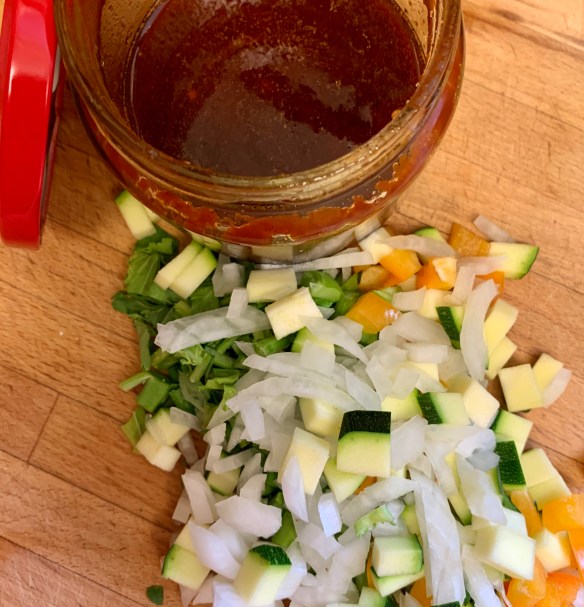
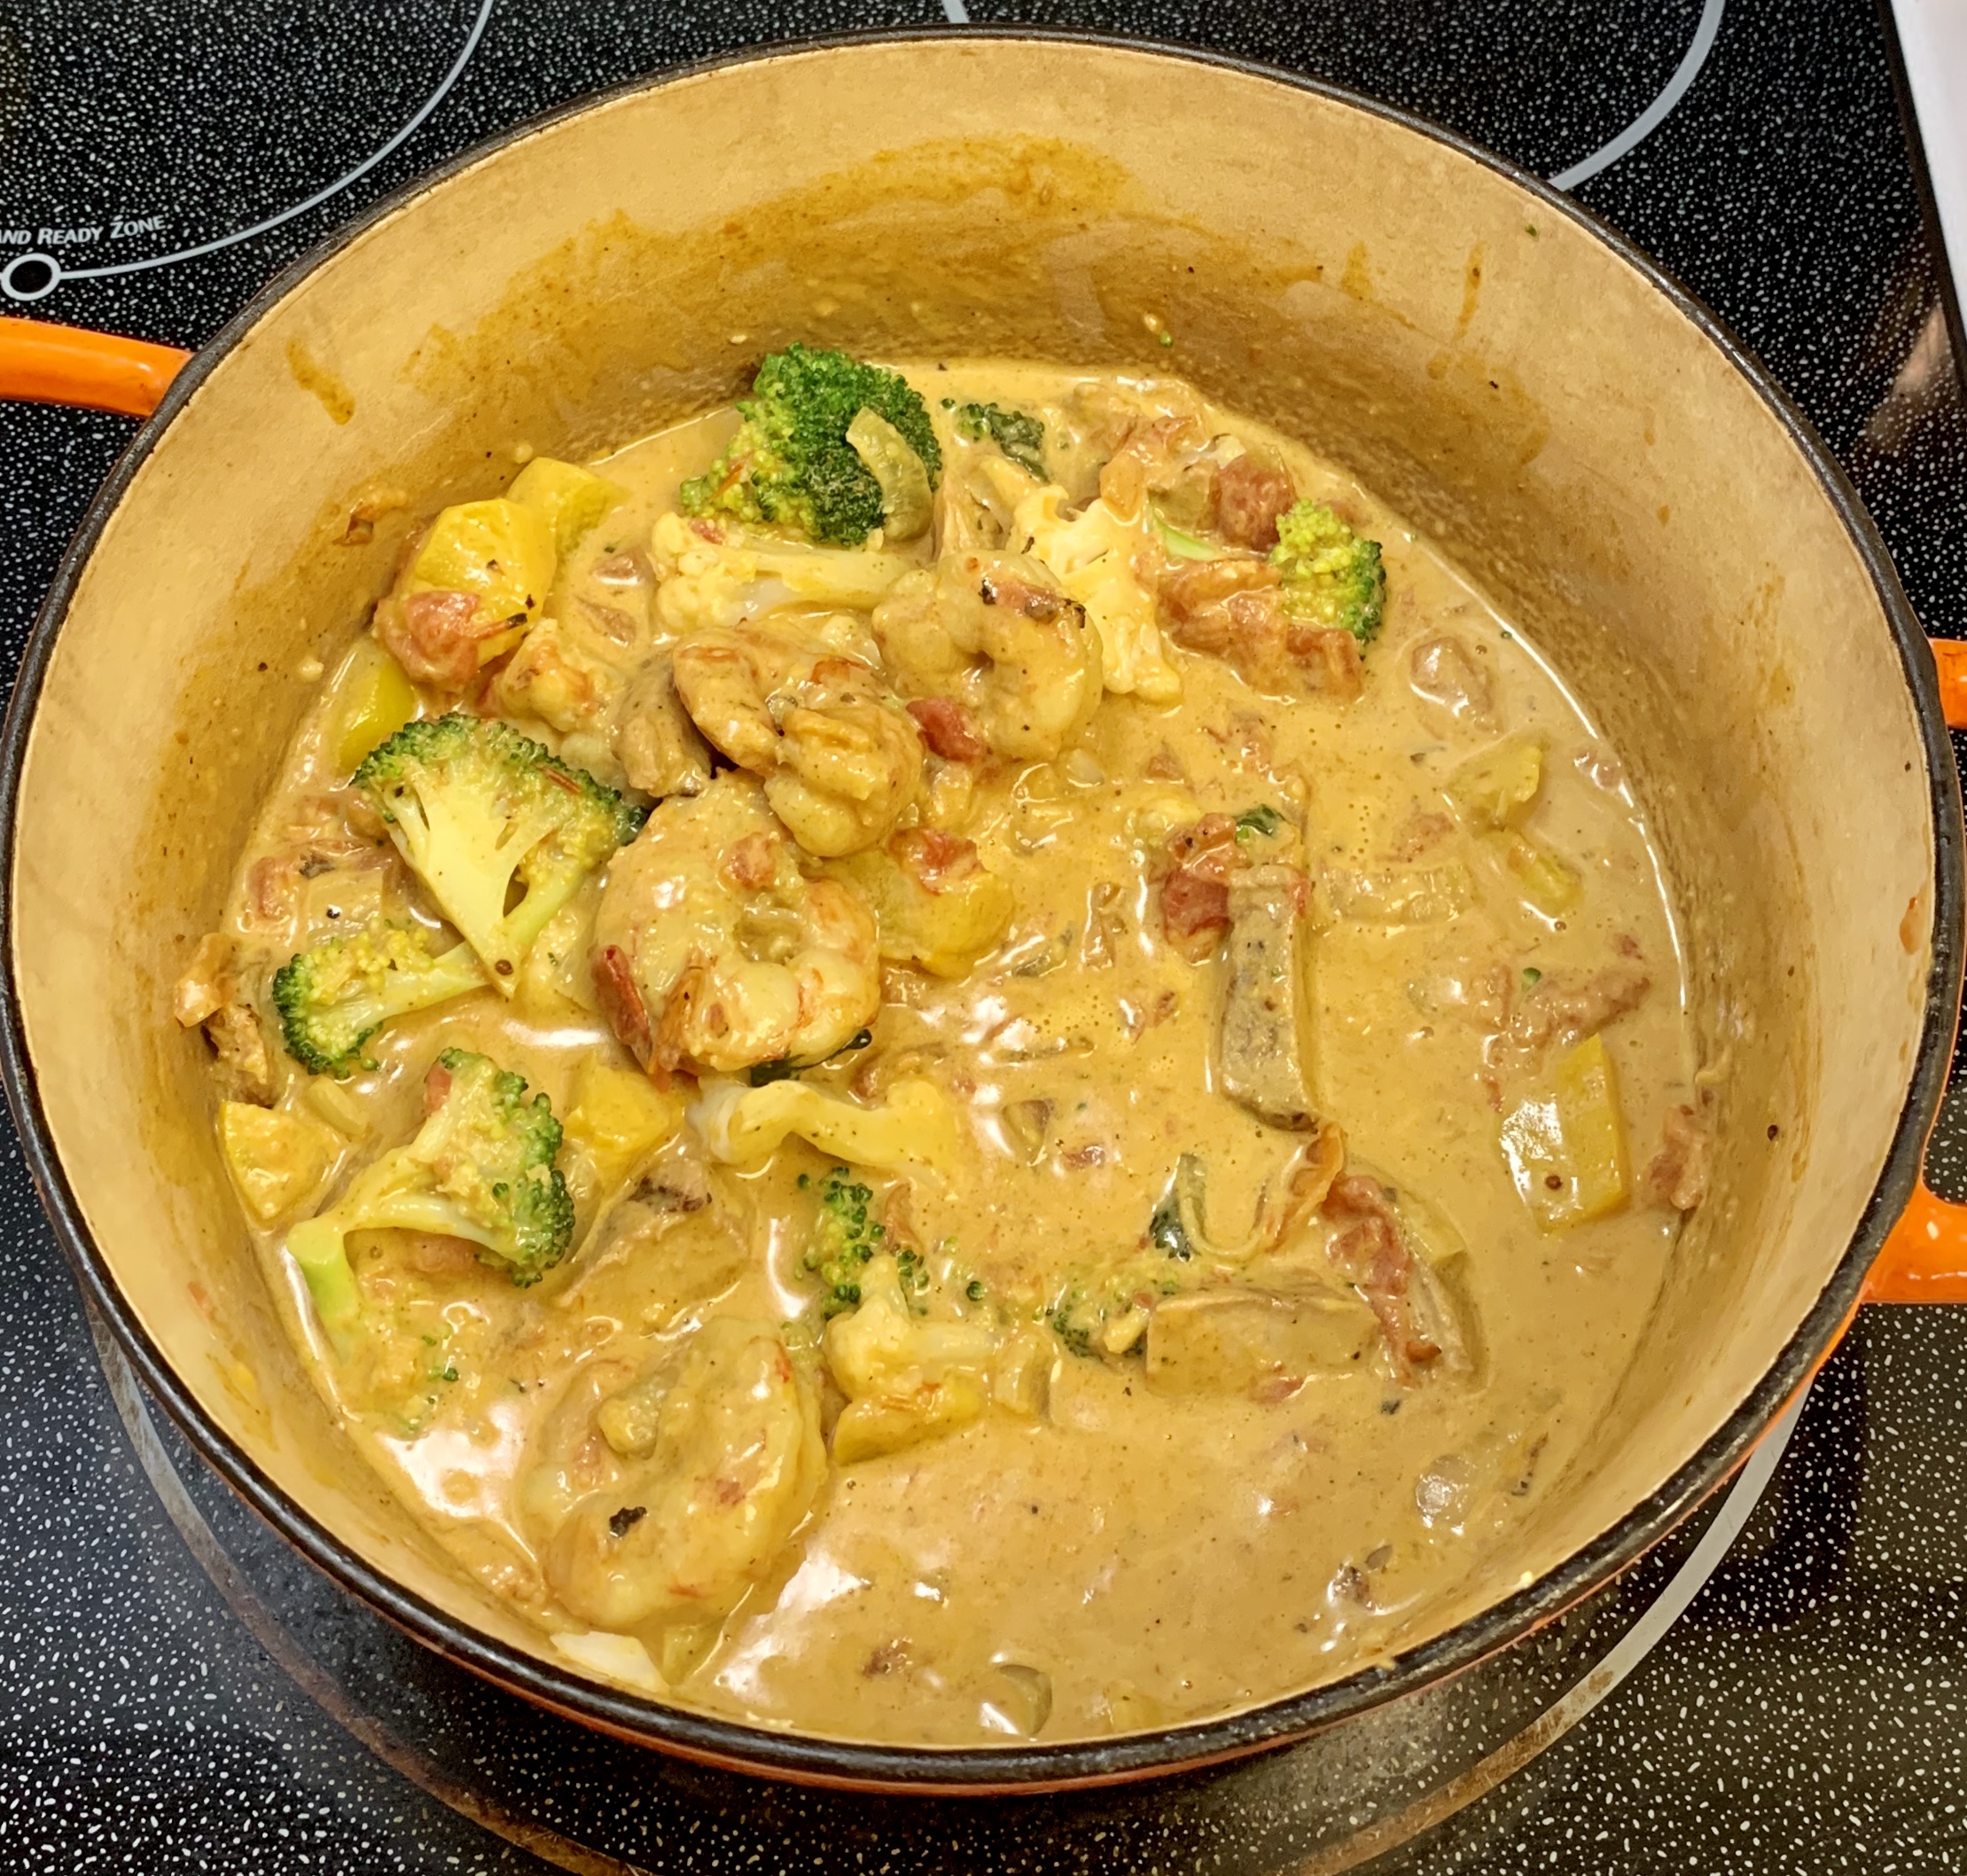
These are the assorted vegetables I had on hand today, and with the sauce it was delicious. This makes a full meal in one if you pack in enough vegetables along with a little protein (if you are so inclined). It certainly doesn’t have to be ground pork. Today I had a wee bit of ground pork in the freezer so I used that along with some shrimp, (chopped up) but it could just as easily be any ground meat or tofu.
Today’s version was ground beef,