I’ve had a bit of a love for Penang curry lately, but tonight Massaman won the battle. In no way is this totally authentic, since I wasn’t planning to put either carrots or potatoes in and those are both always found in Massaman curry. Served with Sticky Thai chicken wings and jasmine rice this made a fantastic dinner, quick and easy but oh so tasty.

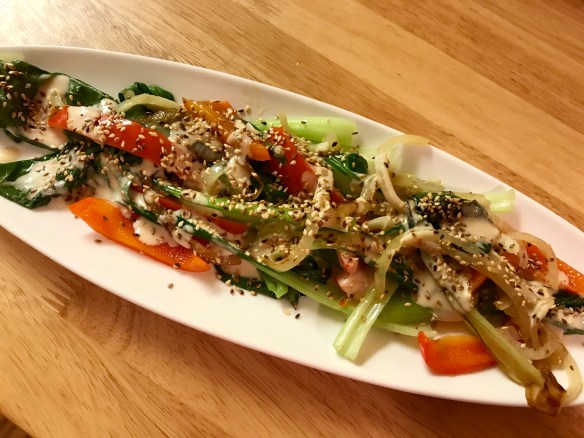
Tonight this was a vegetarian dish with cauliflower, broccoli and bok choy but you could easily add a protein if you like. In Thai lessons we learned to add thinly sliced meat and then NOT stir it until it is cooked through.
Thai chicken curries are so simple to make, and come together very quickly.
Get everything ready first and when its time to cook it will happen before you know it!
- 1/2 cup onion, roughly chopped (in Thailand, every cooking class I took had us cutting 1/2 an onion into 6 pieces)
- 1 large garlic clove, sliced
- 1 tbsp each minced ginger and lemongrass
- 2 tbsp Massaman curry paste
- 1 can coconut milk (don’t use the lite version)
- 3-4 cups assorted vegetables, in bite size pieces
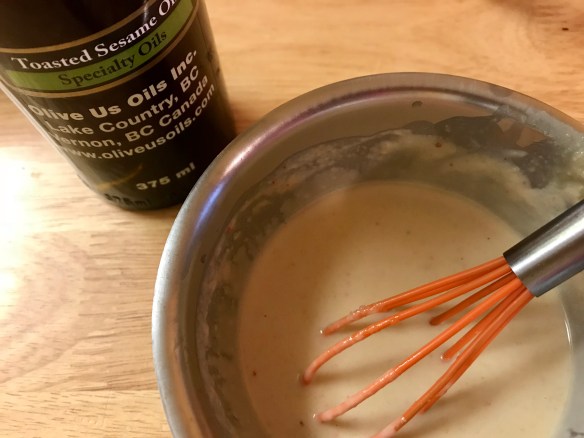
Mix together and set aside: 2 tbsp each fresh lime juice, fish sauce and brown sugar
Heat peanut oil in saucepan until shimmering and add onion pieces, stir until slightly softened and add garlic, ginger, lemongrass and curry paste. Saute to bring out the flavours in the curry and aromatics. Add coconut milk and stir well. Add vegetables and cook just until crisp tender. Stir in the lime juice, fish sauce and brown sugar.
Thai food should have a great balance of sweet, spicy, salty & tangy. If this doesn’t yet, keep making adjustments until it does!


 INGREDIENTS