
To create the blood orange cake, squeeze the juice from one blood orange into a one cup measure of milk, fill the remaining cup with milk. Zest one orange and stir into the batter.
INGREDIENTS
- 2 ¼ cups (315 g) unbleached all-purpose flour
- 1 tbsp baking powder
- ½ tsp salt
- 3 eggs
- 1 ¾ cups (370 g) sugar1 tsp vanilla extract
- ½ cup (125 ml) canola oil
- 1 cup (250 ml) milk
PREPARATION
- With the rack in the middle position, preheat the oven to 350°F (180°C). Generously butter and flour a 10 to 12-cup (2.5-3 litre) Bundt pan.
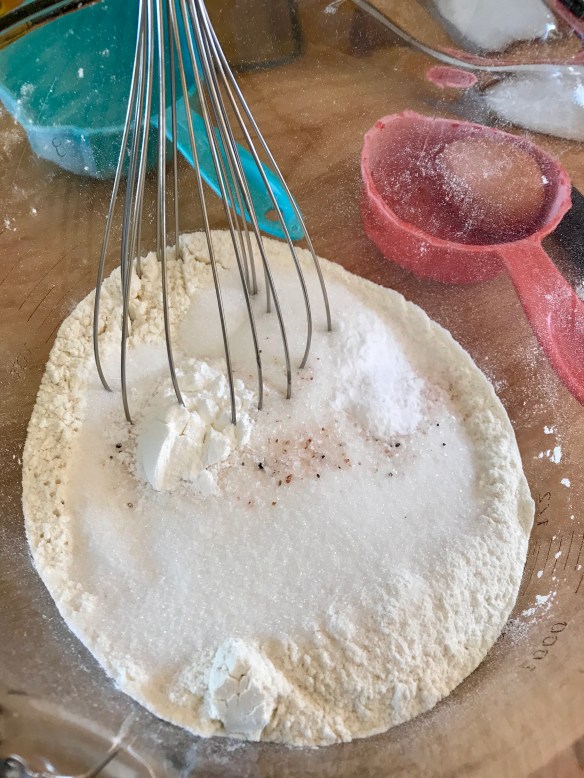
- In a bowl, combine the flour, baking powder and salt. Set aside.
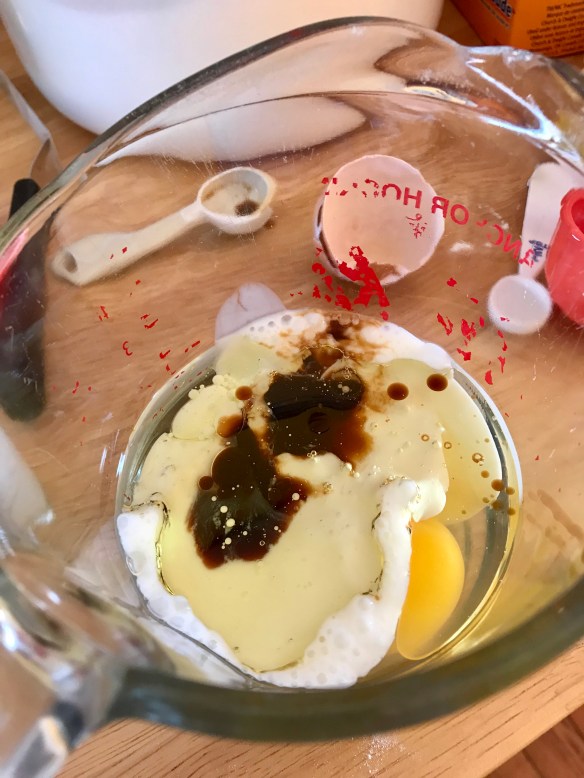
- In another bowl, beat the eggs, sugar and vanilla at high speed with an electric mixer for about 10 minutes or until the mixture triples in volume and forms a ribbon. Drizzle in the oil while beating.
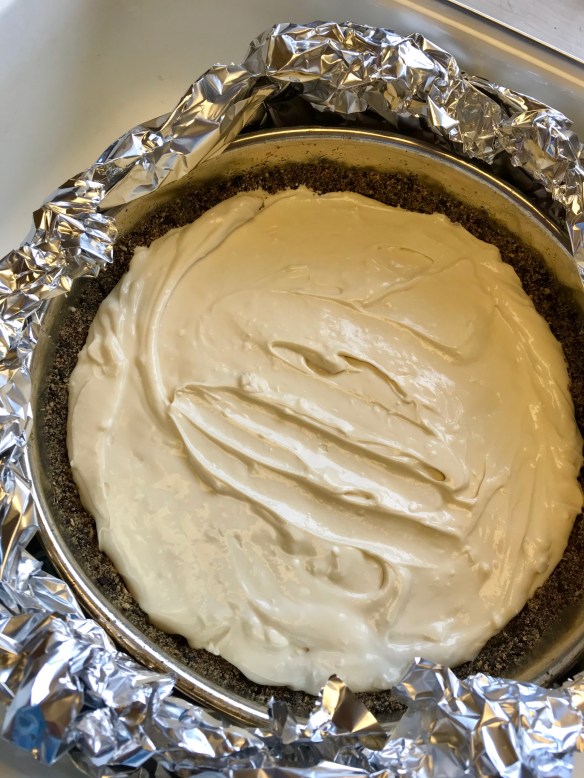
- At low speed, add the dry ingredients alternately with the milk, beating just until smooth. Spread the batter into the pan.
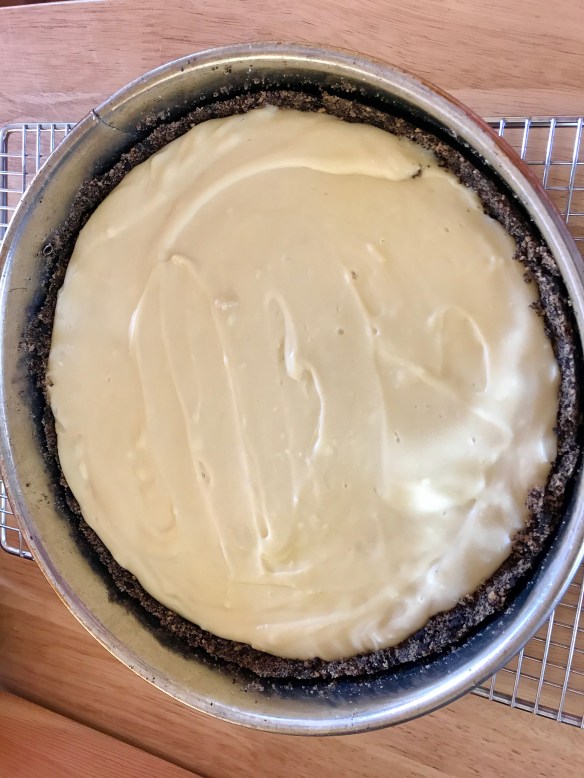
- Bake for 45 to 50 minutes or until a toothpick inserted in the centre of the cake comes out clean. Let cool for 15 minutes. Unmould and let cool completely on a wire rack.