DRESSING
1 tbsp miso paste
1 tbsp grated ginger
Juice of 2 limes (and zest if you like it really filled with lime!)
½ garlic clove, minced
1 chopped scallion
1 tbsp sriracha sauce
1 tsp raw sugar
1 tbsp fish sauce
½ tsp kosher salt
Blend well, and gradually stir in: ½ – ¾ cup of vegetable oil – to taste
MARINADE
1/3 cup Thai sweet chili sauce
2 tbsp chili paste
2 tbsp soy sauce
1 tsp grated ginger
1 minced garlic clove
2 good size chicken breasts (boneless, skinless)
Thin cut Chinese egg noodles (fresh is best)
Green Salad
Sesame seeds
Peanuts
Bean sprouts
Cut chicken into bite size pieces and allow to marinate for anywhere from 30 minutes to overnight.
A few minutes before frying stir in 1 tbsp corn starch.
Make a green salad using whatever ingredients are jumping out at you – make it nice and crunchy!
Cook the egg noodles according to package directions and allow to cool – rinse with warm water if they end up in a clump – the water always brings them back.
Toast the sesame seeds and peanuts
The chicken needs to be cooked fairly quickly so it gets nice and crispy – you can do this in a wok using a bit of peanut oil, in a fry pan, a deep fryer, or on the grill with a wok basket.
While the chicken is cooking, bring the rest of the marinade to a boil – allow to boil for a few minutes until it is thick and has reduced slightly. Stir warm into the salad dressing and allow to sit while you assemble the salad:
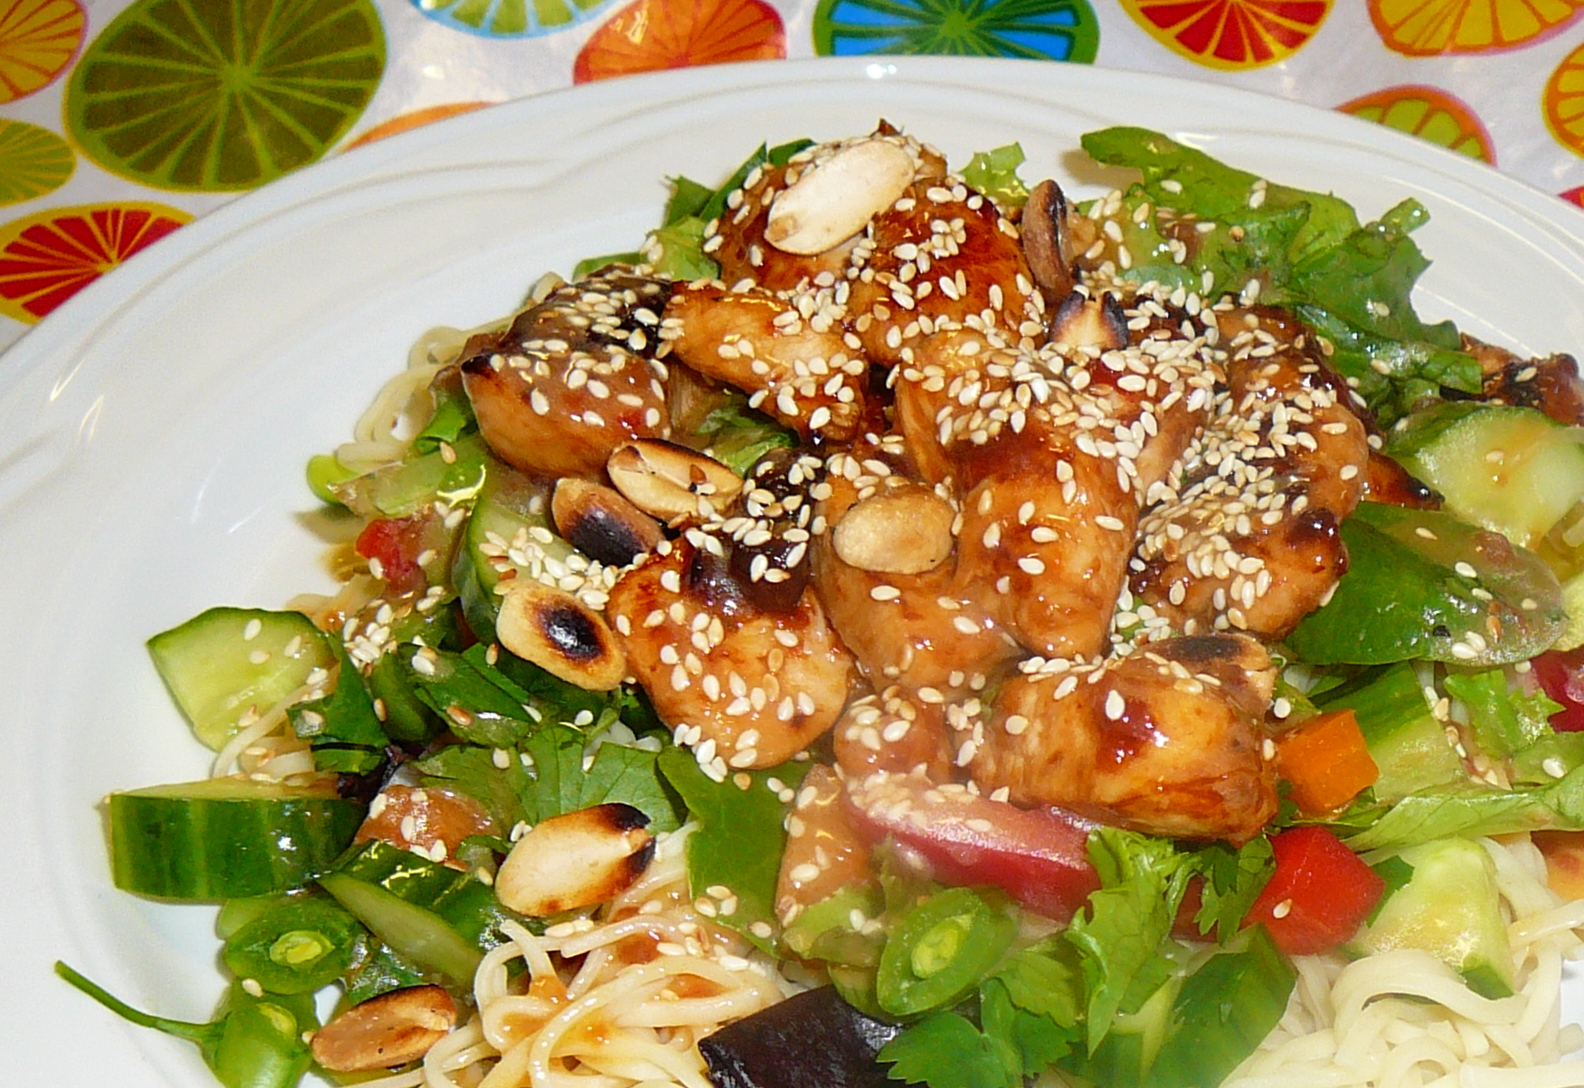
Noodles on the bottom – drizzle with a bit of the dressing
Salad
Chicken
Top with bean sprouts, peanuts and sesame seeds
Drizzle more salad dressing over top